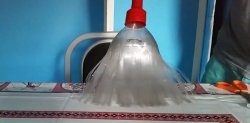
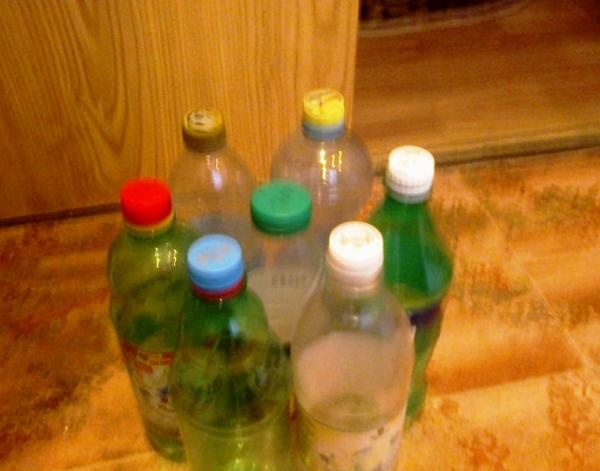
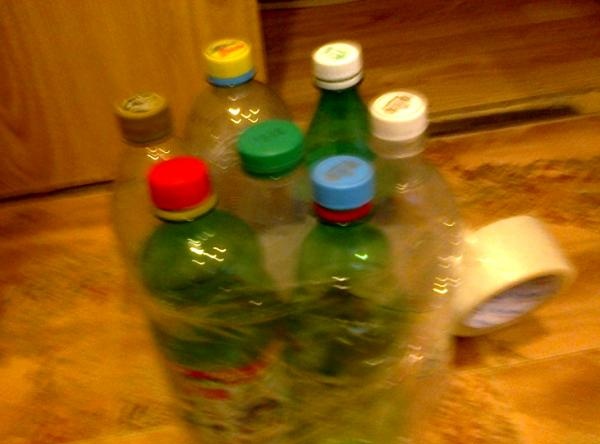
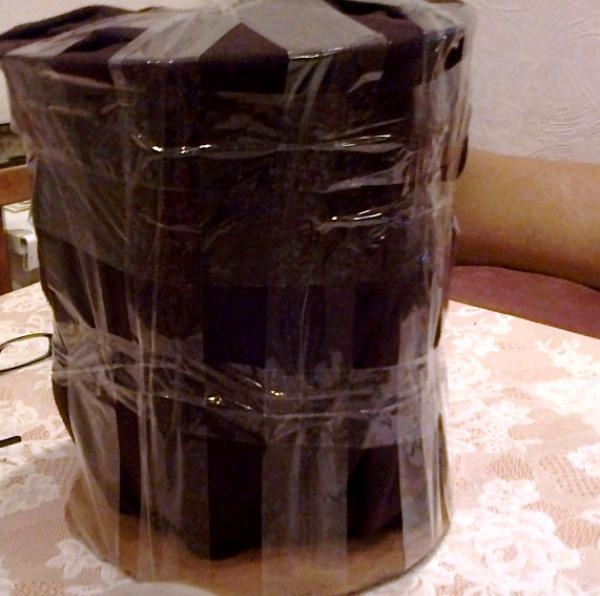
1. We make several plastic bottles of the same size and wrap them tightly with tape. If you have heavier family members, you can make the structure stronger; on top of the necks of the bottles, put additional bottles with the tops cut off. We fill all the gaps between the plastic with the remnants of old things, batting, foam rubber.
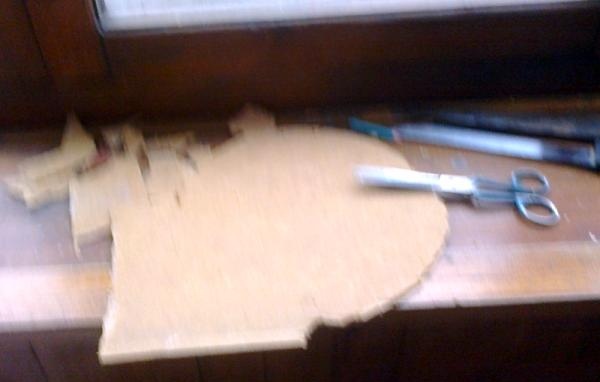
2. From the remains of thick cardboard or fiberboard, cut out two identical circles that will become the base for the ottoman. The dimensions must naturally match the diameter of the base of your structure. But small errors are acceptable.This is a relatively difficult job, especially if you don't have the right tools. You can get by with sharp scissors and a knife.

3. We wrap the cut out bases with tape and fill in all the gaps again. You can use old clothes, sweaters, even socks and tights.
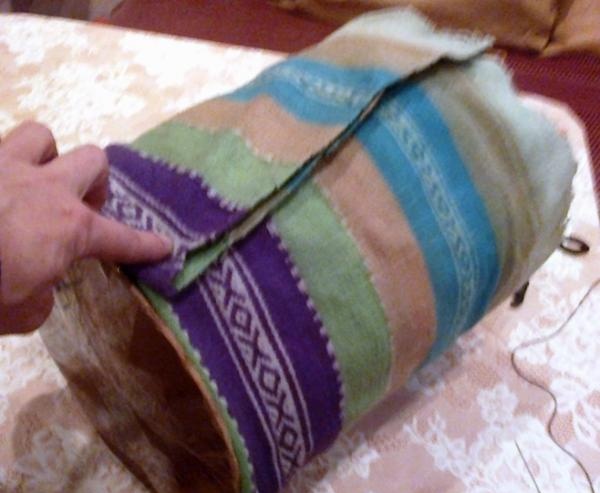
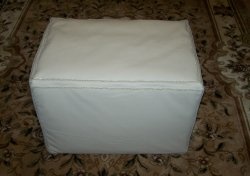
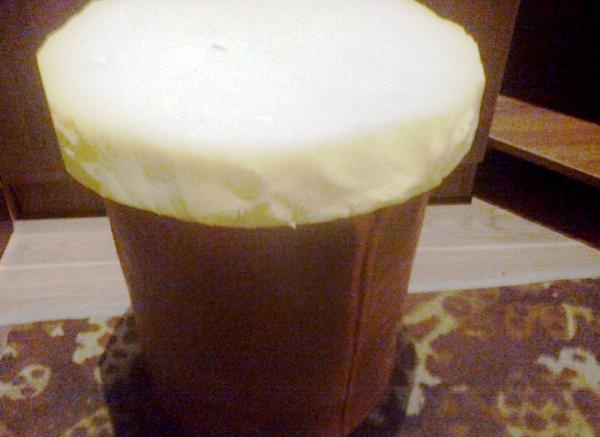
4. We wrap this still unsightly structure with thick fabric, in this case, a piece of linen runner. You can use an old jacket or coat (everything that for some reason has been lying in the closet for a long time and was waiting for the time “what if it’s needed!”). We wrap the lower part tightly, stretching it and aligning it along the bottom. Sew up the sides and pull the top tighter, slightly tucking the remaining fabric. You can also add leftover batting by sewing wide stitches across the top to secure it.
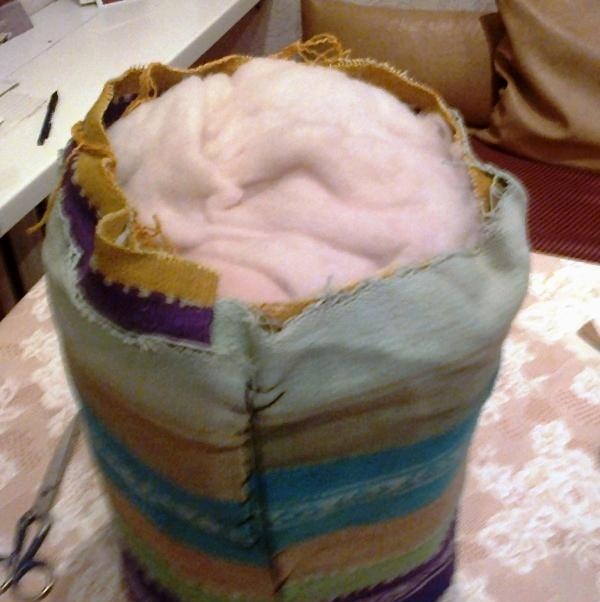
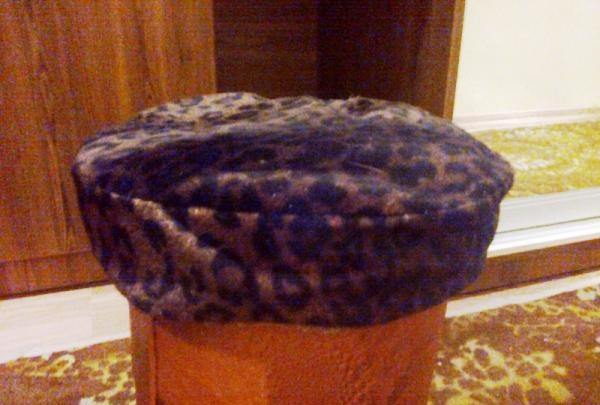
5. You can make a cover from foam rubber. If you make it a little larger than the seat, the ottoman will look like a mushroom. It can be decorated in this style. For imagination and using unnecessary things - there are a lot of options in this part of the work.
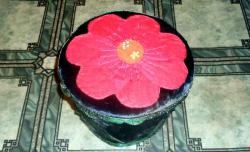
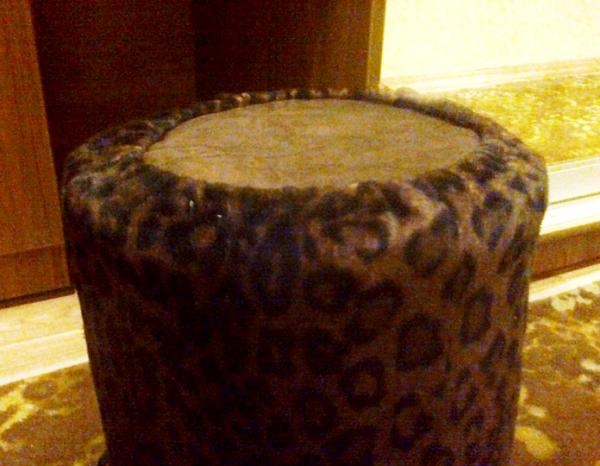
6. Let's start sewing the cover. I used the fabric from the skirt. You can choose a color and pattern to your taste from existing items that, for some reason, have not found their use before. If you want to strictly maintain the style in the room, then you can buy some of the necessary material. Its dimensions depend on the height and diameter of your ottoman. Although used blouses and sweaters can also help out a lot. First, with small allowances, we cut out a circle of the seat and a strip along the diameter of the seat (if it is wider than the base). First we sew the ends of the strip, and then we connect the two parts in a circle. Separately sew the cover of the ottoman base. We tuck the lower part with a margin for stretching the elastic. Now we connect (join) the seat cap and the base stocking.This work can be done with tight hand stitches, but if you have a sewing machine, your work will be greatly simplified.
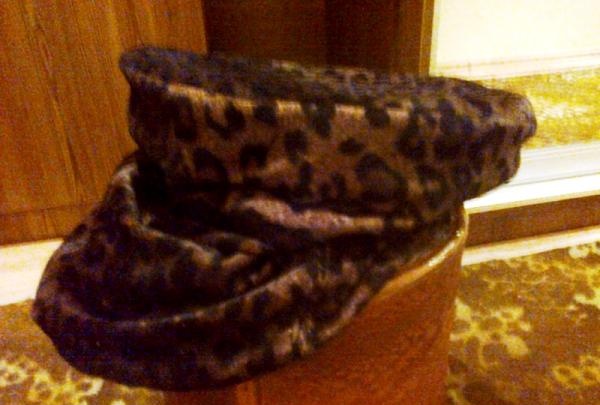
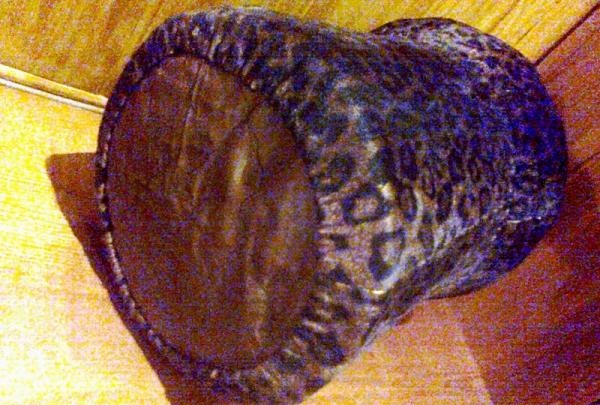
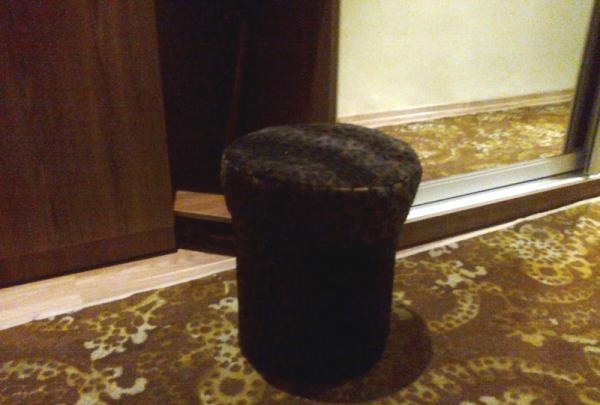
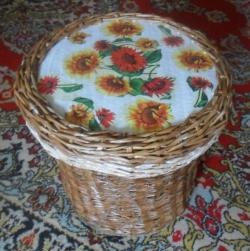
7. We put on the cover. We check stability. We rejoice at the new and favorite thing!