The idea came to me completely by accident, probably like a real artist. The shadow of a tree outside the window just fell into the empty corner of my daughter’s room, and I realized what exactly I wanted to do.
And so, to decorate the corner we will need the following materials and tools:
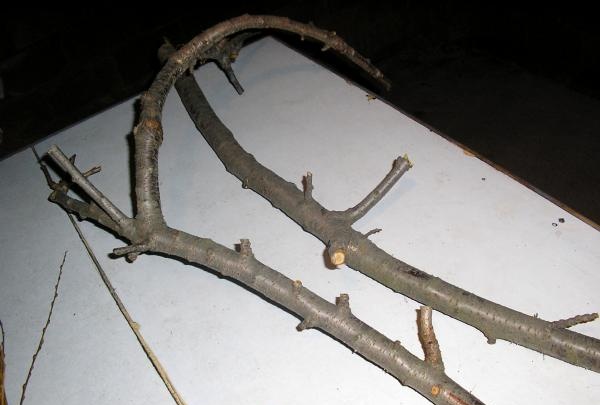
- a tree branch 3 meters long, more crooked (I have a branch from a cherry tree);
- white enamel;
- newspaper;
- printed photographs;
- corrugated cardboard;
- PVA glue;
- brushes;
- kitchen sponge;
-scissors;
- stationery knife;
- knitting needle;
- screws;
- linen twine;
- paints (I used gouache).
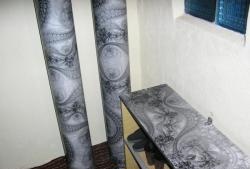
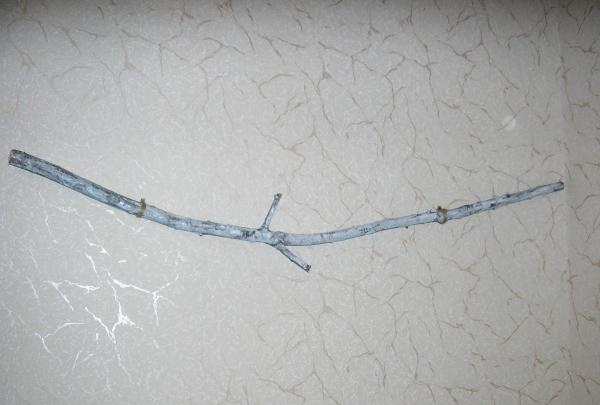
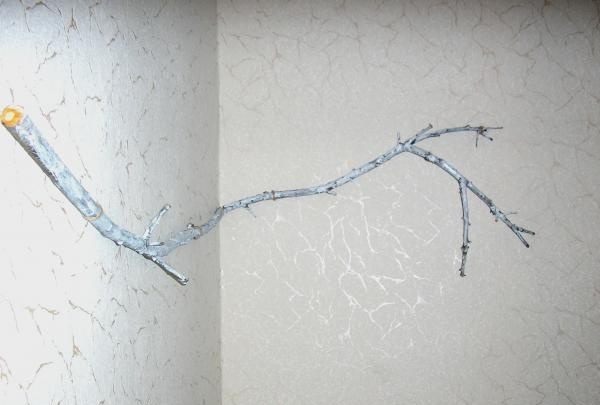
Having cut a branch from a tree, you need to saw it into two parts, so that you can then join it at the corner, then you will get the effect of transitioning from one wall to another at a right angle. Short branches should be cut off.
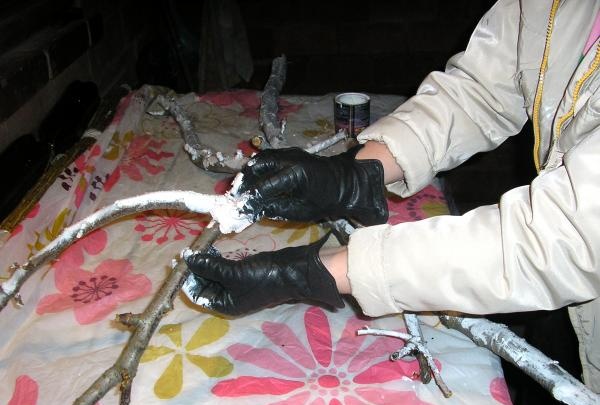
Using a kitchen sponge, we apply white paint in chaotic strokes (I have PF-115 enamel), it is not advisable to paint it completely, try to make it look like birch. Now let it dry thoroughly (the enamel takes 24 hours to dry)
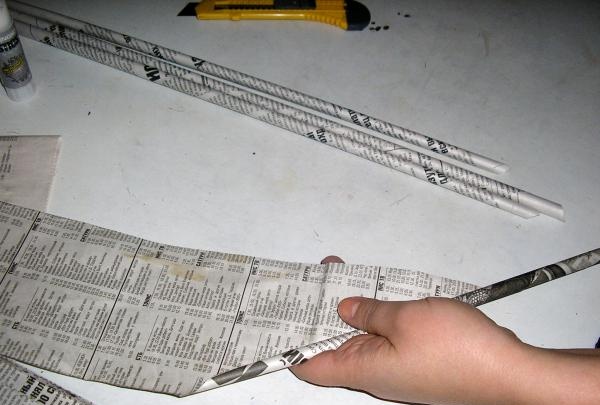
To ensure that our branch doesn’t look empty and awkward in the corner, let’s start creating framed photographs. First, we will make tubes from newspaper. To do this, cut strips of newspaper 10-12 cm wide. Apply a knitting needle to one strip, at an angle, at a degree of 450. We wrap a corner of newspaper around it and begin to twist it into a tube, holding it at the base.
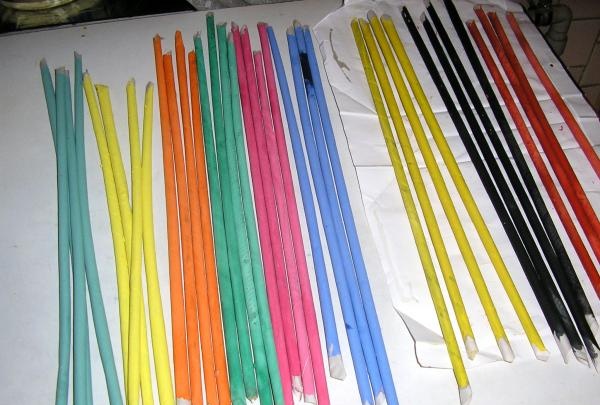
When you have twisted a sufficient number of tubes (I needed 42 tubes), you need to paint them in different colors.
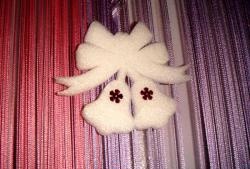
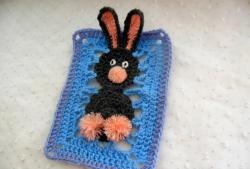
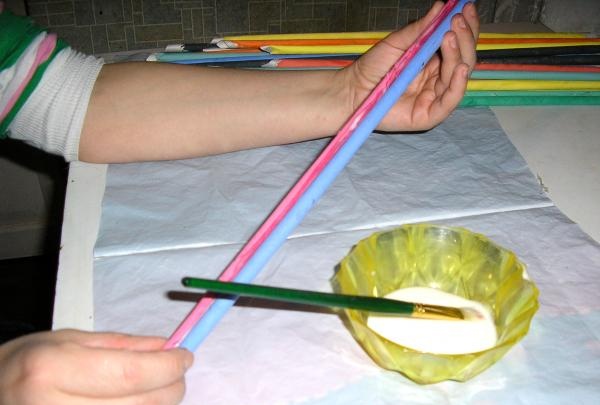
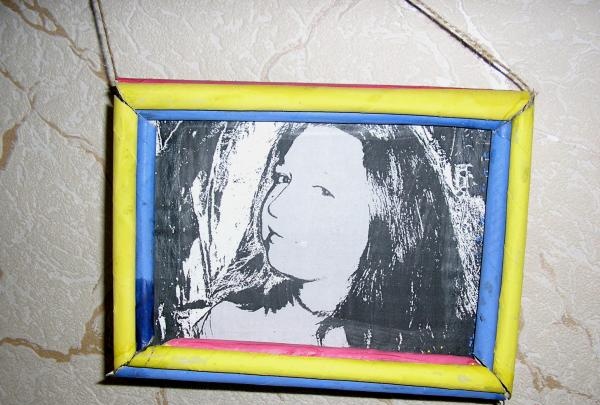
Now we make a frame for our photographs in the following way. First, using PVA glue and a brush, glue together two multi-colored tubes.
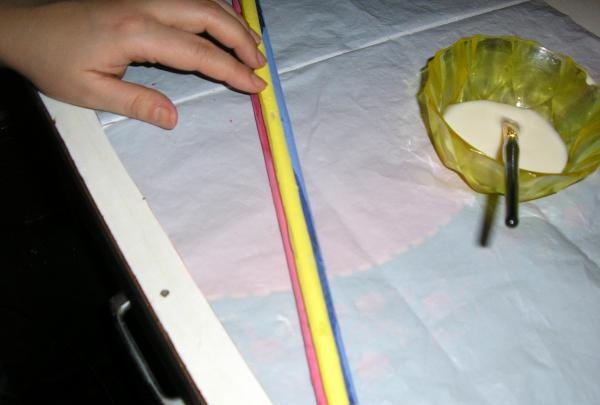
Let it dry a little and glue a third tube into the hollow on top.
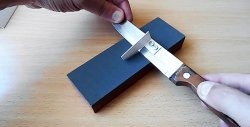
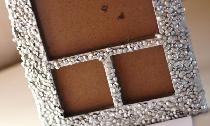
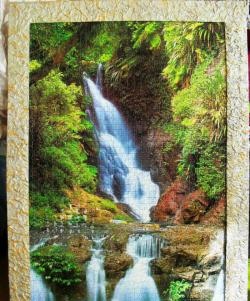
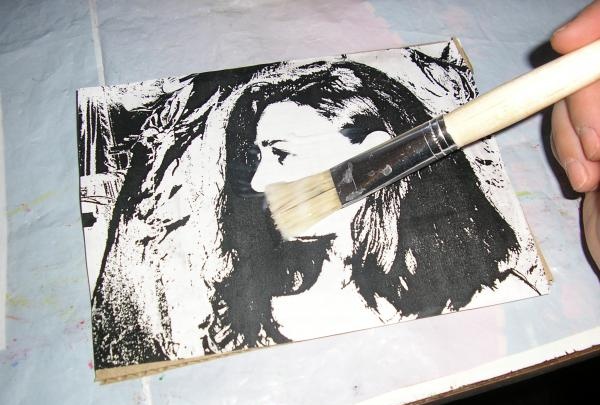
While our frames are drying, we will prepare the photographs, namely, we will paste the printouts onto corrugated cardboard.

Here we use the technique decoupage. First of all, coat the back side of the photo with glue and let it sit a little and let the paper stretch.
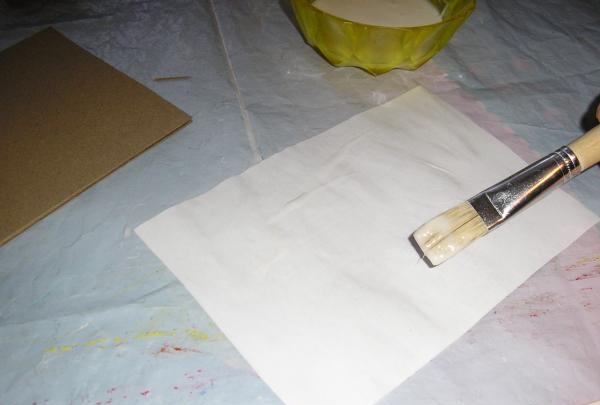
Then apply it to the cardboard, carefully smooth it out, expel all air bubbles and coat the top with glue again.
After the photos have dried, stick on the frame.
Drive two nails into the wall and tie linen twine onto them.This is our basis on which we need to attach the branch. This must be done firmly and reliably.
On the other wall, do the same manipulations and tie the second branch end-to-end, so that it turns out like this:
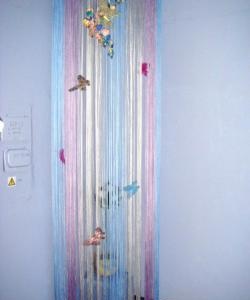
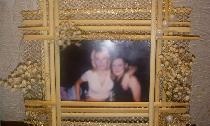
Next, we decorate the finished branch with photographs in multi-colored frames.
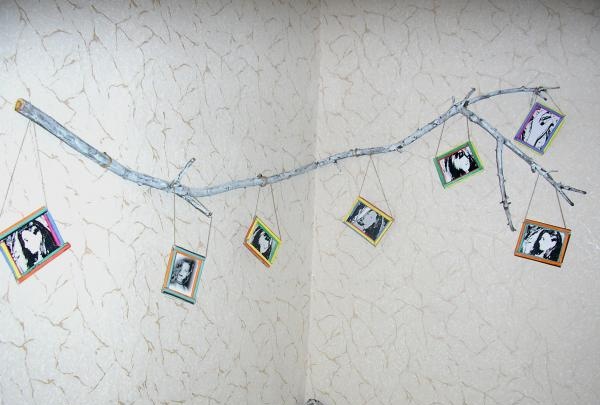
This is what happens. My daughter was very pleased, because none of her friends have such an unusual, designer wonder in their house. Of course, you can add your own touches, that's the beauty of crafting. I wish you good luck in your most daring, daring endeavors.