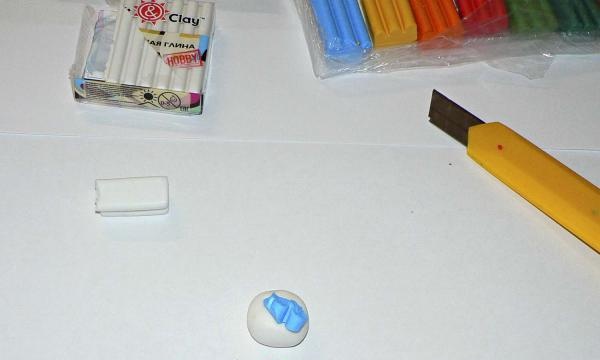
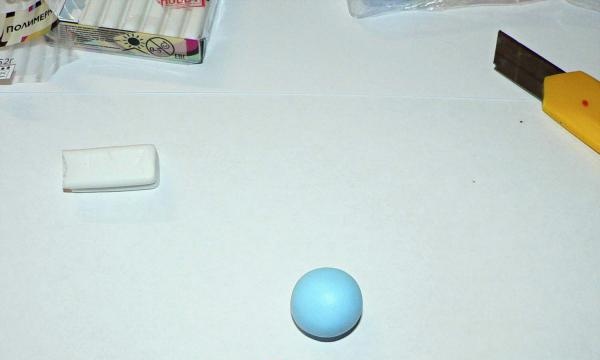
To make the souvenir “Pancakes for Maslenitsa” we will need the following materials and tools:
- polymer clay (white, blue, red and burgundy);
- stacks or wooden sticks, brushes, toothbrush;
- dry pastel (yellow and brown);
- pink liquid polymer gel;
- wire (section 0.4 mm).
- stationery knife.

The main clay in the work is white, more of it will be required.
We tear off a piece of white clay and a small piece of blue, mix the colors and get this light blue ball.
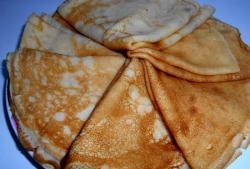
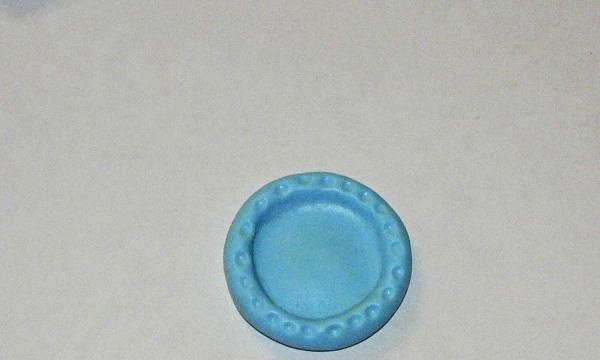
Flatten the ball and squeeze out the middle with your fingers to make a small tray for future pancakes. The diameter of the tray is about 3.5 cm. Using the tip of a brush or a stack, apply a design along the edges of the tray - just squeeze out the dots.
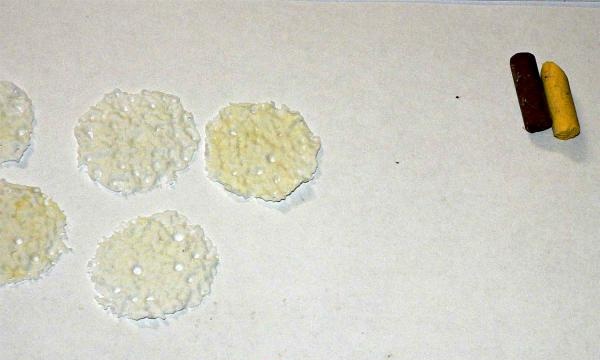
Roll out the white plastic into a sausage and cut into five equal parts.
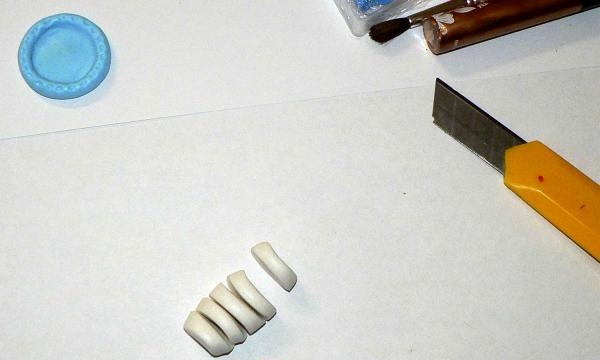
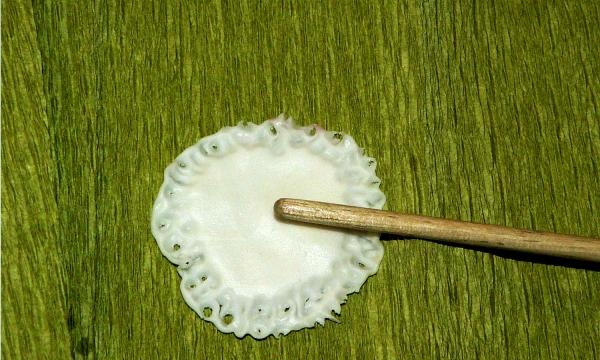
We roll each part into a cake, making sure that the cakes have approximately the same diameter (ours is 3 cm).
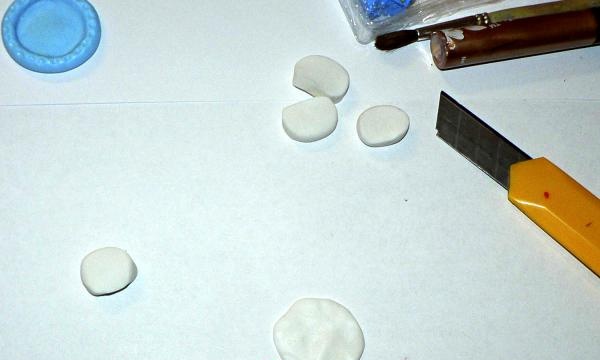
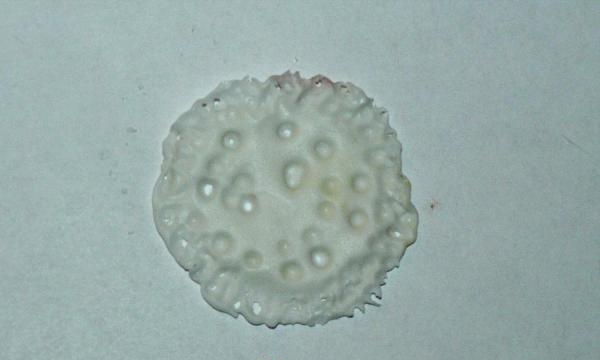
Now we take a stack with a rounded end or work with the back of a brush - we prick the “pancake” along the edges, so as to give the cake the shape of a baked pancake. Here you can use your imagination to your heart’s content, making indentations of different sizes in the plastic, simulating the “bubbling” of the dough during baking.
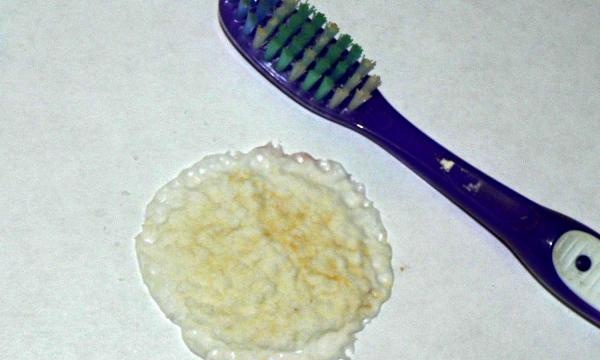
Now it’s time to work with a toothbrush - with its help we give the pancake a finely porous texture. After brushing, use the brush again, and now the textured pancake is almost ready! This way we make five pancakes.
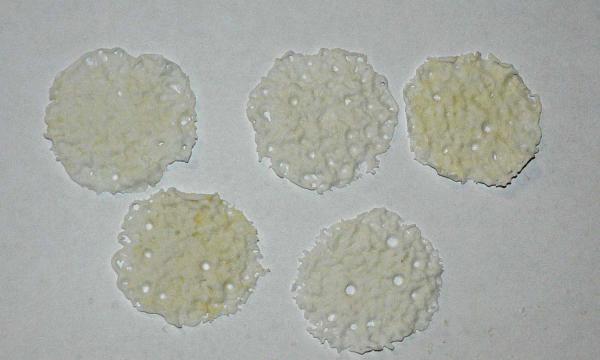
We take yellow and brown pastels and crush them, breaking them off a little, without mixing the colors.
Using a large soft brush, apply the yellow color, leaving some white here and there.
Then, using a brush with stiff bristles, we apply brown pastel not all over the pancake, but simulating “frying”.
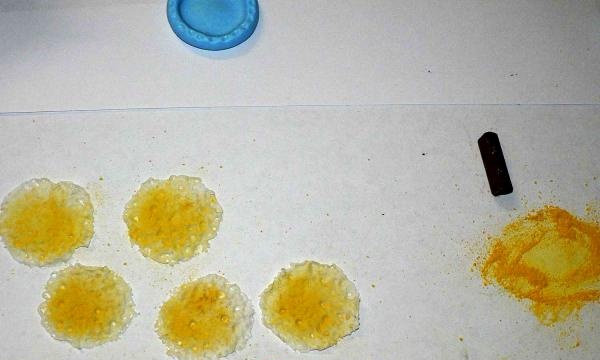
For naturalness, dip the stack in pastel and “scroll” a hole in the pancake, the edges of which will be darker.
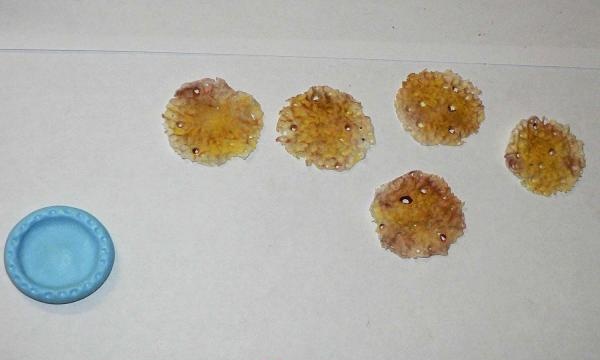
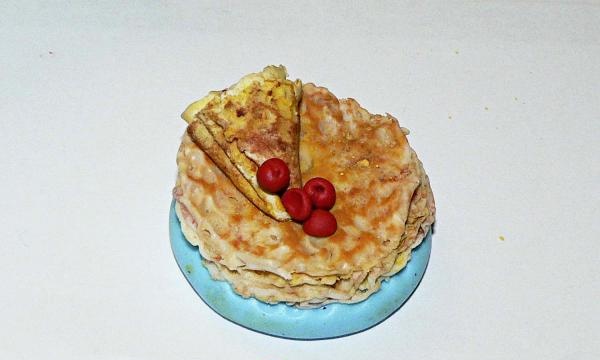
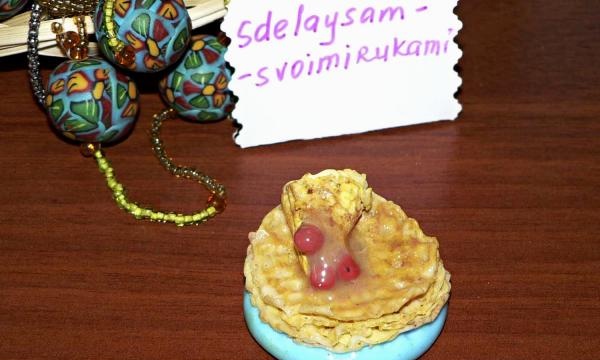
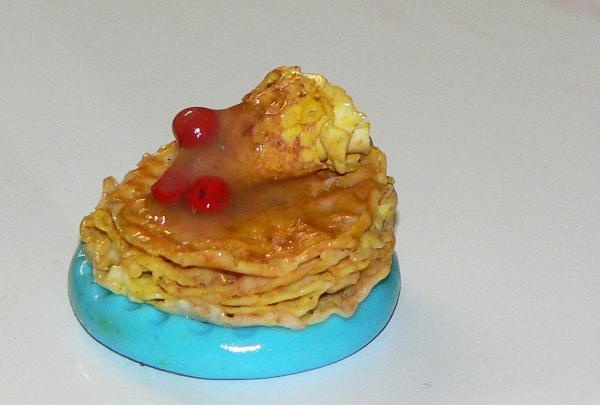
We place the colored pancakes on the tray the way we like - we have four in a stack, and the fifth on top is folded.
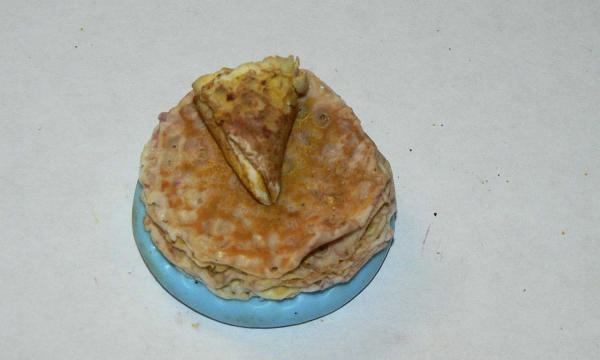
You can decorate pancakes in different ways: you can crumble white plastic, imitating cottage cheese, you can put a piece of yellow plastic and fill it with transparent gel, tinted with yellow pastel (it will look very much like melted butter). Our pancakes will be decorated with cherry jam. To do this, we mix burgundy, red and a little white plastic, and make three tiny balls.
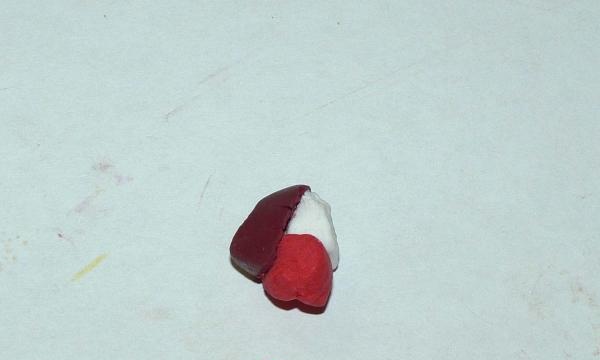
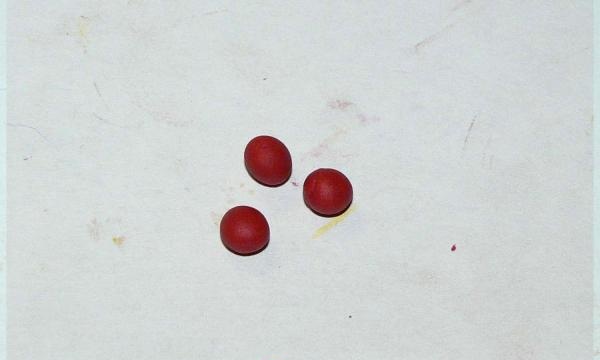
We give the balls the shape of cherries; to do this, we prick the balls on one side with a toothpick, then use the edge of the toothpick to form a furrow along the side of the ball.Cut one ball in half and squeeze out the middle - there will be two halves of a cherry.
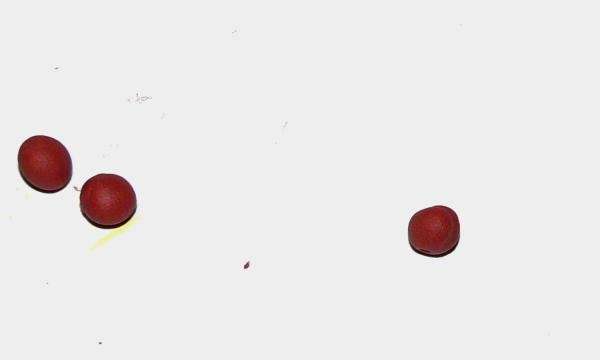
We attach the cherries to the pancakes using a thin wire.

Place the pancakes in the oven to bake. We use white Kraft Clay plastic and bake it for about 30 minutes at 200 degrees. We cool the finished product, pour it with pink polymer gel, put it in the dryer and here is the finished result that you just want to eat!