For this we need:
- Wire.
- Wire cutters.
- Fabric in brown and green colors.
- Scissors.
- Pencil.
- Cardboard.
- Glue.
- Scotch.
- Pot.
- Cement or plaster.
- Woolen threads of red and brown colors.
- Hook.
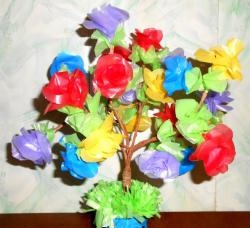
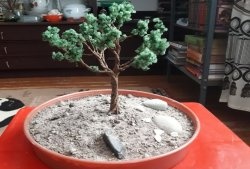
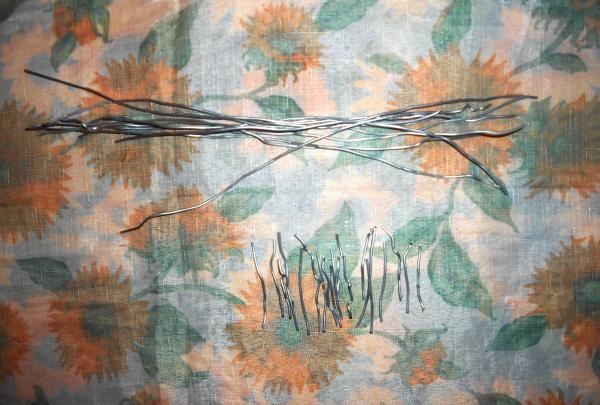
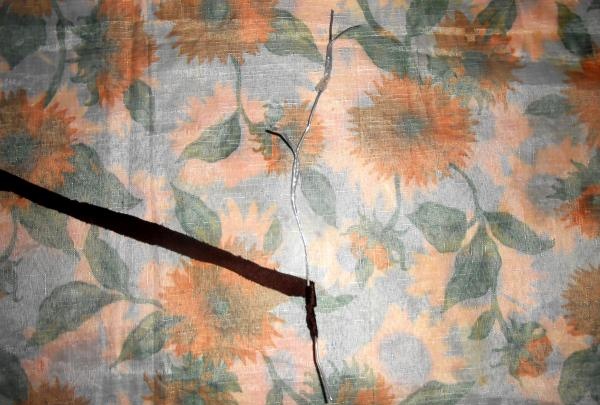
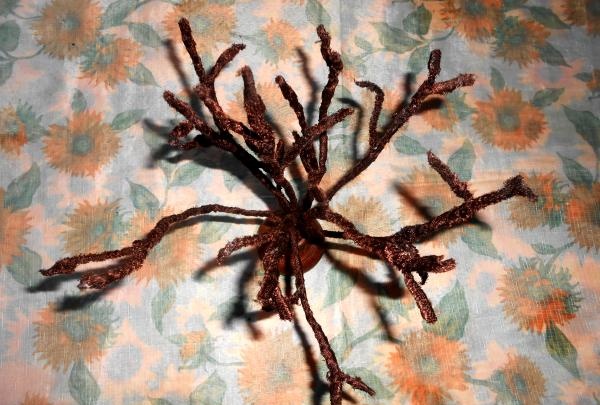
Take the wire and use wire cutters to cut off 5 pieces of 25 centimeters each and 6 pieces of 30 centimeters each. And 22 small segments of 3-5 centimeters.
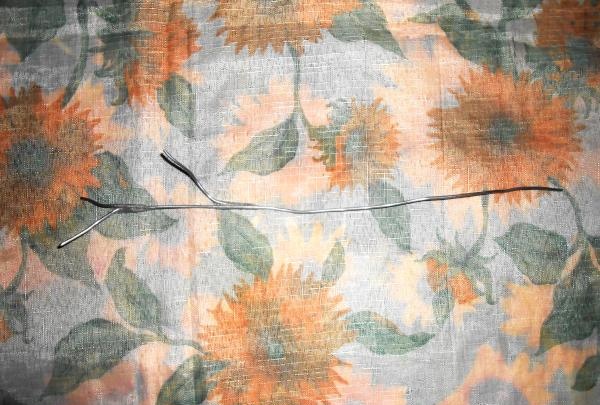
Let's take one long piece and use tape to attach two small pieces to it. These will be additional branches of the apple tree. We do this with all segments.
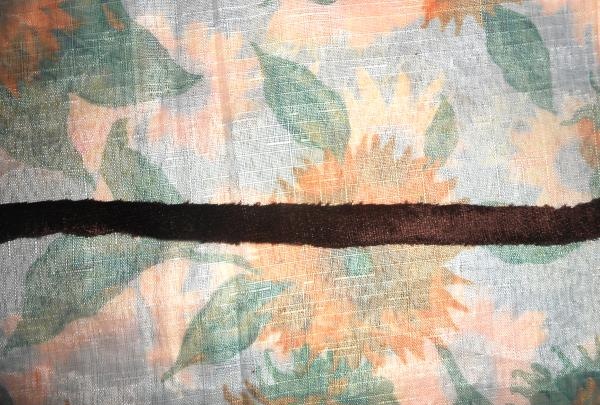
Now we need brown fabric. I took velvet. It always looks rich and elegant. We cut the fabric into strips 2 centimeters wide, as long as possible. We wrap our branches with these strips and fix the ends of the fabric with glue. At the same time, we leave the ends (3 cm) untouched.
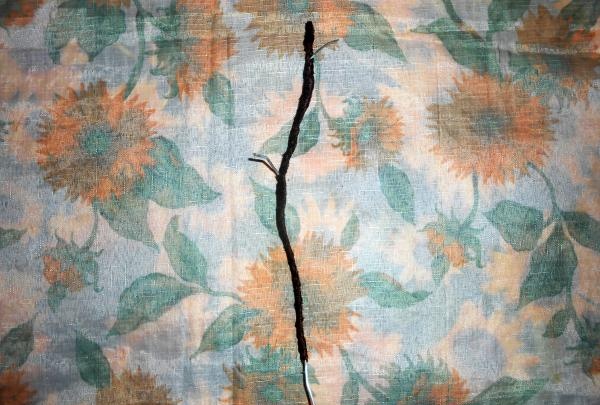
We do the same with the remaining branches.
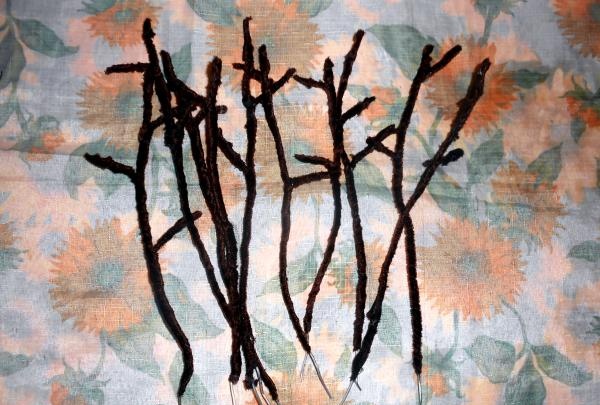
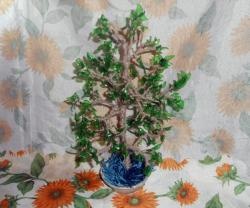
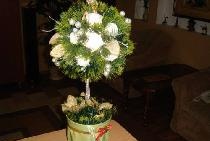
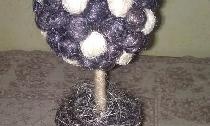
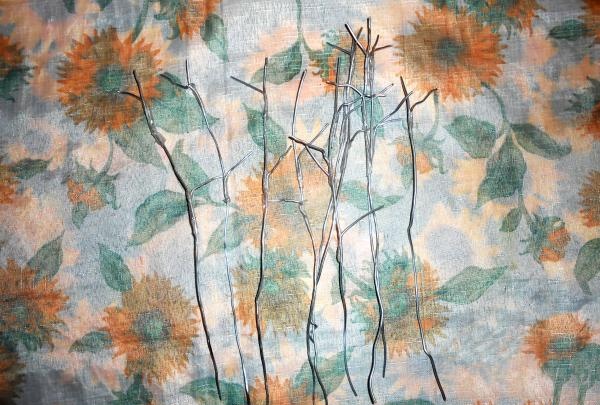
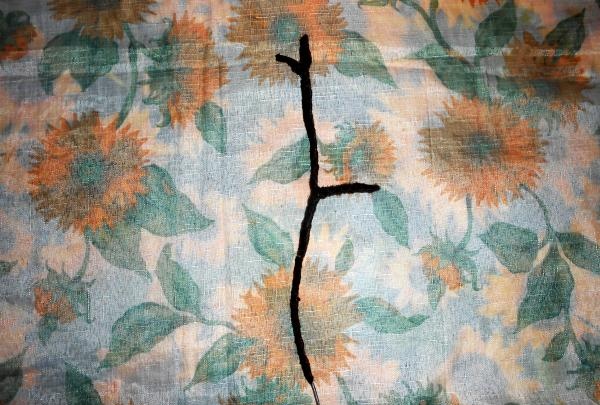
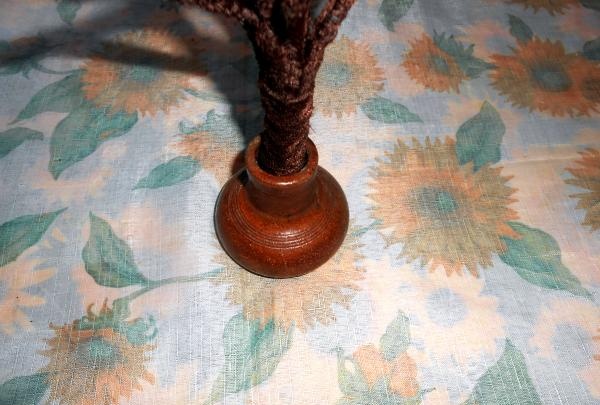
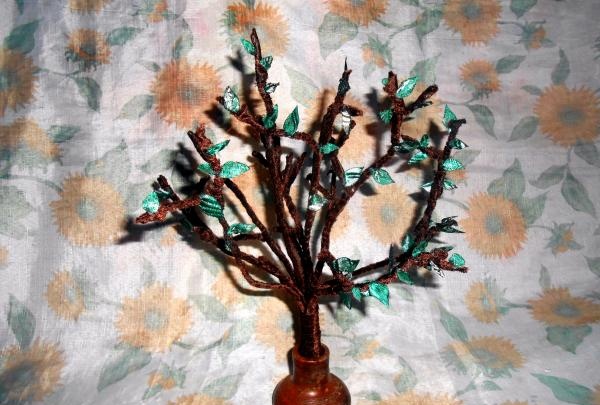
Cut another strip of fabric 3 centimeters wide. We put our branches together and wrap them tightly with a strip of fabric.Lubricate the ends with glue. The resulting tree is “planted” in a pot. Fill with gypsum or cement solution.
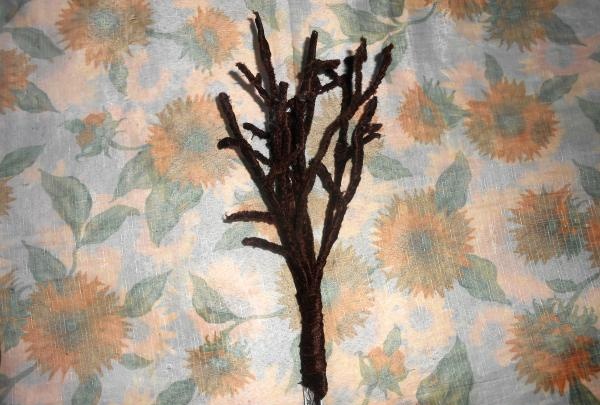
Now we straighten the branches.
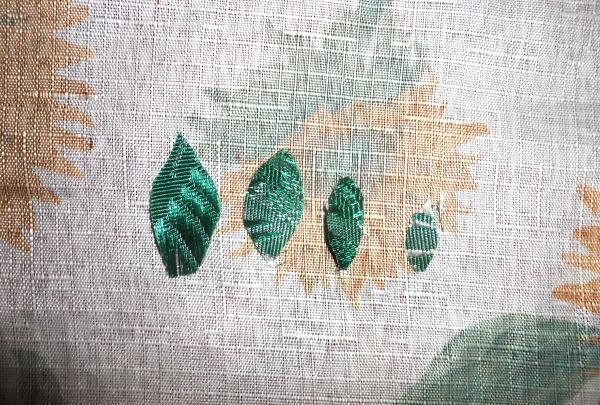
Now let’s take green fabric, maybe with a pattern, it’ll be even more interesting. Let's cut out leaves of different sizes from it. To prevent the material from spreading, carefully burn the edges with a lighter. Just don't bring the fabric close to the fire, as it will melt easily.
Glue the leaves to the branches.
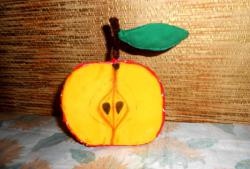
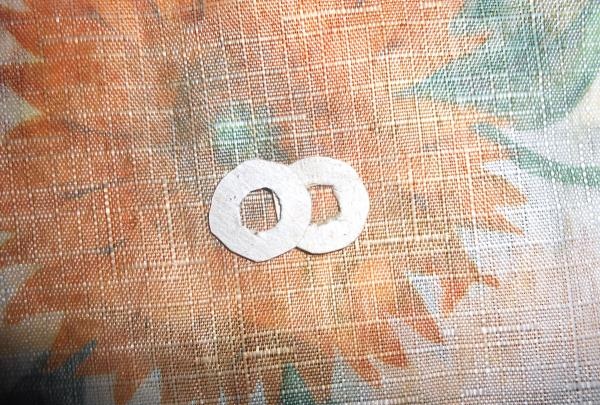
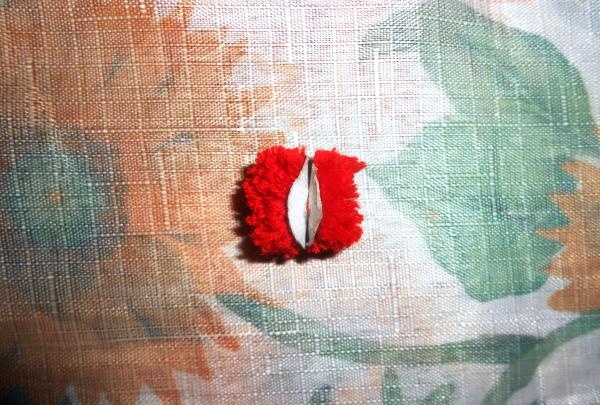
The tree is almost ready, all that remains is to make the apples. Let's take cardboard and draw a circle on it with a diameter of 1.5 centimeters. In it we will draw a circle of smaller diameter. There should be two such blanks.
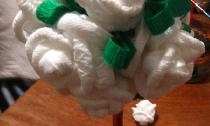
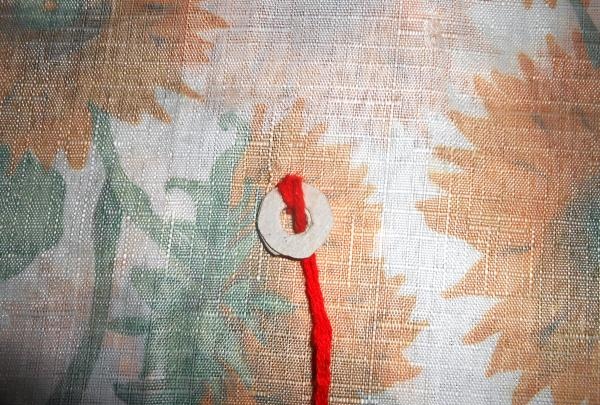
We put two blanks together. We take red woolen threads and use a hook to wind them around the resulting ring. We wrap until the hole disappears inside the ring.
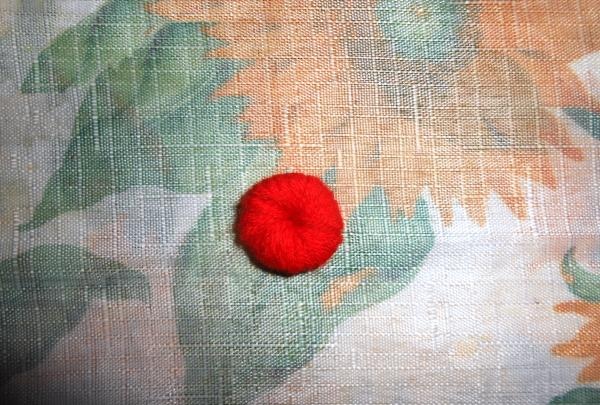
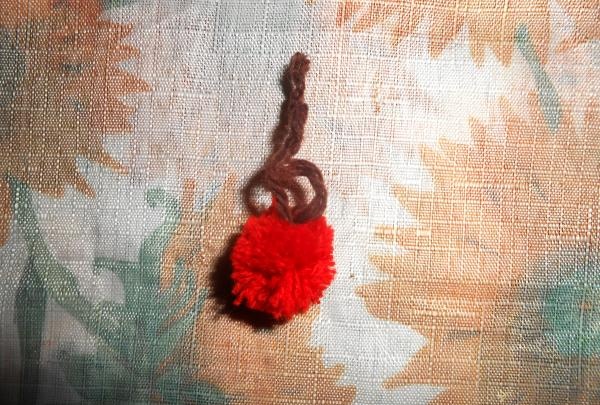
We cut the ring in a circle, push the cardboard disks apart and use a brown woolen thread to tighten our pompom. We remove the disks. The brown thread needs to be tied to form a loop.
Cut out two leaves from green fabric and glue them to the apple.
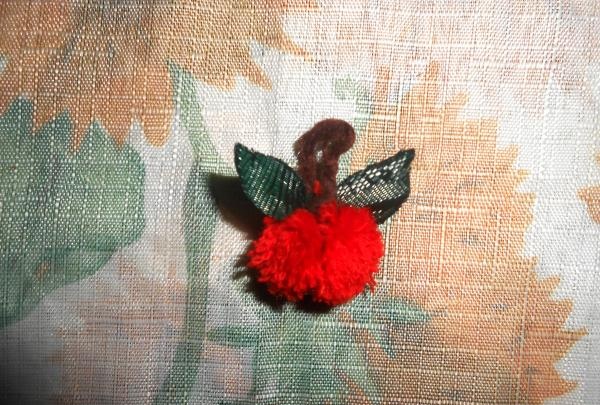
You need to make as many of these apples as you want. I made 15 pieces. We hang our apples on the tree. Decorate the pot as you wish. So our decorative vase is ready.
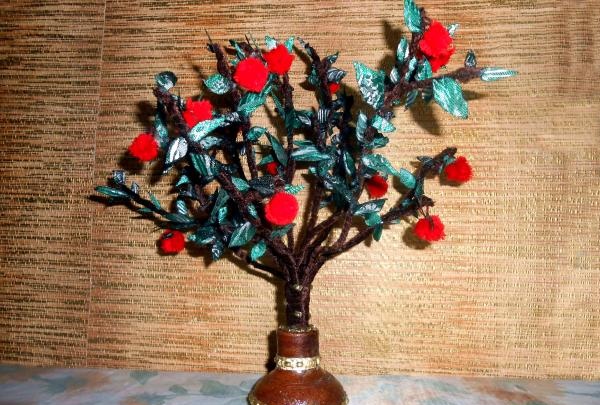
In fact, it was not in vain that we hung the apples by the loops instead of gluing them. Your tree can change at least every day. It can be with or without apples, or you can hang flowers on it. It all depends only on your imagination and mood. Goodbye.