We will need:
- a white plate (I have a usual earthenware dish),
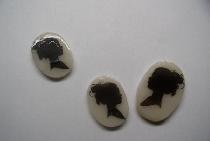
- a picture printed on a printer (color or black and white),
- paints (I used gouache and pearlescent paints),
- eggshell,
- PVA glue,
- acrylic lacquer,
- scissors
- brushes.
We clean the plate from dust and plaque, degrease.

We paste a picture on the middle of the plate. We apply the technique "decoupage”, Namely: we smear the picture on the back with glue, let it brew for 3-2 minutes, so that the paper stretches. Glue to the plate, gently smooth, so that there are no air bubbles and wrinkles. Above we apply a layer of PVA glue abundantly.

Let’s dry. Now, around the picture with red gouache, make a background.

Paint over the edge with black paint. I got brown because I did not wait for the red layer to dry, but this did not spoil the final result.

The next step will be the craquelure technique. We break the prepared egg shells (painted black and dried) into pieces of different sizes and glue with PVA glue around the entire perimeter of the plate, except for the picture.

To strengthen, you can apply a layer of glue on top. Let it dry thoroughly. Apply pink pearlescent paint from the drawing to the edge of about 2.3 cm

We apply black paint, on the contrary, from the edge to the drawing also by 2.3 cm.

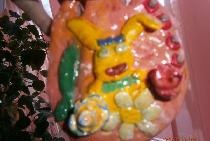
After drying, varnish with acrylic varnish.

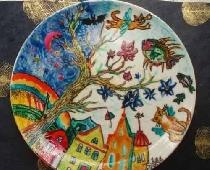
We let it dry and we get such beauty.

There are many variations. I think your imagination will help to create unique masterpieces, and you can always surprise others with your talent. Good luck