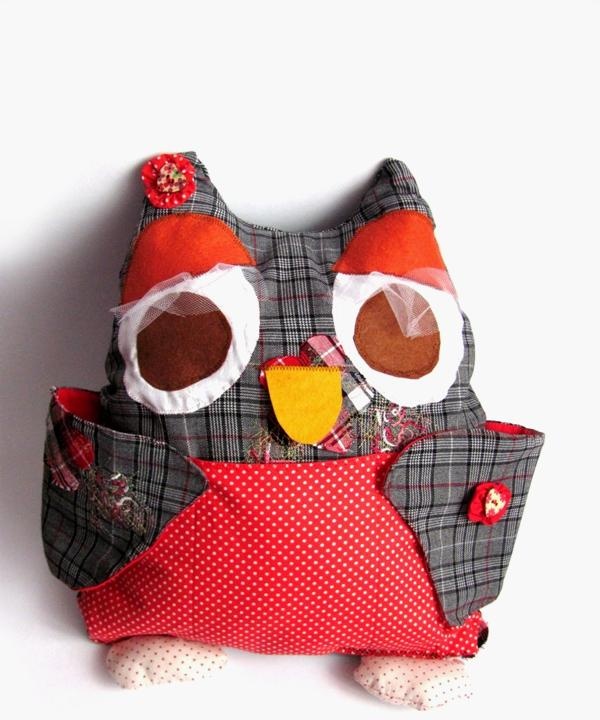
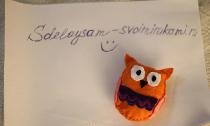
Owl pillow with pocket
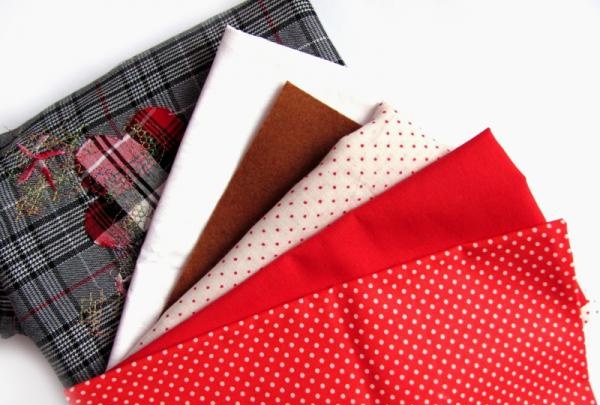
A bright, soft and functional owl pillow will surely please your child, because you can play with it, sleep with it and even use it to store your phone, remote control or pencils. To sew such a pillow you will need three types of cotton, matching in color and design, non-woven fabric, padding polyester or holofiber, felt, wooden buttons, as well as scissors, a pencil, a ruler and a sewing machine.
Print out the owl pattern in two copies on an A3 sheet.
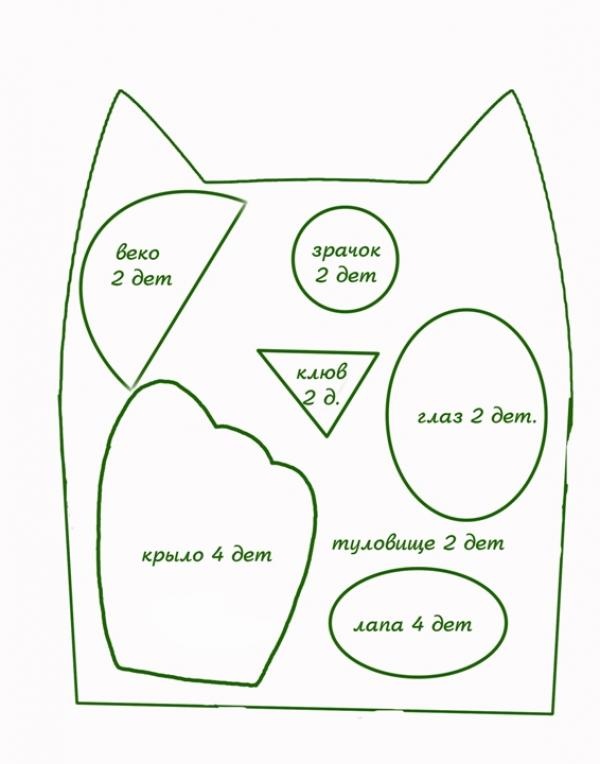
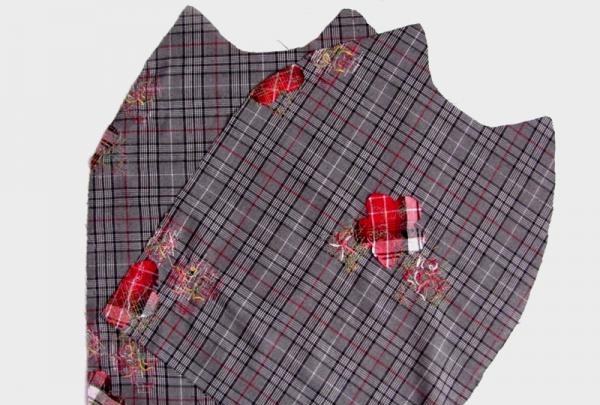
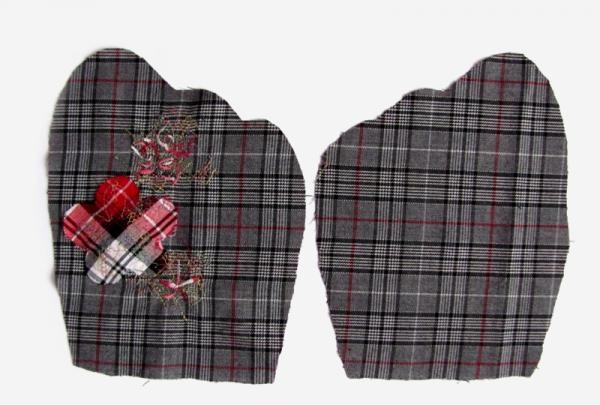
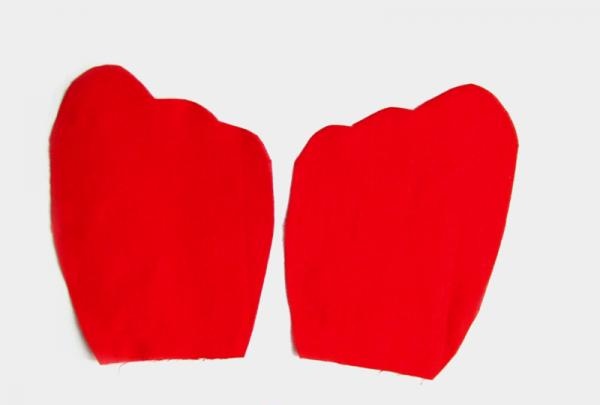
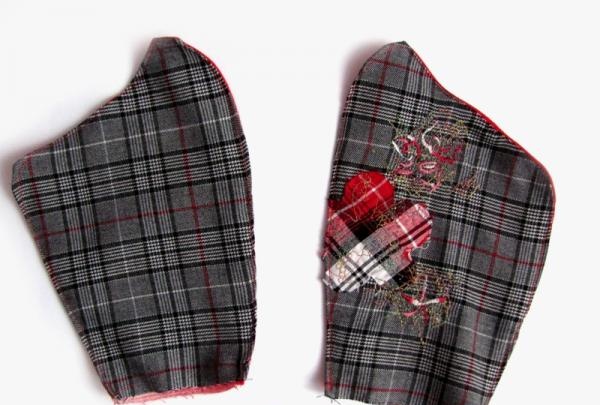
Cut out all the pattern pieces from the fabric according to the designations. In this case, cut out the parts of the body from checkered fabric.
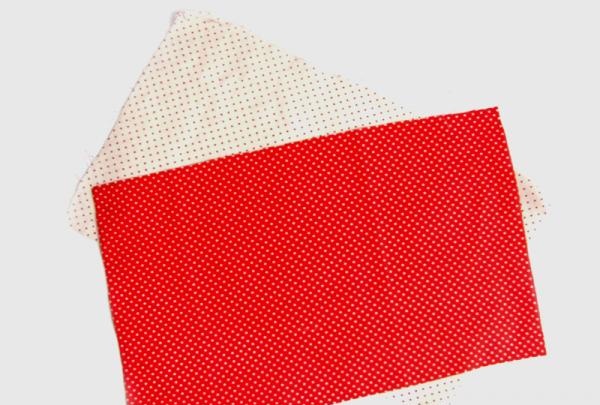
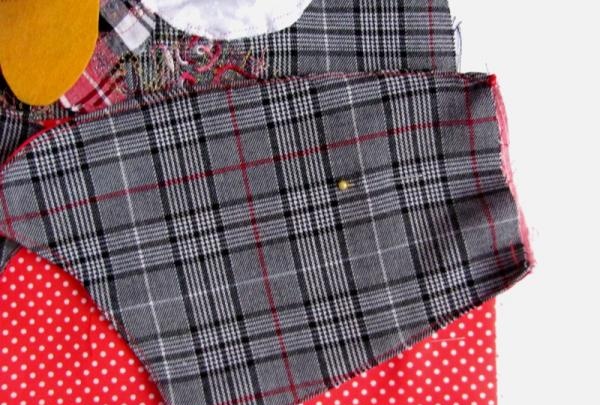
Cut out the details of the wings from red and checkered cotton, and cut out the details of the pockets from white and red fabric with small polka dots.
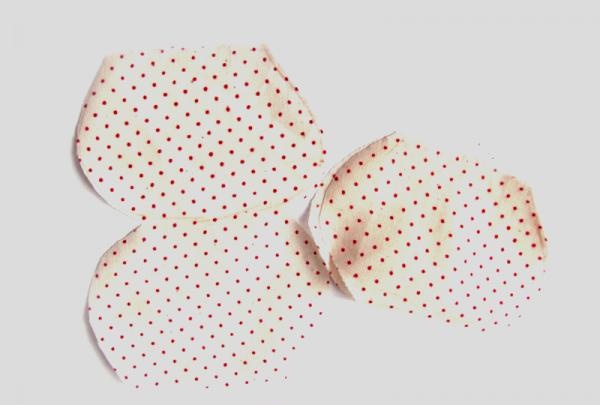
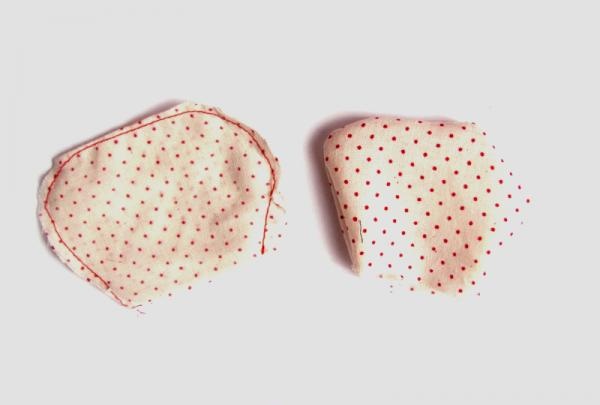
Cut out the paw pieces from the red polka dot fabric.
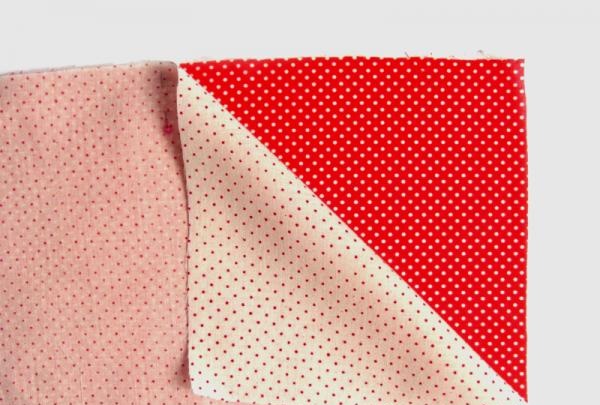
Cut out the eyes and beak from felt. Reinforce all cotton parts on the wrong side with non-woven fabric.

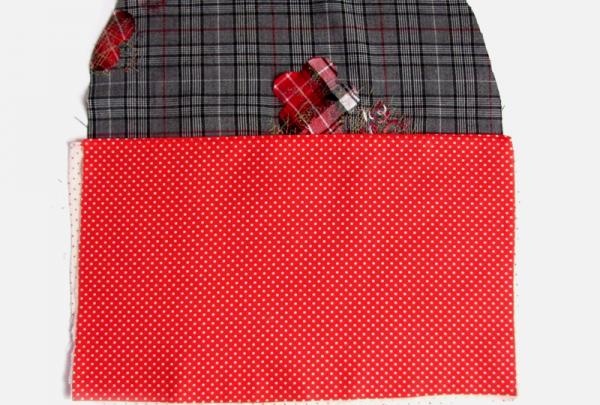
This step can be neglected if thick fabric is used. Prepare your pocket. To do this, fold both of its parts with the pattern inward and lay a straight line along one of the long sides.
Turn the piece inside out and iron it, and then re-stitch the decorative stitch.
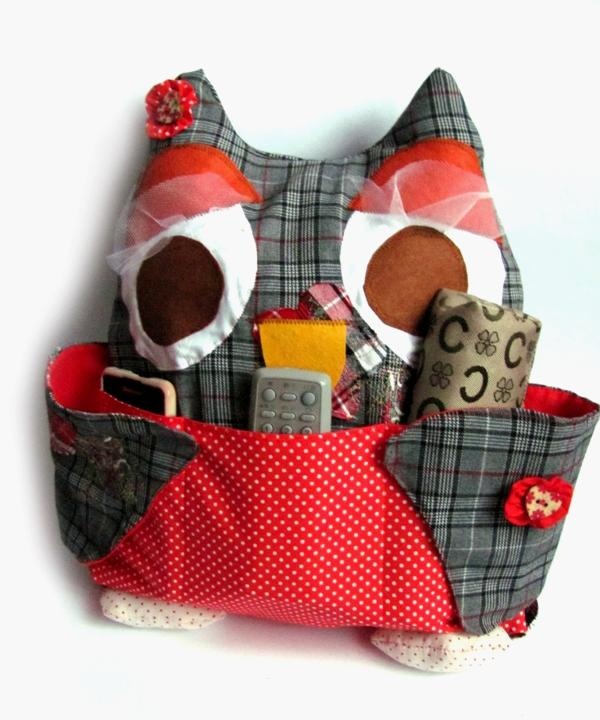
Place one of the body parts on the work surface, wrong side down. Place a pocket on it.
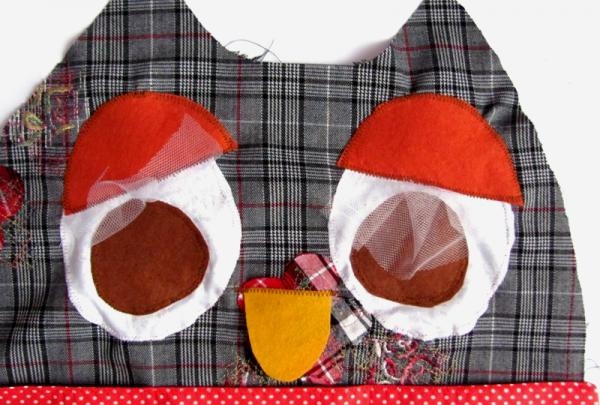
At intervals of 7-10 cm, lay straight lines perpendicular to the fold lines, thereby connecting the pocket with the body part and creating dividers for the remote control and phone. Using a zig-zag stitch, sew on the eyes, eyelids and beak of the owl.
Now take the wing parts. Lay them out on the work surface with the pattern facing inward, place the ironed padding polyester on top and lay a straight line around the perimeter of the wing, excluding only its base.
Cut off the excess Snitpon along the stitching, turn it inside out and iron the wing. Now, to fix the padding polyester and give the wing additional rigidity, lay a straight or decorative stitch along the perimeter of the wing, departing 3 millimeters from the fold line.
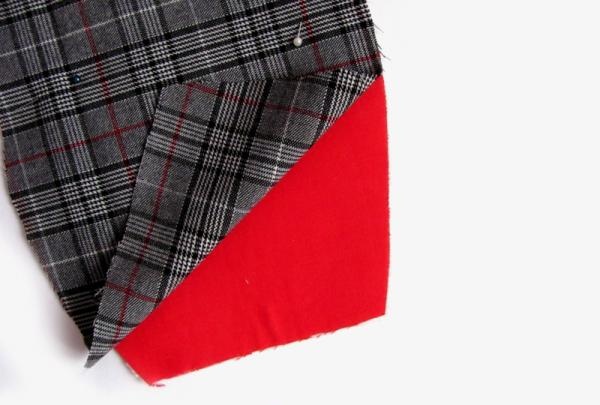
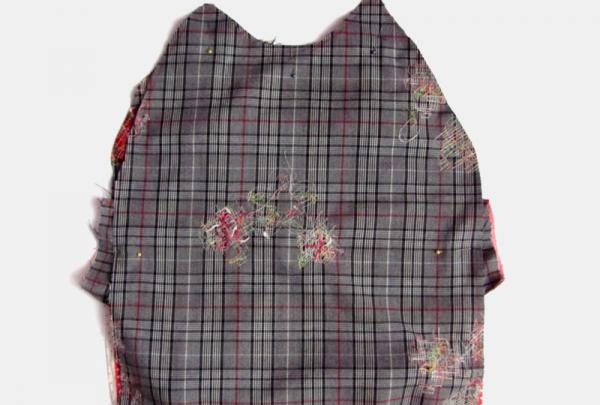
Assemble the second wing in the same way. Secure the wings to the main piece with tailor's pins.
Place the parts of the legs with their right sides facing each other, lay a straight stitch along their perimeter, leaving a 5 cm wide hole for turning inside out.
Turn out and iron the legs, and then stuff them with padding polyester and baste them to the main part.

Cover the product with the second part of the body and lay a straight stitch around the perimeter, leaving a hole between the legs for turning.
Turn out and steam the workpiece. All that remains is to stuff the owl with padding polyester and close the hole with a hidden seam. Your DIY owl pillow is ready!
Print out the owl pattern in two copies on an A3 sheet.
Cut out all the pattern pieces from the fabric according to the designations. In this case, cut out the parts of the body from checkered fabric.
Cut out the details of the wings from red and checkered cotton, and cut out the details of the pockets from white and red fabric with small polka dots.
Cut out the paw pieces from the red polka dot fabric.
Cut out the eyes and beak from felt. Reinforce all cotton parts on the wrong side with non-woven fabric.
This step can be neglected if thick fabric is used. Prepare your pocket. To do this, fold both of its parts with the pattern inward and lay a straight line along one of the long sides.
Turn the piece inside out and iron it, and then re-stitch the decorative stitch.
Place one of the body parts on the work surface, wrong side down. Place a pocket on it.
At intervals of 7-10 cm, lay straight lines perpendicular to the fold lines, thereby connecting the pocket with the body part and creating dividers for the remote control and phone. Using a zig-zag stitch, sew on the eyes, eyelids and beak of the owl.
Now take the wing parts. Lay them out on the work surface with the pattern facing inward, place the ironed padding polyester on top and lay a straight line around the perimeter of the wing, excluding only its base.
Cut off the excess Snitpon along the stitching, turn it inside out and iron the wing. Now, to fix the padding polyester and give the wing additional rigidity, lay a straight or decorative stitch along the perimeter of the wing, departing 3 millimeters from the fold line.
Assemble the second wing in the same way. Secure the wings to the main piece with tailor's pins.
Place the parts of the legs with their right sides facing each other, lay a straight stitch along their perimeter, leaving a 5 cm wide hole for turning inside out.
Turn out and iron the legs, and then stuff them with padding polyester and baste them to the main part.
Cover the product with the second part of the body and lay a straight stitch around the perimeter, leaving a hole between the legs for turning.
Turn out and steam the workpiece. All that remains is to stuff the owl with padding polyester and close the hole with a hidden seam. Your DIY owl pillow is ready!
Similar master classes


Particularly interesting
Comments (1)
