Do it yourself
Life hacks, master classes, useful tips, recipes.
home » Handicraft techniques » Modeling » Polymer clay master class » Electric guitar made of polymer clay
Materials and tools: cut out outline of an electric guitar from paper, polymer clay (blue, black and silver), a knife special for plastic or stationery, toothpicks, pins with balls at the end (12 pieces), varnish for plastic.

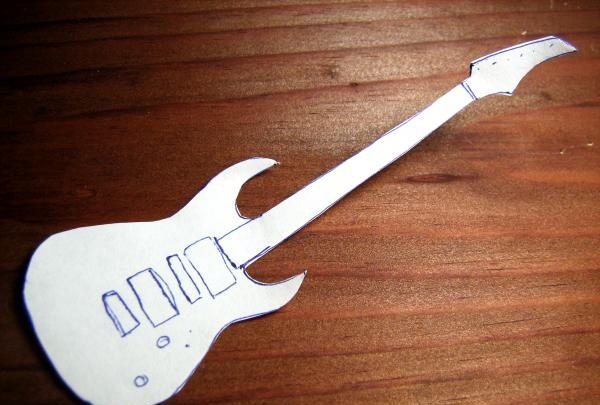
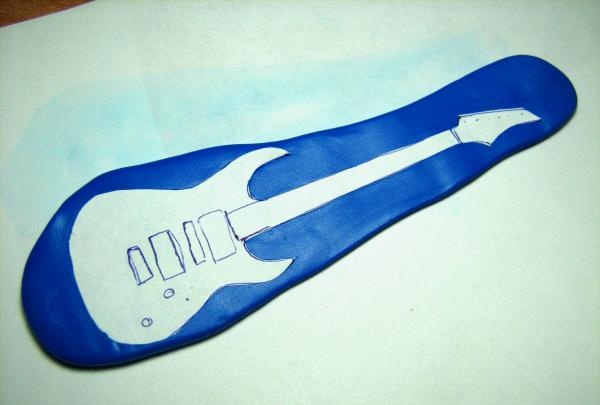
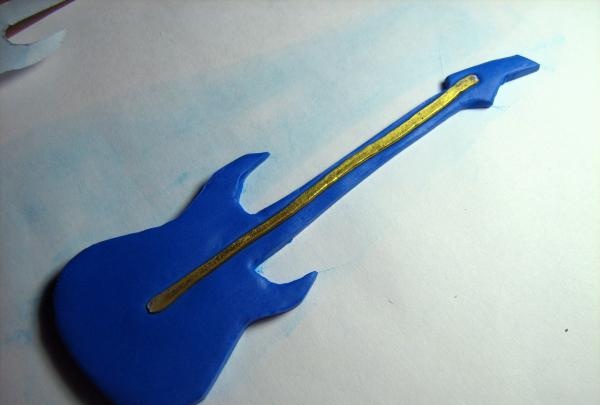
1. Cut out the outline of the electric guitar. This master class uses the blue ROCKDALE RS-95 STBL model as a basis. Roll out a layer of blue clay 3-4 millimeters thick and attach an outline to it. Use a knife to cut out the silhouette of the guitar. Remove the outline.

polymer clay electric guitar

polymer clay electric guitar

polymer clay electric guitar


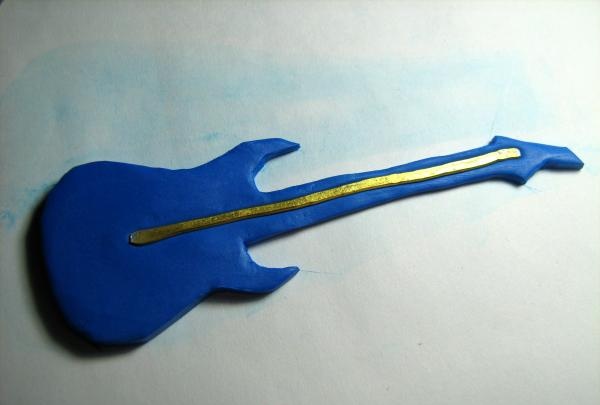
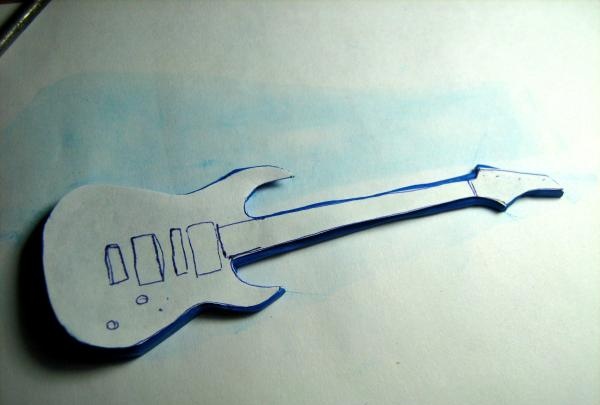
2. Take the wire and tap it with a hammer until it becomes flat. This will make the wire stronger. Place a piece of wire along the neck of the guitar and press it down. Reattach the outline to the clay and trim off any overhanging edges. Bake the guitar in an air fryer.

polymer clay electric guitar

polymer clay electric guitar

polymer clay electric guitar


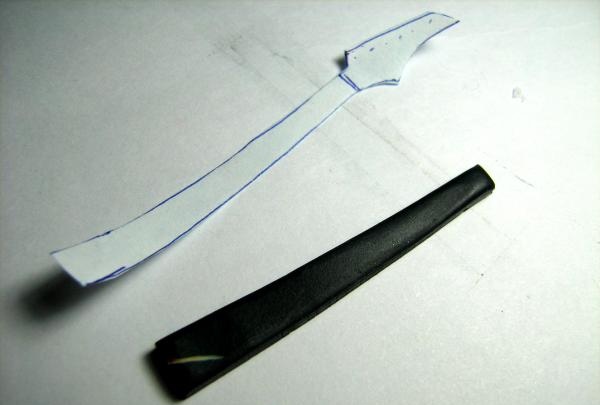
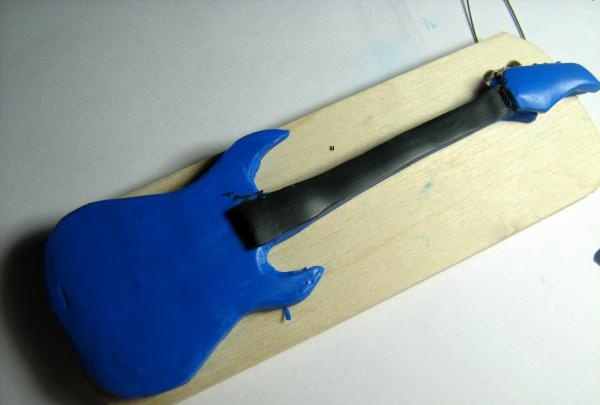
3. Wait until the workpiece cools down. Cut out the body of the guitar and stick it on top. To avoid crushing anything with your fingers, you can bake the future product again. Then cut out the guitar neck from black plastic and glue it on.

polymer clay electric guitar

polymer clay electric guitar

polymer clay electric guitar


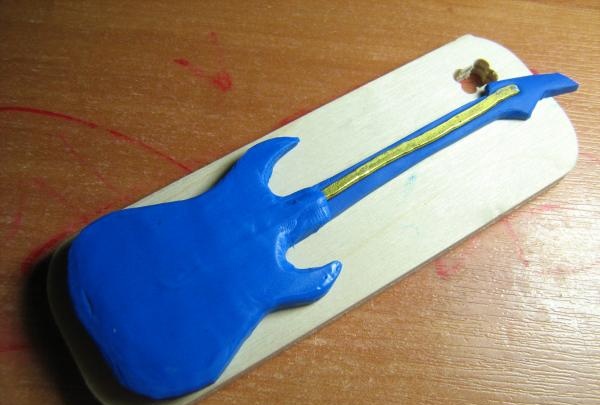
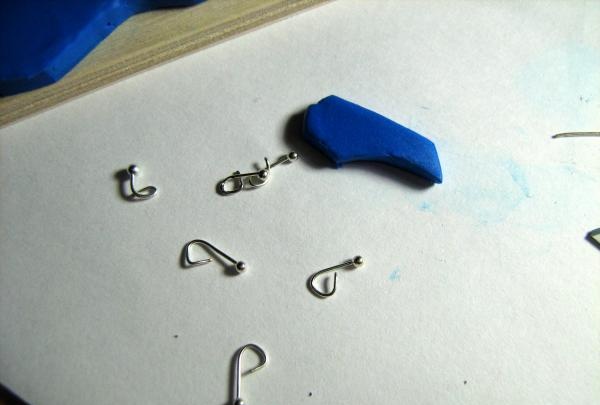
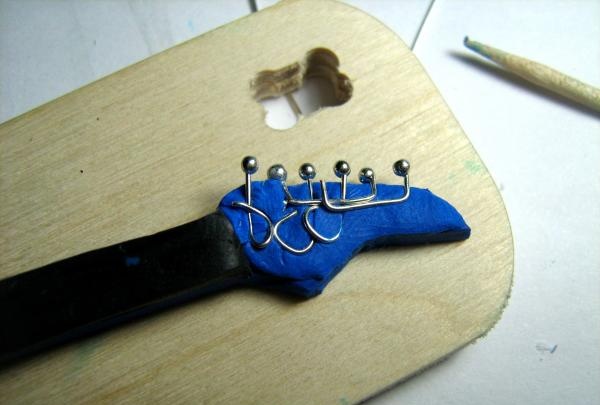
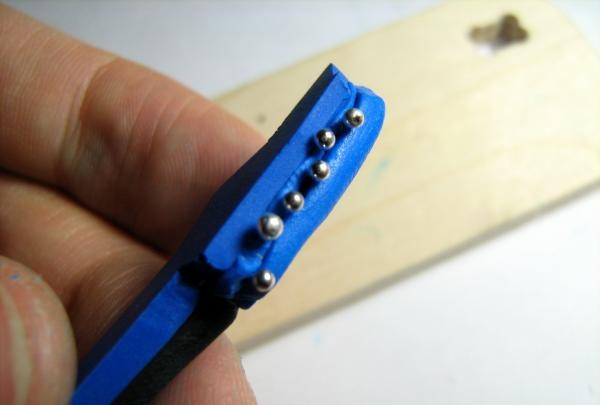
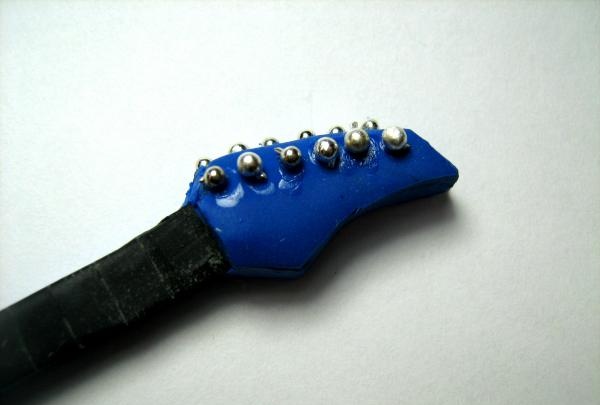
4. After the neck, proceed to the head. First apply a thin layer of blue plastic.Take the pins with the ball on the end and bend them at the end so that after baking the pins will not fly out of the guitar. These will be the pegs. Stick the pegs to the headstock. Again, cut out the silhouette of a head from a layer of blue clay and stick it to the electric guitar so that the pegs do not move. Press gently and smooth out any uneven edges. For the convenience of further work, the guitar can be baked again.

polymer clay electric guitar

polymer clay electric guitar

polymer clay electric guitar

polymer clay electric guitar


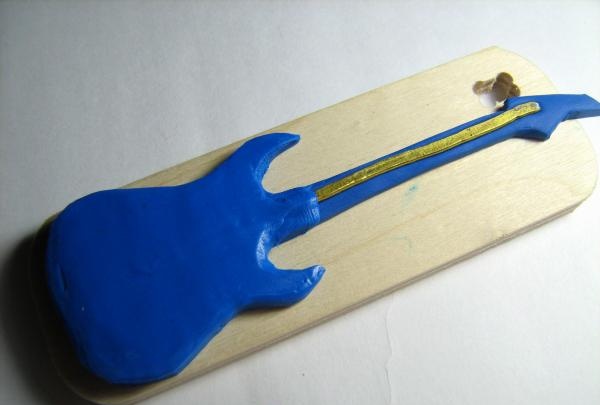
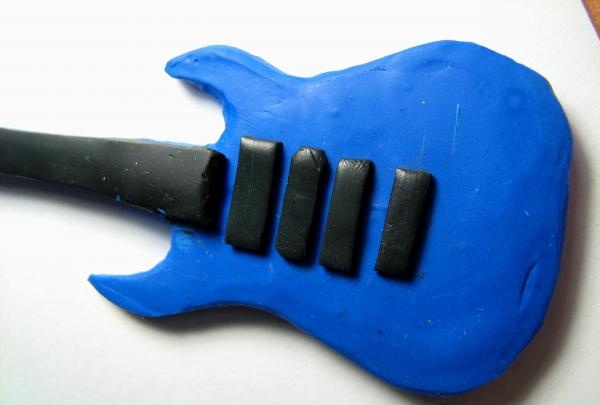
4. Cut out the pickups and bridge from a thin layer of black plastic. Stick all the parts to the body of the guitar. Bake again!

polymer clay electric guitar

polymer clay electric guitar

polymer clay electric guitar


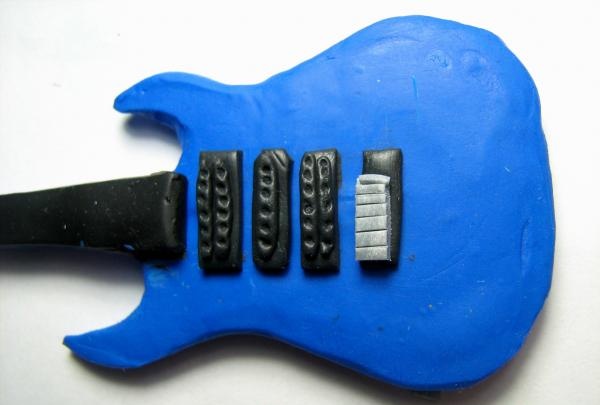
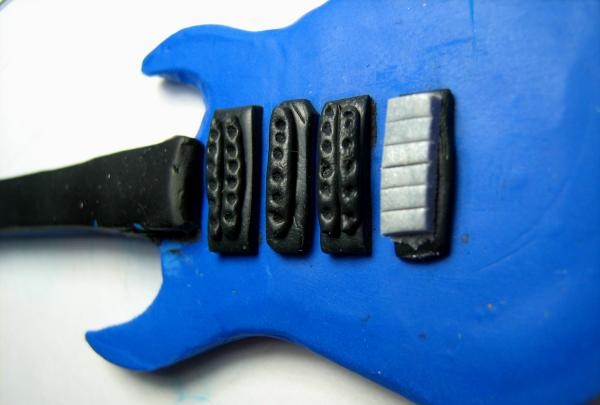
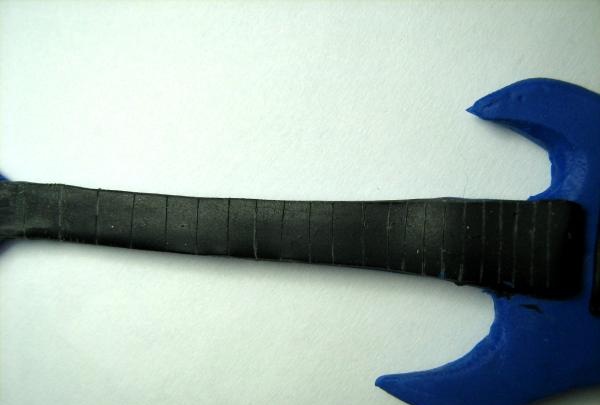
5. Use a knife to mark the frets on the fingerboard. Make string holders from pin balls (can be replaced with microbeads). Glue them on with glue. Large black beads can be used as a tone and volume control.

polymer clay electric guitar

polymer clay electric guitar

polymer clay electric guitar


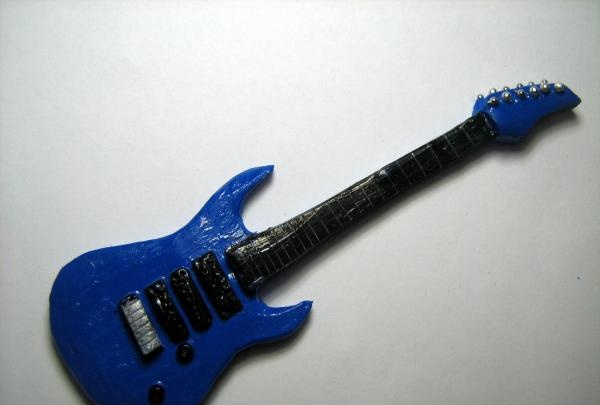
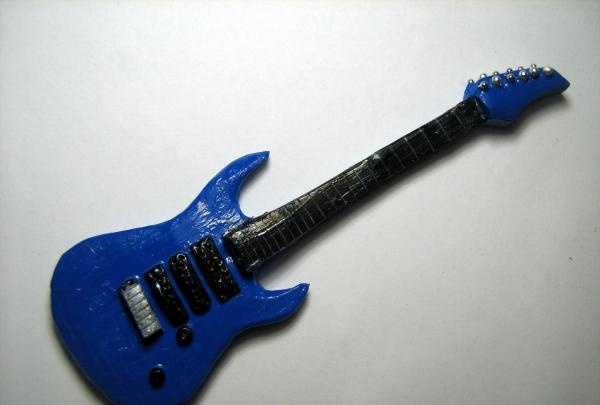
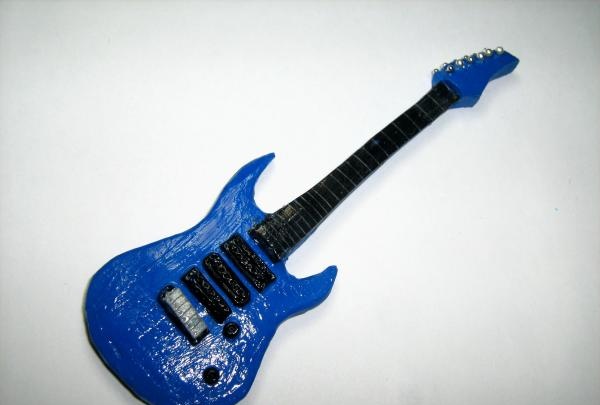
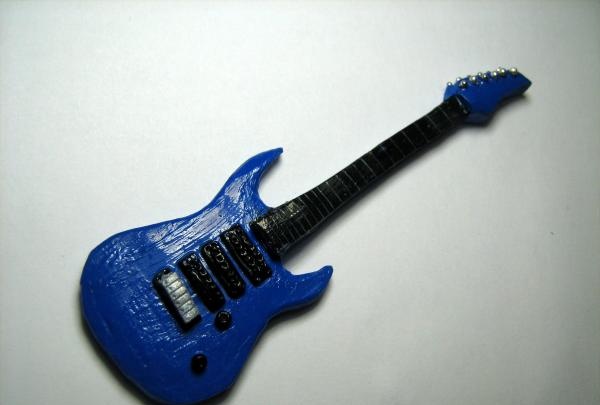
6. Coat the electric guitar with varnish. Ready! You can make a keychain, brooch or refrigerator magnet out of it.

polymer clay electric guitar

polymer clay electric guitar

polymer clay electric guitar

polymer clay electric guitar
come back
Comment
  • bowtiesmilelaughingblushsmileyrelaxed relaxedsmirk
    heart_eyeskissing_heartkissing_closed_eyesflushedrelievedsatisfiedgrin
    winkstuck_out_tongue_winking_eyestuck_out_tongue_closed_eyesgrinningkissingstuck_out_tonguesleeping
    worriedfrowninganguishedopen_mouthgrimacingconfusedhushed
    expressionlessunamusedsweat_smilesweatdisappointed_relievedwearypassive
    disappointedconfoundedfearfulcold_sweatperseverecrysob
    joyastonishedscreamtired_faceangryragetriumph
    sleepyyummasksunglassesdizzy_faceimpsmiling_imp
    neutral_faceno_mouthinnocent
5+two=
Comments (0)

Album - notebook for a boy for the first year of life | Do it yourself

How to make a garden auger out of junk with your own hands

Do-it-yourself installation of drywall to the wall

Metal crafts | Page 8 | Do it yourself

«Do it yourself - with your own hands» - a site of interesting homemade products made from scrap materials and items at home. Step-by-step master classes with photos and descriptions, technologies, life hacks - everything a real master or just a craftsman needs for needlework. Crafts of any complexity, a large selection of directions and ideas for creativity.

We recommend reading

Washing machine error codes