- Wire (aluminum).
- Wire cutters.
- Newspaper.
- Glue stick.
- Scissors.
- Paint, brush.
- Pot.
- Gypsum or cement.
- Multi-colored polyethylene bags.
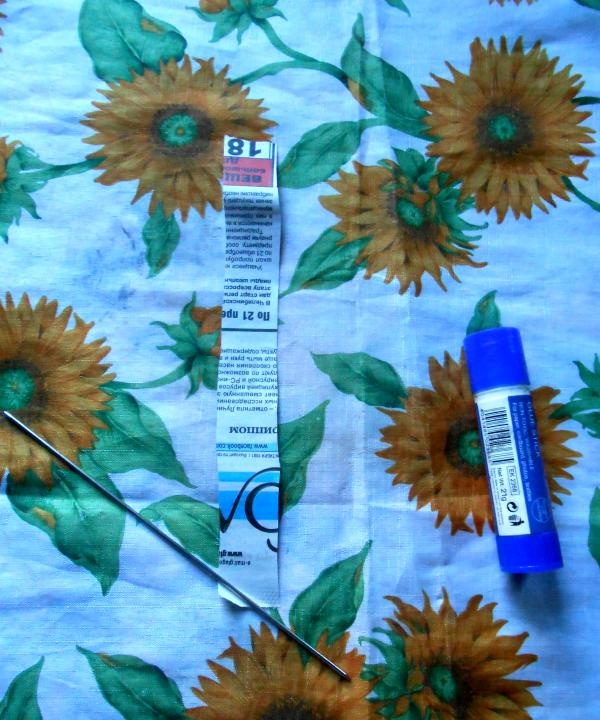
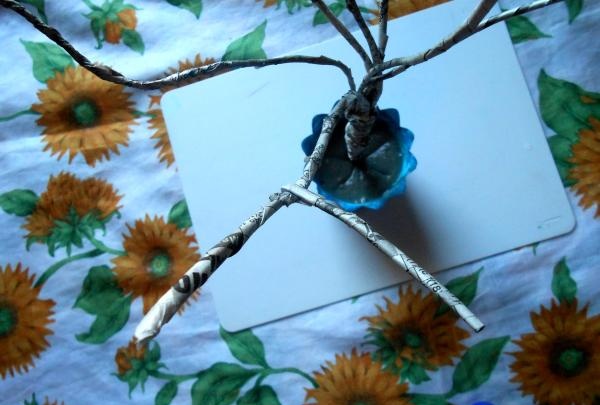
So, let's begin. Let's take the wire, use wire cutters to cut it to the required length, I got a piece 25 centimeters long, you need 8 pieces of such wire pieces. Then we take strips of newspaper 2-3 centimeters wide, which I previously cut, and wrap a piece of wire around it, fixing the tip with glue. We place the wire on the strip at an angle of 45% degrees.

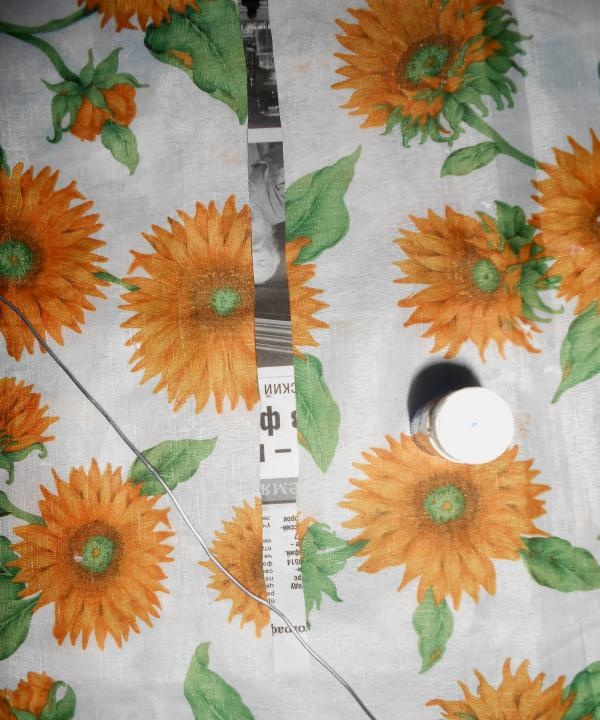
Only 4-5 centimeters of the wire do not need to be wrapped in newspaper, then we will fill these ends with cement. We do this with all segments.
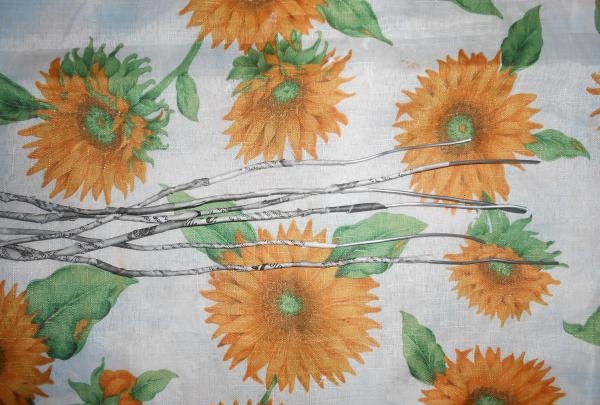
We put the pieces together and fasten them with another piece. This will be the base of the tree.
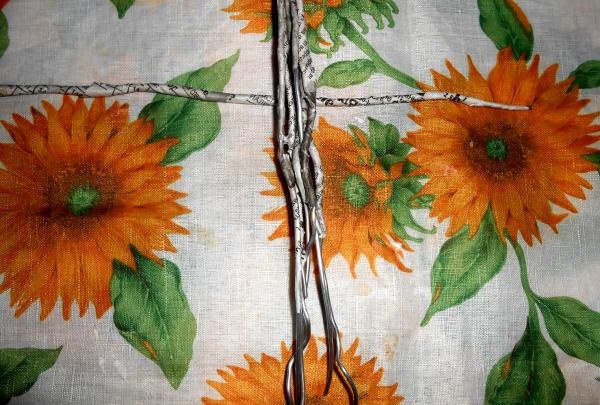
Let's put aside the base of our tree for a while, dilute a solution of gypsum or cement and pour it into the pot.Then we’ll take the tree trunk and bend the wire in the place where we don’t have the newspaper pasted, this is necessary so that the tree sits firmly. That's it, let's plant a tree.


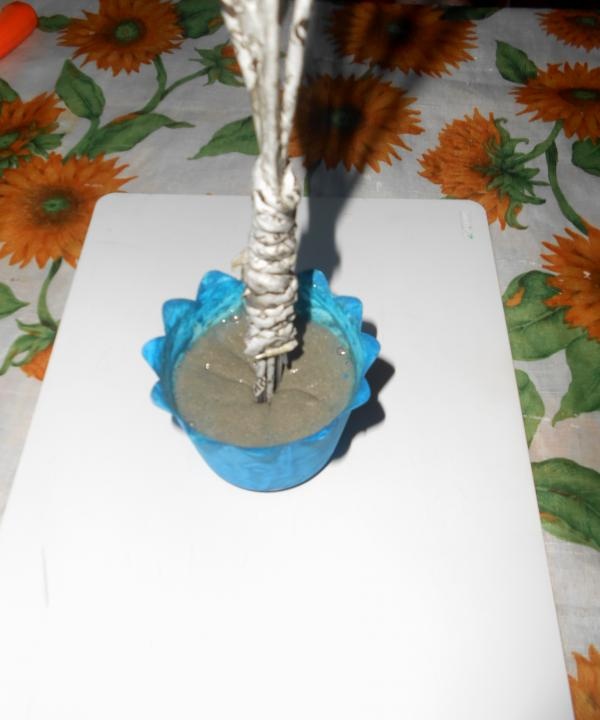
When the solution in the pot hardens, you can straighten the branches exactly as you need.
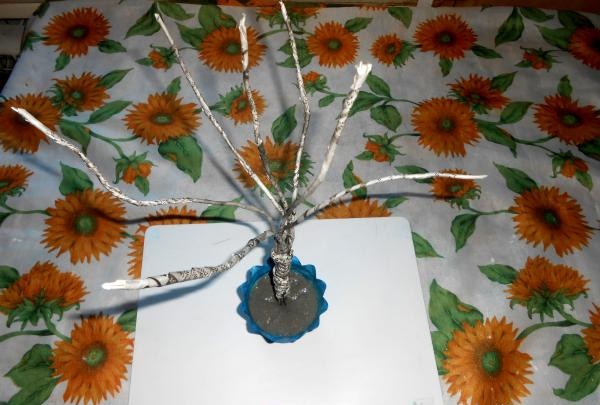
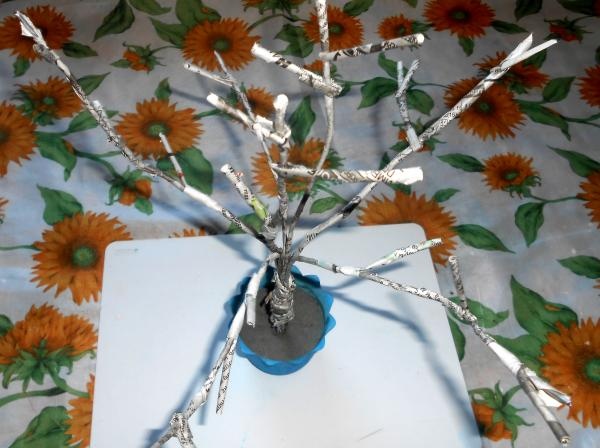
We need to add small branches; for this we will need newspaper tubes. We take a strip, a knitting needle and wind the strip onto the knitting needle, don’t forget to glue the tip with glue. We take out the knitting needle and it turns out to be a tube.

Then we cut this tube into pieces of different lengths and glue them to large tree branches. You can glue it in two ways, you can simply bend the twig, or you can make it so that the joint is not visible, take a strip of newspaper 0.5 centimeters wide, and as long as required and wrap it around the joint, lubricate the tip with glue. To be honest, I glued it using the first method and the second, the second method is better. In this way we glue all the small branches. How many such branches do you need? As many as you want, but the more of these branches, the more flowers you will have on the tree.
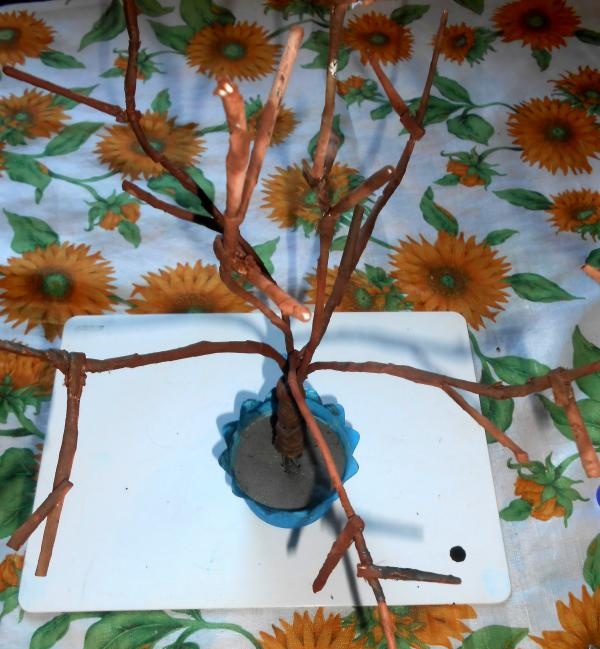
That's it, all the branches are in their place, now let's paint the tree brown. If necessary, we will paint it a second time later.
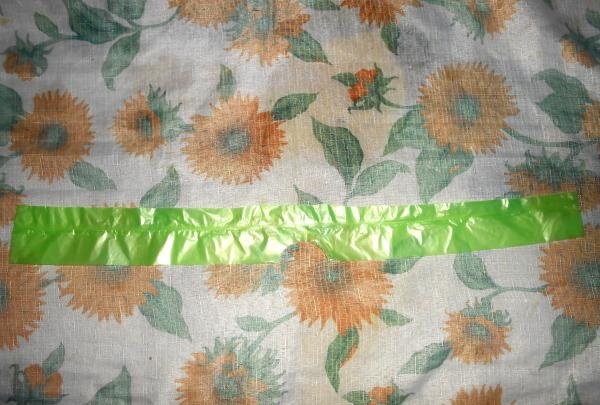
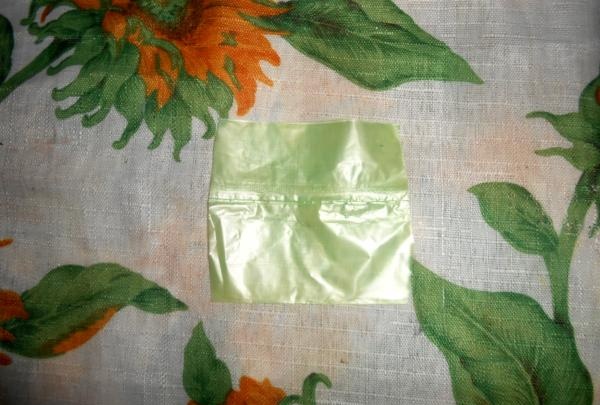
While the paint is drying, take multi-colored plastic bags and cut off the top 5 centimeters wide. We take the top of the bag because it is double polyethylene and the roses will hold their shape better.

All these stripes will be used for flowers, except the green ones. These will be leaves, but more on that later. We take one strip and cut out petals from it for the future rose.

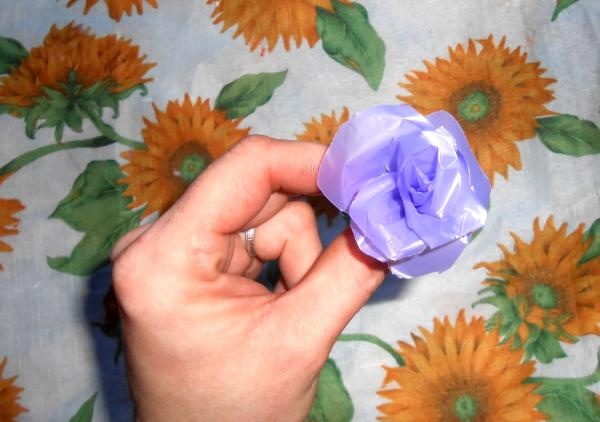
I will show you how to make a rose on a skewer. We take a skewer, screw the first petal onto it, the lower edge of the petal must first be greased with glue.
We take the second petal, grease the edge with glue and overlap it over the first, then straighten the edges of the second petal.

We do the same with all the petals. The more petals, the more magnificent your rose will be.
In the same way we make flowers on tree branches.

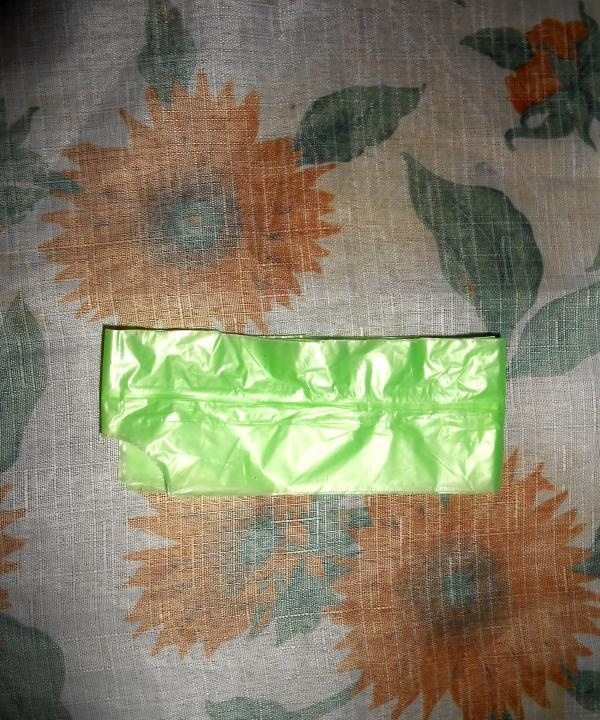
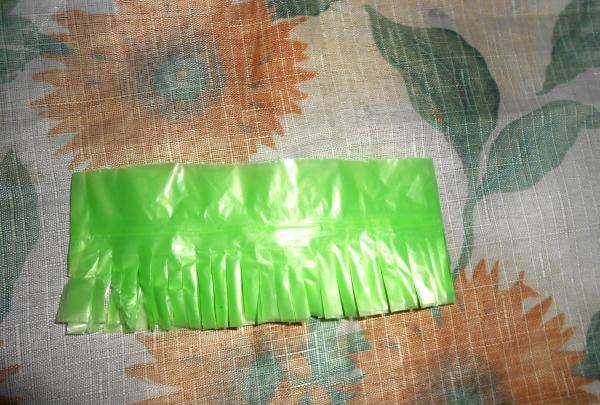
We've glued the flowers, we can start working on the pot, we'll make grass. Take a green strip 5 centimeters wide, fold it several times and make a fringe along the edge of the strip.
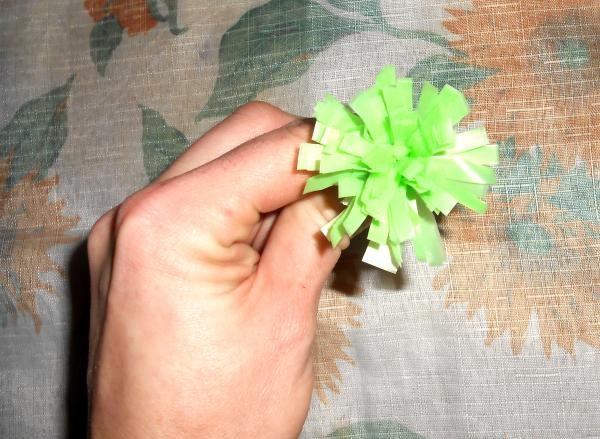
Now we roll the strip into a tube. We get grass, which we “plant” in a pot, filling all the space in the pot with grass.


If desired, you can decorate the pot, for example, with sequins.
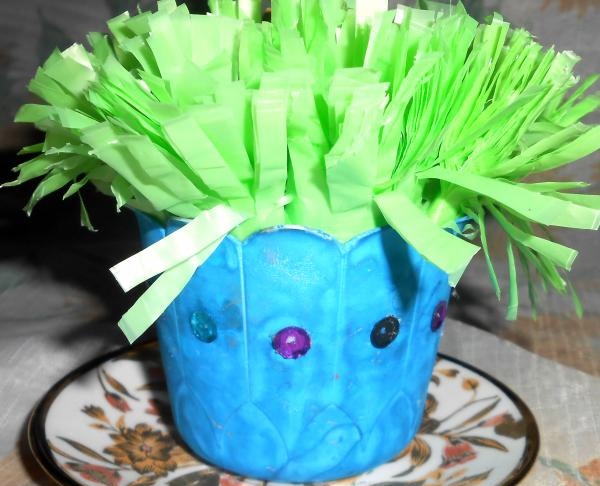
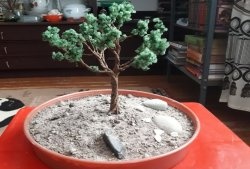
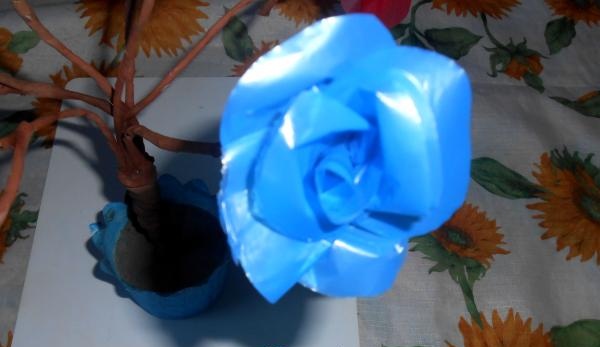
This is what we got.

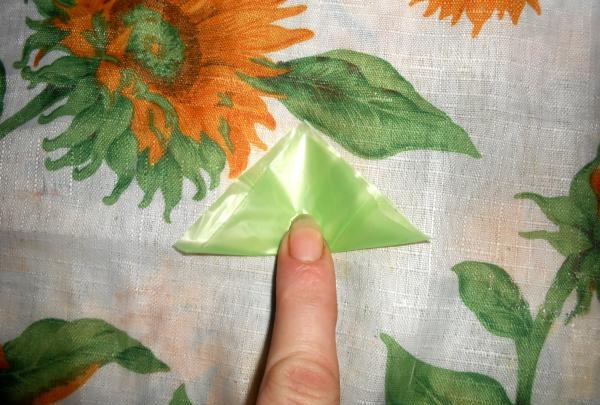
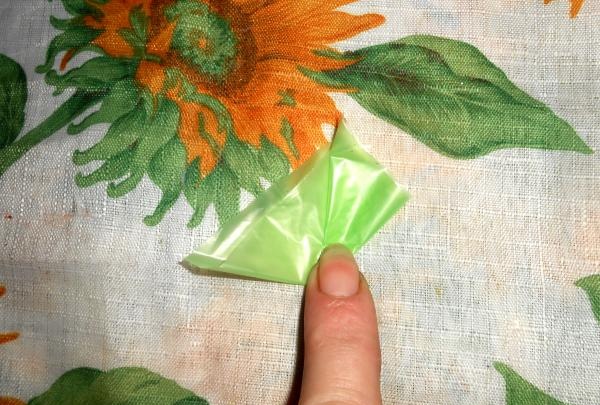
The tree is almost ready, but there are not enough green leaves on the branches. Again, take green polyethylene and cut it into squares measuring 4x4 centimeters and fold them in this way.
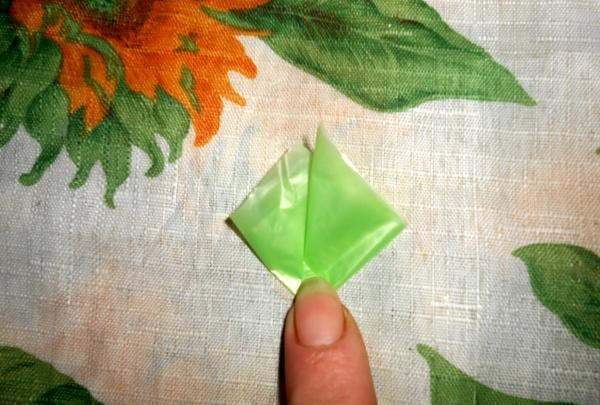
Lubricate the corner of the leaf with glue and glue it to the branches. The remaining leaves are folded in the same way. We glue them in a chaotic order. After the glue dries, you need to straighten the leaves a little. Our decorative tree with roses is ready.

Be creative, show your imagination and you will definitely come up with beautiful and unusual crafts from ordinary things.