If you have a ready-made template, then making a heart is not difficult. And if not? Then do it yourself! True, you need to carefully measure each edge, otherwise the craft will not come together when gluing. Therefore, if you have perseverance and patience, then this heart model is for you. To make such crafts Prepare a sheet of red paper. It is better to take paper that is thick, but not thick. Then you won’t experience any difficulties when gluing the craft, and the finished heart will hold its shape well. You will also need a ruler, a simple pencil, scissors, glue and a sheet of white paper.

Sequence of work
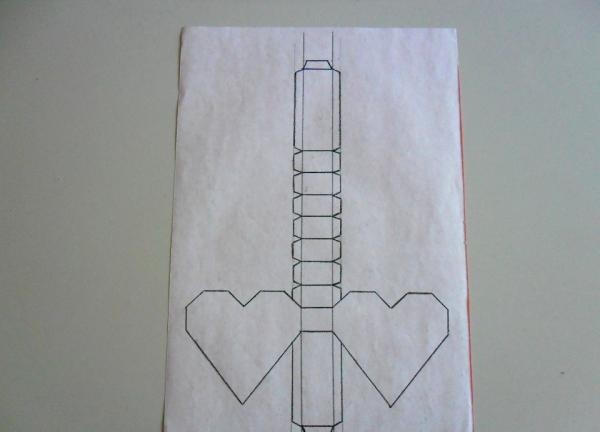
The heart is a three-dimensional figure consisting of a broken line, which forms 8 short edges 1.5 cm long and two long side edges 6 cm long. The thickness of the heart is 2 cm. When finished, the height of the heart is 7 cm, and its width is 7 .5 cm. Cut out a heart from white paper. To do this, fold the sheet in half.
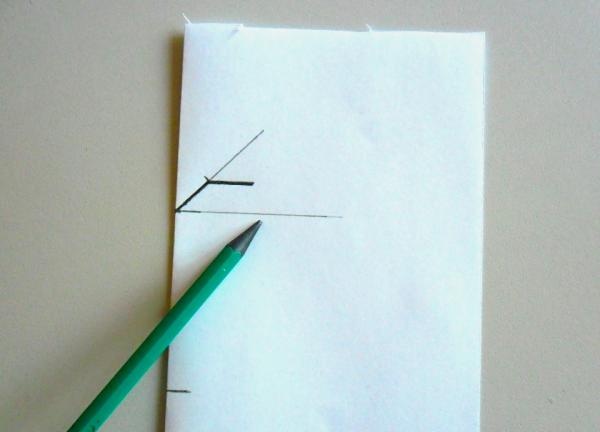
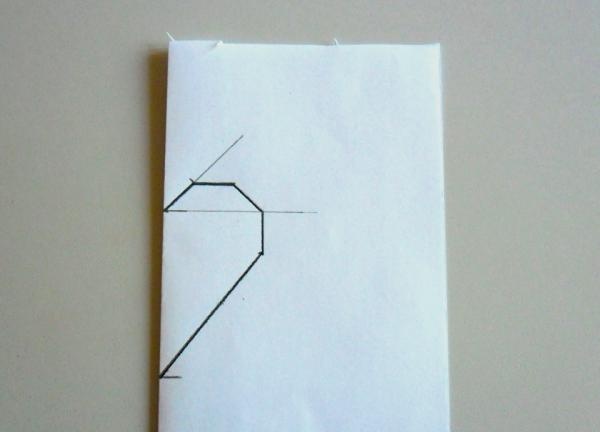
Set aside a 6 cm piece along the fold upward. This is the distance from the tip of the heart to the notch in its upper part.
From the top mark, draw a horizontal auxiliary line to the right.And from the same mark, draw the beam upward at an angle of 45°. On this beam, measure a 1.5 cm segment. This will be the edge of the recess. From the end of this segment, draw a horizontal line 1.5 cm long to the right. This is one of the tops of the heart.
From the end of the second line, draw a 1.5 cm long line down at an angle of 45°. To do this, place the ruler on the sheet so that the measured segment connects with the auxiliary horizontal line.
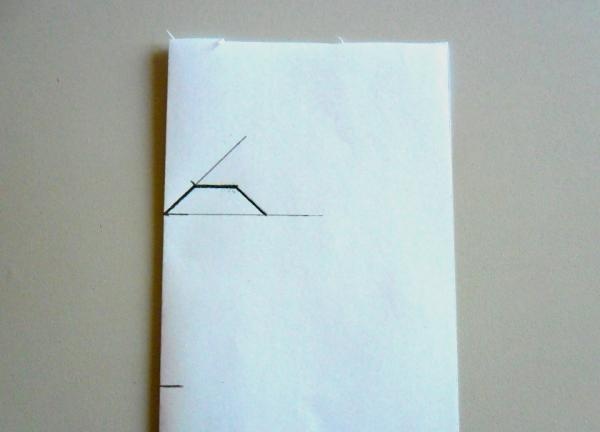
From the end of this segment, draw a 1.5 cm long line down. This is the side of the heart.
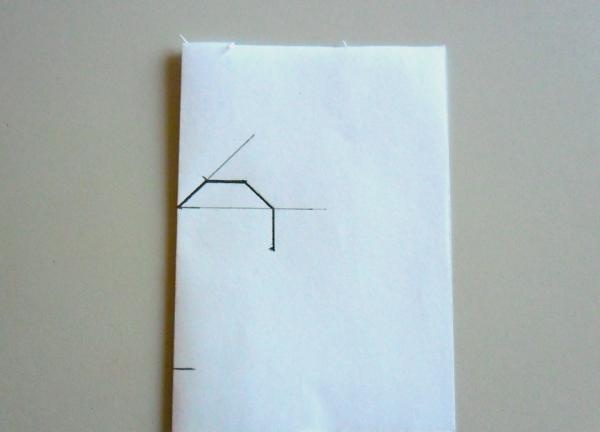
Now connect the end of the segment to the bottom mark on the fold.
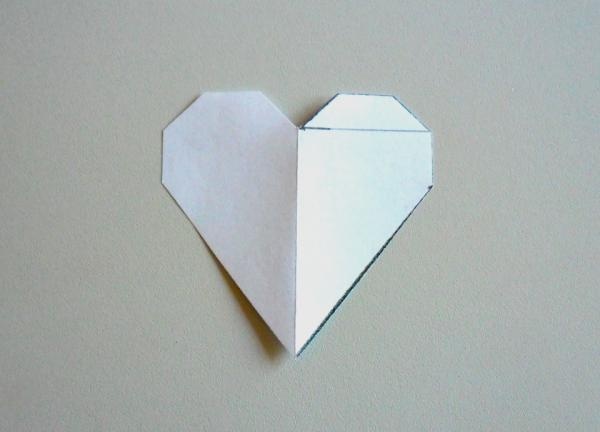
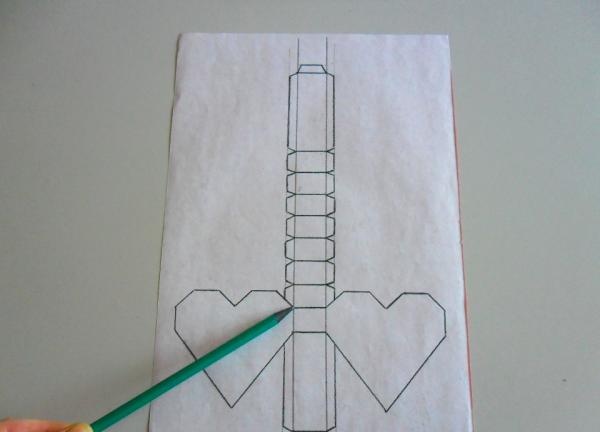
Cut out the heart template.

Expand. Take control measurements: all short edges should be 1.5 cm long.
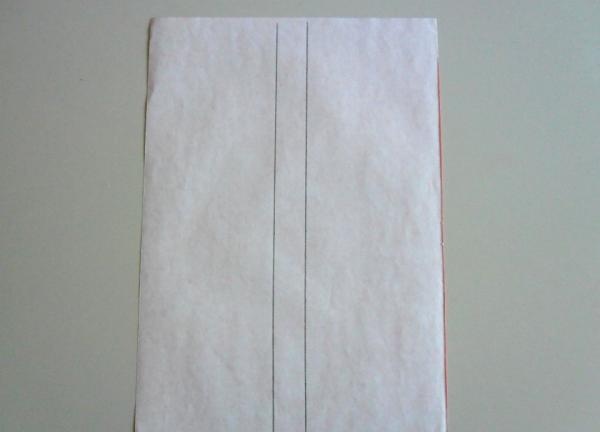
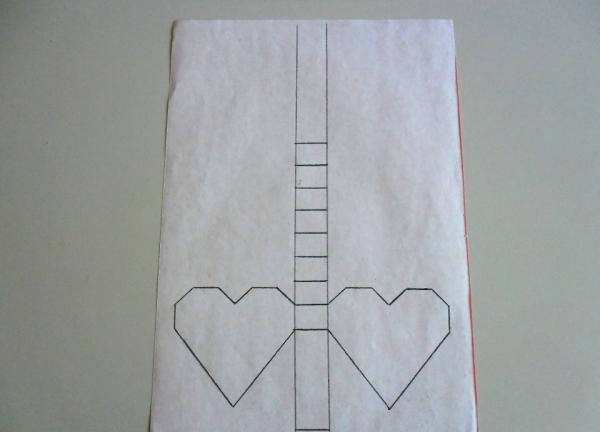
Take a sheet of red paper and place it vertically. Turn the sheet over to the wrong side. Draw two vertical parallel lines in the middle of the sheet, the distance between which should be 2 cm. This is the thickness of the heart.
Draw a horizontal line below to define the bottom edge of the template.
Measure up 6 cm - a distance equal to the length of the side inclined edge of the heart. Draw a horizontal line.
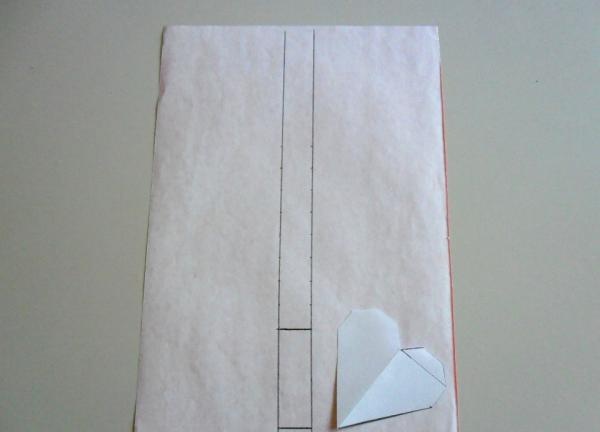
Then measure 8 more segments (number of edges) on vertical lines, 1.5 cm each. Connect them.
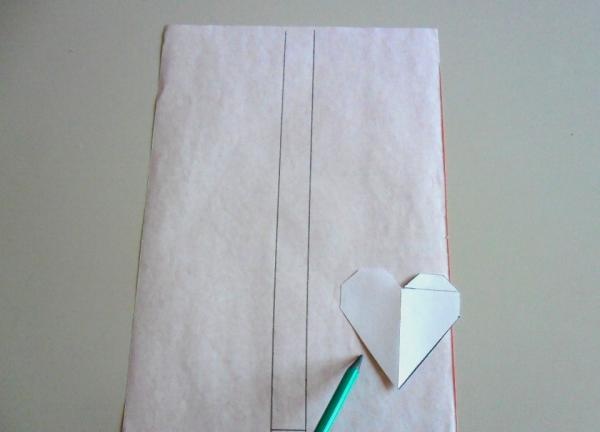
Attach the heart template with its side edge to the first short sector.
Trace carefully with a pencil.
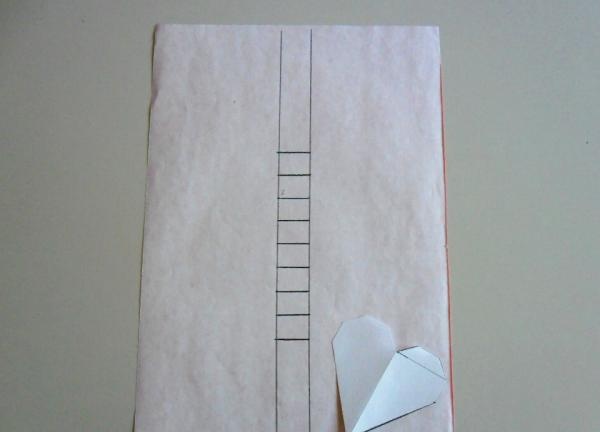
Do the same on the other side of the vertical lines.
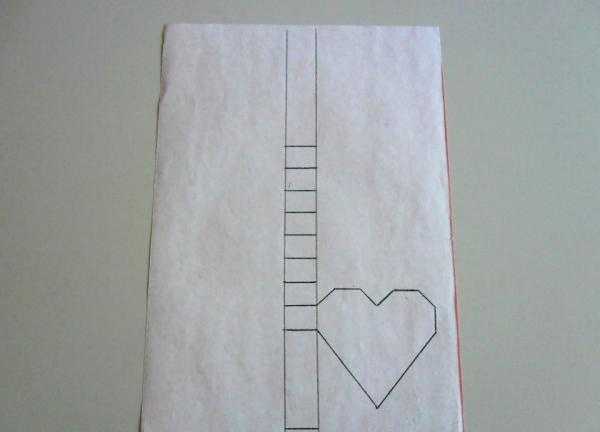
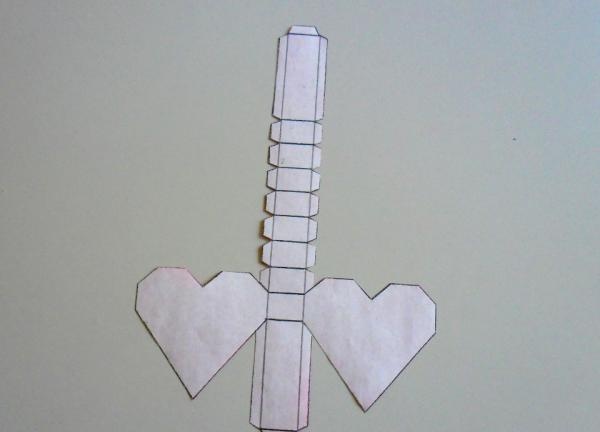
Now you need to draw on the model the details with which you will glue the upper and lower parts of the heart together. To do this, draw two lines on both sides of the vertical lines at a distance of 0.5 cm from them.

From each small sector, draw lines at a slight angle to each other.
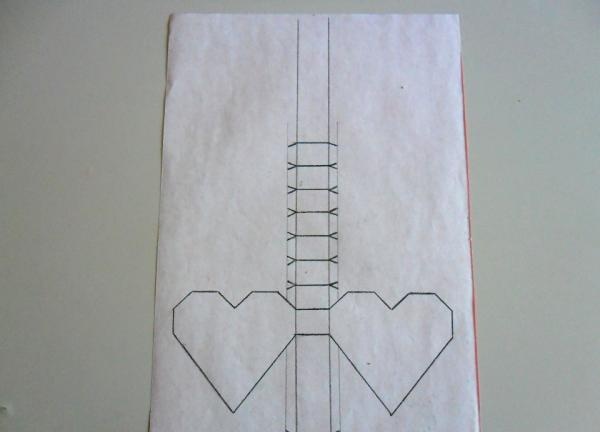
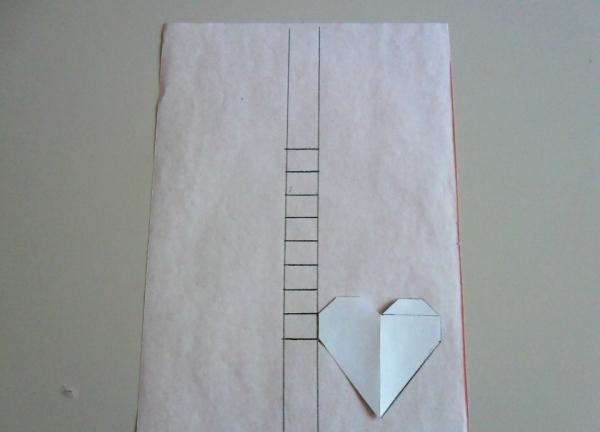
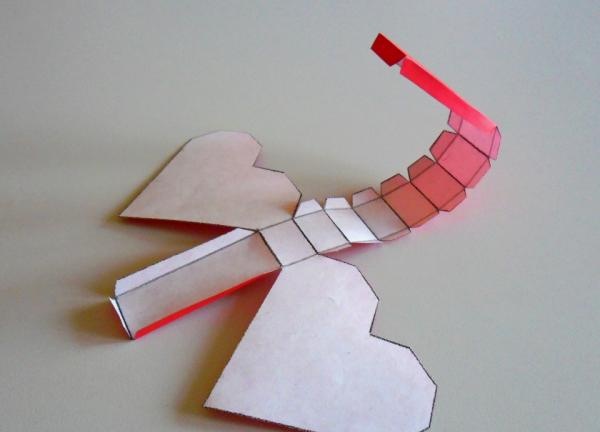
Connect them together as shown in the photo.
Then measure up a distance of 6 cm and connect both sides with a horizontal line. On the sides of this rectangle, draw parts for gluing the model.
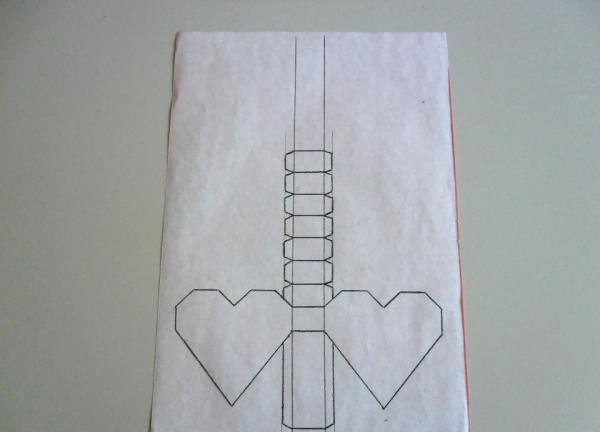
Pay attention to the photo. At the top and bottom of the template, also draw fasteners.
Cut out the workpiece. When cutting out the heart, also cut the places where it connects with the fastener.
You will get a template like this.
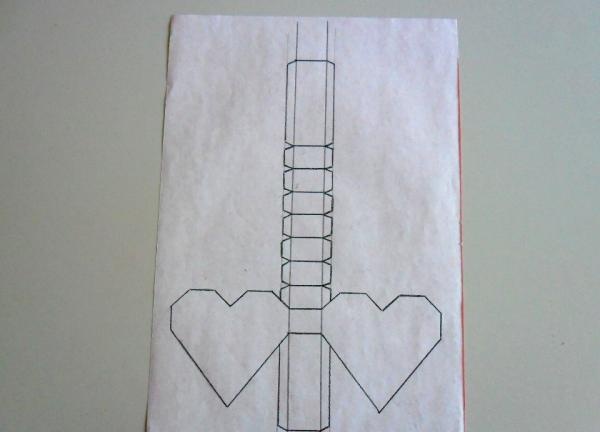
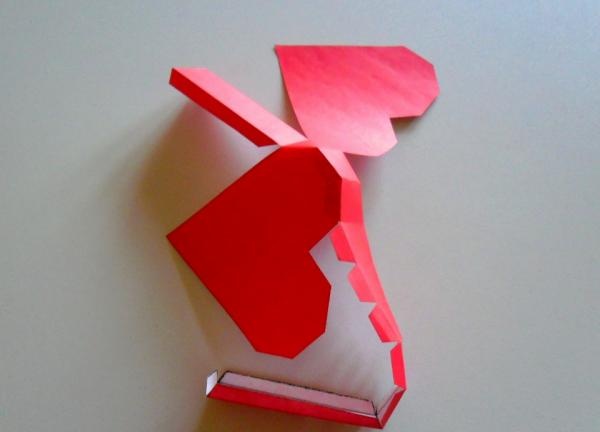
Bend the side fasteners upward at an angle of 90°.
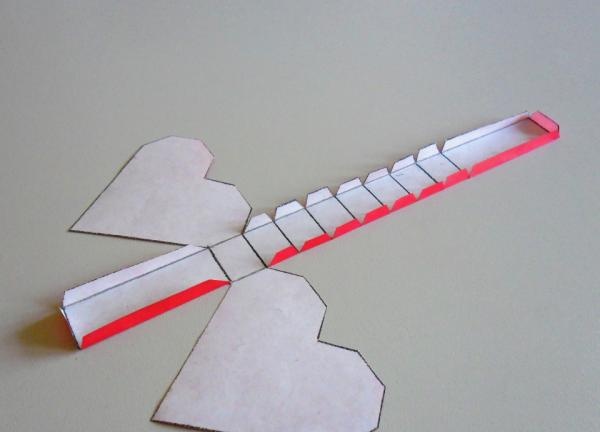
Fold all parts of the template along the drawn lines.
Start gluing the template. Apply glue to each side trapezoidal fastener from the front side, and place the adjacent edge of the heart on it in succession. If you notice a slight discrepancy in size, adjust immediately.

Once you have glued one side of the heart to the side pieces, let the glue dry. You have a box like this.
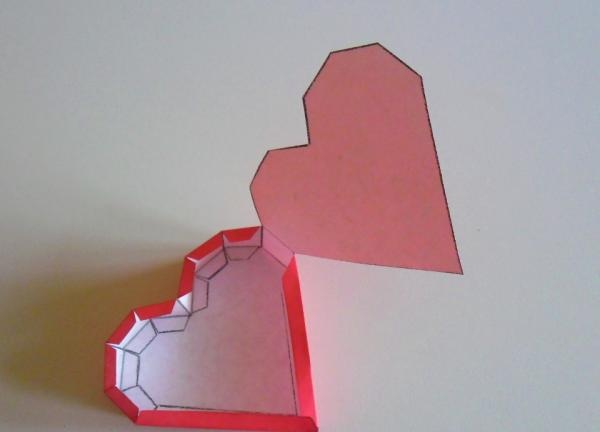
Now lubricate the upper side of the fasteners bent at a right angle with glue and lower the second part of the heart onto them.

Make sure that all edges coincide with each other.
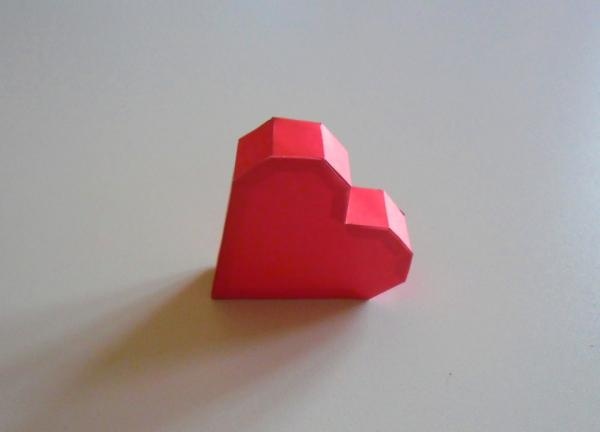
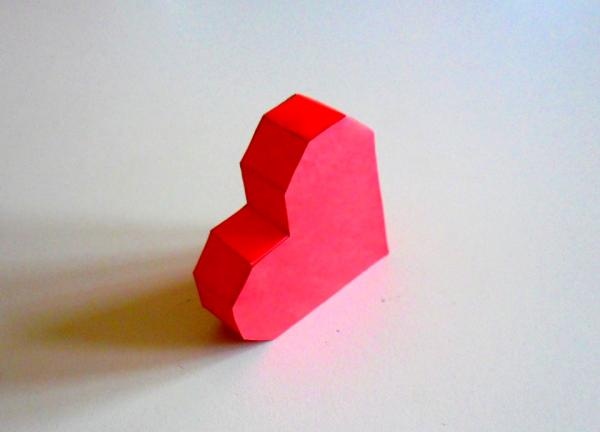
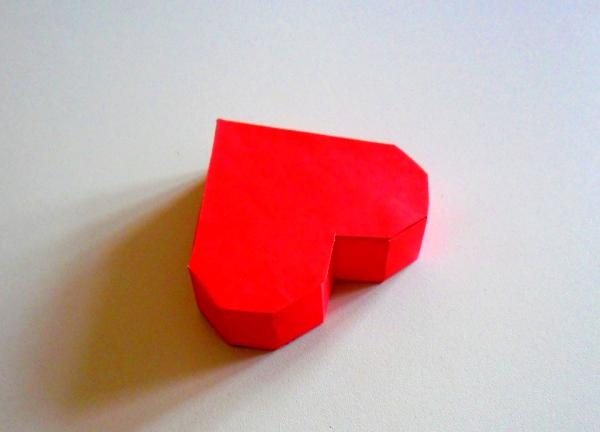
This is the faceted heart you got.