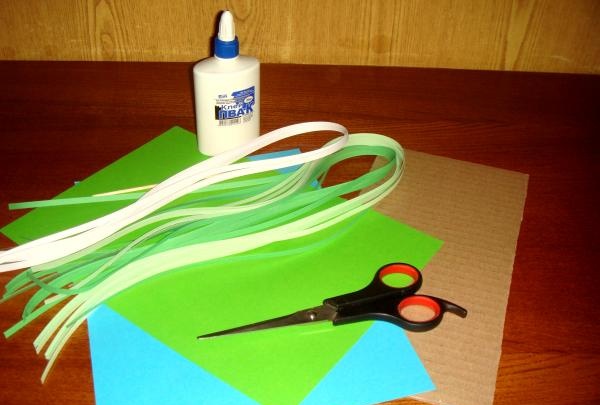
For the painting “Turtles” prepare the following materials:
- paper strips for quilling in white, green and light green;
- scissors;
- a wooden skewer (or a special set of quilling tools);
- PVA glue;
- a piece of thick cardboard;
- two sheets of colored double-sided paper (green and blue).
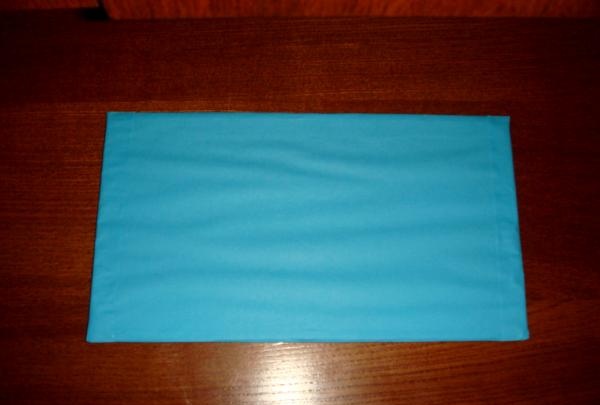
First, we need to prepare the basis for work. Take thick cardboard (can be cut from any candy or cookie box), cut out a 17x30 cm blank from it. It will need to be pasted over with any colored paper. I love it when the background of the product is blue or blue.
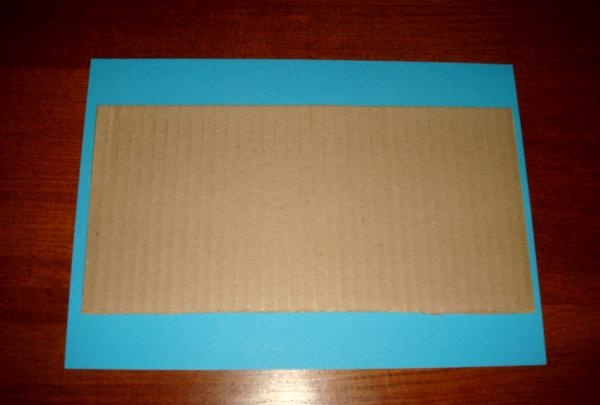
To do this, you need to put the cardboard base on a sheet of colored paper and wrap the edges, gluing them with glue or using double-sided tape. This turns out to be such a beautiful basis for our work.
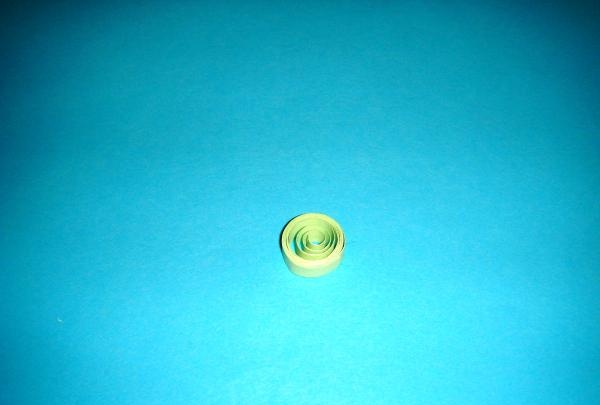
Now we need to take the colored quilling strips, cut them in half and start twisting loose round spirals. You can use a wooden stick (skewer). It twists spirals perfectly and blanks for elements can be easily removed from it.
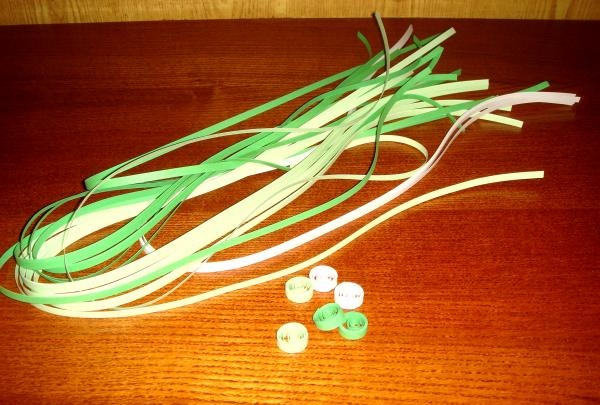
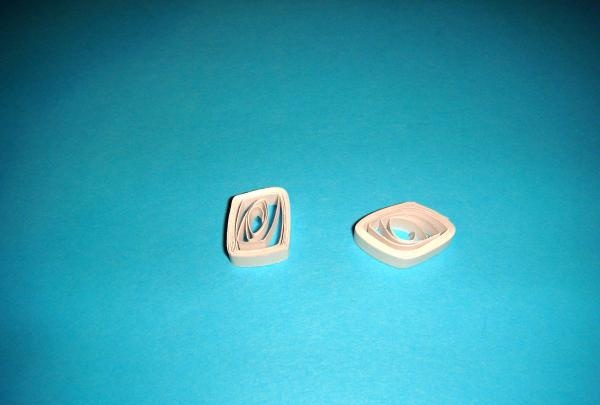
Such blanks should be made in white, light green and green shades. Next we move on to the formation of elements for work. You need to learn how to do five basic elements.
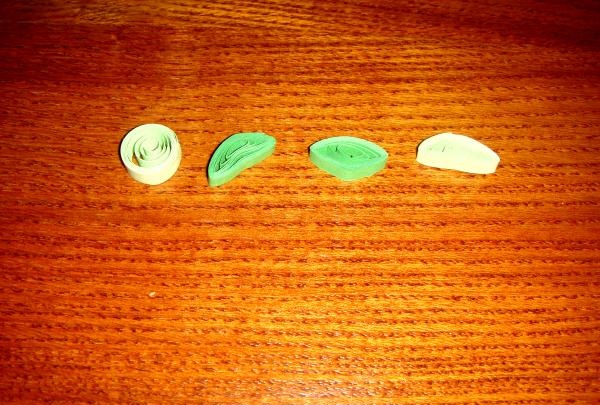
Free spiral element. We need to leave 14 of these green pieces.
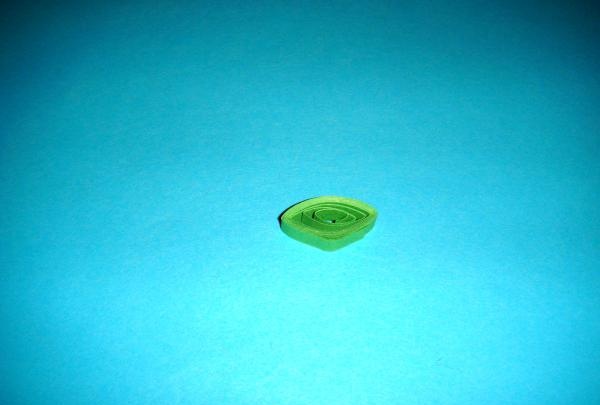
Element "eye". Using both hands, squeeze simultaneously on both sides of the workpiece. Make 50 light green and 40 dark green.
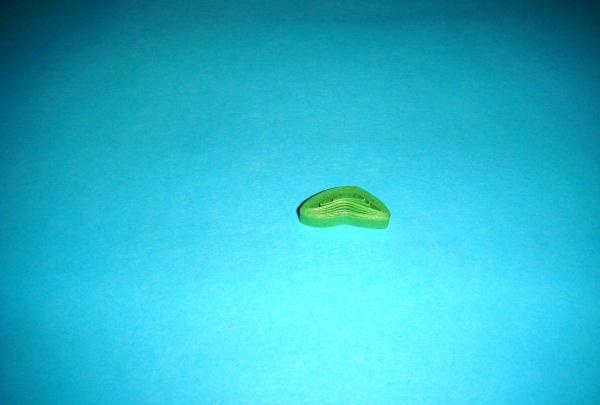
Crescent element. The top edge is slightly higher than the bottom. You need 20 of these in each color.
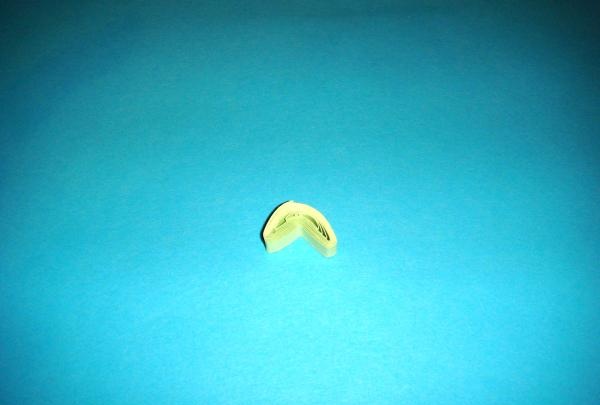
Arrowhead element. Like the “eye” element, only folded in half. You need to twist about 20 different colored pieces of these shapes.
Form white blanks as “square” and “eye” elements. In total, you will need 40 white forms for work.
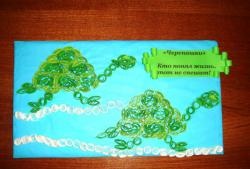
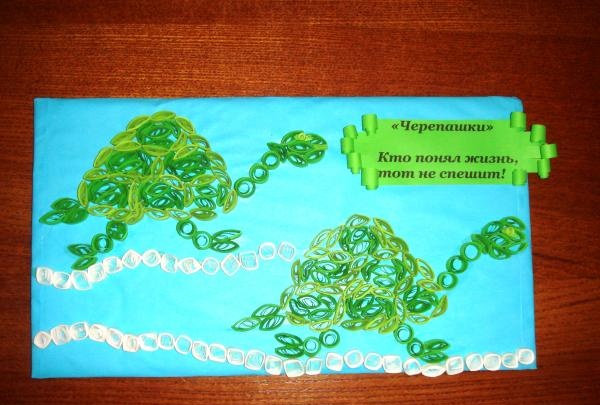
Now we move on to gluing the elements. Here I followed the call of my imagination... You can first draw the lines of the drawing, and then fill the space. But my turtles turned out a little fabulous, although the main elements are clearly visible: the shell, legs, tail, neck and head.
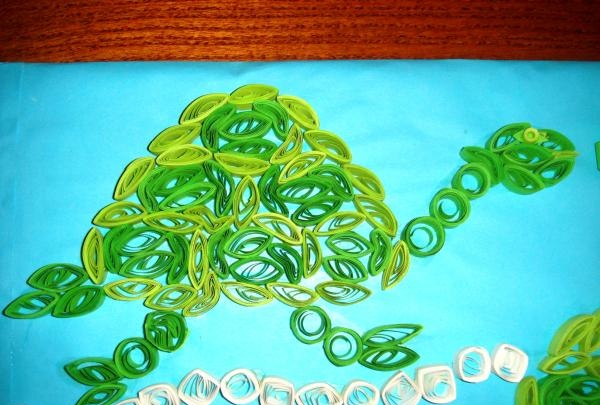
Using the same principle, we make the second turtle, which is located in the lower right corner.
For the eyes, I made two “tight spiral” elements and glued them onto the figures.
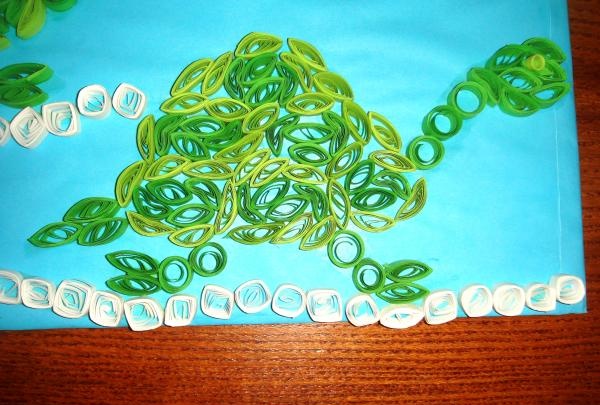
I used white elements to create an imitation track for reptiles.And when I noticed that the upper right corner was left free, I decided to make a beautiful inscription on it.
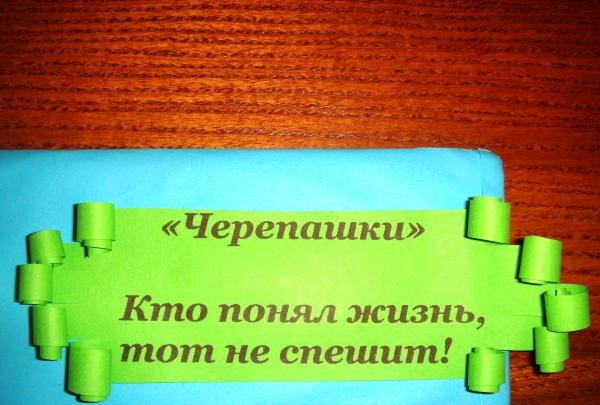
This magnificent painting “Turtles” was made using the quilling technique.
I gave it to my good friend, who is interested in reptiles and raises red-eared turtles at home. She was delighted with the souvenir and hung it near the aquarium with her pets.