Snowflake made of corrugated paper
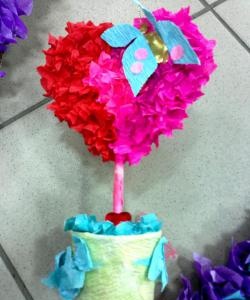
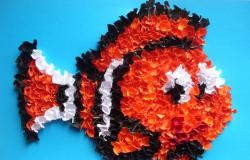
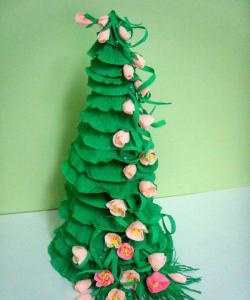
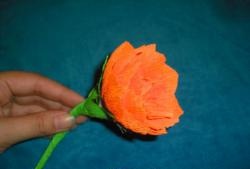
Another equally fascinating creative technique is cutting from corrugated paper. This paper is an interesting material in itself. And trimming is a kind of design. Tubes (ends) are created from small squares using a thin wooden stick. This is the so-called art of paper rolling. Such bright end tubes can be secured with glue or plasticine. This technique has several types: volumetric or contour trimming, planar or multilayer. Today you will learn how to make a snowflake from corrugated paper on a plasticine base.
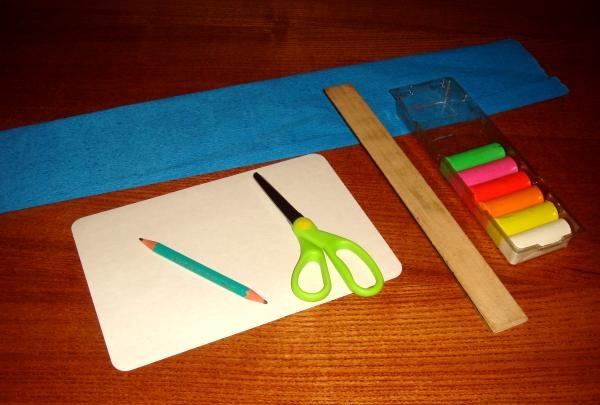
To work you will need:
- any base (you can just use beautifully shaped cardboard);
- plasticine (it is better to take it to match the paper);
- blue corrugated paper (if the base is blue, then the paper can be taken white);
- a ruler and a simple pencil;
- scissors;
- a thin wooden stick (a toothpick or skewer without a sharp edge).
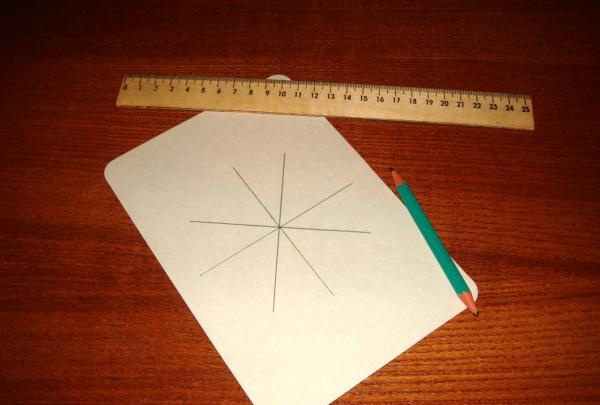
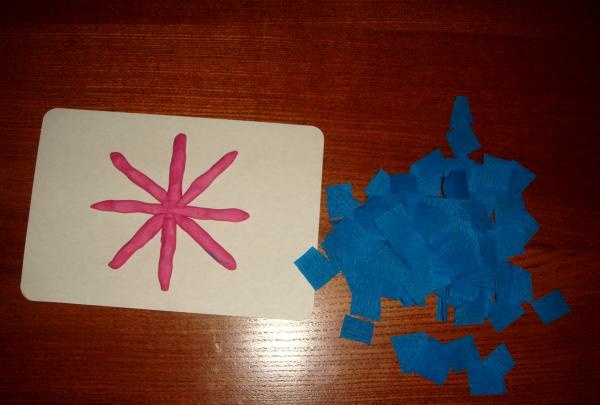
Using a ruler, draw the outline of a snowflake with a pencil. It can be of any shape and size. Snowflakes with intricate designs look beautiful. In the photo this is the simplest intersection of 4 straight lines.
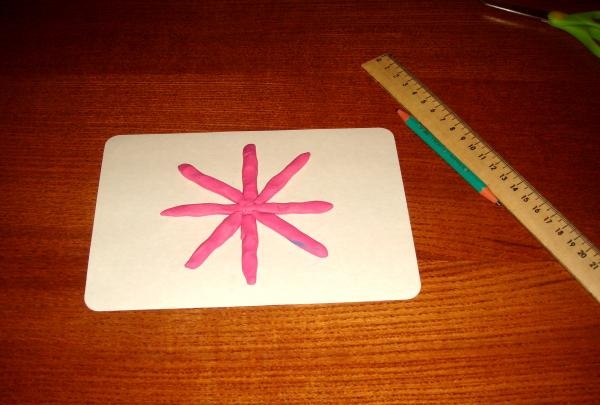
Now take plasticine and cover all the pencil lines with it. To do this, roll it out into a sausage shape and stick it to cardboard. Try to keep the layer of plasticine high enough, because otherwise the paper trims will simply fall off. It is better to select plasticine to match the color of the corrugated paper so that the colored empty spaces do not show through.
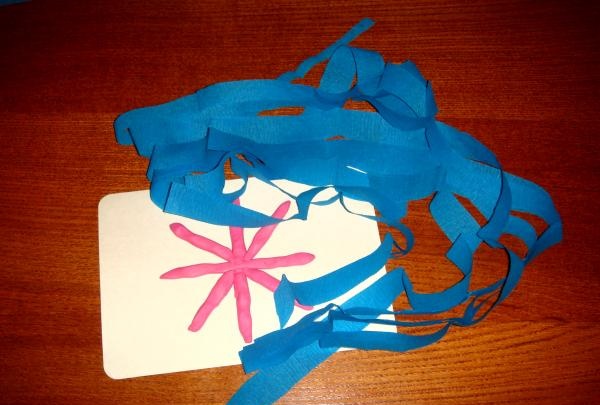
Take corrugated paper and cut three strips 1-1.5 cm wide. Unroll them along their entire length.
Cut these strips into squares. If they turn out to be 1.5x1.5 cm in size, then the work will look more voluminous, if 1x1 cm, then it will look a little flat.
Now take one square. Place a wooden stick in the middle and wrap the edges around it with your fingers.

Without removing the workpiece from the stick, attach it to the plasticine and stick it into it. Pull out the stick; the paper tube remains in the plasticine base. So continue to fill all parts of the snowflake.
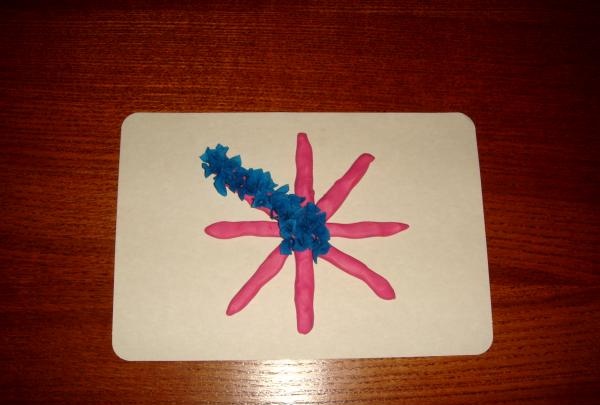
The closer the paper trims are placed to each other, the more magnificent the work will be. Try to fill the plasticine base not only on top of the product, but also on the sides.
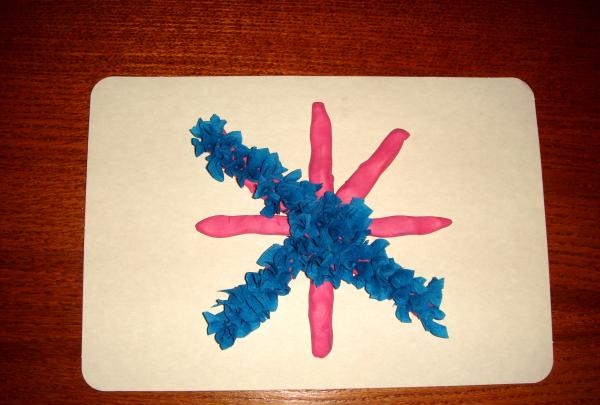
When you finish filling in all the parts of the snowflake, carefully inspect your work again. If you notice empty edges or plasticine showing through in places, it is important to correct such errors so that the work is more accurate.

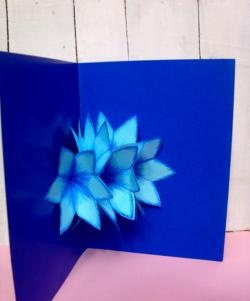
This beautiful and lush snowflake is made from corrugated paper using the cutting technique.
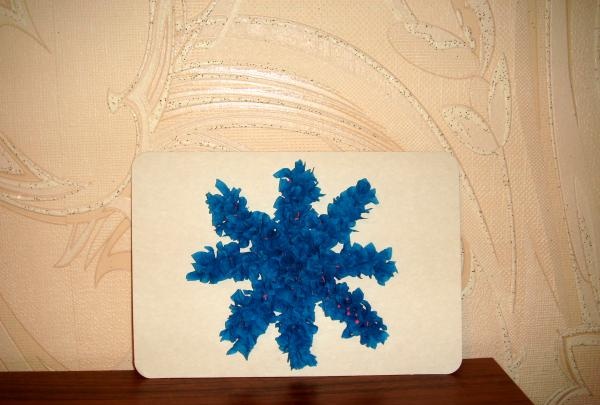
You can leave this job. Alternatively, turn this blank into a beautiful winter card, adding sparkles and a poetic greeting. Or cut out a snowflake along the contour, attach a thread and hang it on the New Year tree as a toy.You can glue a magnet to it and stick it on the refrigerator. In a word, use your imagination and keep creating...
To work you will need:
- any base (you can just use beautifully shaped cardboard);
- plasticine (it is better to take it to match the paper);
- blue corrugated paper (if the base is blue, then the paper can be taken white);
- a ruler and a simple pencil;
- scissors;
- a thin wooden stick (a toothpick or skewer without a sharp edge).
Using a ruler, draw the outline of a snowflake with a pencil. It can be of any shape and size. Snowflakes with intricate designs look beautiful. In the photo this is the simplest intersection of 4 straight lines.
Now take plasticine and cover all the pencil lines with it. To do this, roll it out into a sausage shape and stick it to cardboard. Try to keep the layer of plasticine high enough, because otherwise the paper trims will simply fall off. It is better to select plasticine to match the color of the corrugated paper so that the colored empty spaces do not show through.
Take corrugated paper and cut three strips 1-1.5 cm wide. Unroll them along their entire length.
Cut these strips into squares. If they turn out to be 1.5x1.5 cm in size, then the work will look more voluminous, if 1x1 cm, then it will look a little flat.
Now take one square. Place a wooden stick in the middle and wrap the edges around it with your fingers.
Without removing the workpiece from the stick, attach it to the plasticine and stick it into it. Pull out the stick; the paper tube remains in the plasticine base. So continue to fill all parts of the snowflake.
The closer the paper trims are placed to each other, the more magnificent the work will be. Try to fill the plasticine base not only on top of the product, but also on the sides.
When you finish filling in all the parts of the snowflake, carefully inspect your work again. If you notice empty edges or plasticine showing through in places, it is important to correct such errors so that the work is more accurate.
This beautiful and lush snowflake is made from corrugated paper using the cutting technique.
You can leave this job. Alternatively, turn this blank into a beautiful winter card, adding sparkles and a poetic greeting. Or cut out a snowflake along the contour, attach a thread and hang it on the New Year tree as a toy.You can glue a magnet to it and stick it on the refrigerator. In a word, use your imagination and keep creating...
Similar master classes


Particularly interesting


Comments (0)
