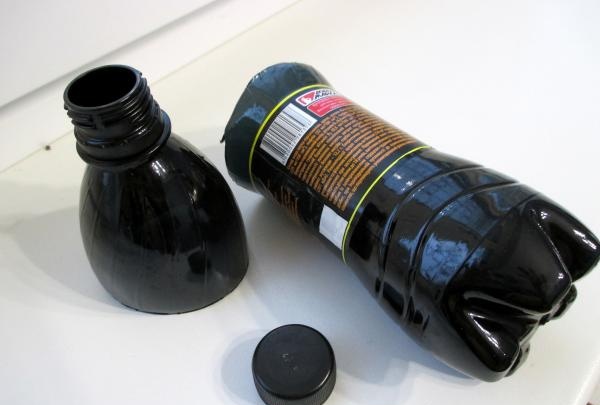
Using a knife, cut off part of the top of the bottle. This will be the torso with the head.
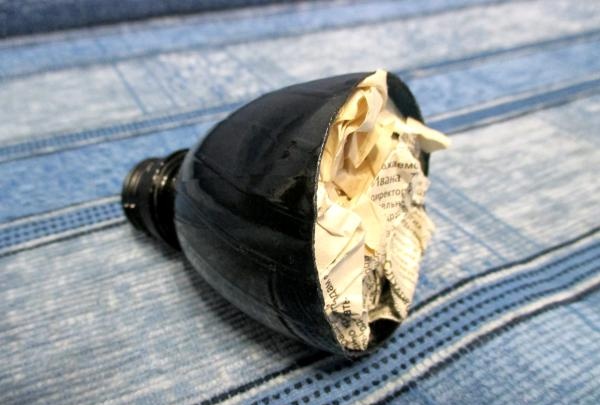
We fill the inside with crumpled newspaper. This is done so that our Baba Yaga does not later become deformed when taken in the hand.
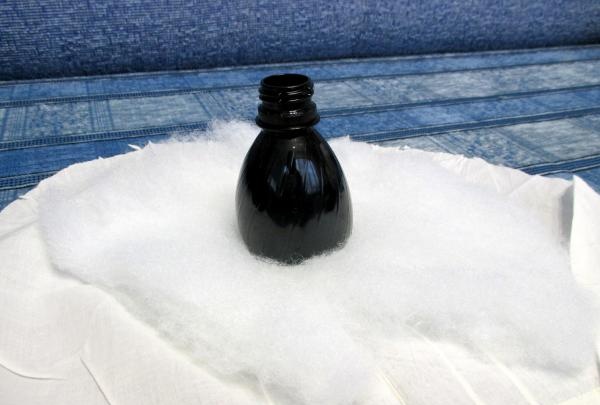
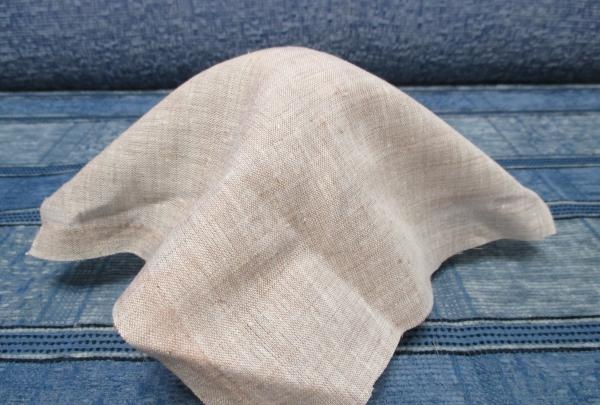
Place it on a sheet of padding polyester or batting. We select the size of the material so that later, when wrapping it around the bottle, it can be tied with a thread at the base of the neck.
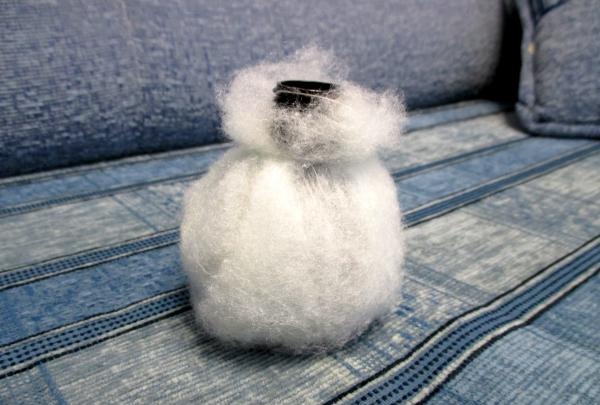
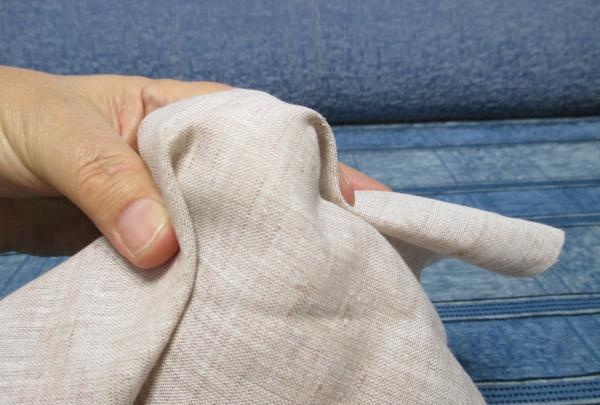
We wrap our bottle with padding polyester and tie it. We straighten the material so that the surface is round and smooth.
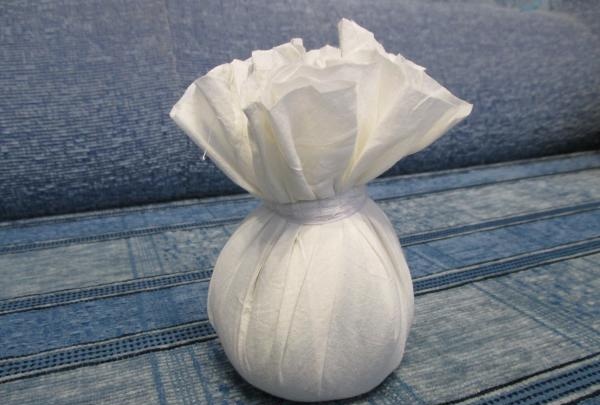
We do the same with white fabric. The choice of fabric is not of fundamental importance if non-transparent fabric is then used for the head.

We unscrew the ends of the fabric and additionally add padding polyester to the neck, securing it with threads.

We tuck the ends of the fabric inside the bottle and secure it with threads if they do not hold on their own.
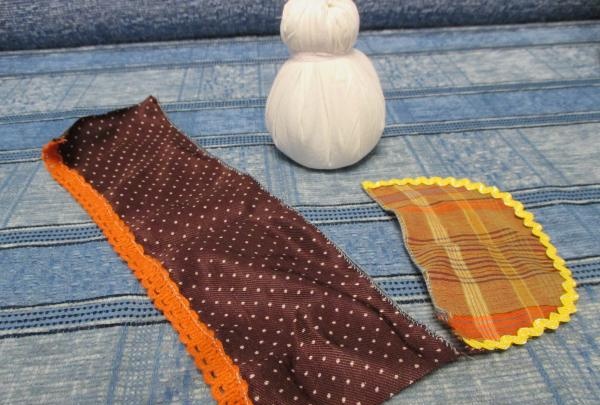
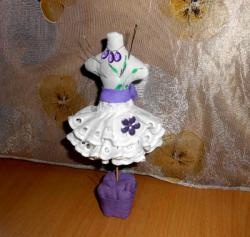
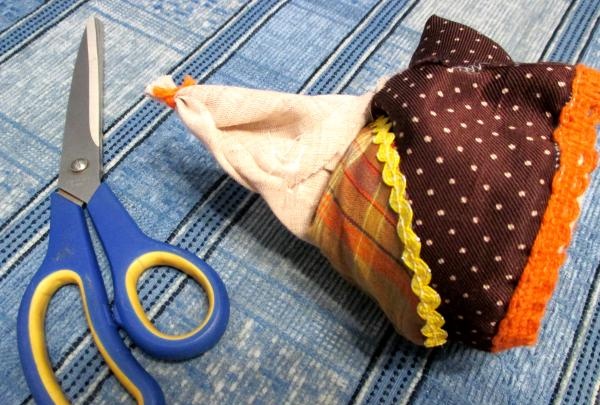
We cut and sew the fabric for the dress and apron. Even though this is Baba Yaga, you can still decorate her robe with something.
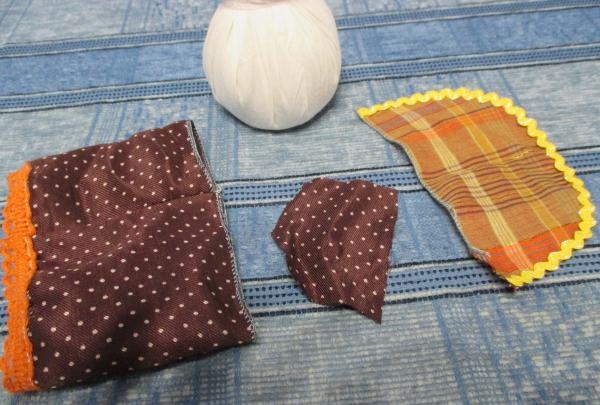
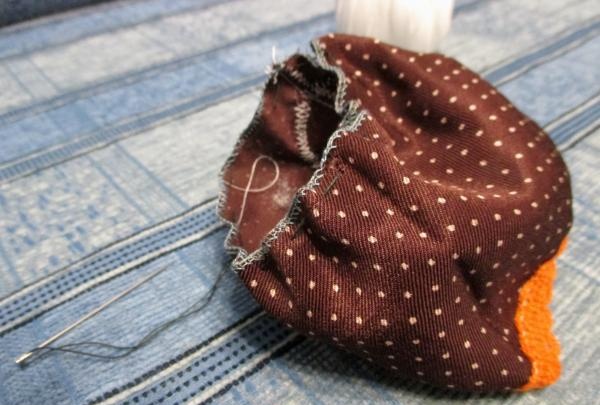
Since we are making a pincushion, we will need a pad into which we can stick needles. We remember that this character has a hump, and we will use it as a pincushion. Therefore, we cut out a polygon with slightly inclined edges, and sew up the back seam of the dress.
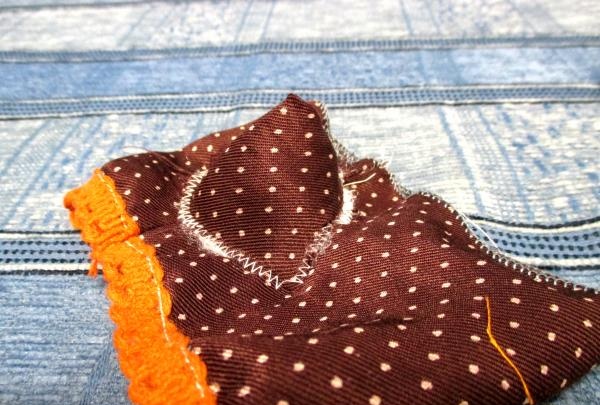
We connect the hump along the short part between the inclined sides, fill it with padding polyester and sew it on a machine in the center along the seam of the dress.
We assemble the dress with a thread.

We put it on the workpiece, tighten the thread around the neck and secure it. We do the same with the apron.
We cut out a flap for the head and arms.
Let's start shaping the face. First, we throw the fabric over the head in the center.
We make folds to form the face and back of the head. We twist the thread around the neck.
Forming hands. We tie the ends with a beautiful thick thread, trim the ends evenly. We tuck everything else inside and secure it with threads so that nothing falls out during use.
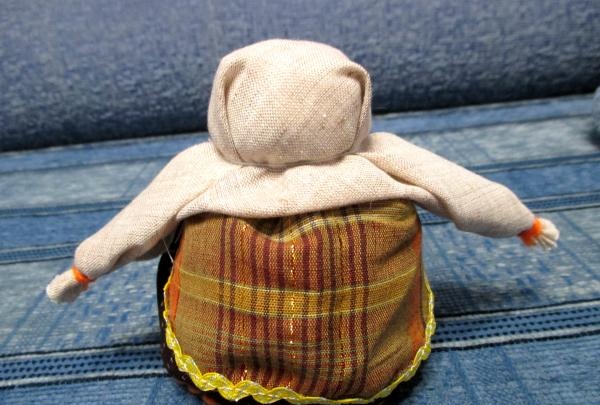
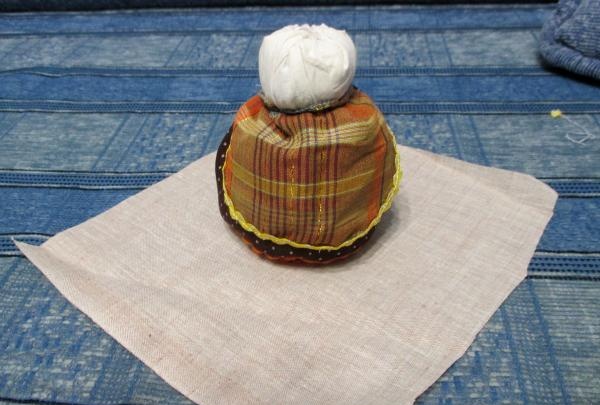
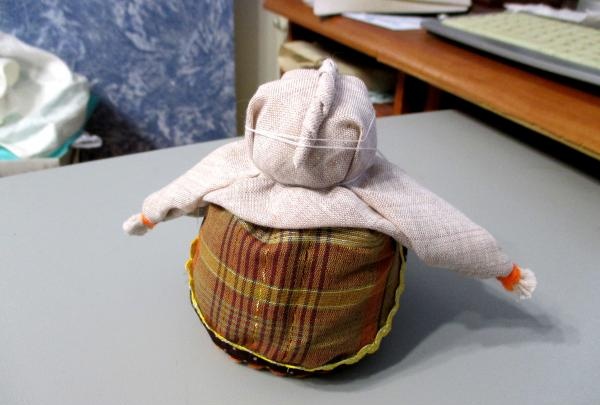
This is what we should already have at this stage.
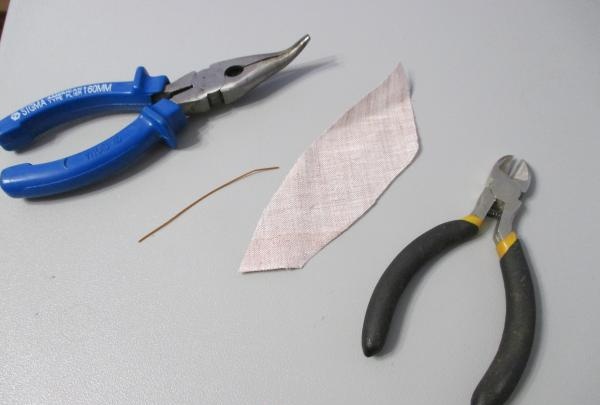
Without a hooked nose, Baba Yaga is not Baba Yaga! To make it, cut a small piece of thin wire and cut fabric 2 times longer along the bias thread.
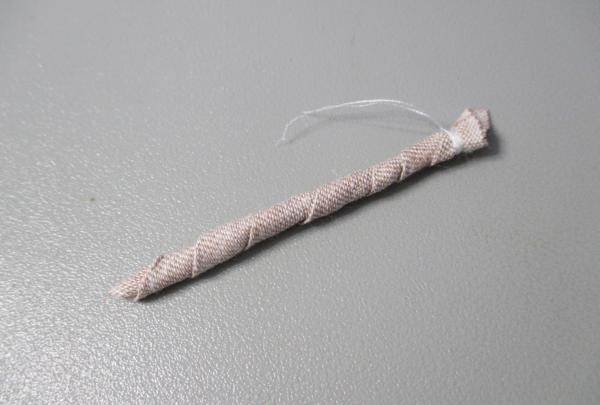
Fold the fabric in half, pierce it with wire at one end and bend it with pliers to hold it in place. And then wrap the tape around the wire and secure it at the end.
Sew the nose on the top of the head, glue the tip and press it with threads to secure it.
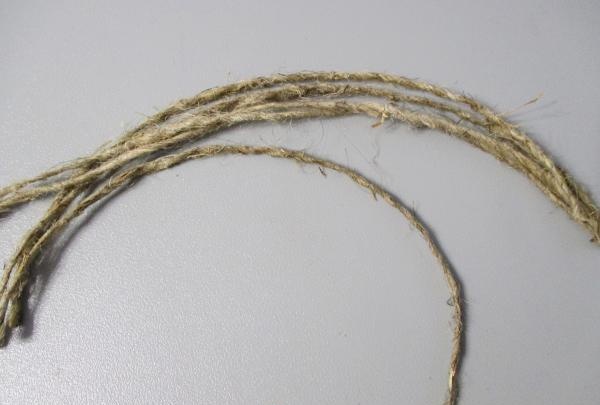
While the glue on the nose is drying, prepare the yarn for the hair. I used twisted tow.
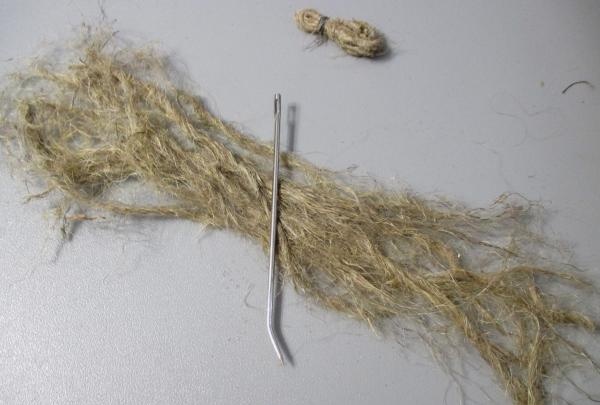
I took it apart into fibers, and made a blank for a broom from a couple of ropes.
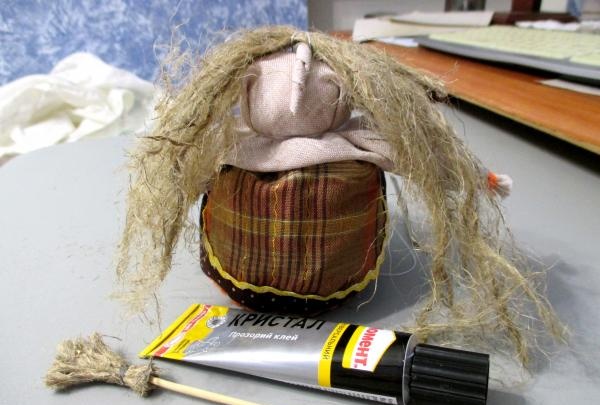
She sewed her hair with threads to the top of her head and let it out forward.I made a broom from the twisted blank, placed the shaft on glue inside the bundle and pressed it on all sides.
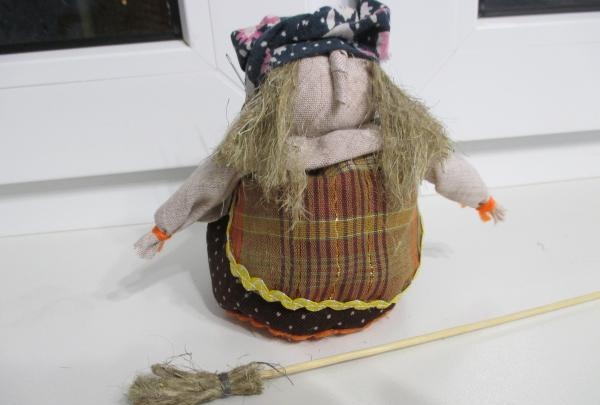
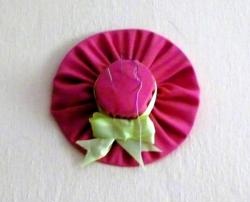
She put a scarf on her head. This is such a beauty we have!
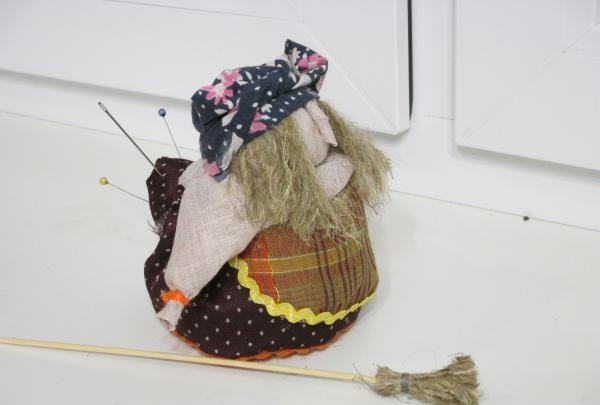
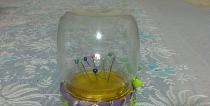
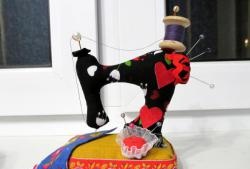
And get straight to work! The needles are already in place!