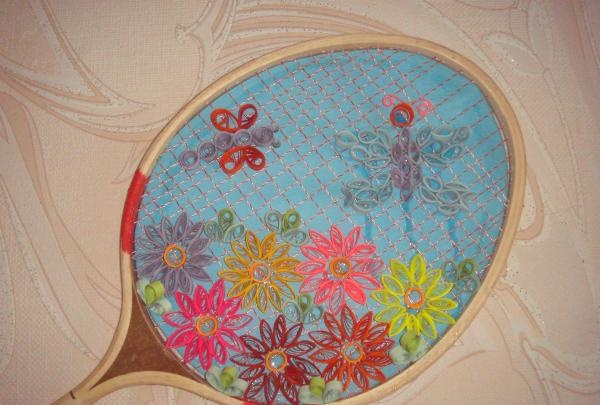
Original panel from a tennis racket
Quilling - one of the most exciting creative techniques. Round spirals are spun from thin paper strips, used to make other shapes, and glued together with glue into unusual patterns. Flowers, all kinds of postcards, original paintings and panels with marvelous scenes look beautiful using this technique. Today we will tell you how to make an original panel on a badminton racket. After all, it sometimes happens that one of them gets lost or breaks, and it’s a pity to throw away the second. So, if you have such a thing lying around on your balcony or attic, then quickly take it out and start creating beauty.
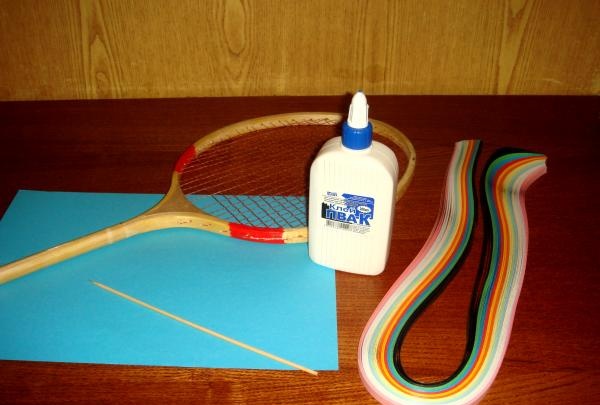
To work, you should prepare the following components:
- badminton or tennis racket;
- a sheet of blue colored paper (or any other);
- a tube of PVA glue;
- scissors and pencil;
- a set of paper strips for quilling (5 mm wide);
- wooden skewer (toothpick or special tools for this technique).
Step 1. At this stage you need to prepare the basis for work.
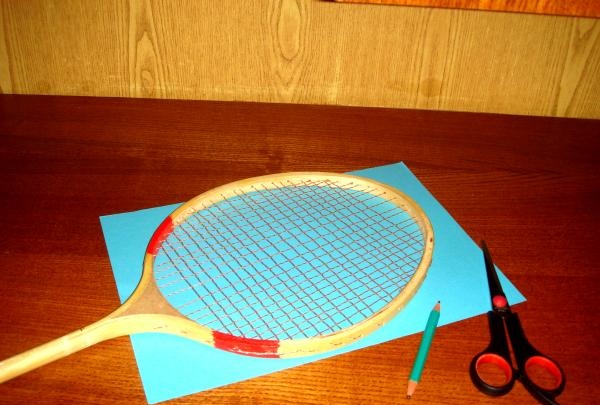
Take a colored sheet of paper, trace the diameter of the racket with a pencil and cut out an oval of a suitable shape. Insert it and secure it to the racket.The paper can be glued to the racket using glue or double-sided tape.

Step 2. Now we move on to making flowers for work.
Take 6 long pink strips of paper, scissors, a wooden skewer and PVA glue.
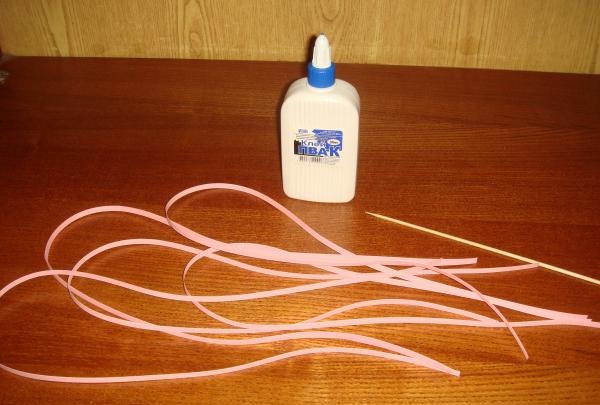
Cut the strips in half to make 12 strips. You need to twist loose spirals out of them.
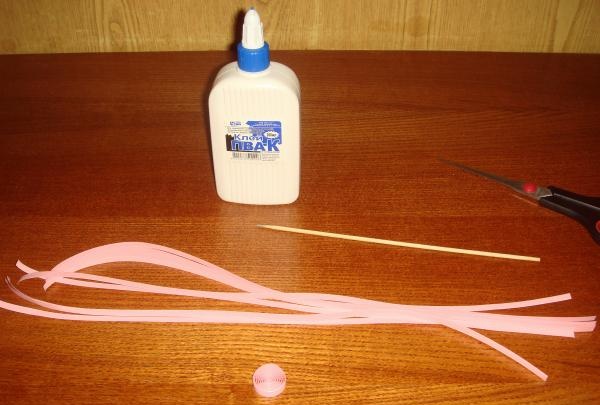
There should be 12 of these pink round spirals. Plus make another yellow one.
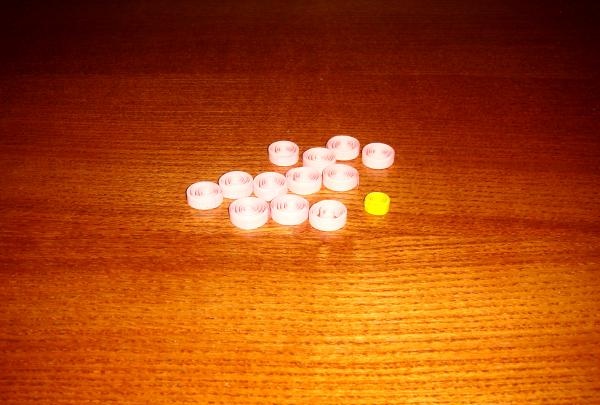
From them it is necessary to make an element called an “eye”. To do this, you need to squeeze the round workpiece on the sides with both hands.
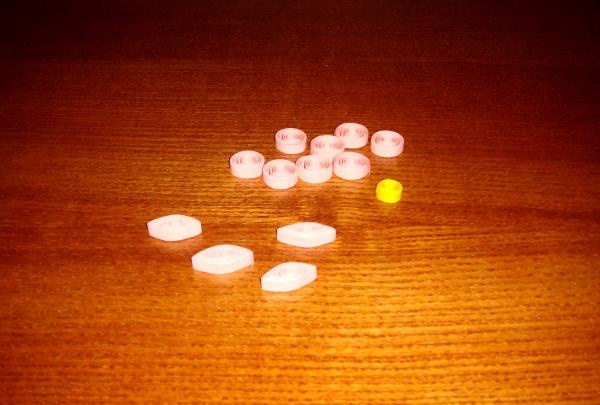
Fold the blanks in a circle so that they touch each other and glue them together. Glue a yellow spiral in the middle. The flower is ready.
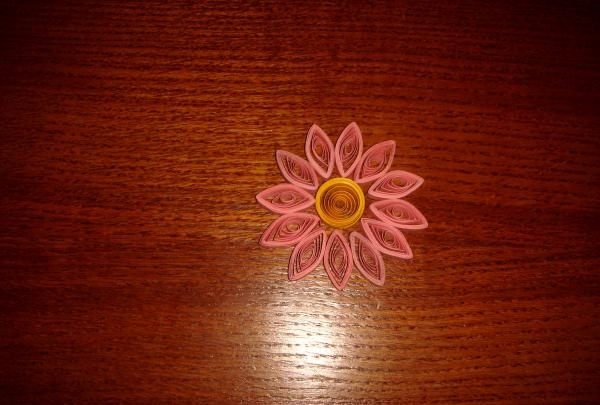
You should make about 5-7 of these flowers. Multi-colored plants will look better.
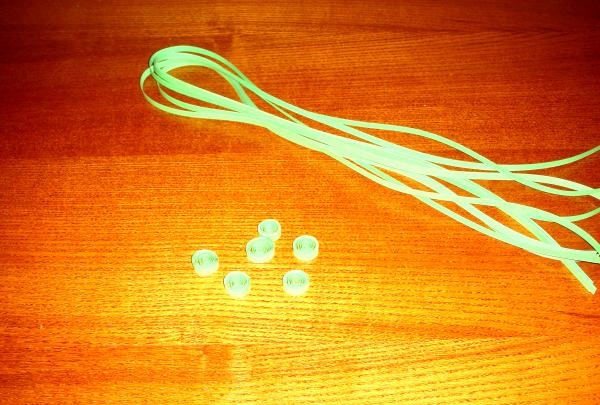
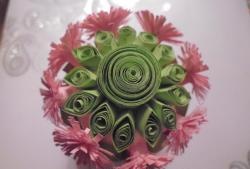
Step 2. Now let's start making leaves.
Take long green strips (15 pieces), cut them in half.
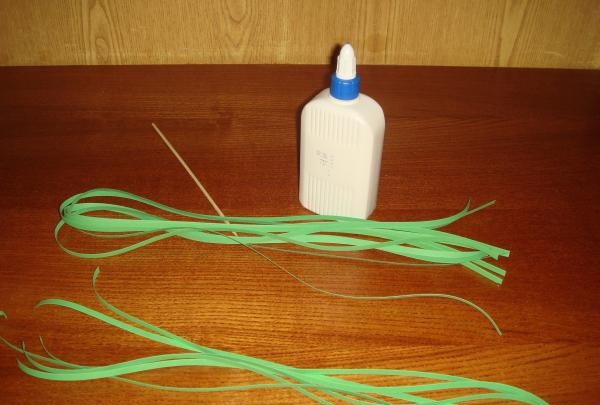
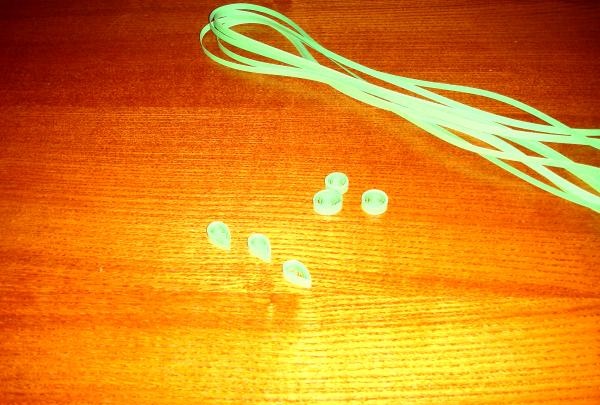
Start twisting loose spirals.
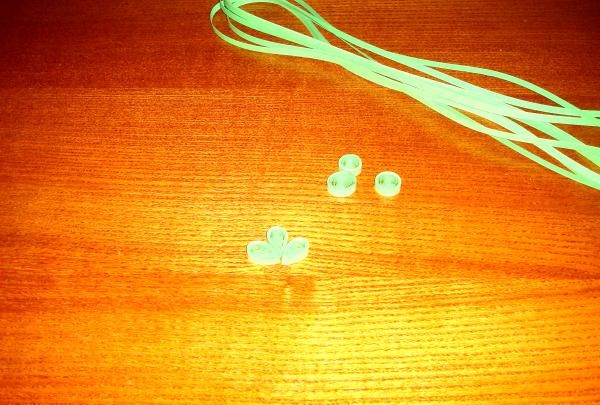
For the leaves you need to make an element called “drop”. To do this, you hold the round workpiece with one hand, and squeeze the opposite edge with the other.
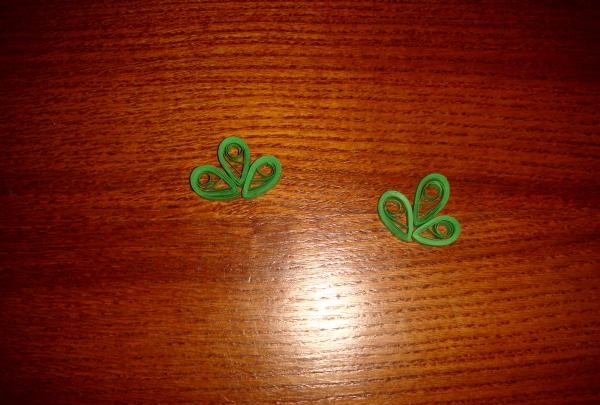
Now glue the three elements together.
There should be 8-10 such leaves.
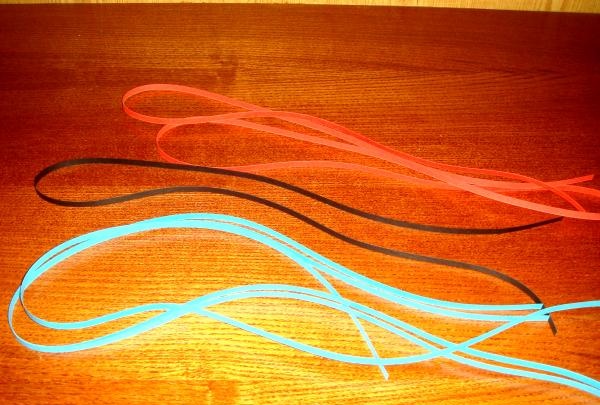
Step 4. Let's move on to making the dragonfly.
Take 3 blue stripes, 2 red and 1 black.
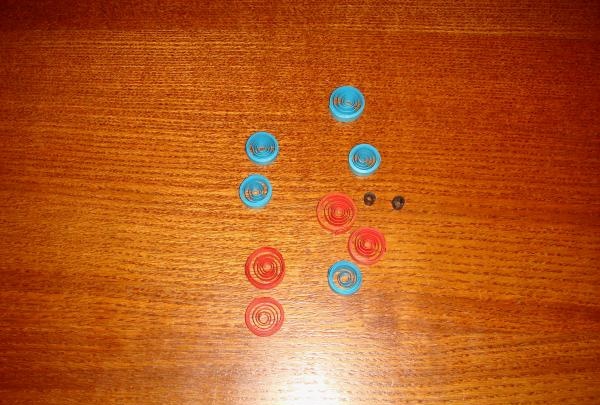
Cut in half and form into loose round spirals. The blue ones (5 pieces) remain in this shape, make “drops” from the red ones (4 pieces), and twist small tight spirals from the black ones (2 pieces).
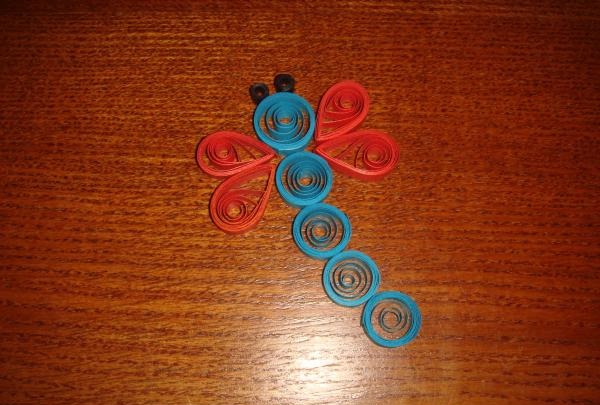
Glue the elements together as shown in the photo.
Step 4. The moth is made using the same principle. You need to twist 1 red round blank, 7 purple “eye” elements, 24 blue “drop” and “eye” shaped elements and 1 “horns” element.It must be glued as in the photo.
Step 5. Let's start assembling the finished parts of the picture.
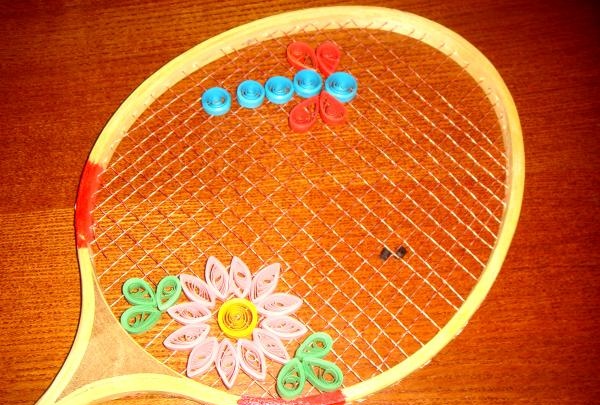
This beautiful original panel was created using the quilling technique. You can hang it on the wall and admire your creation.
To work, you should prepare the following components:
- badminton or tennis racket;
- a sheet of blue colored paper (or any other);
- a tube of PVA glue;
- scissors and pencil;
- a set of paper strips for quilling (5 mm wide);
- wooden skewer (toothpick or special tools for this technique).
Step 1. At this stage you need to prepare the basis for work.
Take a colored sheet of paper, trace the diameter of the racket with a pencil and cut out an oval of a suitable shape. Insert it and secure it to the racket.The paper can be glued to the racket using glue or double-sided tape.
Step 2. Now we move on to making flowers for work.
Take 6 long pink strips of paper, scissors, a wooden skewer and PVA glue.
Cut the strips in half to make 12 strips. You need to twist loose spirals out of them.
There should be 12 of these pink round spirals. Plus make another yellow one.
From them it is necessary to make an element called an “eye”. To do this, you need to squeeze the round workpiece on the sides with both hands.
Fold the blanks in a circle so that they touch each other and glue them together. Glue a yellow spiral in the middle. The flower is ready.
You should make about 5-7 of these flowers. Multi-colored plants will look better.
Step 2. Now let's start making leaves.
Take long green strips (15 pieces), cut them in half.
Start twisting loose spirals.
For the leaves you need to make an element called “drop”. To do this, you hold the round workpiece with one hand, and squeeze the opposite edge with the other.
Now glue the three elements together.
There should be 8-10 such leaves.
Step 4. Let's move on to making the dragonfly.
Take 3 blue stripes, 2 red and 1 black.
Cut in half and form into loose round spirals. The blue ones (5 pieces) remain in this shape, make “drops” from the red ones (4 pieces), and twist small tight spirals from the black ones (2 pieces).
Glue the elements together as shown in the photo.
Step 4. The moth is made using the same principle. You need to twist 1 red round blank, 7 purple “eye” elements, 24 blue “drop” and “eye” shaped elements and 1 “horns” element.It must be glued as in the photo.
Step 5. Let's start assembling the finished parts of the picture.
This beautiful original panel was created using the quilling technique. You can hang it on the wall and admire your creation.
Similar master classes


Particularly interesting


Comments (0)
