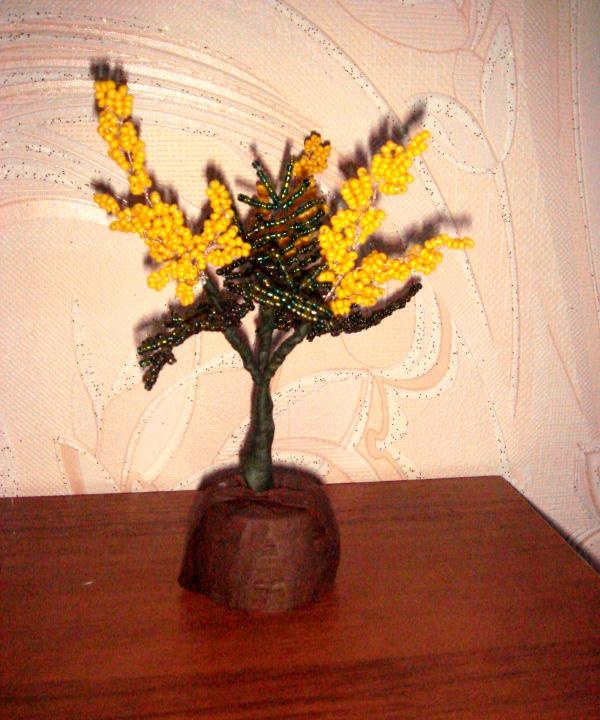
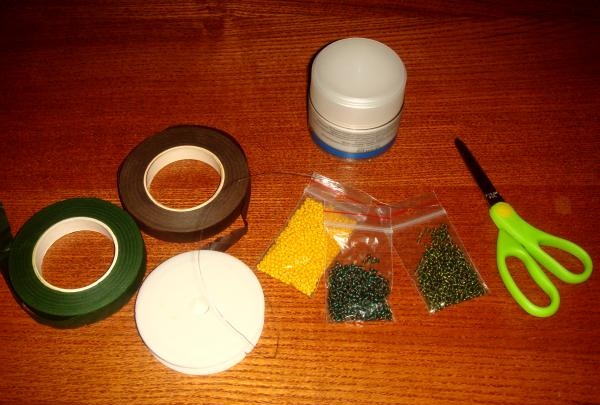
To create mimosa from beads you need to prepare:
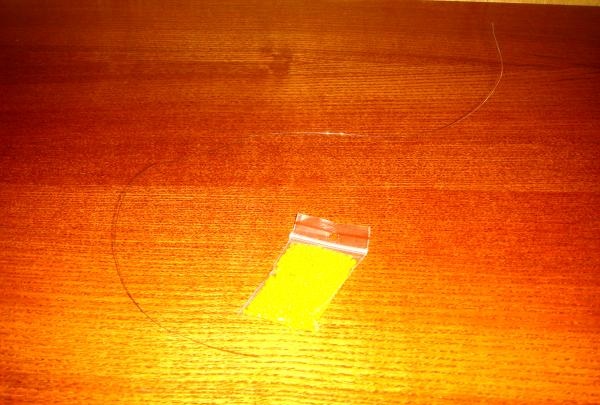
- yellow, green and dark green beads (two packs of 25 g);
- two skeins of thin wire (green and silver), plus a piece of denser wire (aluminum will do);
- floral tape (brown and green);
- an empty cream jar;
- scissors;
- plasticine.
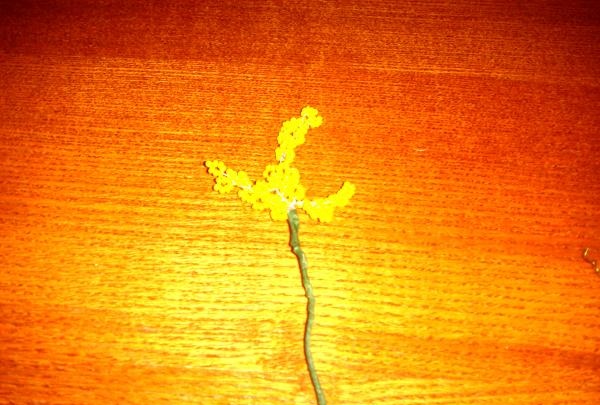
Step 1. First you need to cut a piece of silver wire (about 60 cm) and take yellow beads. At this stage you will make a branch with flowers.
Place several beads on the wire (up to 20 pieces).
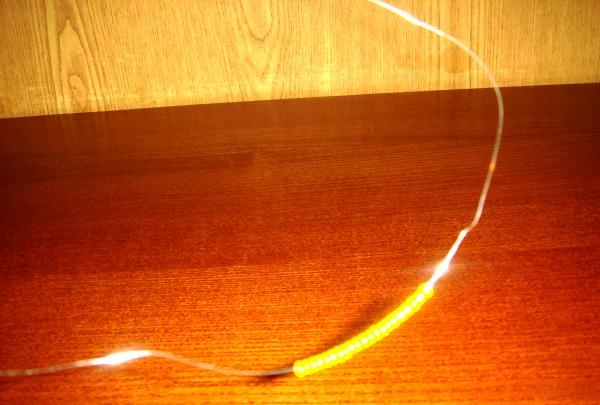
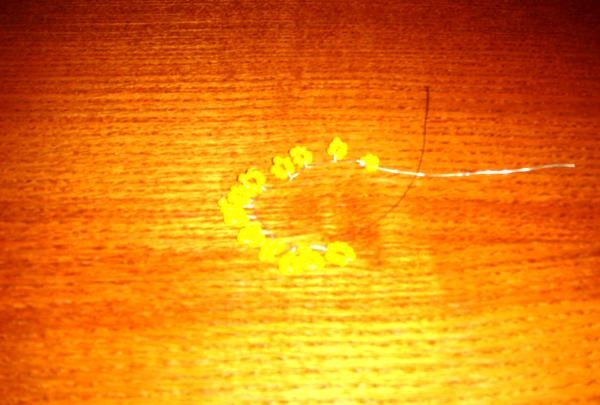
Separate 7 pieces and make a loop of wire, you get the first turn.
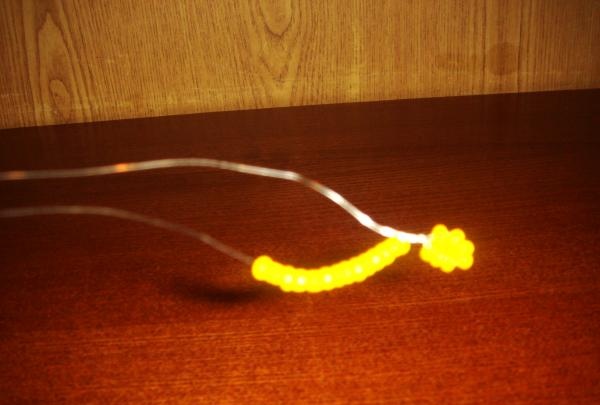
So continue to form turns of 7 beads.

There should be approximately 15 turns on one branch. If there are fewer of them, the branch will be shorter; if there are more, the branch will be longer.
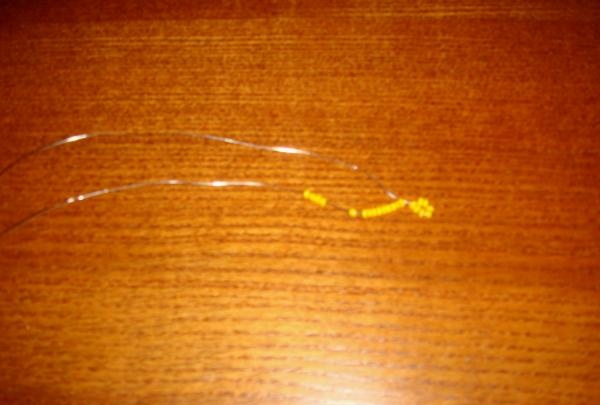
Once all the flowers are formed, you need to fold the twig in half and twist the two halves of the wire together to form a tight twig.
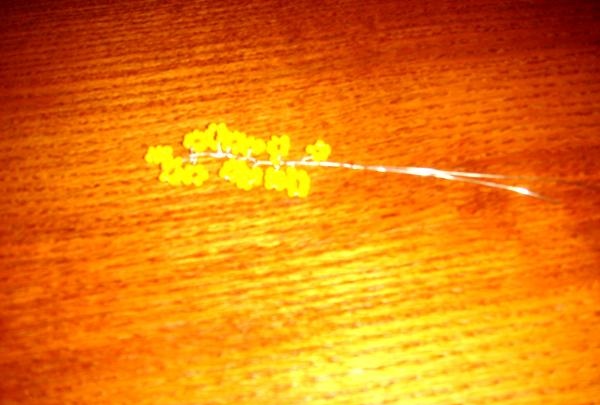
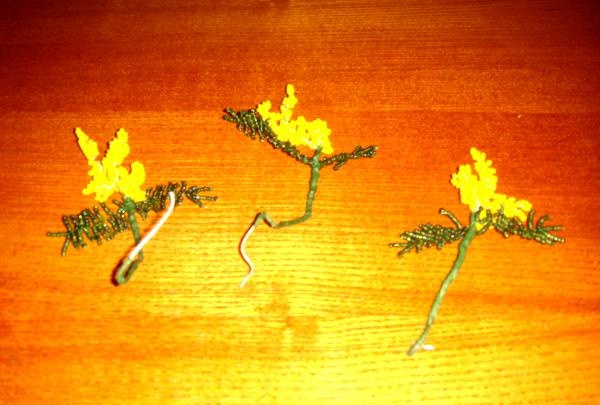
It is necessary to make 5-6 long blanks with flowers and the same number of short ones.
Step 2. Now you need to move on to weaving the leaves. In mimosa they look like spruce branches. Therefore, if you have already made a Christmas tree or pine tree from beads, then it will be easier for you. Cut 80 cm of green wire and put 7 green beads on it (it is better to mix dark with light and mix them up). Leave one (outermost) bead on the wire loop, and pass the other end through the remaining 6.

Gradually you should have from 10 to 28 thin leaves. When short ends of the wire remain, intertwine them together.
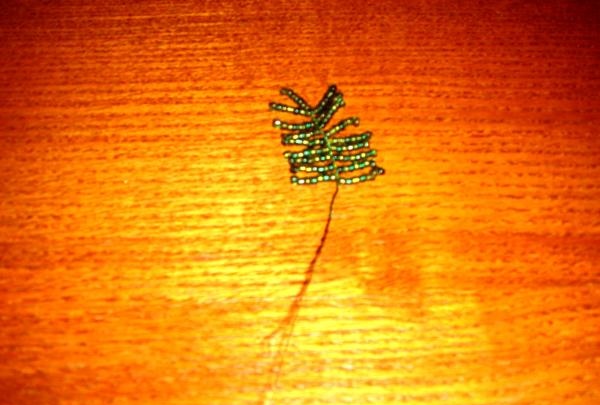
You need to make 6 of these complex leaves. They can be of different lengths, it all depends on the size of the wire cut.
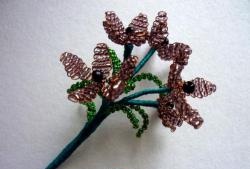
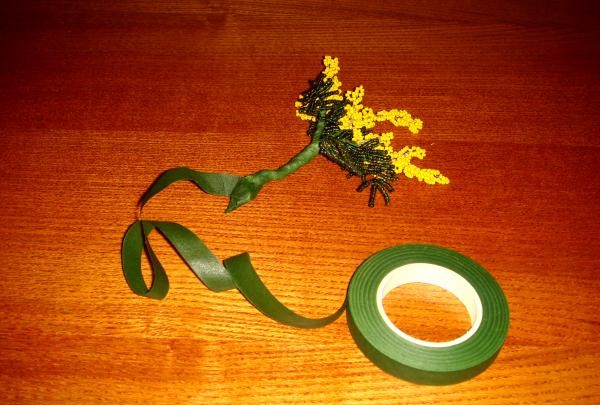
Step 3. Now proceed to forming the tree. To begin, cut 10 cm of aluminum wire and screw three branches with flowers (yellow) to its end. Wrap everything with green floral tape (it's sticky on one side).
Then add two leaves to the branch and wrap it with green ribbon again.
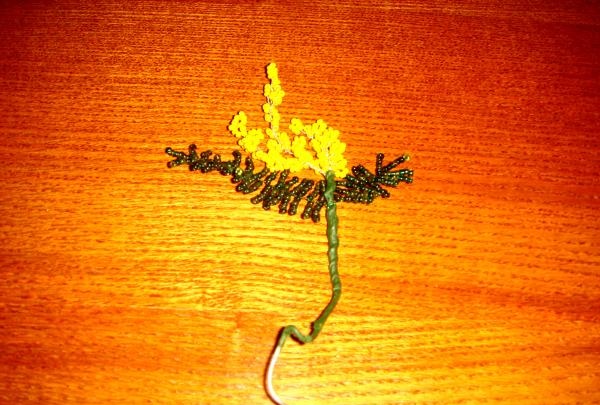
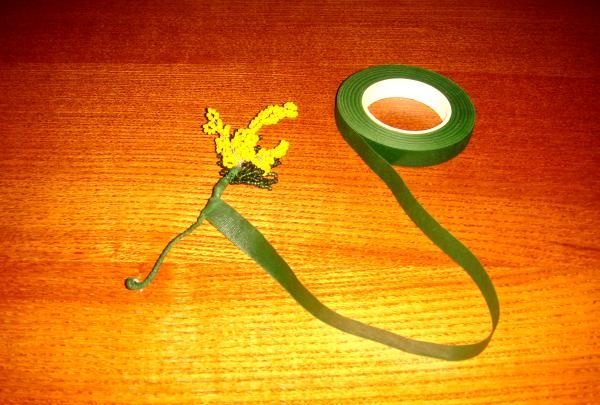
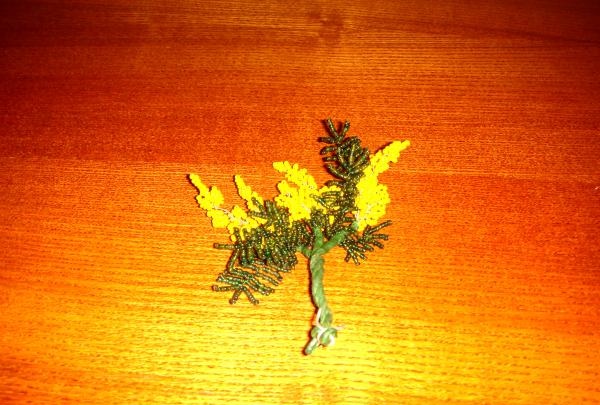
So you should get three large branches on which 3 yellow and 2 green blanks are attached.
Twist the three trunks together and secure the ends of the wires tightly. Wrap the entire tree with green tape.
Step 4. Take an empty cream jar (bottom part) and put a piece of plasticine in it.Wrap the jar with brown floral ribbon.
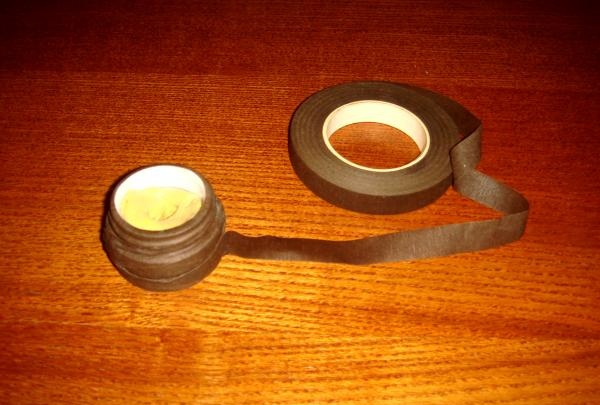
Insert the tree into the container and secure it well with plasticine. Then you need to carefully wrap the entire surface with a brown ribbon.
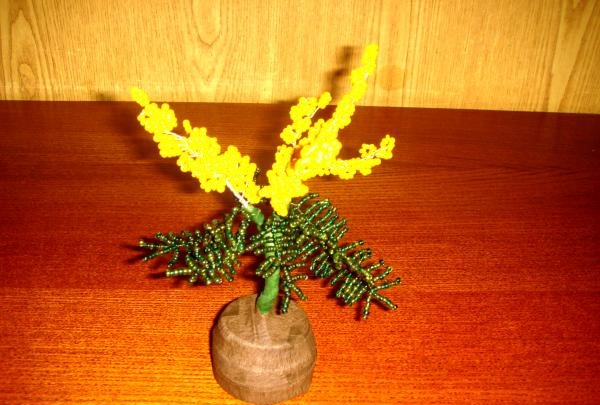
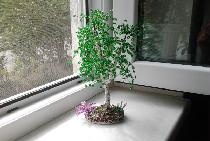
The magnificent miniature mimosa tree is ready. It will look original on one of the shelves in your home.