Do it yourself
Life hacks, master classes, useful tips, recipes.
home » Handicraft techniques » Scrapbooking » Scrapbooking cards » Folding postcard “Happy New Year”
It’s nice to receive an interesting surprise for any occasion and for any holiday, especially if it’s the New Year. New Year's present after all, what makes them so interesting is that they are given in a particularly festive atmosphere; we find them under the New Year’s tree, which in itself is unusual. Any gift is valuable, especially if it is truly given with soul and love. It doesn’t matter what it will be, the most important thing is that there is such a surprise, so it is important to prepare it in advance so that it would be pleasant to give it to you and to receive it as a gift to the person for whom you are preparing it. The most memorable surprise is the one that is made with soul and love, namely with your own hands. Sincere wishes and warm words of congratulations can be left and written in a greeting card. New Year is a magical holiday, so the postcard should correspond to this holiday. Right now we will do it in technology scrapbooking a bright New Year's card of an unusual shape. Why unusual? Because it will be made of two parts, one of which is folding in shape, and the second will be like a box cover.

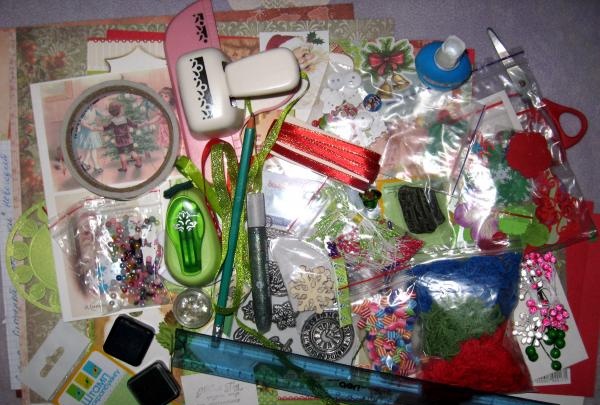
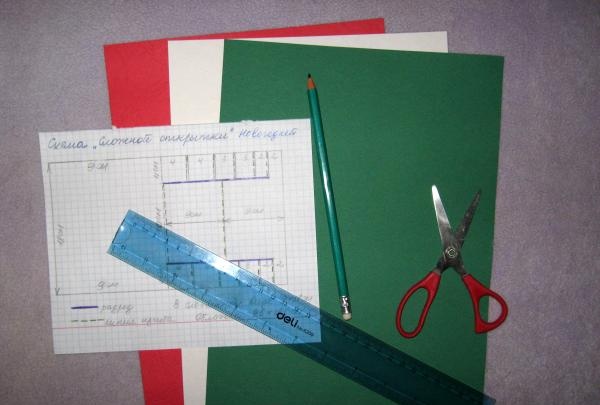
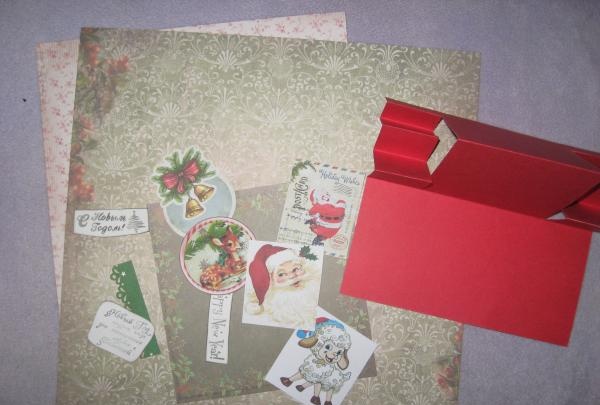
We need to take the following:
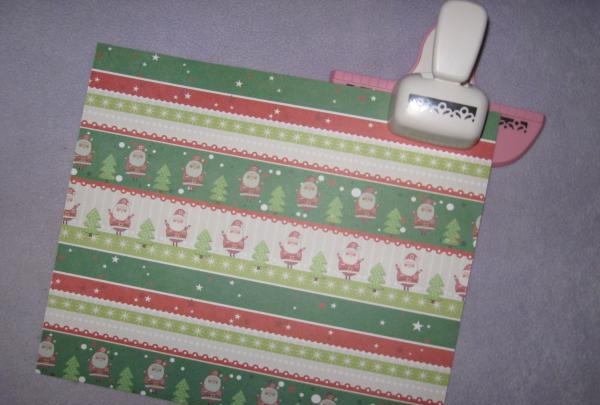
• Checked sheet for pattern;
• Leather-look cardboard sheets in landscape format in green and red;
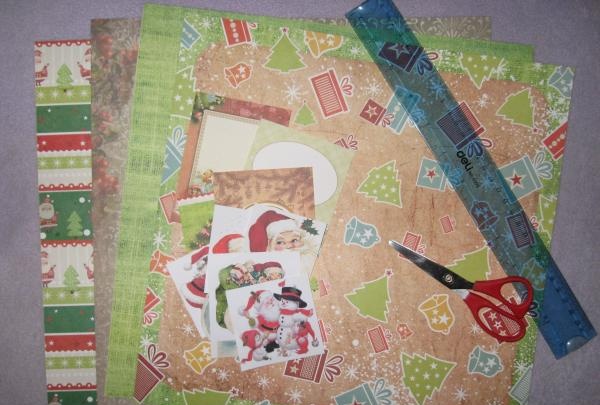
• Several sheets of New Year's paper for scrapbooking;
• New Year's pictures;
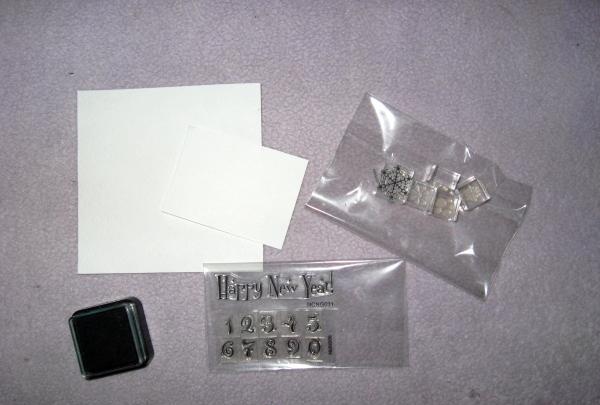
• Set of New Year's acrylic stamps;
• Ink, acrylic block;
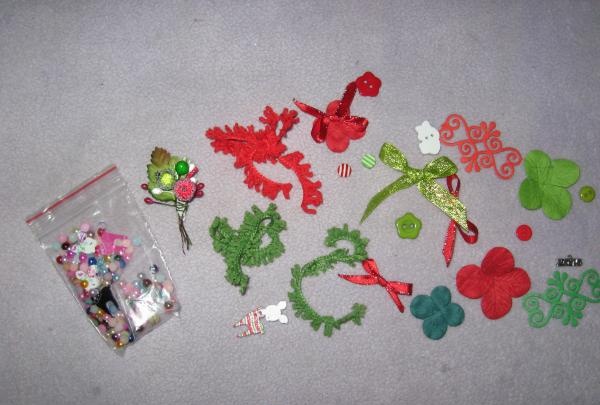
• Hydrangea flowers are green and red;
• Red and green yarn;
• Openwork hole punch;
• Buttons of different shapes;
• Openwork red cutting in the form of an ornament;
• Red satin ribbon with gold lurex 5 mm wide;
• Shiny stamens, sugared berries, green petal, small stamens, half beads;
• Double-sided tape, PVA glue, ruler, stationery knife, scissors, pencil;
• Glue gun;
• Sewing machine.

Folding postcard

We need to take the following


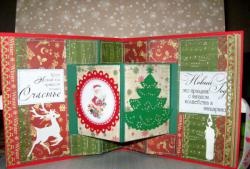
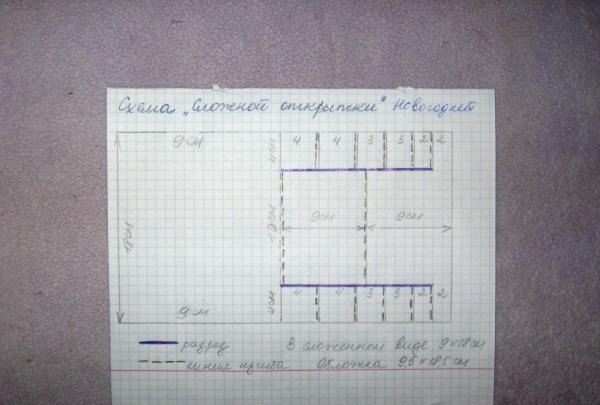
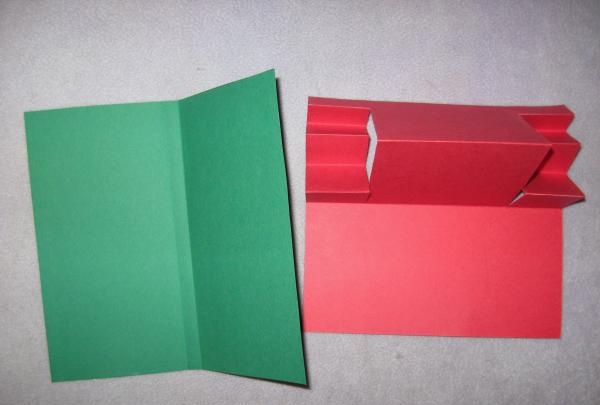
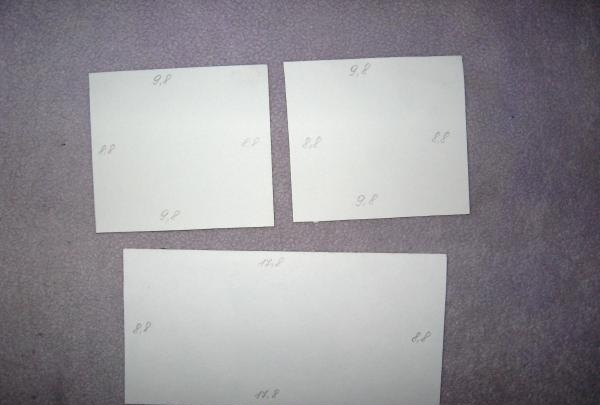
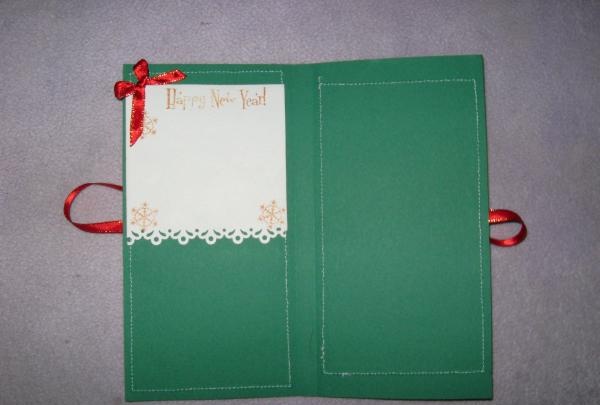
According to the diagram shown on the checkered sheet, we cut out the bases of both parts of the postcard from red and green cardboard. The diagram clearly shows the bending lines and cutting lines, which we draw with a stationery knife.

preparing decorations for the box cover

preparing decorations for the box cover


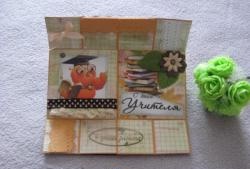
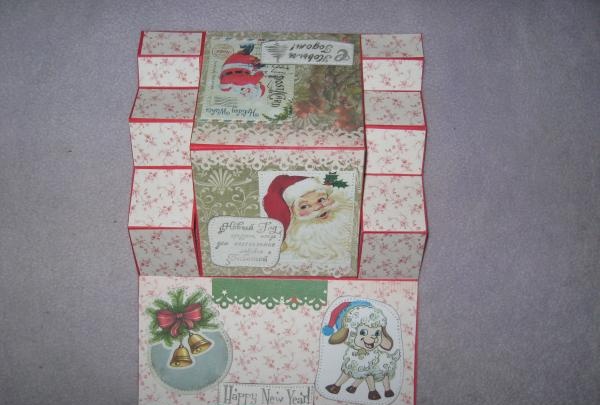
First, we prepare decorations for the box cover from scrap paper.

preparing decorations for the box cover

preparing decorations for the box cover


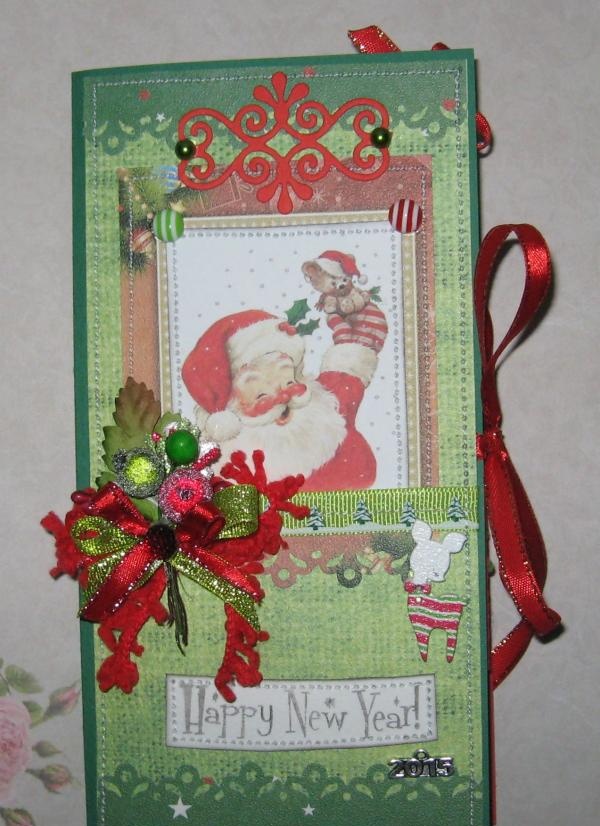
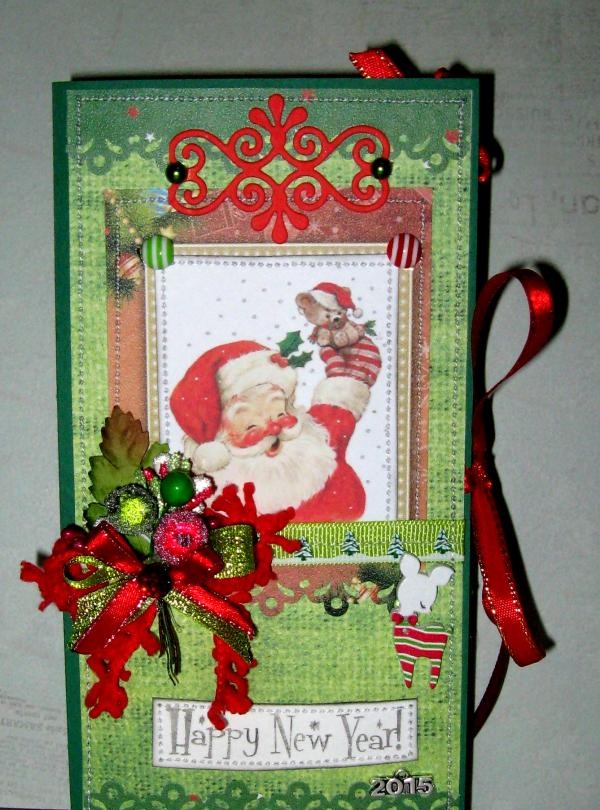
Cut out two 9*18 cm shapes from the same paper. Then from the other two we cut out a card and individual strips, which we make into shapes using a hole punch. We cut two 18 cm strips from the red ribbon and glue them to the green base.

making New Year's stamping

making New Year's stamping


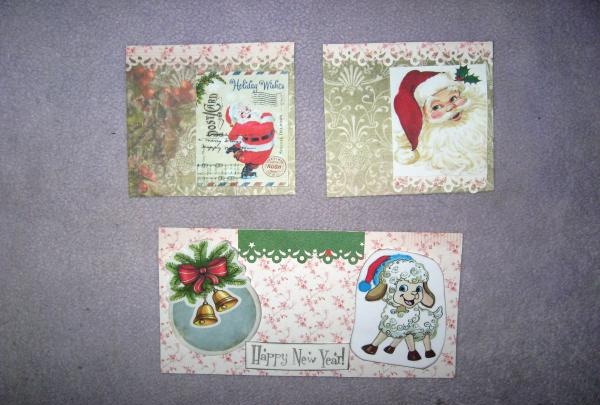
We make New Year's stamping on watercolors.

making New Year's stamping

making New Year's stamping


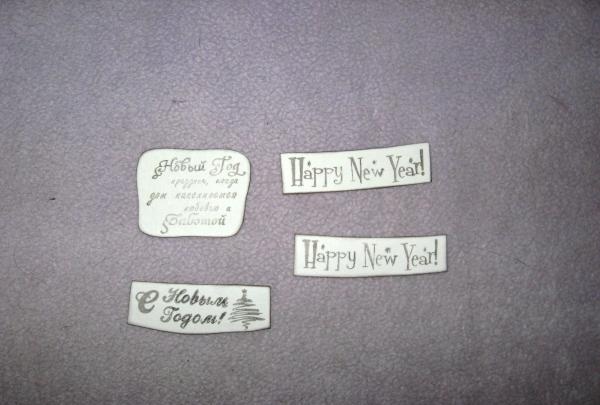
We cut out the inscriptions and ink them around the edges. We sew the pictures and strips on a machine, then completely sew the scrap rectangle to the base.

sew strips on a machine

sew strips on a machine


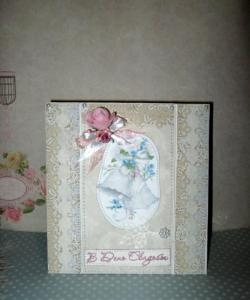
We are preparing the decorations for the card itself, cutting out the following blanks from different sheets. We also make stripes, glue pictures, stripes and inscriptions.

Preparing the decorations for the postcard itself

Preparing the decorations for the postcard itself


We sew all glued cardboard elements separately. Don’t forget to cut out 4 more pieces of the following sizes: 3.8x3.8 cm, 2.8x3.8 cm and 1.8x3.8 cm.

glued cardboard elements

glued cardboard elements


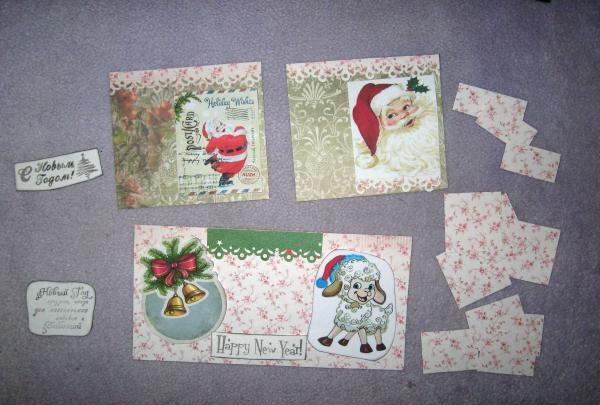
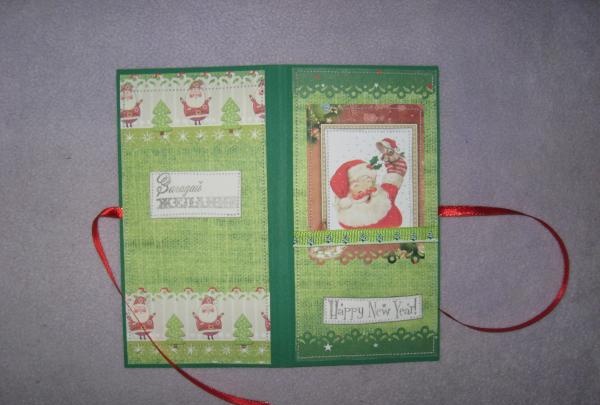
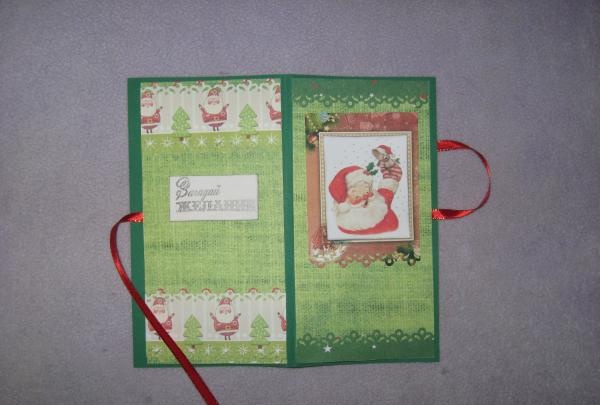
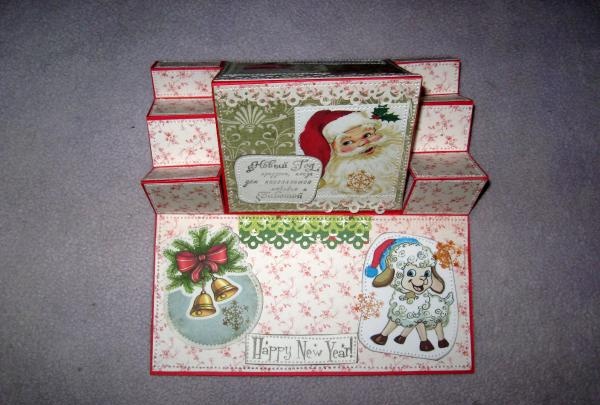
Glue the scrap workpiece to the base. We sew everything on.

Glue the scrap workpiece to the base

Glue the scrap workpiece to the base


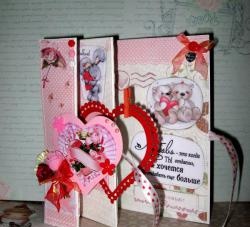
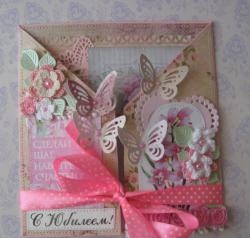
For a congratulatory inscription, we cut out a 9*9 cm blank from watercolors, make it curly at the bottom, stamp a New Year's inscription at the top, and glue a bow in the corner.

cut out the blank

decor for both blanks


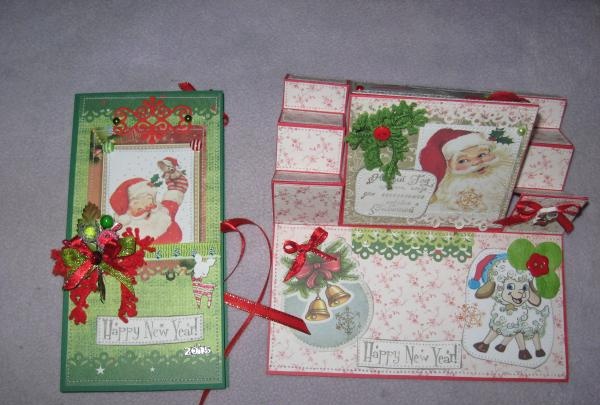
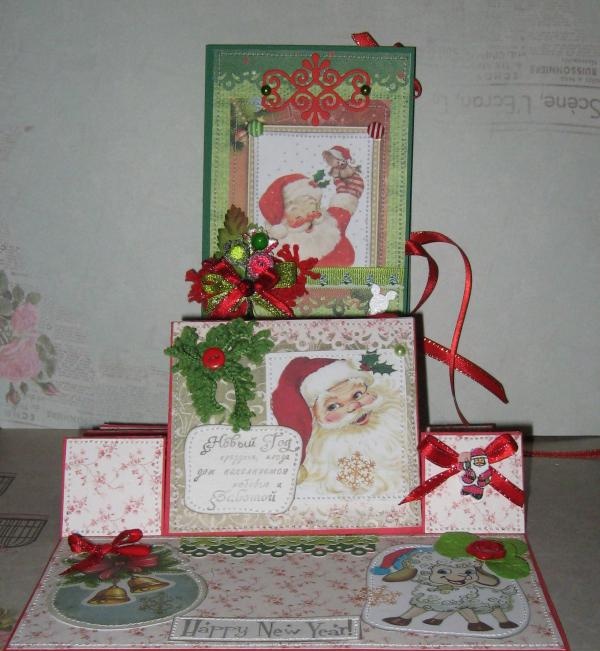
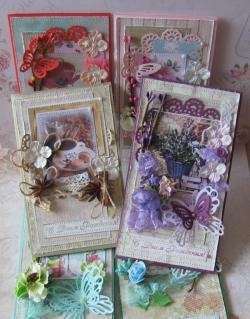
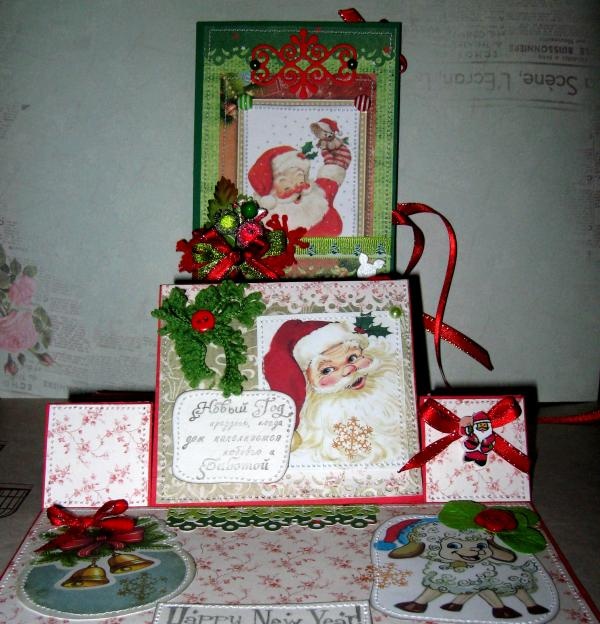
Now we glue with a glue gun decor for both workpieces. It turns out this is an interesting postcard that folds and hides in a box.

decor for both blanks

Folding postcard

Folding postcard

Folding postcard
come back
Comment
  • bowtiesmilelaughingblushsmileyrelaxed relaxedsmirk
    heart_eyeskissing_heartkissing_closed_eyesflushedrelievedsatisfiedgrin
    winkstuck_out_tongue_winking_eyestuck_out_tongue_closed_eyesgrinningkissingstuck_out_tonguesleeping
    worriedfrowninganguishedopen_mouthgrimacingconfusedhushed
    expressionlessunamusedsweat_smilesweatdisappointed_relievedwearypassive
    disappointedconfoundedfearfulcold_sweatperseverecrysob
    joyastonishedscreamtired_faceangryragetriumph
    sleepyyummasksunglassesdizzy_faceimpsmiling_imp
    neutral_faceno_mouthinnocent
5+two=
Comments (0)

Do it yourself - crafts and master classes | Page 2

PVC pipe compressor | Do it yourself

Do-it-yourself powerful F-shaped clamp from old valves

Ice cream based on three components without sugar and special equipment | Do it yourself

«Do it yourself - with your own hands» - a site of interesting homemade products made from scrap materials and items at home. Step-by-step master classes with photos and descriptions, technologies, life hacks - everything a real master or just a craftsman needs for needlework. Crafts of any complexity, a large selection of directions and ideas for creativity.

We recommend reading

Washing machine error codes