1. Plastic bottle;
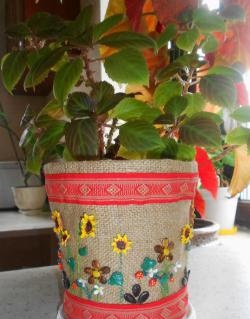
2. Empty small flower pot;
3. A little double tape;
4. Bolts for connecting the pot to the bottle;
5. Nylon stocking flesh-colored;
6. Yarn “grass” of green color;
7. Ready-made or home-made eyes;
8. Threads of flesh-colored, threads of green;
9. Fatin or organza for the manufacture of thorns;
10. Stapler;
11. Large beads;
1. We begin to make a Christmas tree from the frame, they will serve as a plastic bottle, in this case, from under the milk. The bottle should be pushed tightly into the pot and bolted to it.

2. We wind a strip of double tape on a bottle over a flower pot.

3. Wrap a strip of double scotch tape with yarn “grass”, wrap the synthetic winterizer tightly onto the bottle.

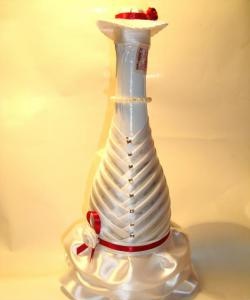
4. We make a cone out of paper and put it on a bottle over a synthetic winterizer. There should be enough syntepon so that the bottle is dressed tightly. You can print the blank for the cone from the Internet to make it perfectly smooth. We fill the synthetic winterizer from below so that its edges do not protrude.

5. We make a blank for the face of the future Christmas tree. To do this, take a flesh-colored stocking, put a ball from sintepon into it, shape the head, and also a small ball - the future nose. To give expressiveness to the facial features of the tree, we pull off the doll’s nose, cheeks and mouth with flesh-colored threads. The denser the pull, the older the Christmas tree will look. We put the stocking with the head on the bottle. We turn the bottom edge of the stocking under the synthetic winterizer, over the edge of the cone.

6. Next, we proceed to the manufacture of Christmas tree needles. To do this, cut out squares 10 * 10 cm from tulle or sintepon. We fold the squares diagonally, getting triangles, bend the edges of the triangles so that we get rhombs and chip them with a stapler. This design of tulle is popularly called a funky. Sew the "little ones" to the Christmas tree, starting from the bottom. The denser the "needles" will be located to each other, the more you will need "pounds" and the more magnificent your Christmas tree will be in the end.

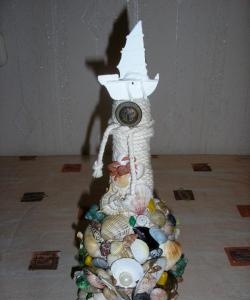
7. From the remnants of a kapron stocking we sew handles (we form tubes and we stuff them with a synthetic winterizer). We make the skin of flesh-colored constriction fingers. Wrap the finished handles with “grass” and sew to the shoulder line. We proceed to decorate the Christmas tree. We equip it with eyes, they can be glued to the “Moment” glue or the same double adhesive tape. We draw lips with a bright marker. We do a light make-up, armed with real blush, draw eyebrows and eyelashes with a marker. We make hair from yarn “grass”, it is this yarn that gives the necessary shaggy. We braid the hair in braids and tie it with a ribbon. We sew large beads to each needle, they can be both monophonic and multi-colored.

Herringbone is ready.

Note: In order for the Christmas tree to stand reliably, you can first pour pebbles on the bottom of the pot. If desired, you can knit a beret for a forest beauty or a hat, as well as a scarf, such elements can give her special charm and sophistication.