It would be more convenient to work, of course, with thin paper, for example, newspaper, but if you don’t have it, then you can make a basket from what you have at hand, the main thing is to wrap it thinly.
For work we will need:
1. Notebook (preferably lined), from 12-18 sheets;
2. Glue, scissors;
3. A rod for twisting paper (you can take a knitting needle), we have a rod from under a pen;
4. Paints (any, of your choice), brush, glass for drawing.

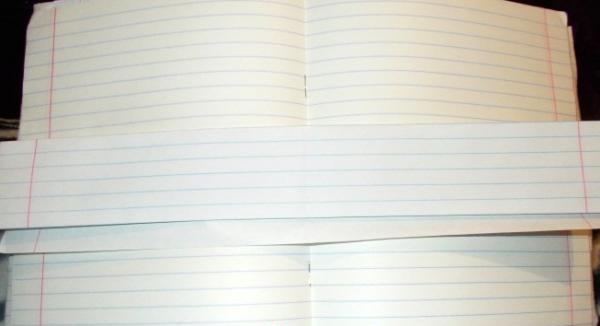
First, we pull out two sheets of paper from the center of the notebook and divide them into equal parts, folding them crosswise several times:

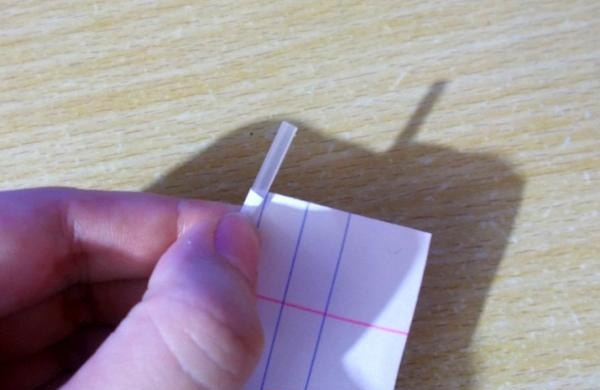
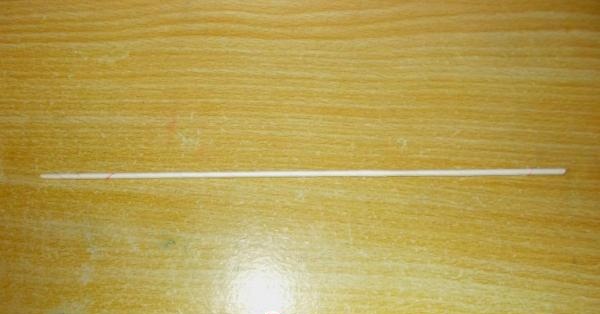
Using the rod from under the pen, we roll the resulting pieces of paper into a tube, twisting it as shown in the photo. This way you can wrap the paper as thinly as possible:
Glue the tube in the right places:
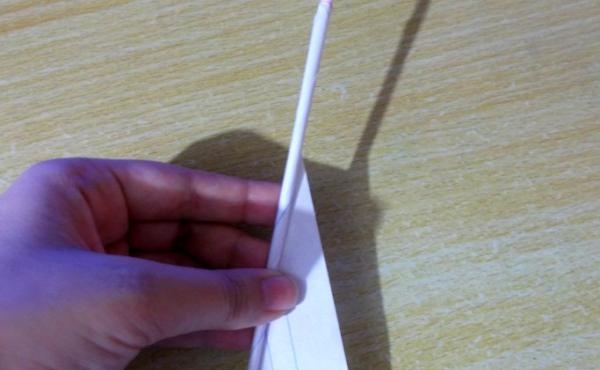
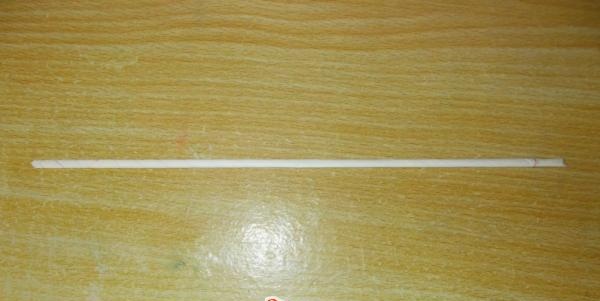
The tube should look like this:
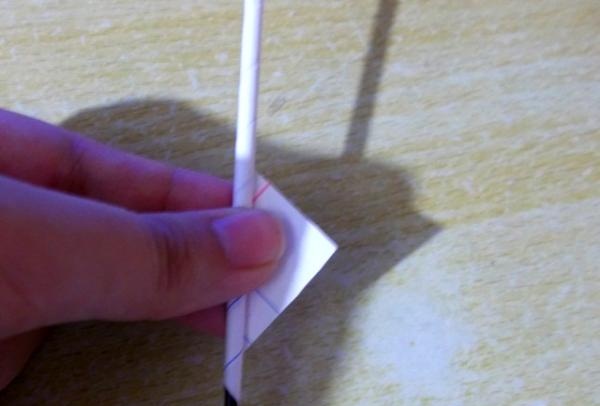
We make it flat by pressing it on top and bottom:
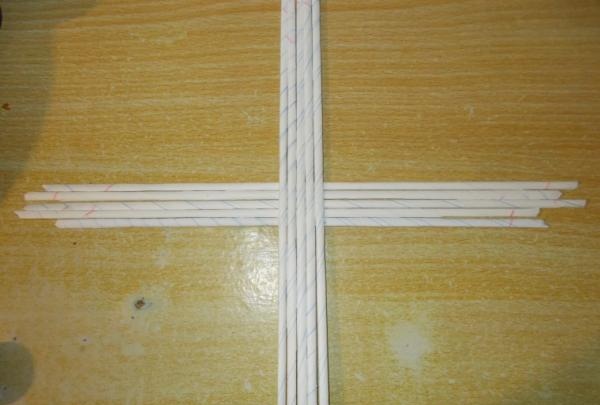
Now we fold five of these tubes lengthwise and crosswise:
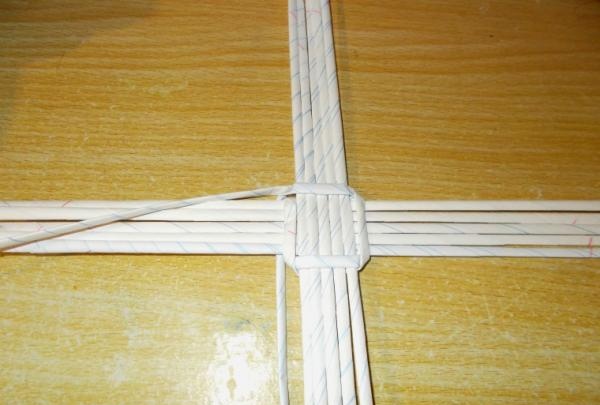
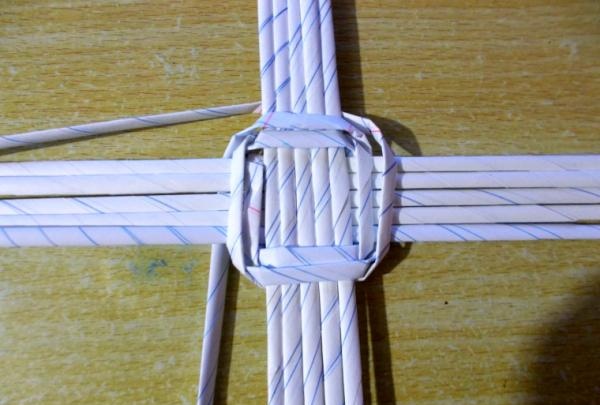
We take two tubes and connect them to each other, gluing their ends together. We start weaving from the middle of the resulting tube: one half of it should braid the center (bottom of the basket) on the right and left sides, and the other half on the top and bottom.
The very first circle of weaving should look like this:
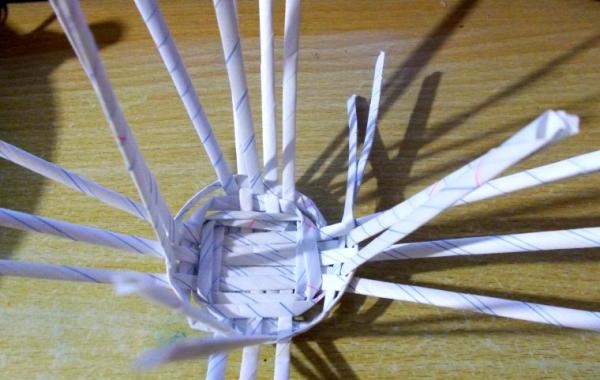
We braid the bottom in the second circle:
Starting from the third circle, all other weaving circles move towards the top from the bottom. Now you should braid each tube separately, and you should try to bring the side tubes of each of the four sides closer to each other, leaving a suitable distance between them:
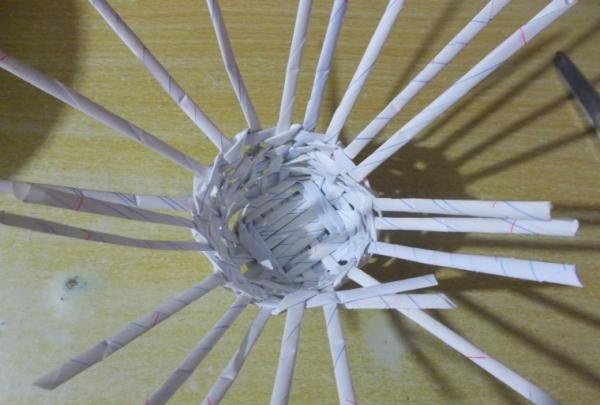
Thus, we braid the future basket in a circle, determining and selecting the appropriate size for it. (For example, I decided to expand it upward, and for this I began to bend the tubes downwards).
Having finished weaving, we cut off the tubes sticking out in a circle and bend them in turn to the inner and outer sides:

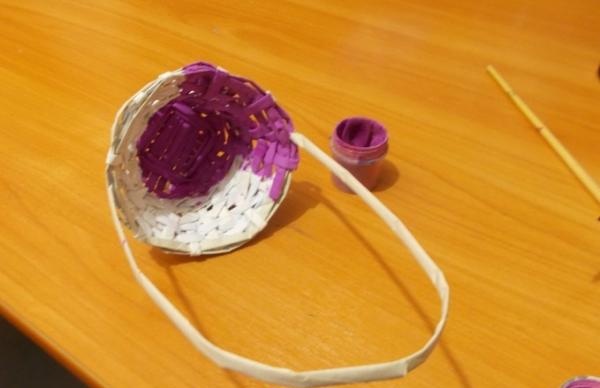
Having folded all the ends, we secure them with glue, after which we attach a handle, choosing thin paper for it; Into the resulting upper loops of the basket we insert two tubes of newspaper or other thin paper, and pass it through all the loops, gluing them together at the end:
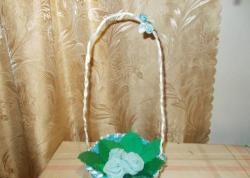
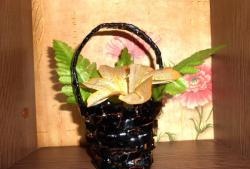
Now the basket needs to be painted. I used gouache paints for this, but you can also use watercolors if you don’t have any. You can also choose any shade to suit your taste:
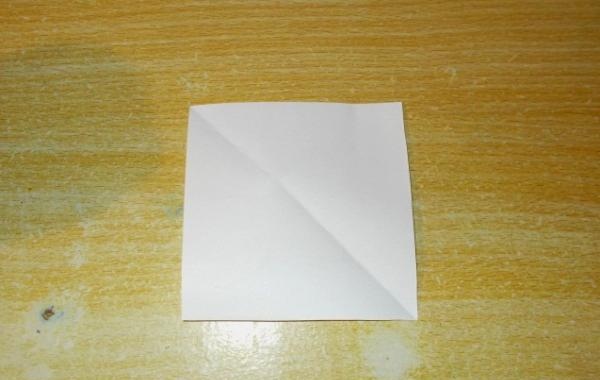
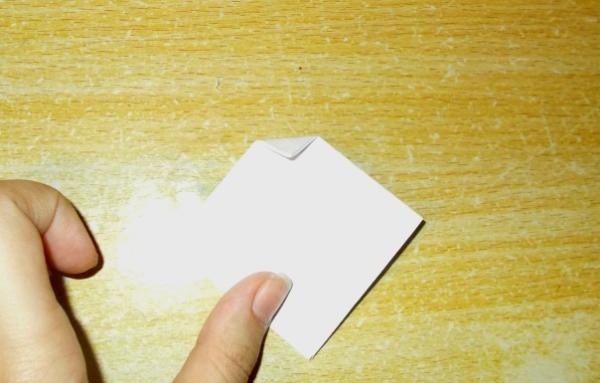
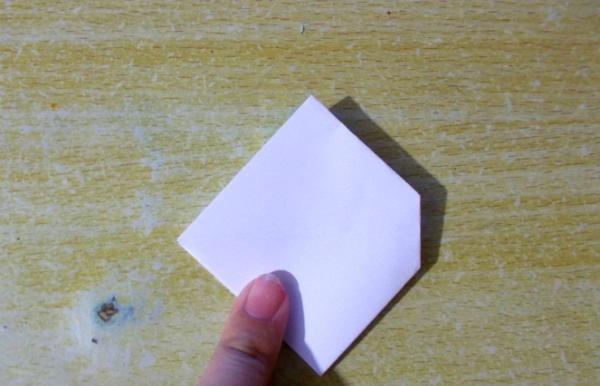
Let's make the basket decorative origami bow. For this we need a small square piece of paper:
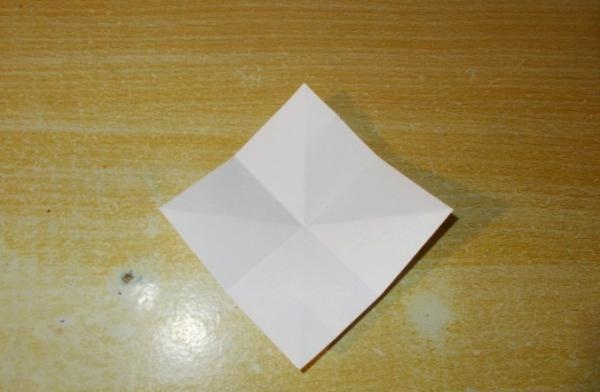
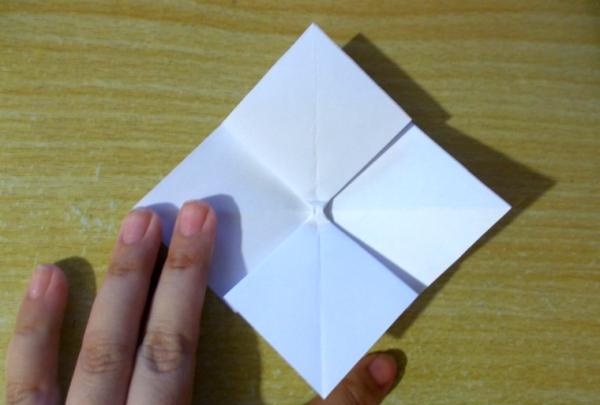
Bend it in four directions:
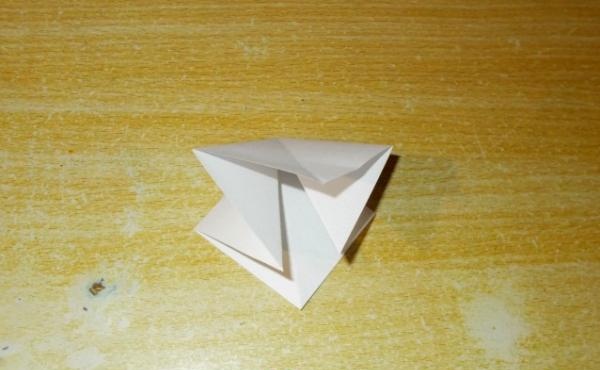
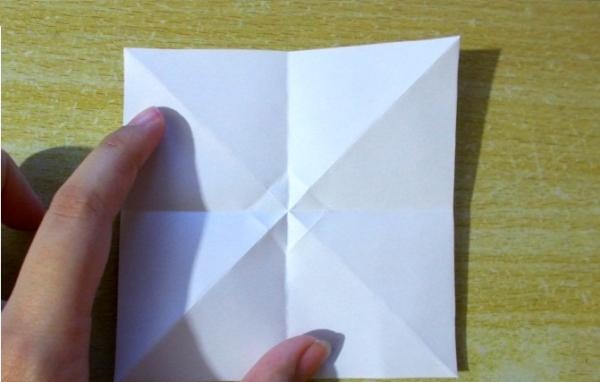
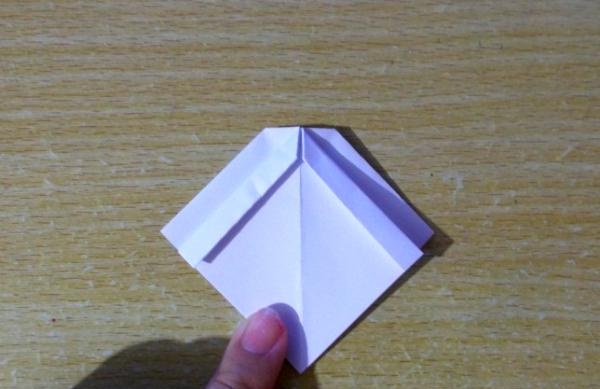
Let's create a shape like this, folding the sides:
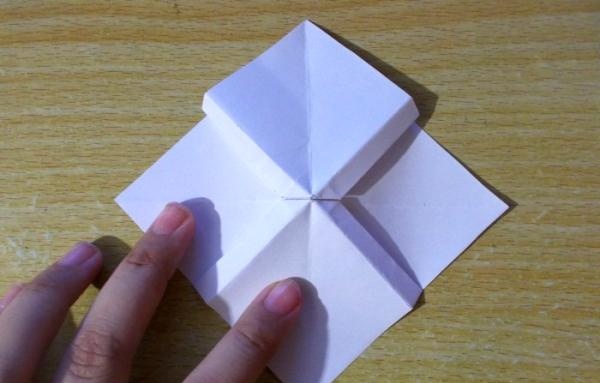
We bend the upper side on it (the lower part should open):
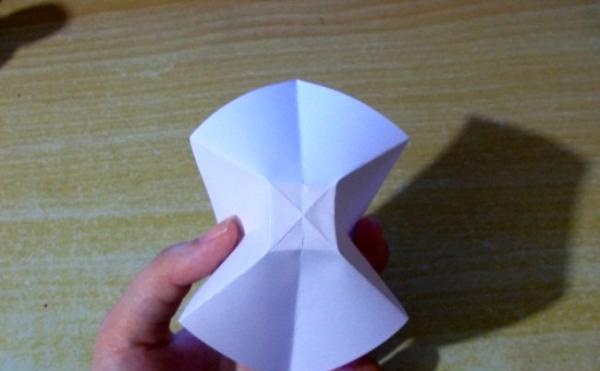
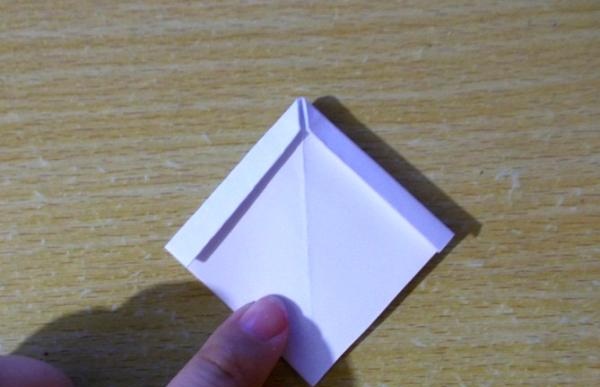
We return our figure to its original position:
We bend the side ends down on it:
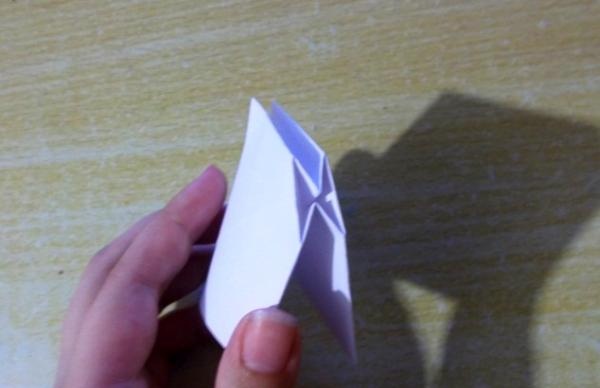
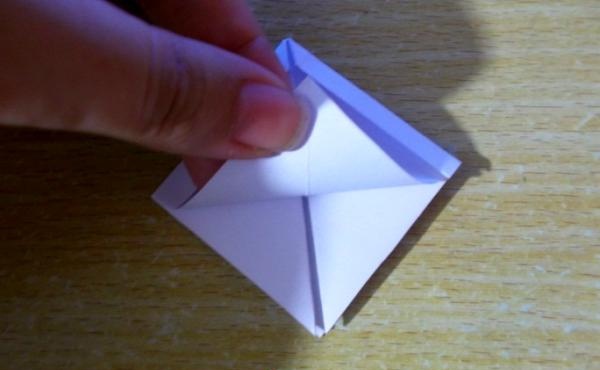
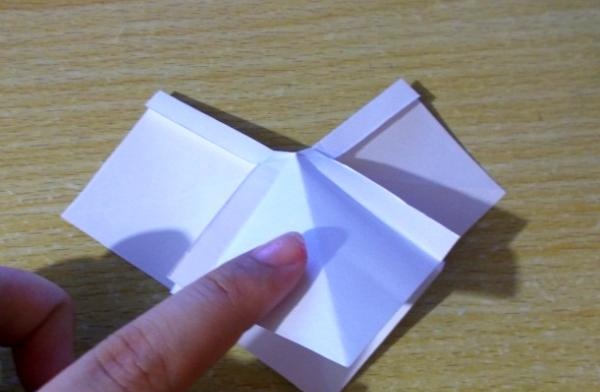
We push the top square inward and bend one of its former sides, the middle one, towards the center:

We do the same with the second side:
We should end up with a figure like this:
Let's turn it like this:

Bend its two upper side edges downwards like this:
We turn the figure over and bend the edges on that side in the same way:
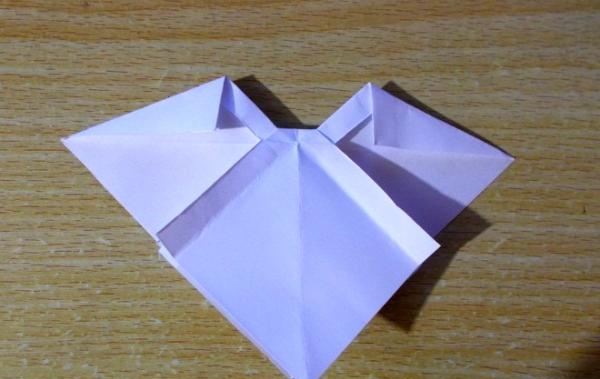
Open the figure, holding the front and back ends:
It should look like this:
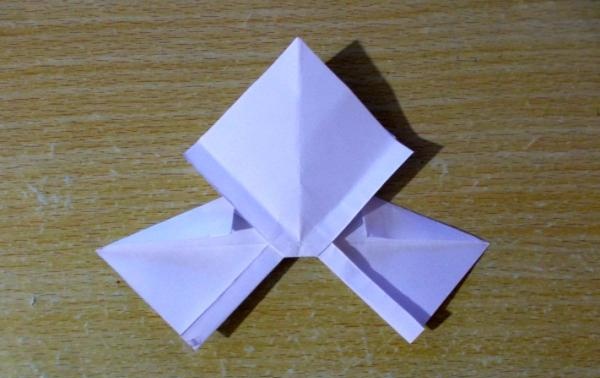
Flipping the figure:
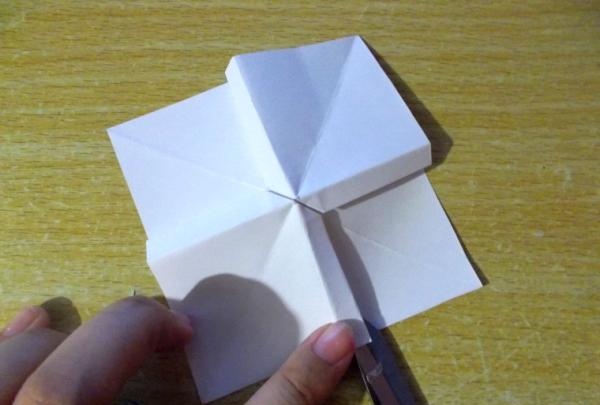
Cut the shape along the fold indicated by the scissors to the middle. You need to cut these four sides:
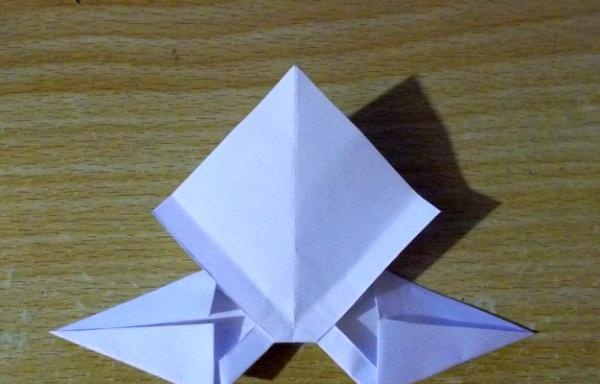
Fold down and press one side:
We bend the upper edges as shown in the photo:
Turn the bottom square up and press it:
We bend the lower edges as shown in the photo:
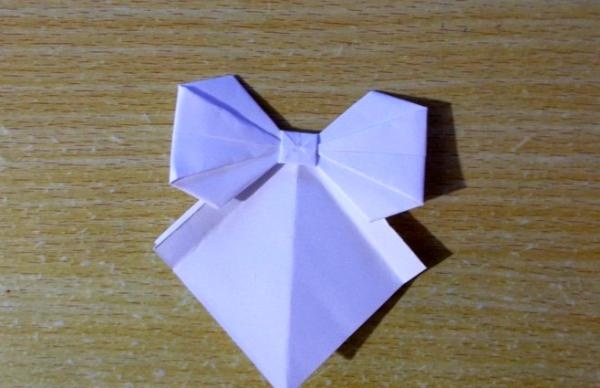
Turn it over. You should get a figure like this:
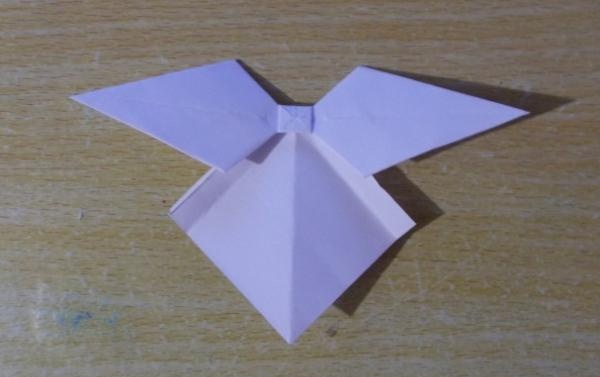
We wrap the two side ends into the center, forming a bow:
Turn over and bend the figure in the places shown in the photo:
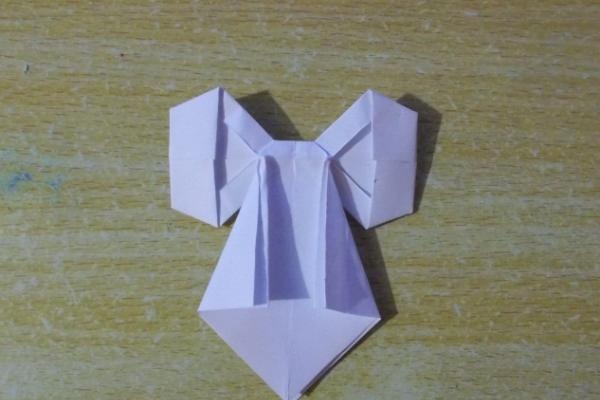
Cut the bottom of the bow in half and fold it like this:
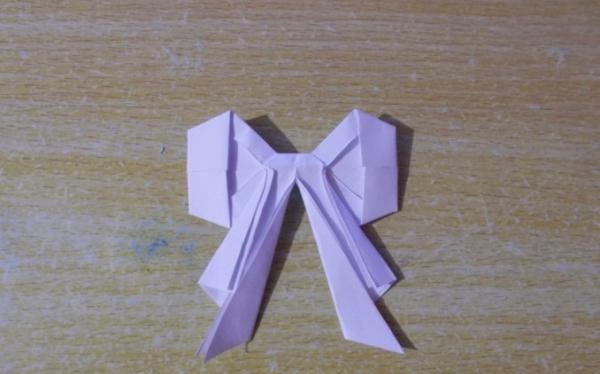
Flipping the figure:
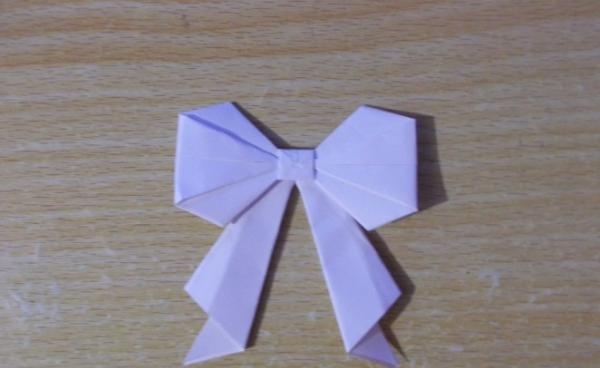
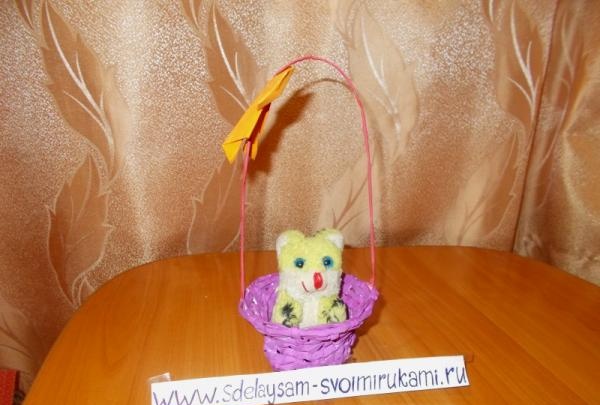
The origami bow is ready for the basket. It can be painted in any color that suits you. Glue it to our basket:

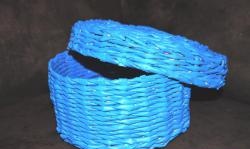
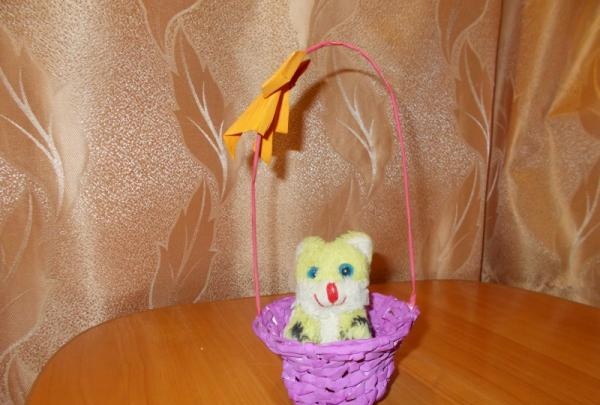
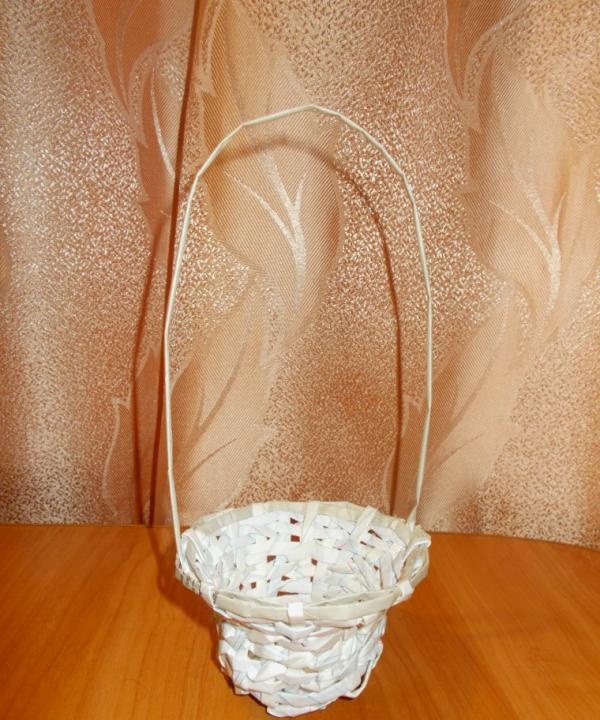
Our homemade basket is ready! You can put candy or cookies in it, or some toy as a gift.