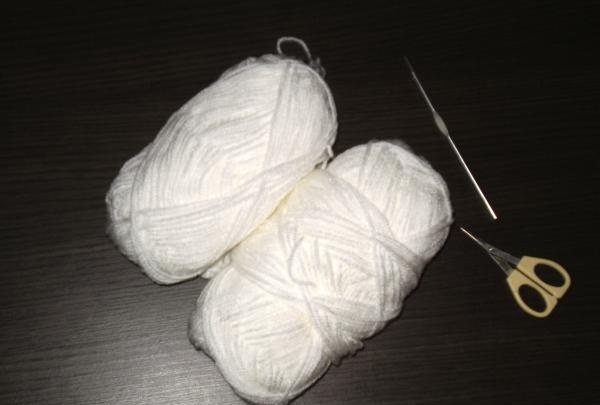
First of all, you need to prepare the following materials and tools:
• threads – acrylic;
• hook - No. 4;
• scissors.
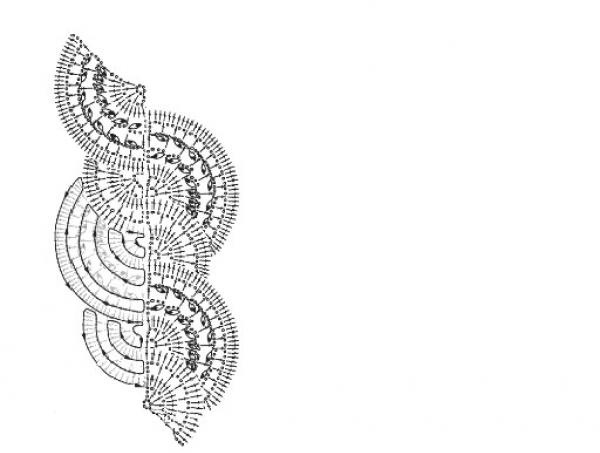
To ensure the repetition of all knitting elements on the necessary parts, we have a diagram of the scarf that we want to knit.
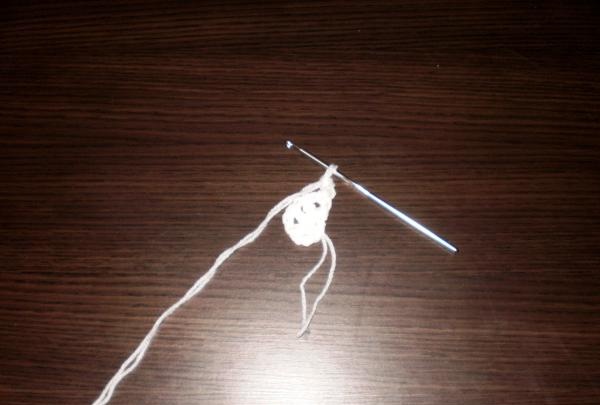
We collect 6 air loops (VP). After this, using a connecting loop (SP), we create a circle of loops.
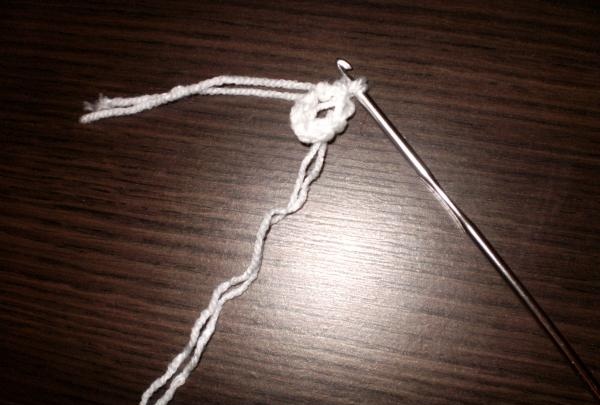
We collect 4 more VP, 1 double crochet (CH) with the base in the first VP of the circle, again 1 VP, 1CH, 1 VP, 1CH, 1 VP, 1CH, 1 VP, 1CH, 3 VP rise (VP) - this will be completed the first row of one of the scarf fragments.
The next row must be knitted exclusively with double crochets, 2 in each VP of the previous row and 1 in the CH, that is, there should be 12 of them, followed by 3 VPs.
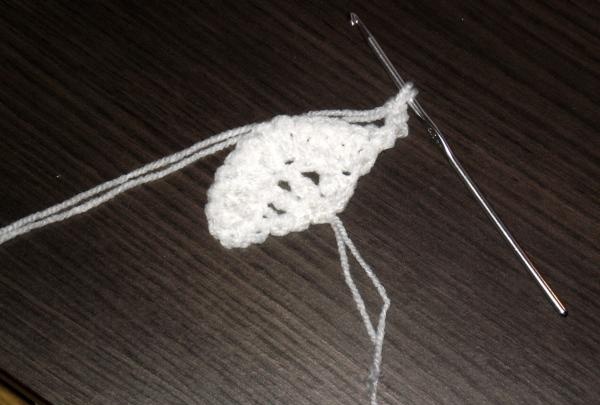
Now there is a row of lush columns (PS) in turn with CH. The main rule of the PS is that the upper and lower parts of the loop are united by one loop, that is, the thread from above must be pulled through several CHs, usually 3-5 of them are taken. But you look at the thickness of the threads, which is more beautiful. As a result, in this row you should get 7 PS and 7 CH, with 3 VP between them. The row ends, of course, with 3 runways.
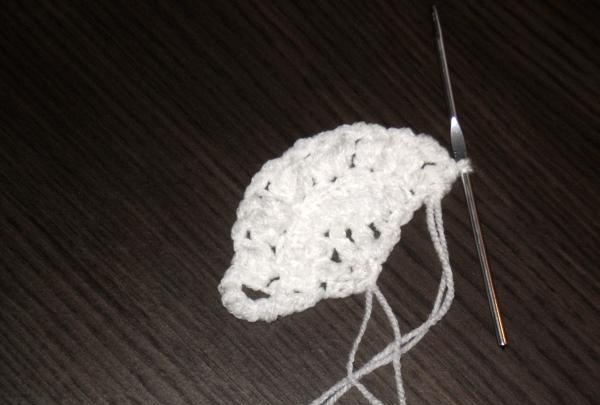
The next row of this scarf fragment is similar to the previous one. As a result, it should have the same number of PS, CH and VP. Next you need to connect a row of VP and CH. After the VP of the last row there are 2 VP, 1 CH, 2 VP, 1 SN and so on until the end of the row, after which 3 VP. The final row of this fragment should consist exclusively of CH. They are knitted into each loop of the previous row. The first lace element is ready.

Let's move on to the next part of knitting. In the last two loops of the previous fragment, you need to knit two joints to tie together the parts of the scarf. After which you need to score 4 VPs, as well as 3 runways. The second row consists of 1 VP, 1CH, 1VP, 1CH, 1VP, 1 CH, 1 VP, 3 VP. The third row is similar to the third row of the previous fragment and consists of CH, knitted 2 in each VP and 1 in CH, 3 VP. The next row of this fragment repeats the technique of the penultimate one in the previous element and consists of VP and CH. You need to knit according to the same pattern: 2 VP, 1 CH. Row 3 of the runway ends. The last row of this fragment is also similar to the last row of the first element. It consists of dc worked into each stitch of the previous row.All connecting parts of different fragments must be connected using a joint venture.
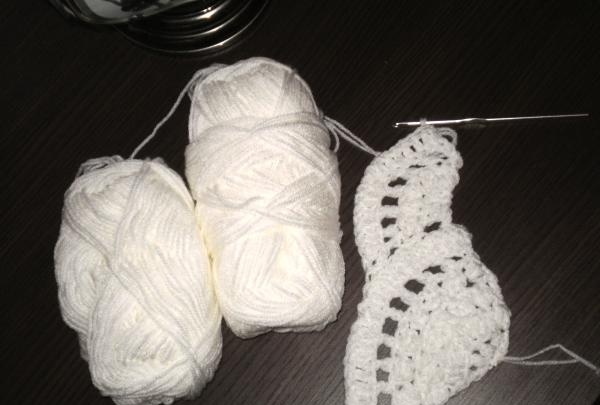
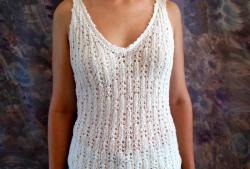
In this way, you need to knit to the length that suits you in order to wrap yourself well and keep warm, but without dragging the scarf along the floor. Next you need to connect the second halves of the elements of this part. They are also knitted, you just need to carefully switch to knitting the other part and make sure that each element that fits in would be a continuation of the one on the other side. The end result will make you very happy.