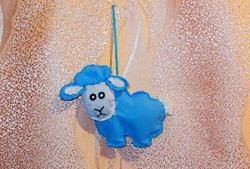
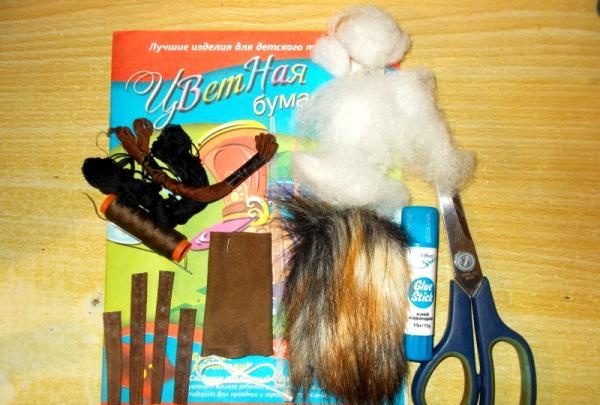
To make the “Goat” toy, we will need:
1. Fabric for the head and legs (we have leather fabric from an old fur coat, it is a rich brown color);
2. Cotton wool or padding polyester, batting;
3. A ball of fur for the body of the sheep (we used a small pompom from an old fur coat);
4. Colored, white A4 paper and tape for making eyes, hooves and horns;
5. Scissors, glue, threads (matching the color of the fabric of the future toy and black - for sewing the nose and mouth of the goat);
6. A small thin rope as a scarf;
7. Two parts for tightening the wires as a horn.
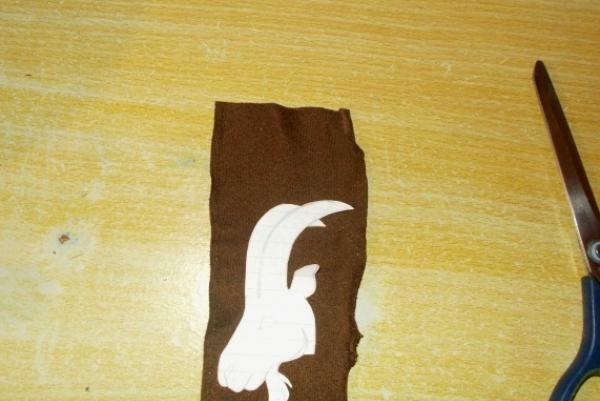
Our toy can be sewn either independently or with a sewing machine. If you sew it yourself, then it will be sewn with soul.On a blank cardboard sheet we draw and cut out the head of a goat - a sample of its head. And then, having pinned it to the fabric, we cut out the head according to the sample, but without the horns (we removed the horns a little later), the right and left sides in turn.

We cut off the narrow ends from the parts for tightening the wires and (thanks to incredible efforts!) pierce the cut parts completely with a needle at the base.
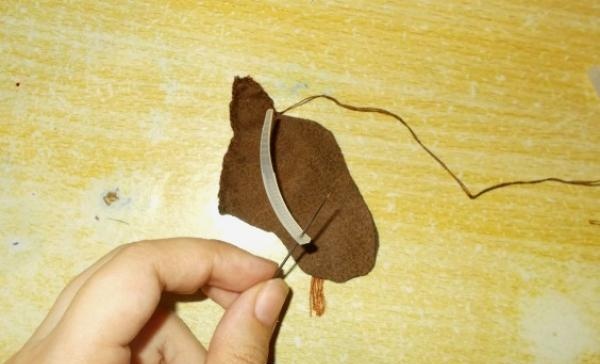
We took a small piece of thread as a beard and used an outer seam to connect both parts of the head.
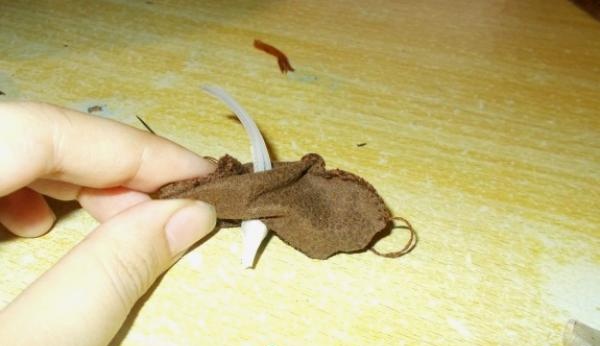
We fasten the “horns” at the bottom with adhesive paper so that they do not come to the surface:
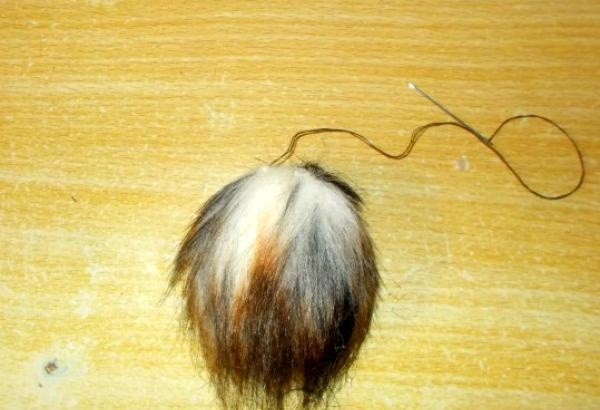
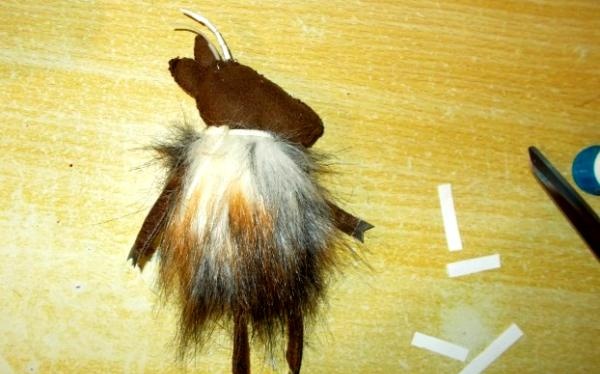
Having tried on the sewn head to the body and compared the sizes, we cut off the excess part from the pompom and remove all the fur that is falling from it. Next, we must remove the old seam and sew up the pompom in a new way, having first folded its fur edges inward. We didn’t have to fill the goat’s body with cotton wool, but we didn’t sew the underside of the body, since the toy’s legs could be sewn there a little later.
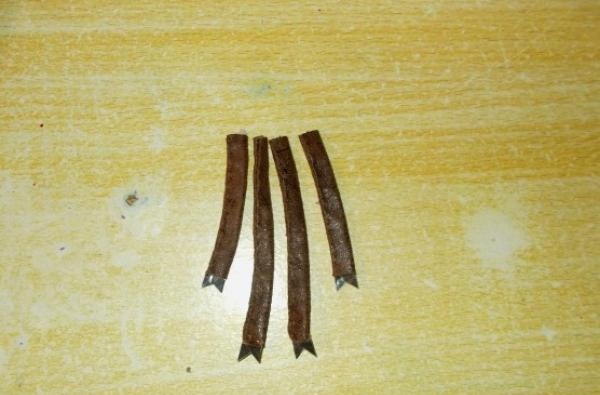
We previously cut off a “lace” from the same pompom, from which we can now sew the front and hind legs, replacing the old seams in them with new ones. Inside it has a little firmly glued cotton wool, and the “cord” itself is strong and leather, so we don’t have to fill the legs made from it with cotton wool. We divide it into four parts:

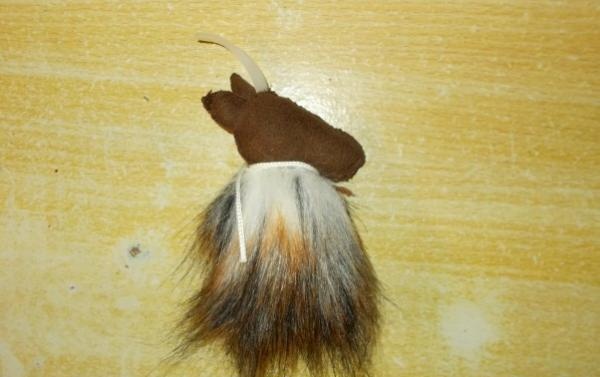
We fill the finished head of the toy with cotton wool or synthetic padding, from behind you can sew a second ear (if the horns are too thin), also filled with cotton wool, and then hem the head to the body, and then tie a white narrow cord around the neck like a scarf - for beauty.
Now you need to cut a piece of black paper and fold it four times. On one side we will draw a pair of hooves: one for the front legs, the other for the hind legs.You will get only eight hooves:
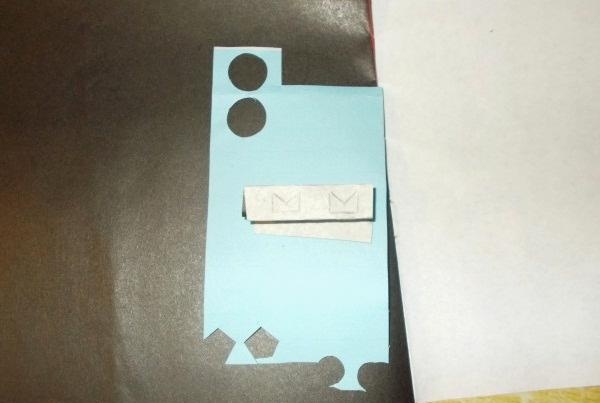
After we cut them out, they need to be glued together in pairs so that we get four hooves. And then we cover them with tape on top and attach them to the legs of the toy:
Having sewn all the goat’s legs the same size, we take up its horns: they need to be wrapped in white paper. Cut an even thin piece from an A4 sheet and cut it into small pieces. We wrap them around the top of the horns in a circle, gluing the ends of the horns to the paper from behind, after which we cover the outside of the paper with transparent tape.
We make eyes from colored and white paper: first we cut white, large circles, after them brown ones - smaller in size; and then the black ones (pupils), which we make the smallest in size.
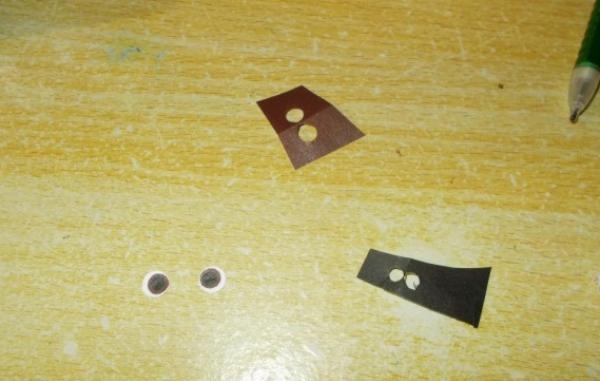
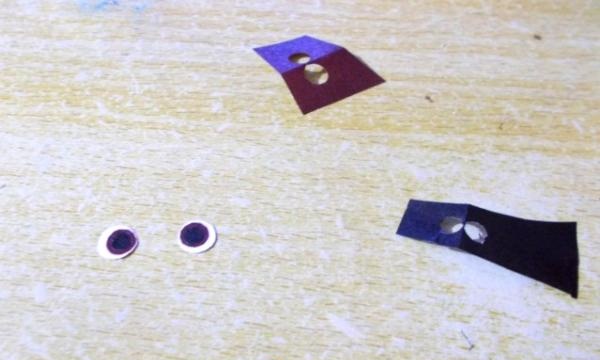
We make eyes from all the circles, gluing them together with tape, and also attach them to the head of the toy:
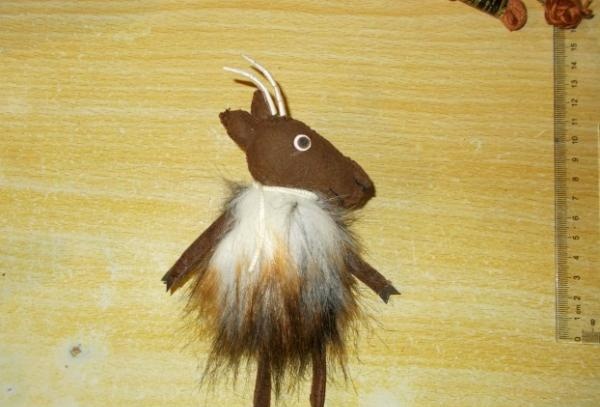
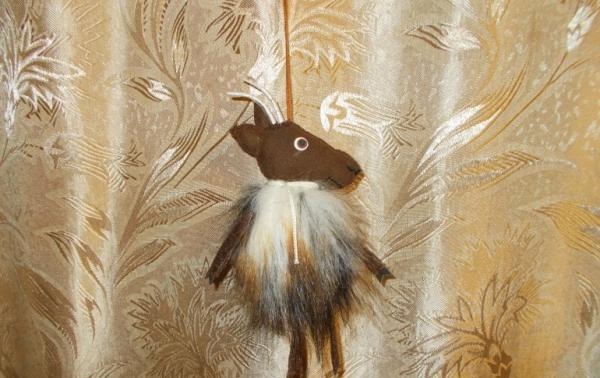
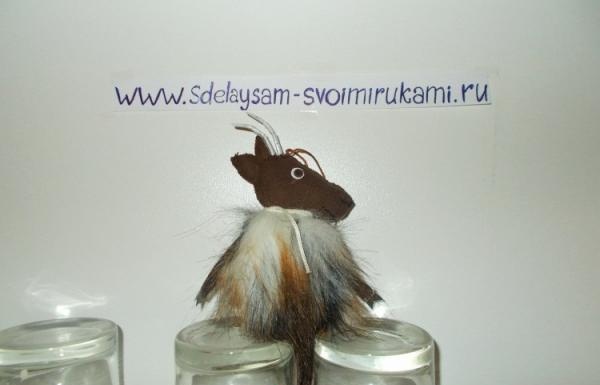
The very last detail remains: we sew a thread on top of our toy so that it can stay on the Christmas tree branch. We got a small but cute, funny and beautiful “Goat” toy for the Christmas tree with our own hands.
Sincerely, Vorobyova Dinara.