- Two sheets of double-sided cardboard (as an alternative, pastel paper can be used)
- Whatman (A1)
- Photos of different sizes and shapes (circles, squares, etc.)
- Several sheets of paper of the same color
- White thread (it is better that it is thicker than ordinary sewing thread)
- Thick needle and curved needle
- glue
- pencil
- Ruler
- scissors
- Elastic band (about 60 cm)
- Tape (single color or with a pattern)

The first step is to prepare the album sheets. To do this, we draw a sheet of whatman paper into parts, each of which will be the size of an A4 sheet. The diagram below shows cut lines and fold lines.

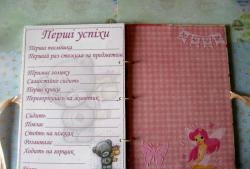
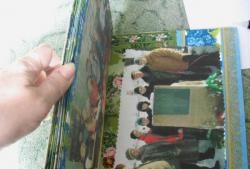
Then on these spreads of the album we fit printed and cut out photos. But we glue them only on one side, leave the back side empty.

Next, glue sheets of colored paper for free revolutions, leaving a couple of millimeters between them in the middle, so the paper glued on the Whatman paper will not interfere with the paper of the Whatman paper sheet and will not spoil the appearance.

Two spreads are not pasted over with colored paper, we leave them white.

The number of pages depends only on the abundance of your photos, so you can increase or decrease it: this will not make the process of creating an album more difficult.
Now, using a large straight needle, we make an odd number (in this MK of 5 of them) holes on the bend of each turn, as well as on the covers. On the cover from the edge, retreat about 1-1.5 cm.


Next, proceed to stitching sheets and covers together. U-turns, on which colored paper was not glued, will place one at the beginning, the other at the end.
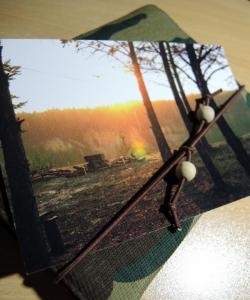
Take the first spread and thread the thread as shown in the photo below, leaving a small tail.

Now put this spread on top of the cover. We start the thread under the cover and pull it up through the hole, then return it to the reversal hole.

Inside the spread, thread the thread into the next hole and bring it out, then repeat the same steps as in the previous step.

Going to the end of the row, we introduce the needle into the hole of the next turn. Then we proceed by analogy.

Having finished the second row, tighten the thread so that the sheets do not slip relative to each other.

The result is such a neat seam that there is no need to hide with covers.

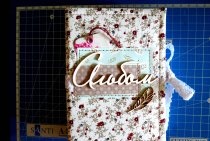
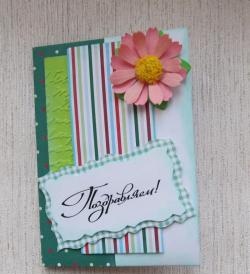
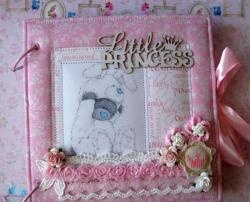
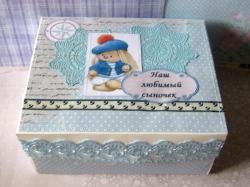
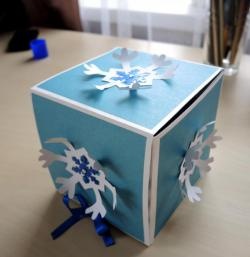
Now it's up to you to decorate the cover.

We’ll make a kind of “fastener” out of the elastic band and the album is ready!

This is just one of millions of options for decorating the cover, you can come up with something of your own. On spreads pasted over with colored paper, it will be possible to place photographs that will appear in the future.
Creative success!