1. Green cardboard A4;
2. Decorative paper in green tones with a pattern or polka dots;
3. Quilling paper - red, black, white;
4. Double-sided foam tape;
5. Glue, scissors, quilling tool, tweezers.
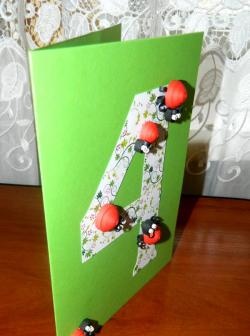
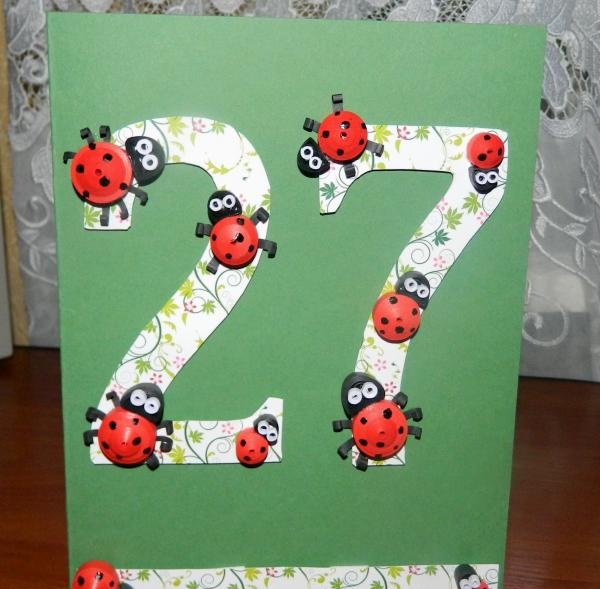
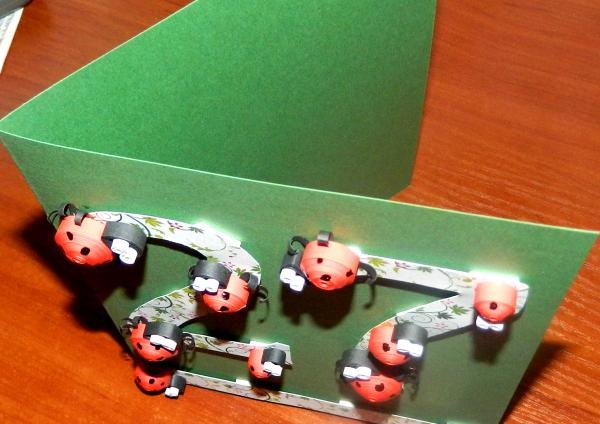
The card is intended for congratulations on your birthday. For the base of the postcard, fold A4 cardboard in half. From decorative paper we cut out a number, which will be the age of the birthday person. In this case, it is 27. We draw out both numbers in advance, then cut them out. Then, using small pieces of double-sided foam tape, we attach the numbers to the green base. From the same decorative paper we cut out a strip, which we also attach to the bottom with double-sided tape.
Now let's start making ladybugs. We should have 10 of them in total. Of these: 3 large, 4 medium, 3 small.
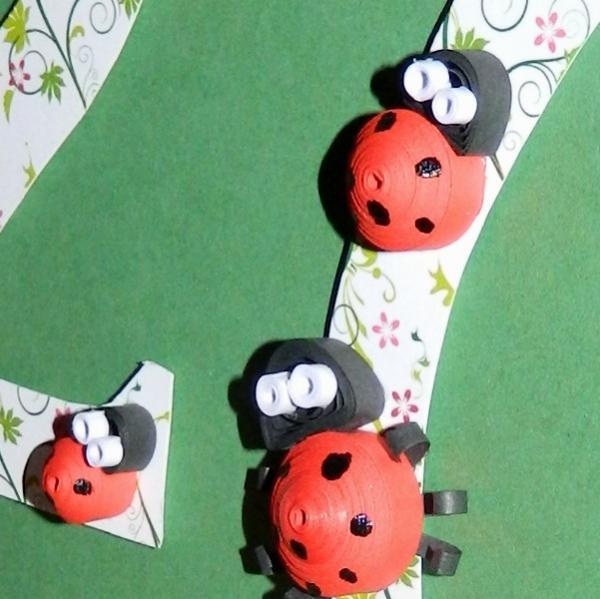
For a large ladybug, take red quilling paper 150 cm long (glue 3 strips together with glue). We form a large tight roll, fix the end with glue and give it a rounded shape by pressing the circle inward.Then we fix the ladybug shell with glue from the inside. For the head, take black quilling paper 50 cm long, make a roll, then press it on both sides so that you get a semicircle.
For a medium ladybug we use red quilling paper 100 cm long. We form medium shells in the same way. For the head we use black quilling paper 40 cm long.
The small ladybug is made from red quilling paper, 50 cm long, the head is made from black paper, 30 cm long.
We make the ladybug's legs from black quilling paper. To do this, carefully cut a 5 mm wide strip in half with scissors for small parts. From the strips we cut pieces 2 cm long, of which the paws will consist. We twist one end of the strip a little with a quilling tool, and attach the tabs from the inside of the shell with glue. The legs will be visible on half of the ladybugs, the rest will sit with their legs hidden on our postcard.
For the eyes we take white quilling paper. We also cut lengthwise to get neat and thin elements for forming the ladybugs' eyes. Then we cut pieces of 2-3 cm, roll each of them into tight small rolls and fix them with glue.
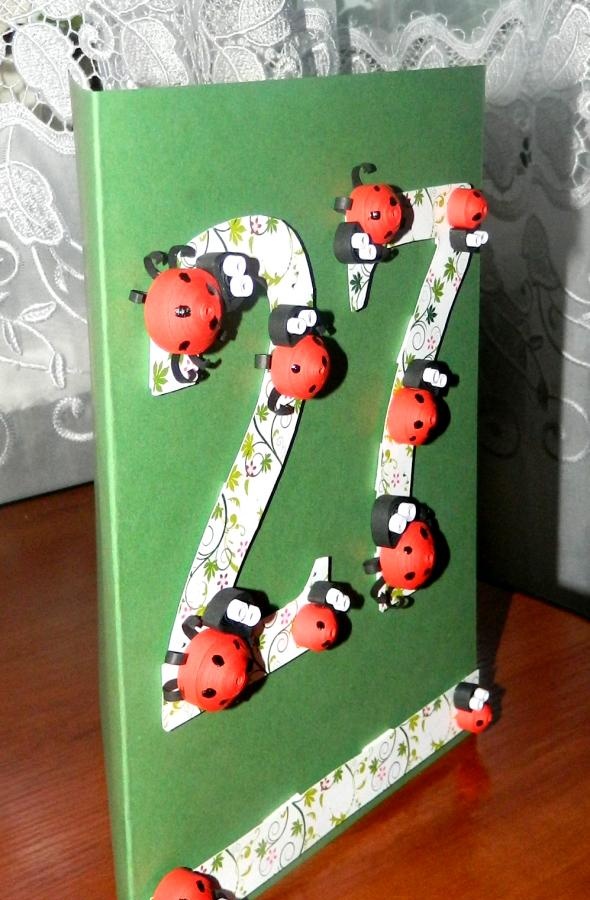
When all the ladybugs are ready, we can safely begin attaching them to the holiday number.
Unusual, festive. A bright and fairy-tale postcard with your own hands is ready!