I will try to present the text as clearly as possible.
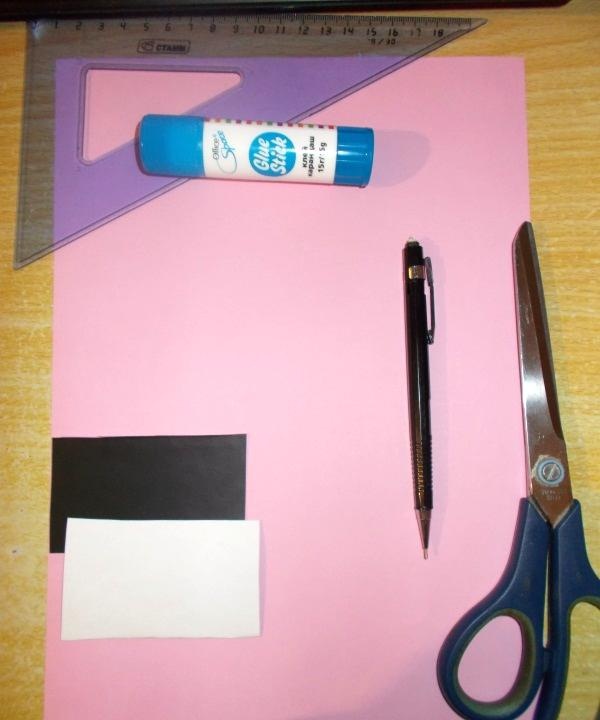
Origami snail is easy to prepare. Let's take everything we need for this:
1. A sheet of A4 paper (you can take white, yellow, pink or brown);
2. A piece of white and black colored paper;
3. Scissors, glue, pencil.
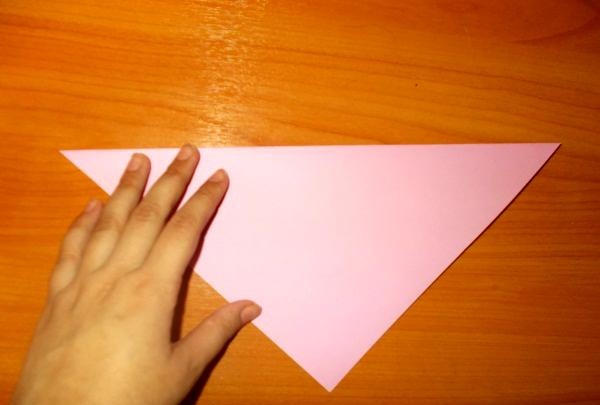
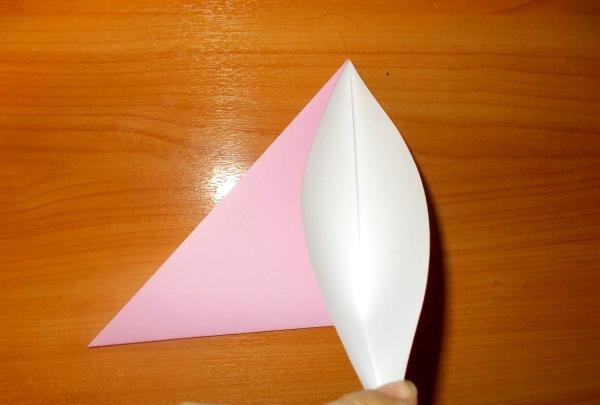
Cut out an even square from a pink sheet of paper and fold it diagonally.
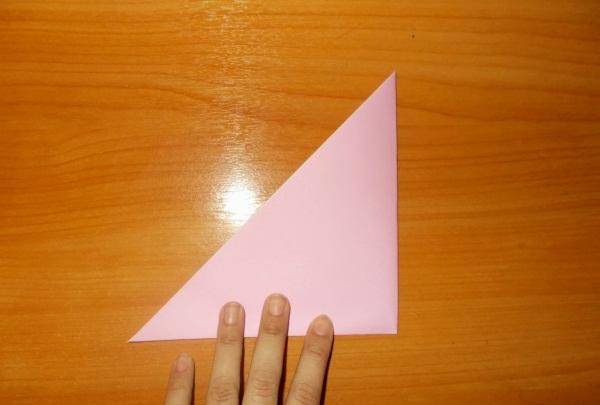
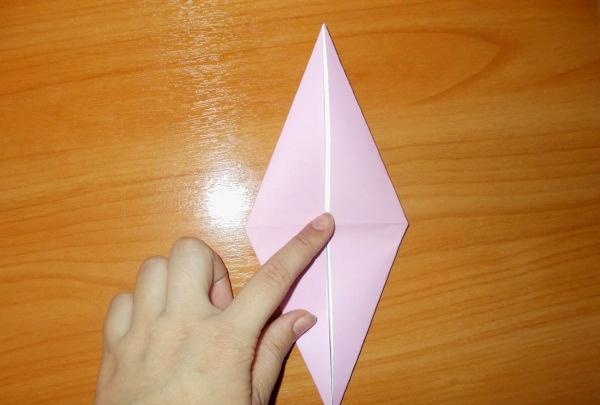
Then bend the resulting triangle in half:
From the left side of the resulting figure we take a fold and move it to the center, after which we open it and, pressing the tip to the top, form a square:
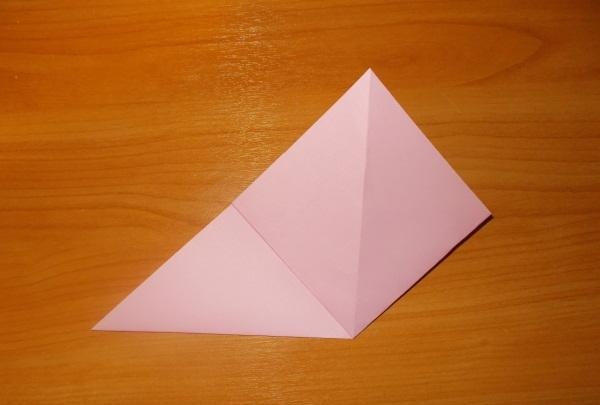
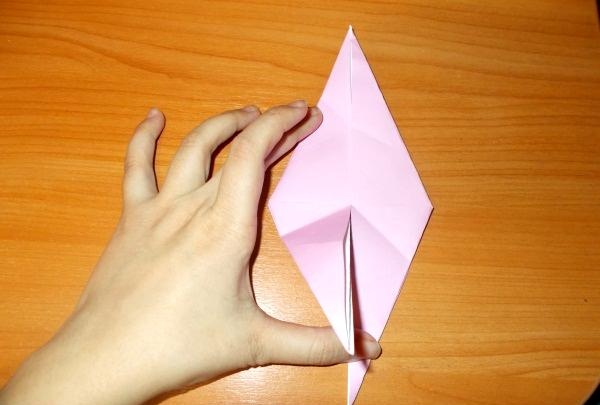
Flip the figure over (the figure from the back will look like this):

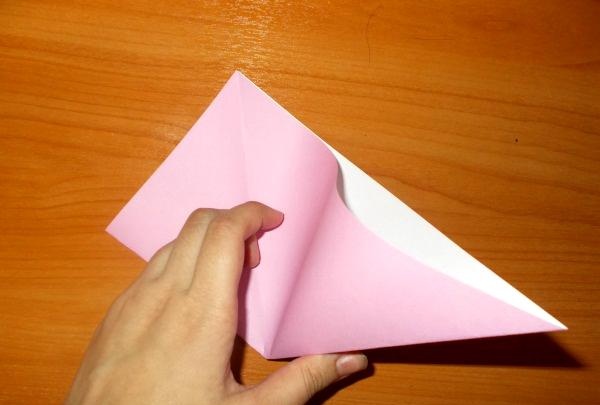
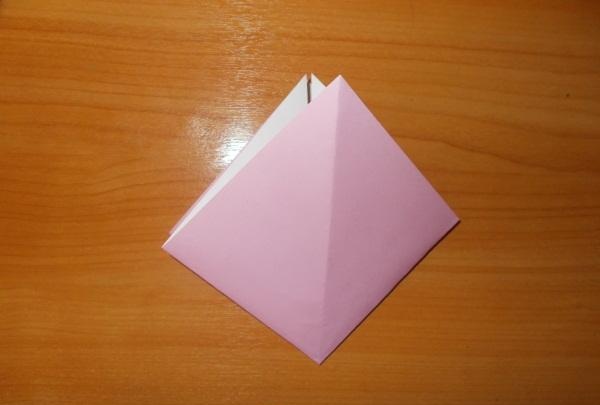
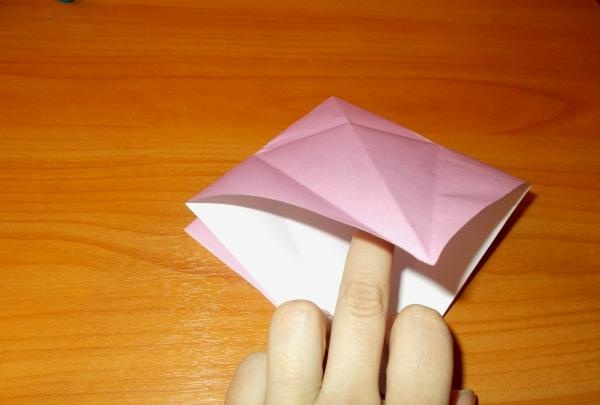
Now pay closer attention: we must make a double rhombus out of our figure. We bend the right side of our figure towards us (the one with the longest side) and open it, expanding it on the sides, as shown in the photo:
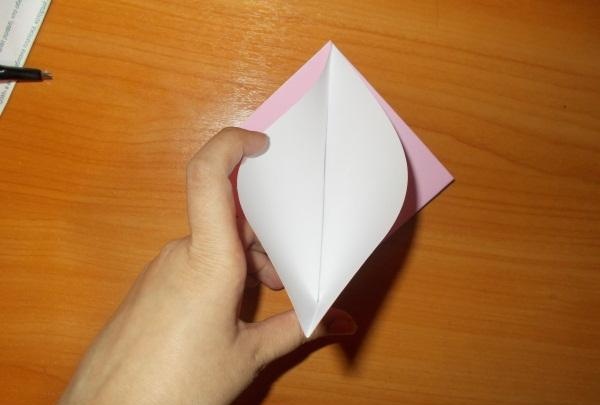
Now we press:
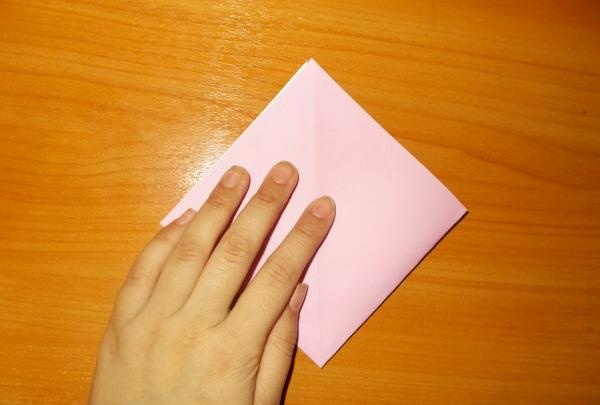
Without turning the figures over, we make bookmarks: we bend the two sides to the center so that they evenly touch the diagonal.
Then fold the top side down:
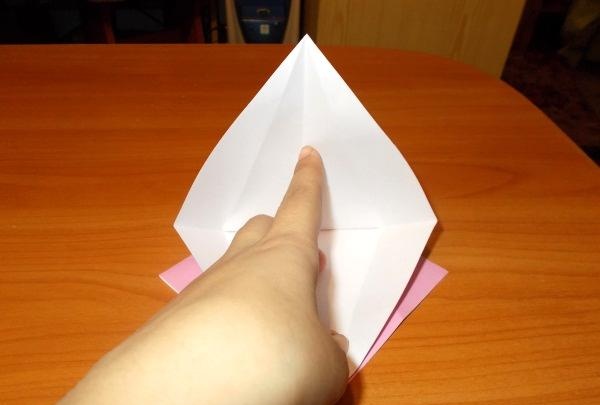
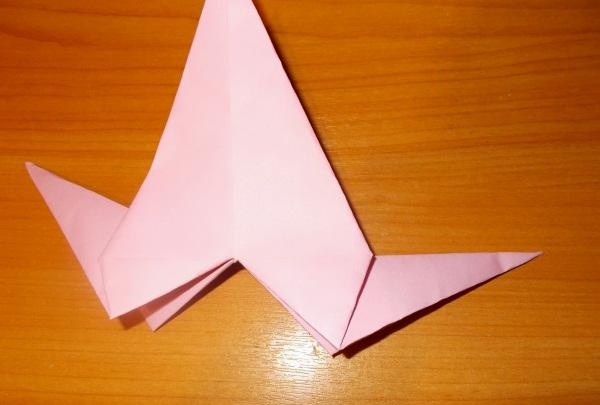
Having made these three bookmarks, we return all three folded sides to their original position and raise the wide bottom side to the transverse fold line:
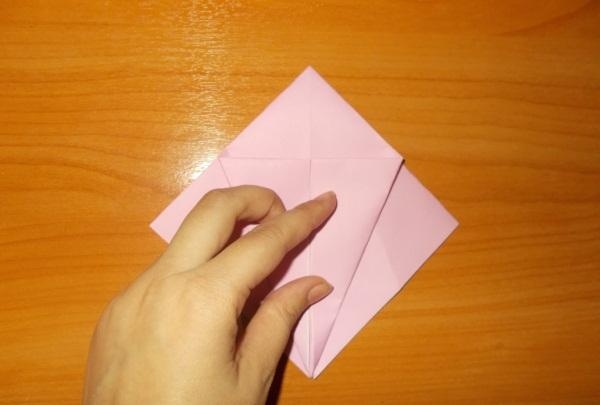
Now we bend its side edges to the center and press them to the figure:
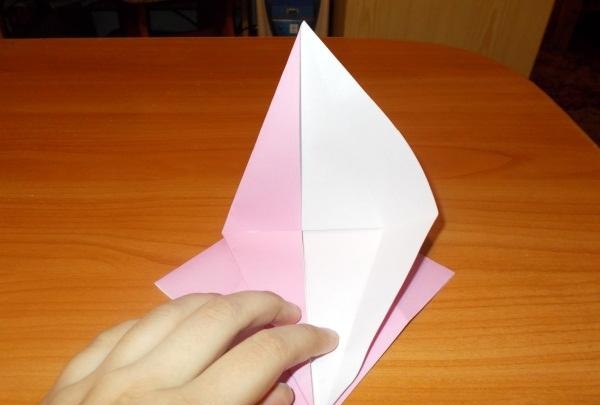
After this, we should unfold our figure and do the same with its reverse side (that is, also first make three bookmarks, then open and press the bottom one to the top side, and then fold the side edges).
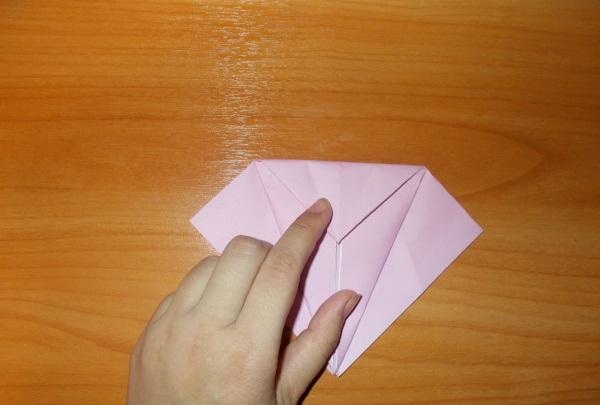
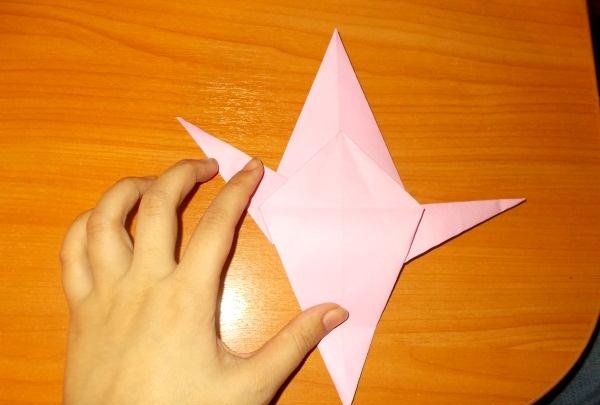
Here is a photo of the result crafts:
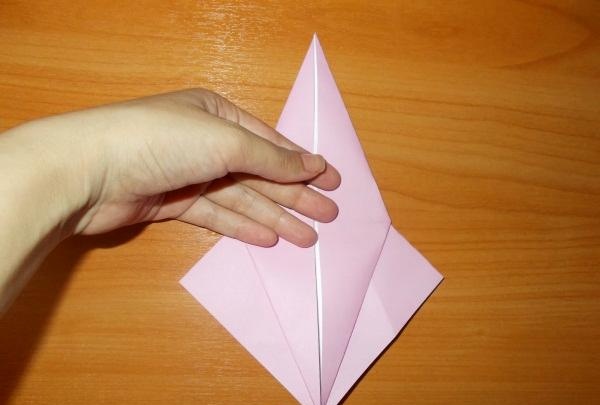
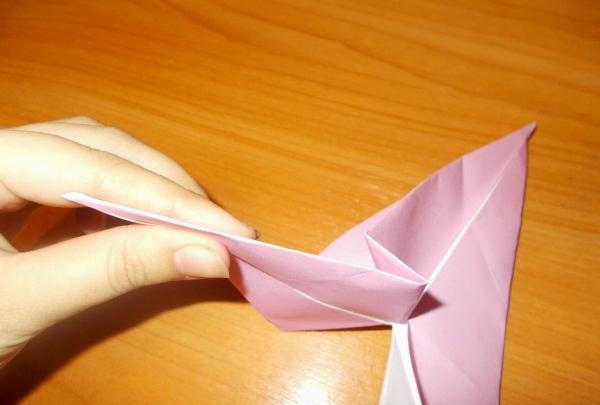
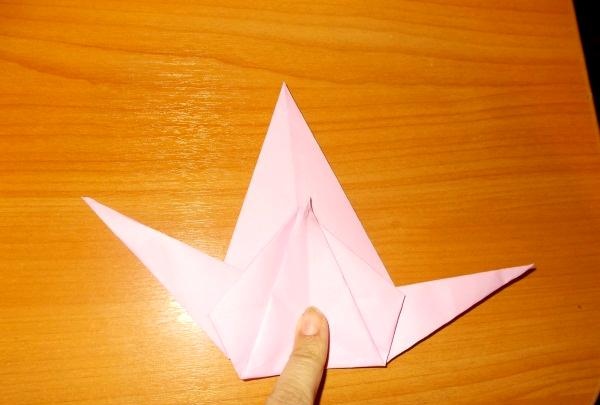
Now we bend two lines just below the middle, as shown in the next photo. These bends are needed to form the head and tail of our future origami snail:
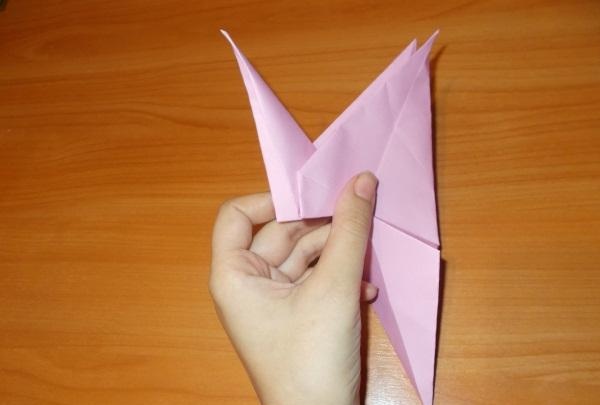
We bend both lower ends of the figure upward:
On the left will be the head of the snail, and on the right is its tail.
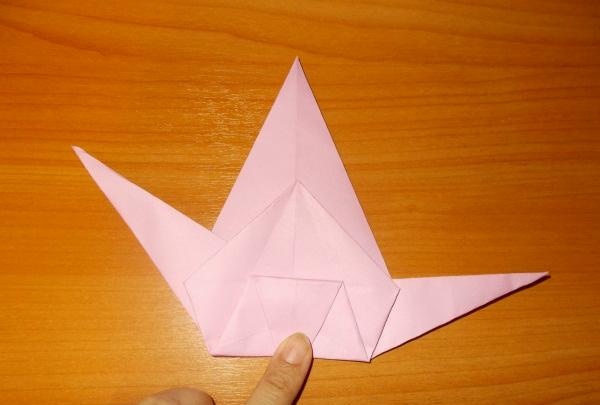
Now we lower one of the “wings” down, after which we bend it in half upward, approximately in the area adjacent to the base of the tail (but try so that the tip of the “wing” is close to the top):
Fold this tip in half downwards from the outside:
Next, you should lower the resulting fold of the “wing” down and hide it inside the craft (forming a shell):
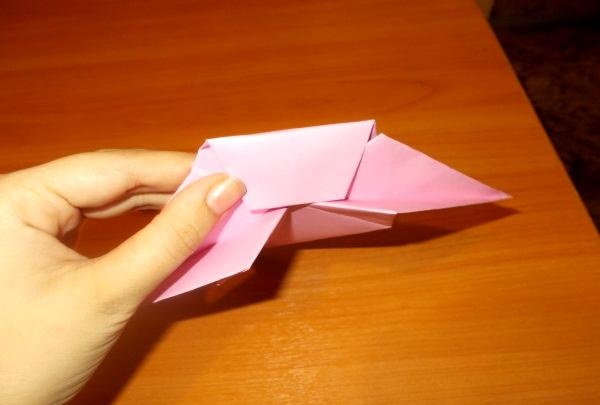
Now you need to turn the origami craft over. With the second “wing” you need to do the same as with the first: lower it, then bend it in half up, then fold it in half down and remove the resulting fold inward.
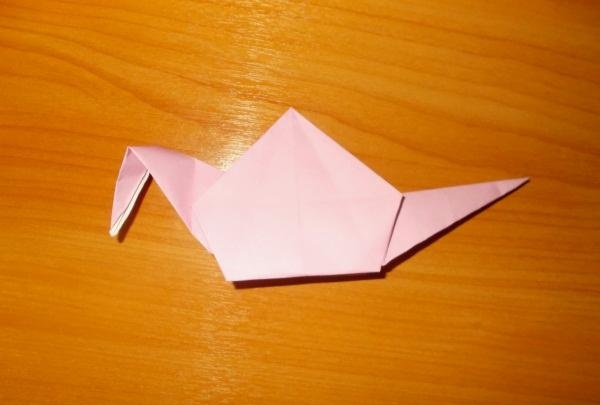
Now we should have an almost finished model. We need to cut the upper corner of the head a little - we get antennae.
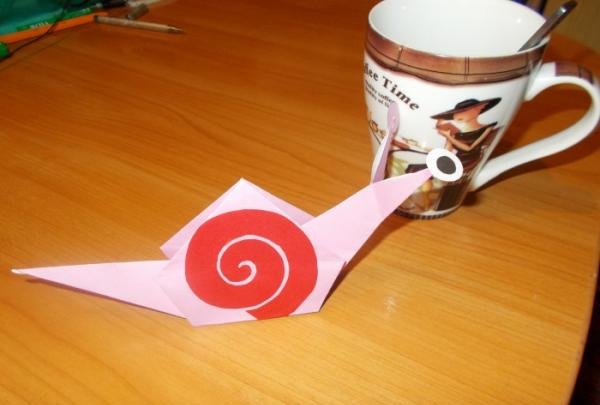
Only the last detail remains: we glue a spiral of colored paper onto the origami snail’s shell and eyes. The eyes can be glued to the “antennae” - like Harry from the cartoon about “Spongebob”, or to the “neck” - as was done in the original sample.
Here is an example of a snail with eyes on its antennae:
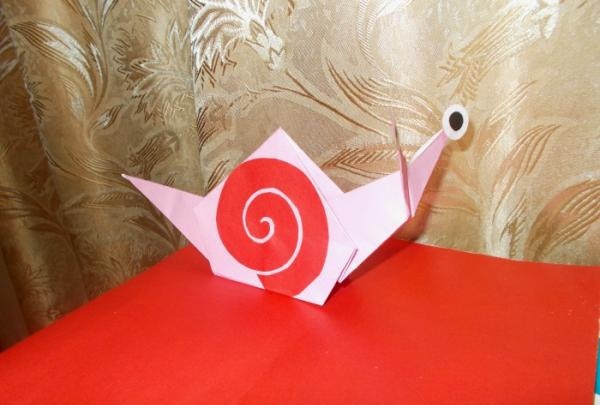
Now let’s give a sample with eyes on the “neck”:
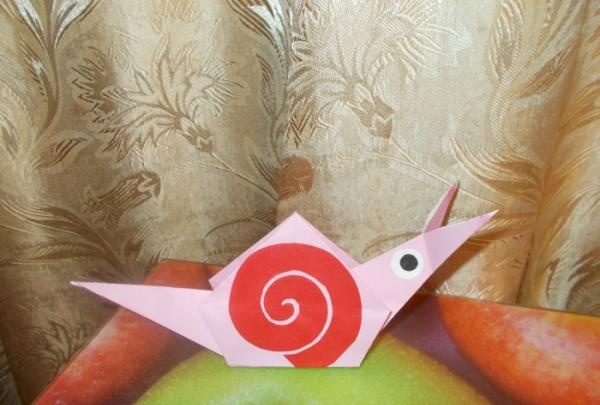
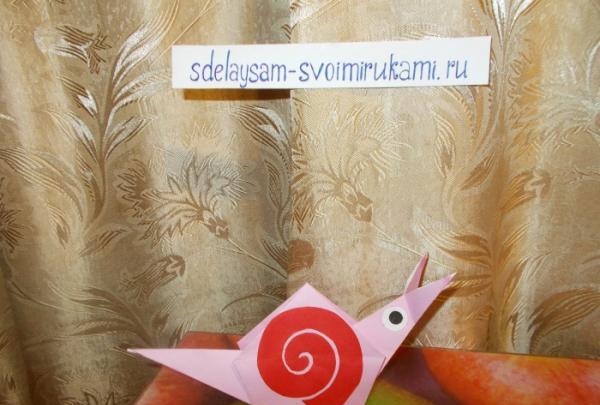
Our funny origami snail is ready! It can amuse children, or simply create coziness at home and become a good decoration.
Sincerely, Vorobyova Dinara.