We will need: 2 eye-shaped buttons with a diameter of 1 cm, 13 pieces of raspberry cord 1.5 m long with a diameter of 1.5 mm, and 4 pieces of 40 cm each, a white cord 2.5 m long with a diameter of 1.5 mm.
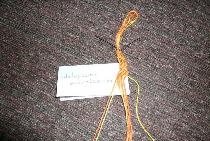
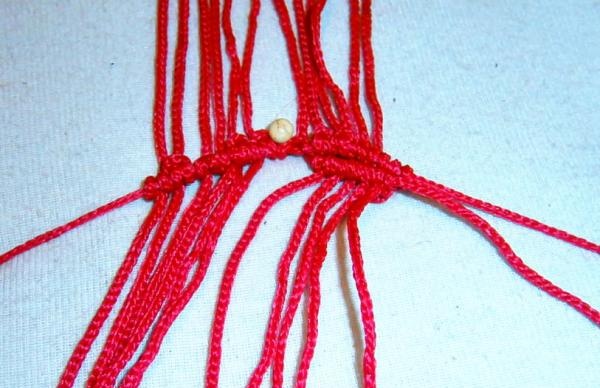
1. Take a crimson cord and hang 6 cords on the right and left, spreading the ends of the cord to the sides:
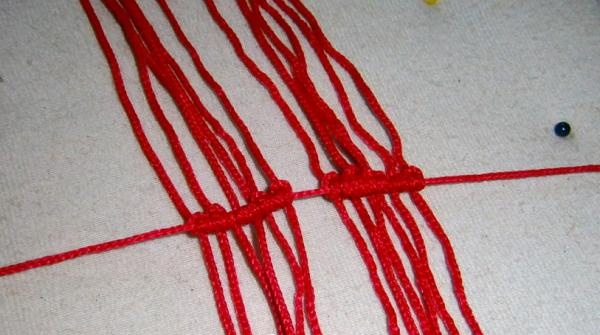
2.Fix the center with a needle and form a diagonal knot by stringing double knots onto the central thread:
Here's what happened:
3. Then we turn it over and begin to weave a diagonal knot on the other side:
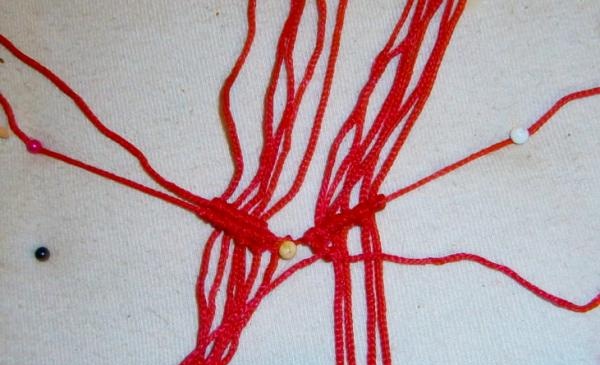
Here's what happened:
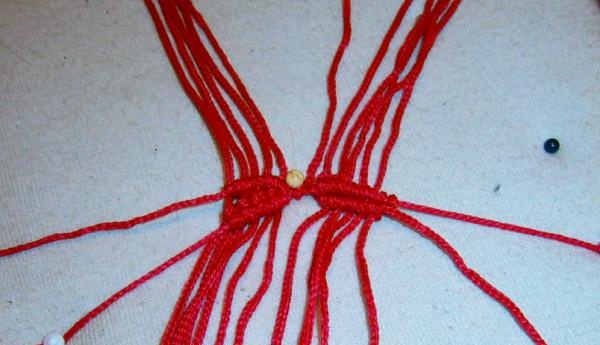
4.We form two more rows on the right and left:
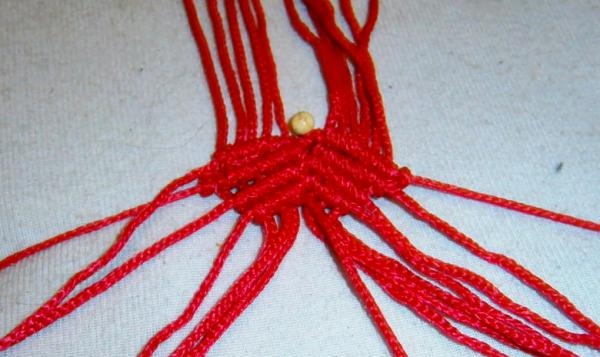
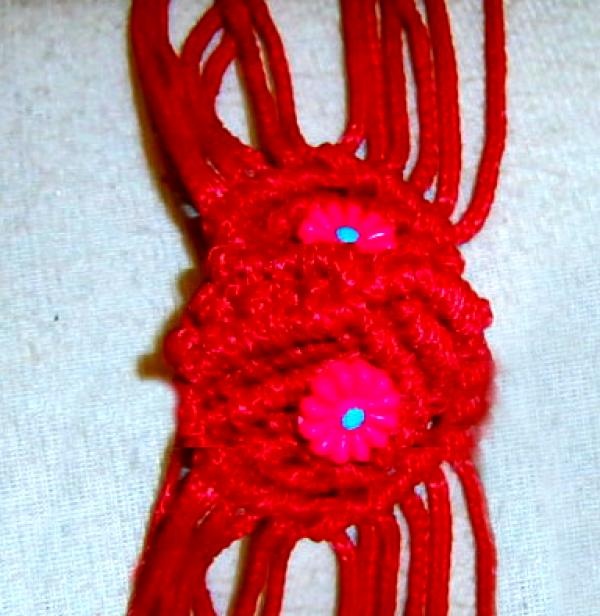
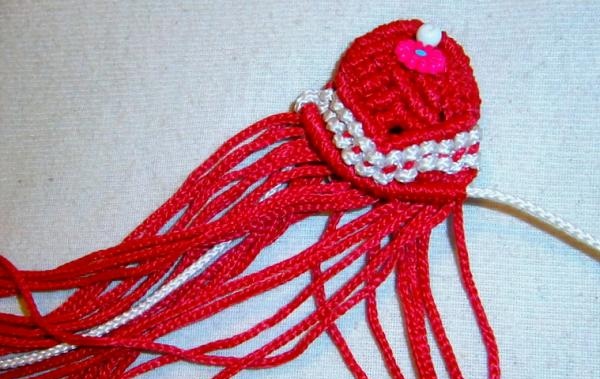
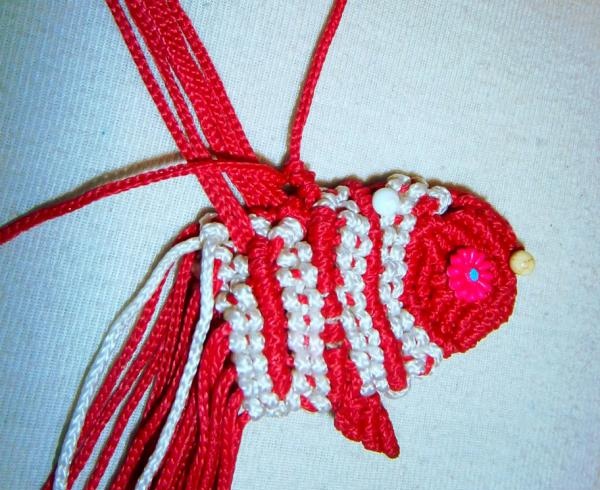
5. We string the button-eye of our fish:
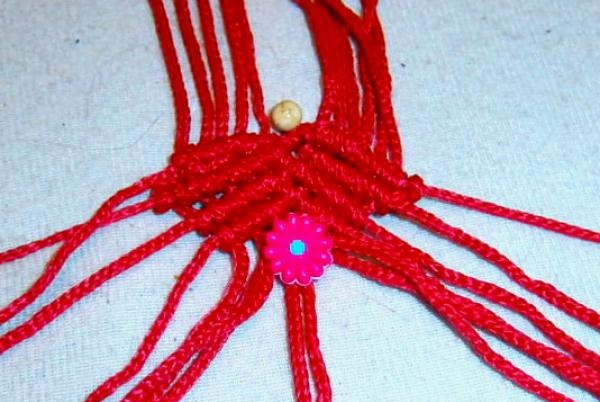
6.And weave 3 more rows to the end:
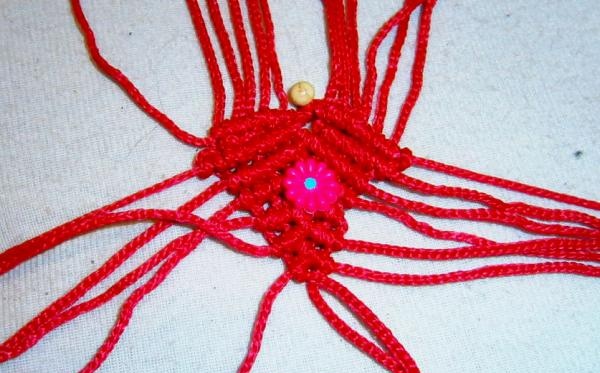
7. Then we form diagonal knots, hanging double knots on the outer threads on the right and left:
The image of a fish's face begins to emerge:
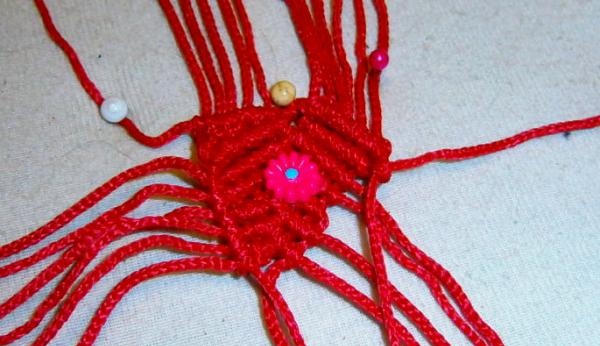
8.We form the muzzle on the other side in the same way:
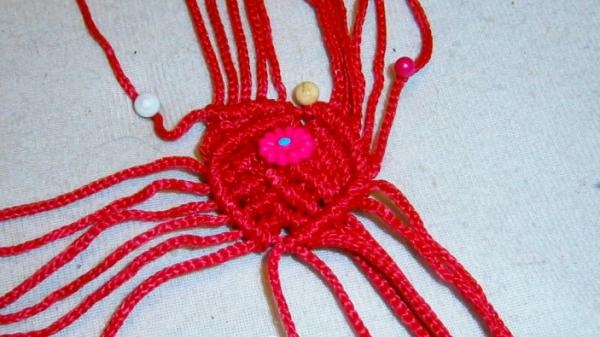
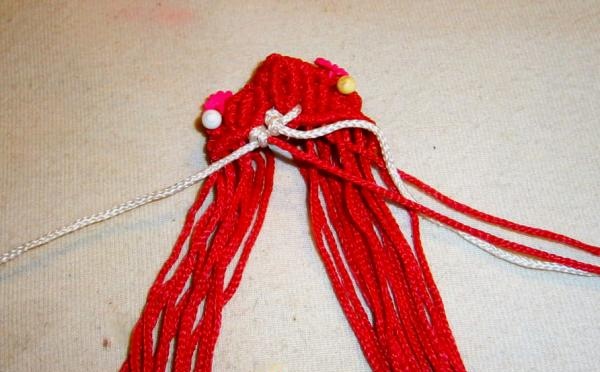
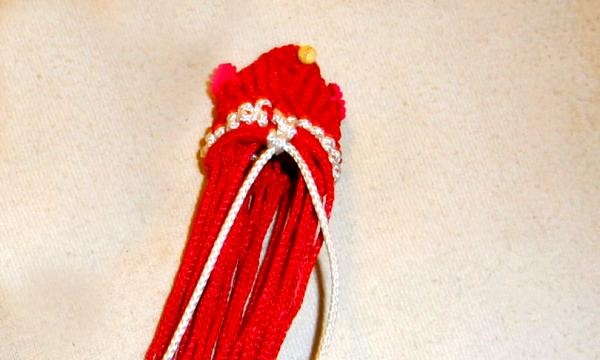
9. Now fold the white cord in half and hang it in the center of the fish’s face. Then we take the white cord on the left, tie it with a double knot around the raspberry cord and go like this along the entire left side:
10. Then we walk along the right side in the same way and tie the ends of the knots together:
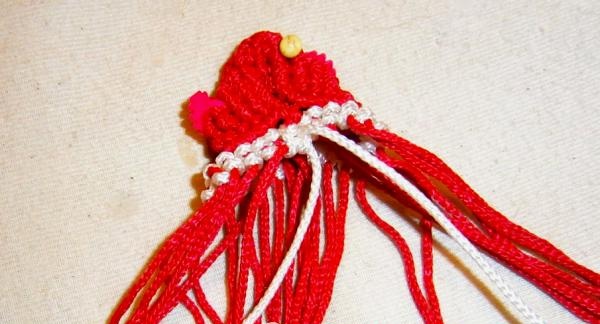
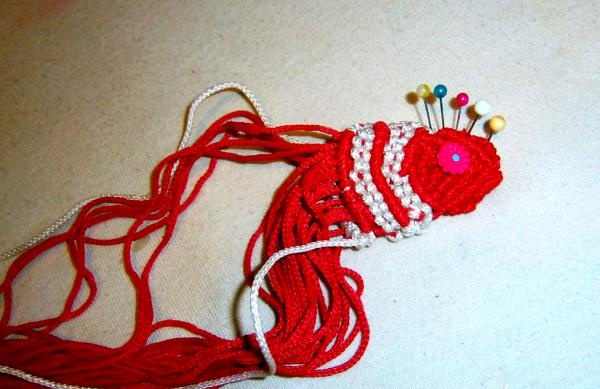
11.Now tie a double knot with a crimson cord on the white cord on the left:
12.And so let’s go through the entire left side and then along the right:
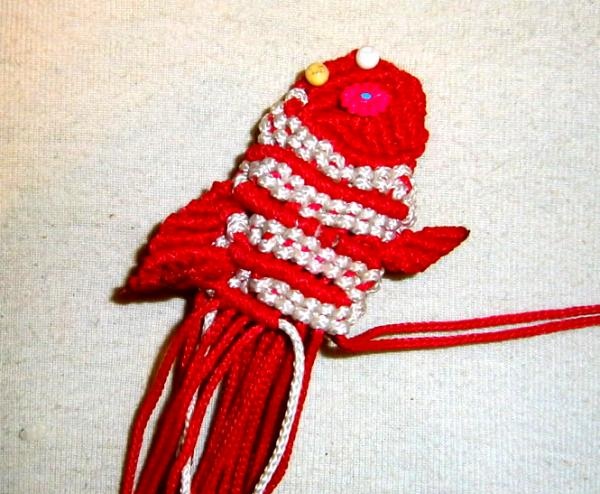
13. Now we tie the ends of the white cord together:
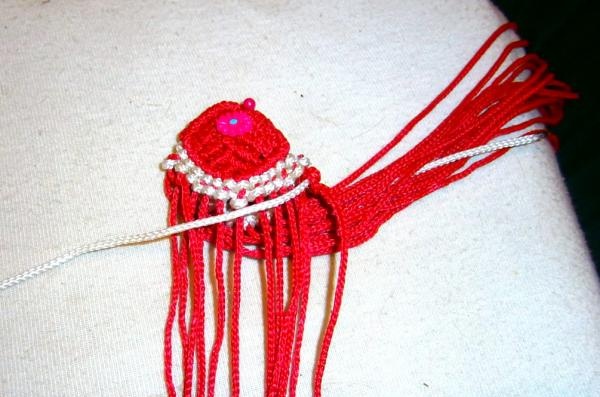
14. In this way we form two more rows:
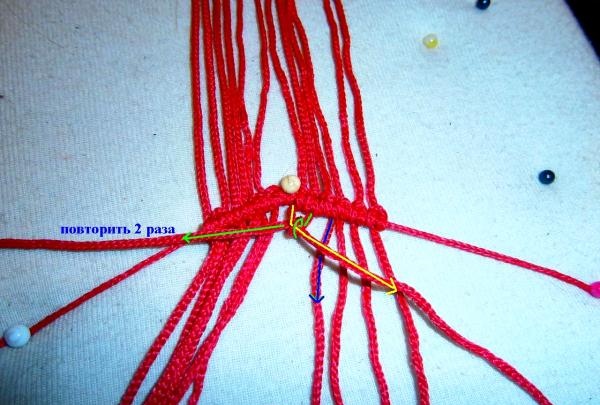
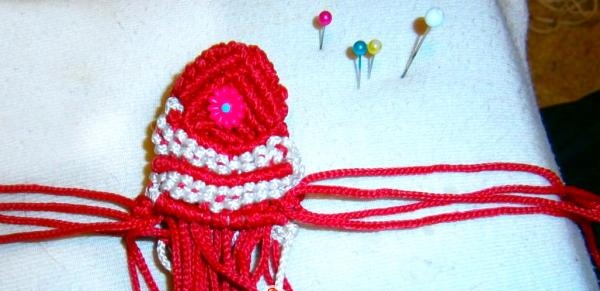
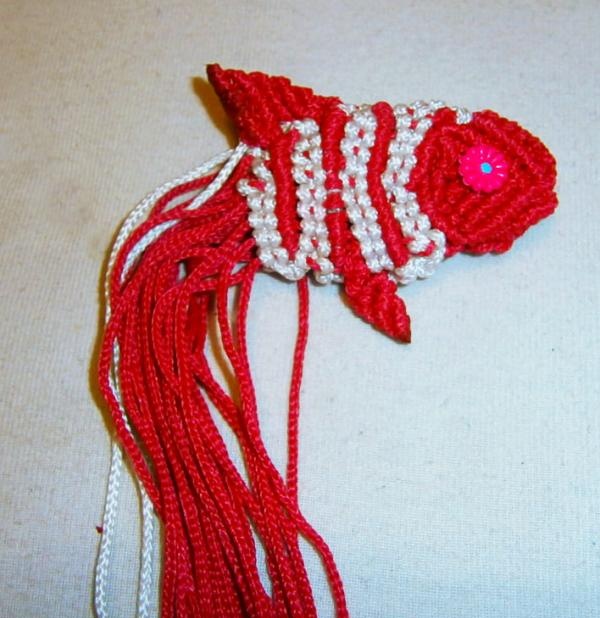
15. It's time to form the fins. For the lower fin, take two 40cm pieces of crimson cord and hang them under the belly. We'll do the same on top.
16. Around the second thread (marked in yellow), we wind the first (marked in green) with a double knot:
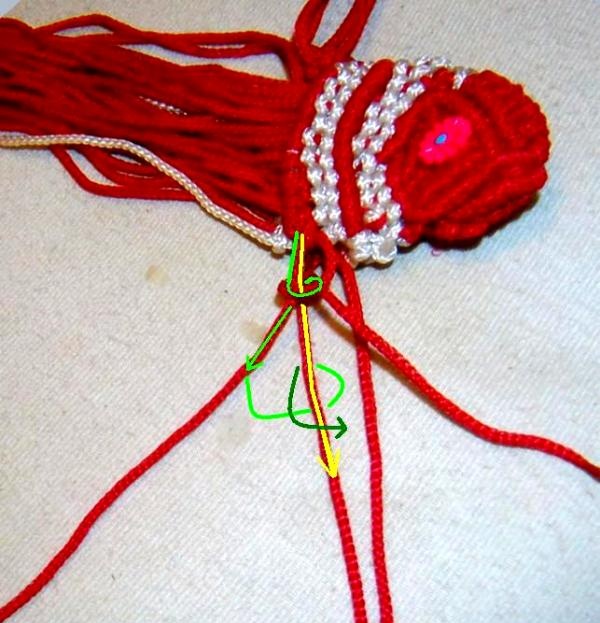
17.Then around the third thread (marked in blue), we tie the first (marked in green) and second (marked in yellow) with a double knot, respectively.
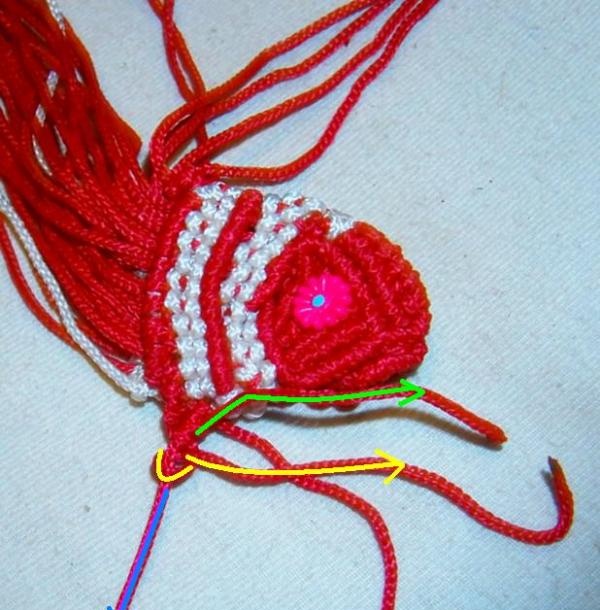
18. We wind the first, second and third onto the fourth thread and get a lower fin, the ends of which we cut off:
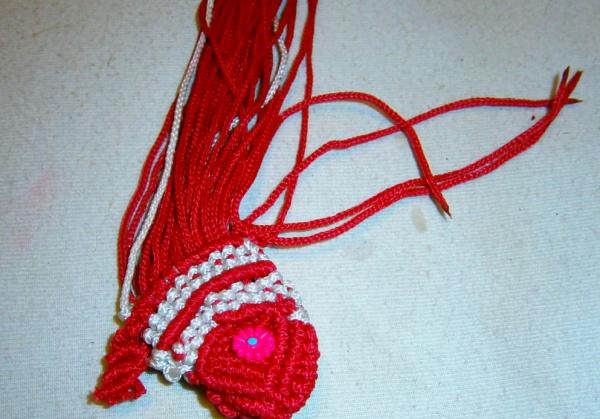
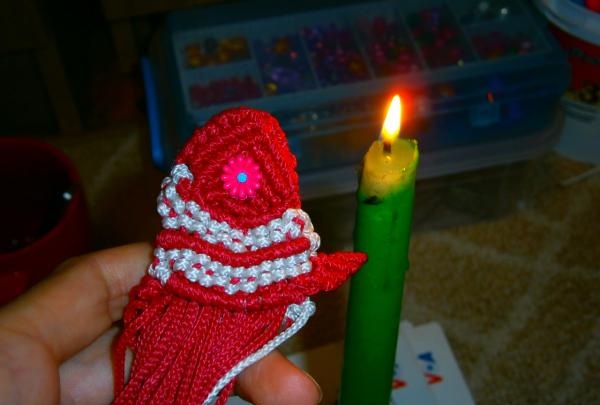
And melt it on a candle:
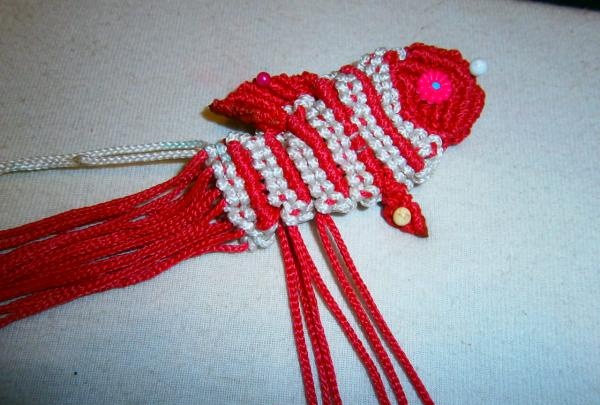
19. For the upper fin, we involve two threads from the body of the fish, we get six threads, and similarly form the upper fin. The difference is that the growth of the lower fin went from the abdomen to the head, in the upper fin the opposite is true:
20. Similarly, we cut and melt the upper fin:
21.Weave the white row and select two threads
We then weave the crimson and white rows and select four threads from the body of the fish:
22. Similarly to the first lower fin, we form the second one, but with six threads. Here's what happened:
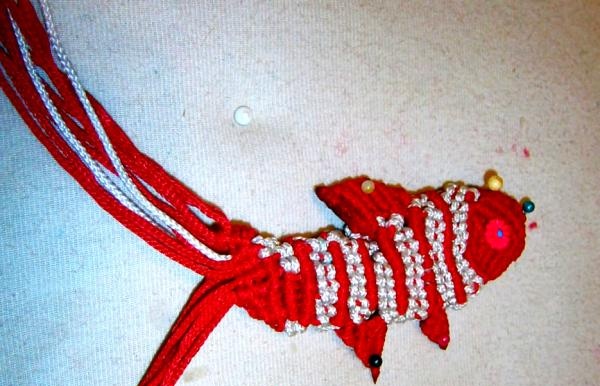
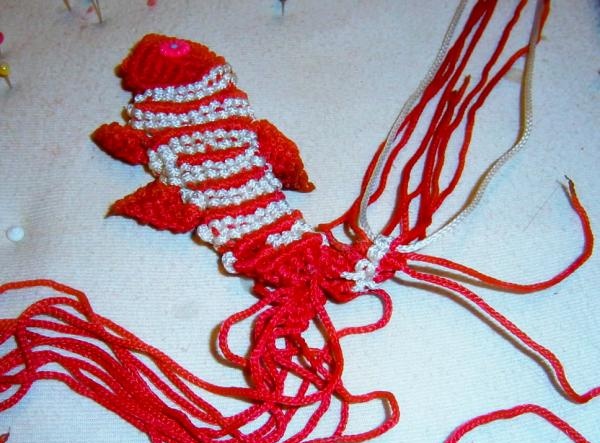
23. We weave raspberry-white-raspberry-half-raspberry/half-white rows. Then, to form a narrow tail, we use a trick: with a crimson cord (like a white one), we tie a double knot around the next two cords. And so three rows.
24. Divide the threads to form the caudal fin: 10 threads on the right, 10 threads on the left. The ten threads on the right are divided into five at the top and five at the bottom.
25. From the center of the tail on the right, on five threads from above, we form a fin: we tie one, then two, three, four knots in the same way as the first fin. Then do the same from below. Then on the left side the same as on the right:
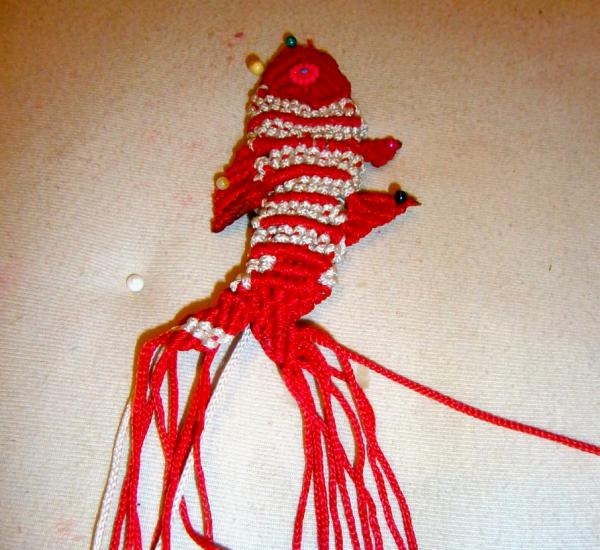
26. We tie the threads together:
27. Trim the ends of the threads:
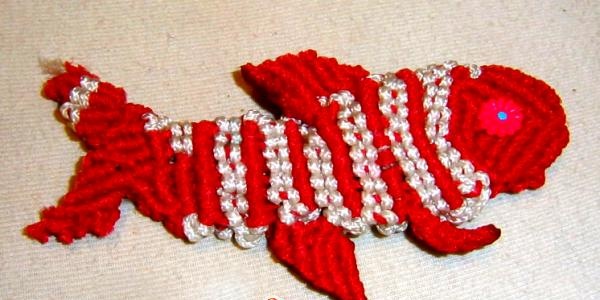
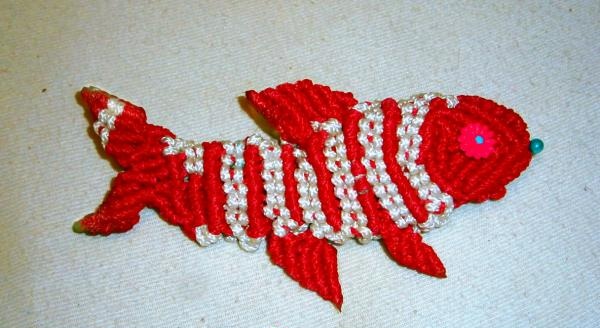
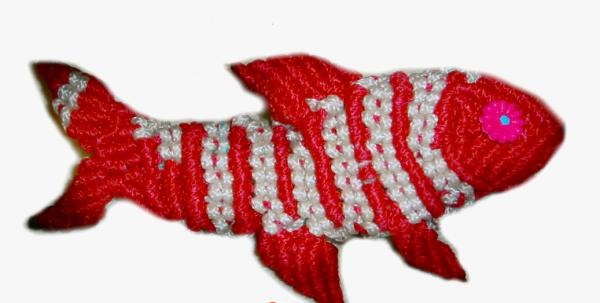
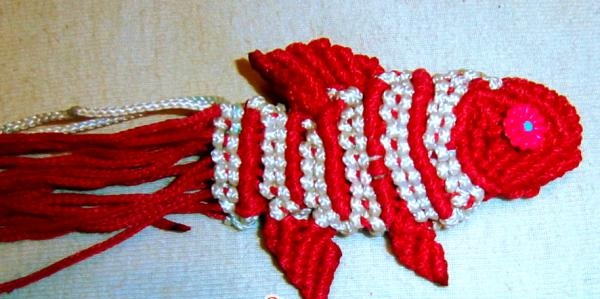
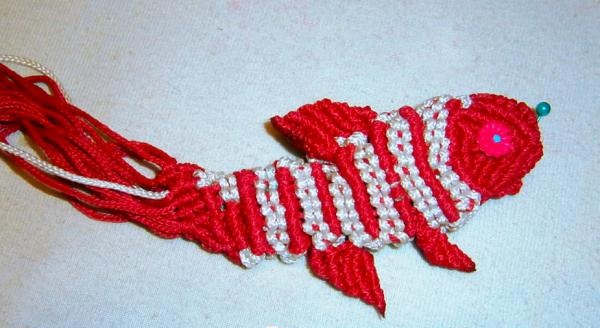
28. And we melt them, and voila, our fish is ready!