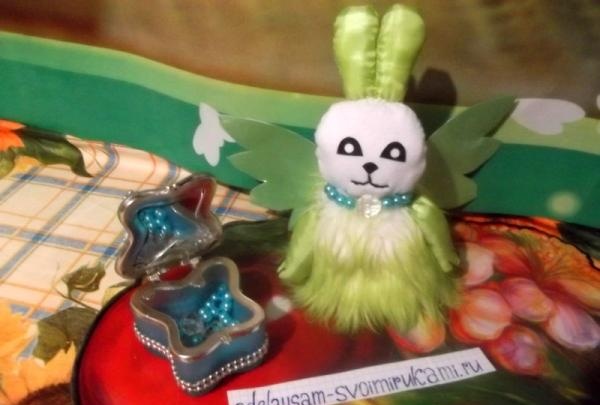
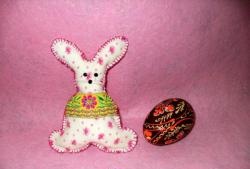
All children, without exception, love unusual toys created in the image of beautiful fairy-tale characters. These toys charmingly attract children to come to them on the shelves. And I had an idea: you can sew a wonderful toy yourself - a rabbit, which in some mythological legends is called “Mint”: it is almost like an ordinary one, only it has wings behind its back and its fur is green.
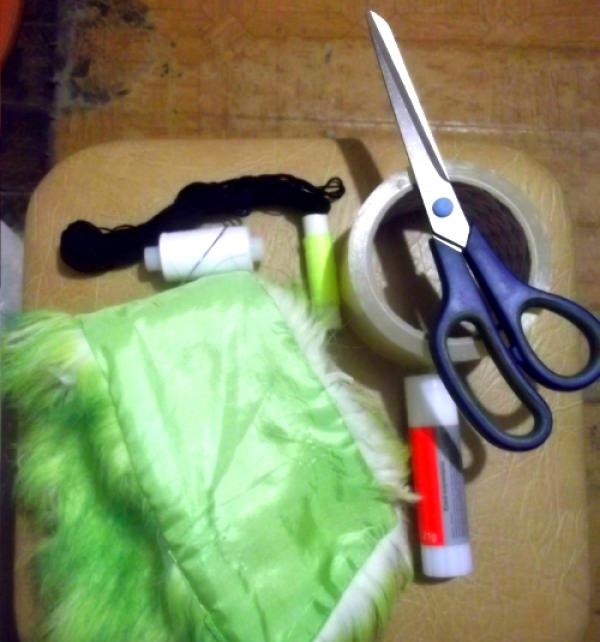
To make the Peppermint Bunny, we will need:
- 1. White fabric (for the head);
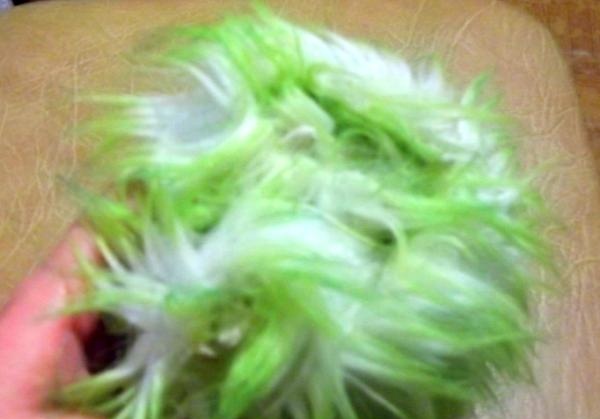
- 2. Light green fabric or fur (we used the sleeves of an old fur coat, which were attached to it with loops, so it was not cut off and the lower part did not require modification);
- 3. Black, white and green threads;
- 4. Needle, scissors;
- 5. Scotch tape and glue;
- 6. Light green paper and cardboard (any color (I used the cover from a shared notebook) for the wings;
- 7. Pencil and compass (to make it easier to draw a circle for the head on the fabric).

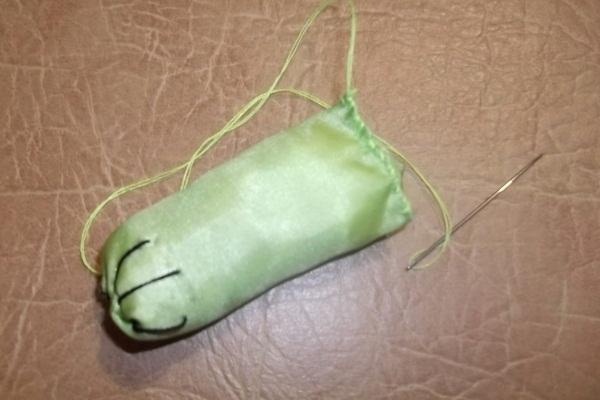
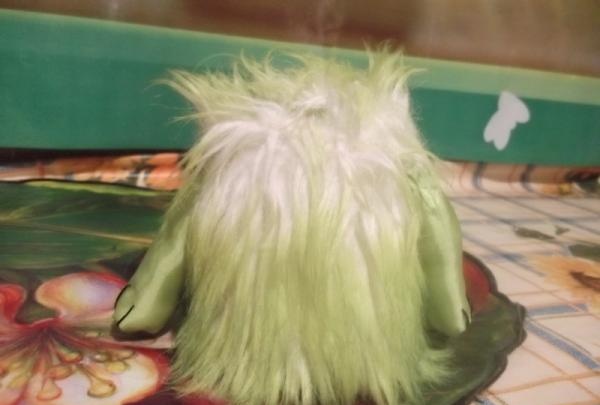
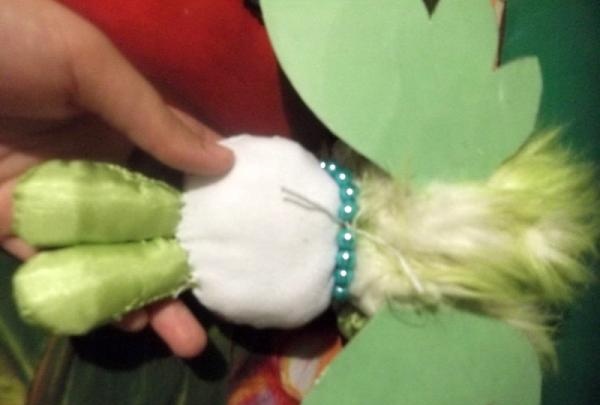
I twisted the edges of the sleeve from the fur coat to the center and folded the entire sleeve into a circle, sewing along the edge where both ends meet.The result was a rabbit's body, which no longer required filling with cotton wool - there was fur inside.
Then I started working on the paws: from the second sleeve of the same fur coat, I cut out the inner fabric, from which, after drawing models, I made them and the ears.
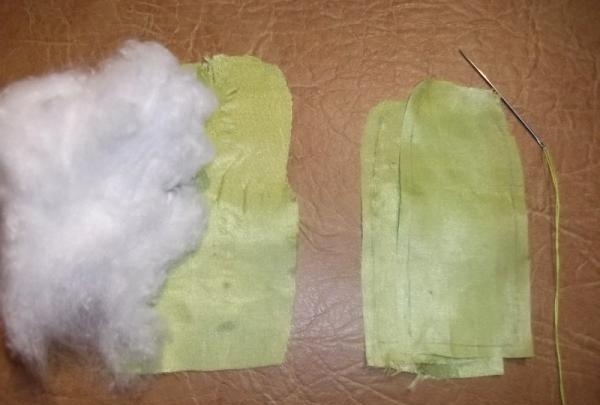
I stuffed my paws and ears with cotton wool; At the lower ends of the paws I made three “stitches” with black floss threads to create small “fingers”.
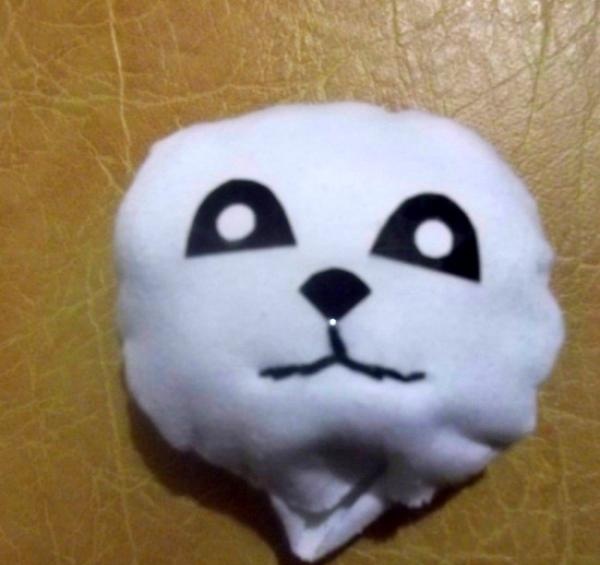
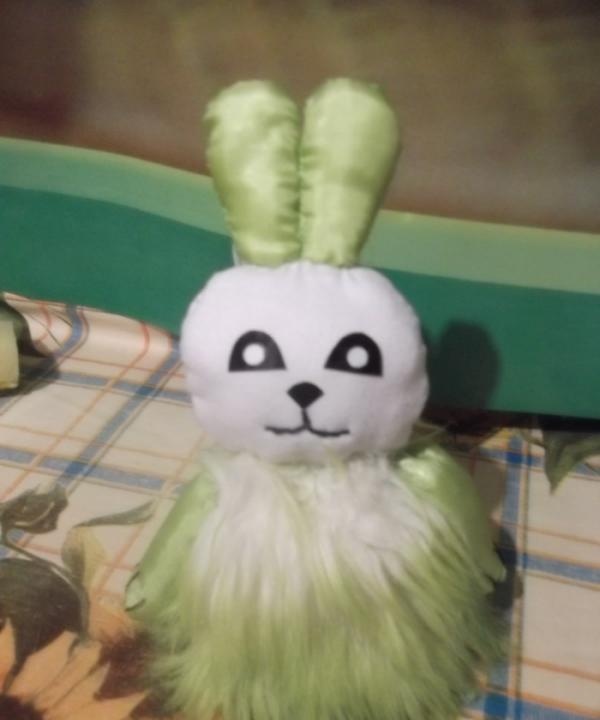
Then, on a white fabric, I drew two circles with a compass - for the head of the rabbit - and cut them out, stepping back from the drawing (since it would be more convenient to sew on it), and having almost embroidered them into one, I left a small hole through which I turned the “head” inside out. from the inside out.
I made the eyes and nose from black and white colored paper, glued them with tape, and then attached them to the head with a glue stick, embroidering a mouth on it with floss threads, thus forming a muzzle; then I stuffed the rabbit's head with cotton wool.
I sewed the legs to the body.
I sewed the ears to the head and the head to the body, sewing up the hole left for the cotton wool.
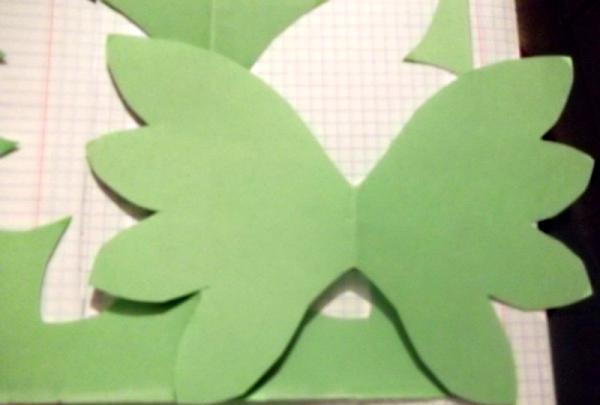
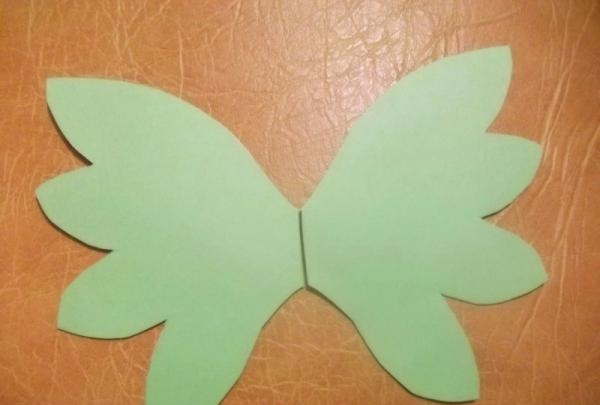
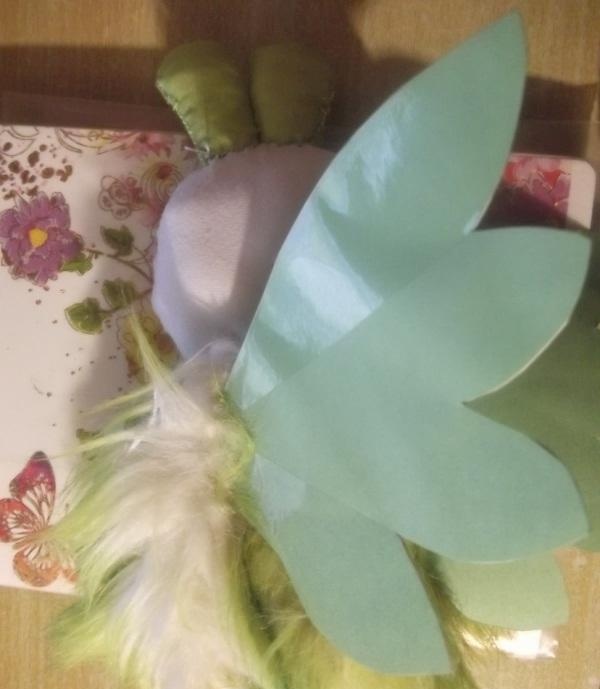
Then she took up the wings: she drew a sample on a folded cardboard sheet, cut it out and made two more copies of these wings on sheets of thin light green paper, gluing everything into one pair (in three layers: first - thin wings, under them - cardboard, and under the cardboard ones there is a second layer of thin ones).
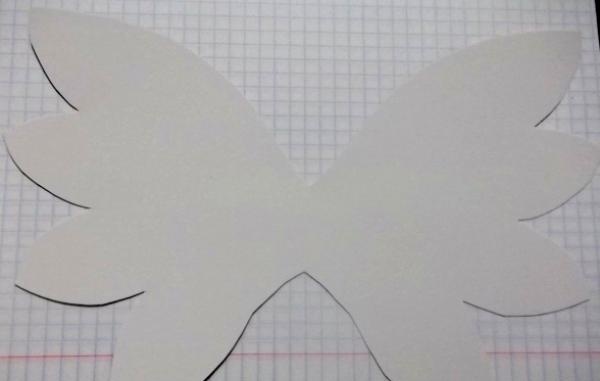
Then I sewed the resulting wings to the back of the toy (the cardboard of the notebook was easy to pin), and carefully covered it with tape.
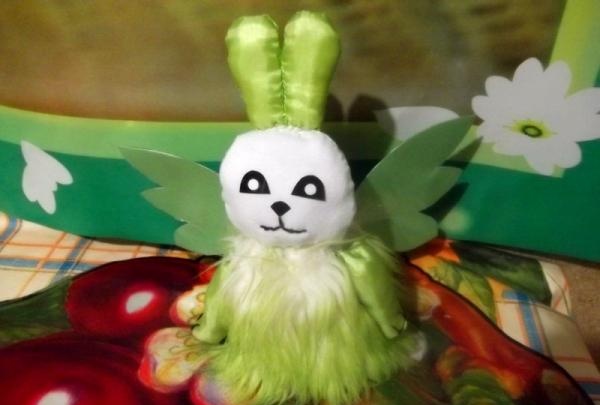
Our funny "Mint Bunny" is ready. It looks great in the interior of a children's room and is very pleasing to the eye.