Decoupage champagne bottle
If you want to decorate your holiday table or if you want to make an original and inexpensive present, then pay attention to this master class. We hope you find it informative and interesting. Today we invite you to do decoupage bottles of champagne.
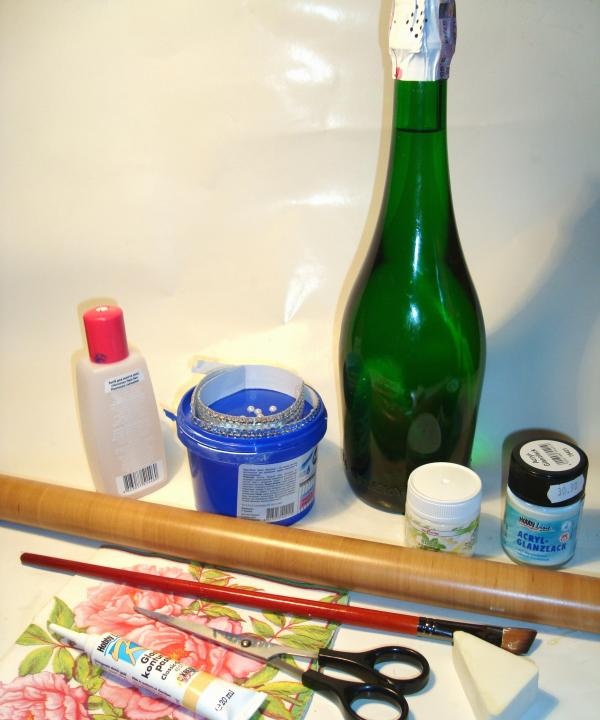
We will need:
- any bottle of champagne
- degreaser
- self-adhesive paper
- scissors
- napkin for decoupage
- glue for decoupage
- acrylic white paint
- sponge
- acrylic paint for spot painting
- brush for glue and varnish
- varnish
- ribbons for decoration
- Super glue
- patience, a little time and a great mood.
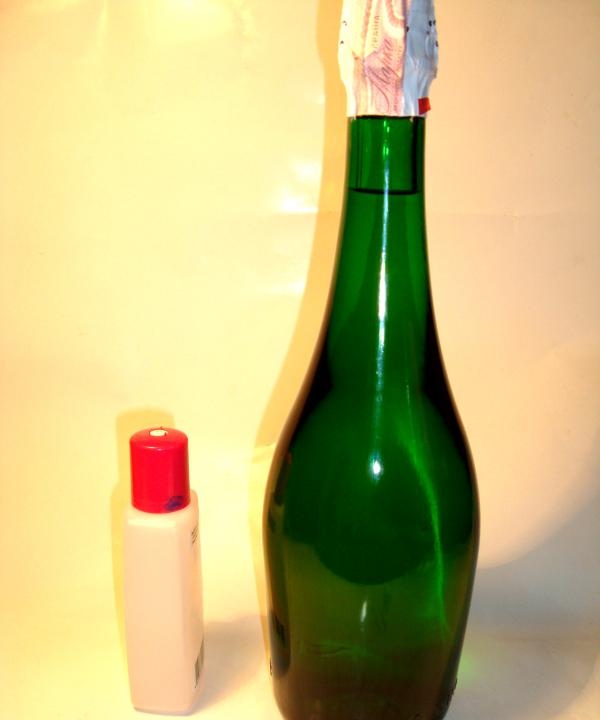
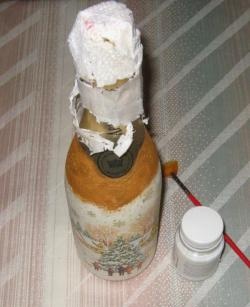
So, let's start with the fact that we need to prepare the bottle. We remove unnecessary labels from it and degrease it with an alcohol solution or acetone, or, as in my case, with regular nail polish remover. To remove the label easily, you can place the bottle in a bucket of cold water overnight. In the morning you can easily remove the label if the champagne is of high quality.
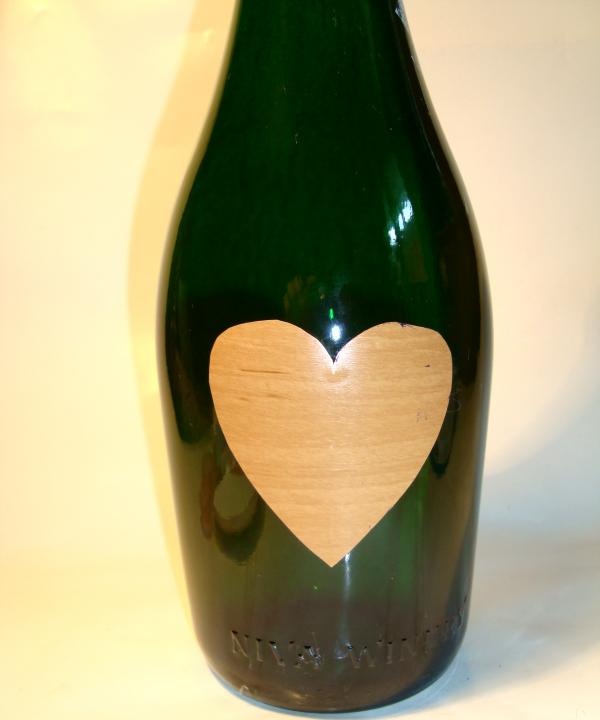
Cut out a heart of any size from any self-adhesive paper.
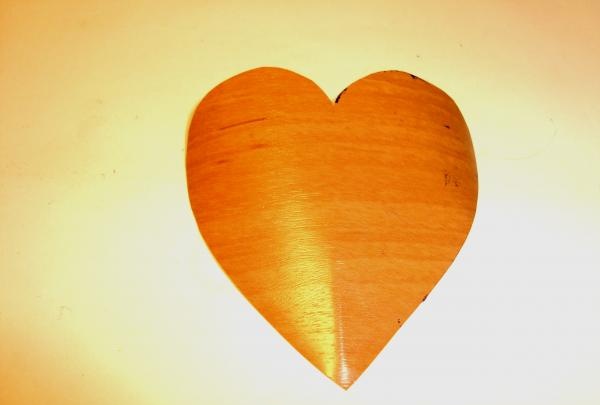
And carefully glue it onto the bottle.
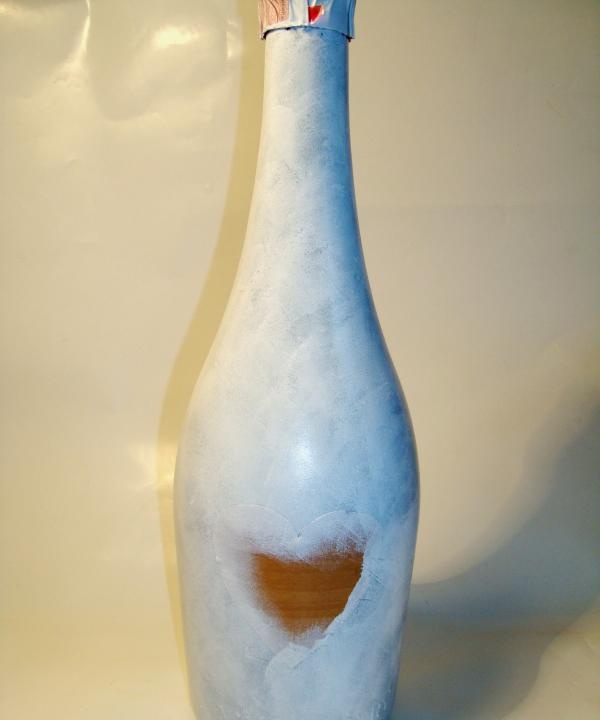
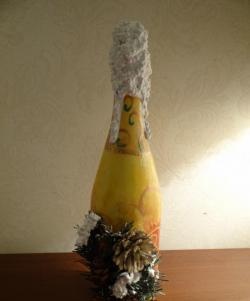
Let's start painting the bottle.For this we will need acrylic paint and any makeup sponge. Of course, you can purchase a special tool in art stores, but I decided to use a sponge, and the result met all expectations. We paint the bottle using the “smacking” method. It seems to me that the name of the method very succinctly explains the process itself. I’ll just add that you only need to put a little bit of paint on the sponge and smack the bottle with frequent movements. This is what happened after applying the first layer.
Let it dry and apply a second coat of paint to get a uniformly colored bottle.
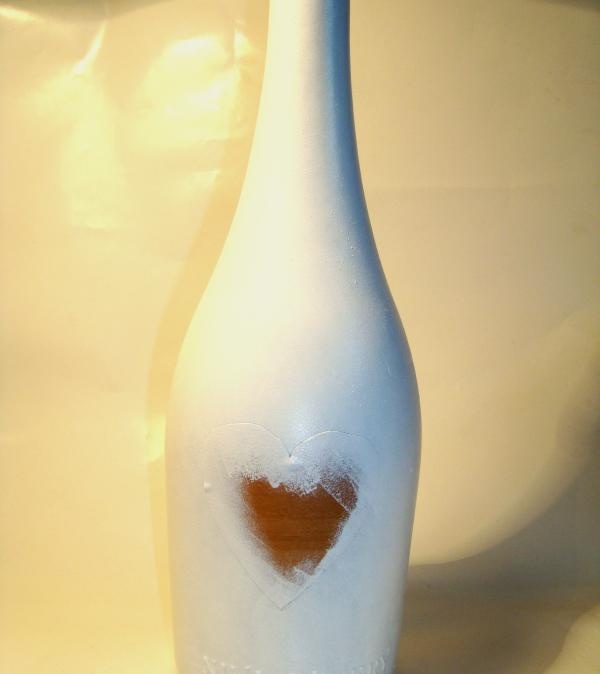
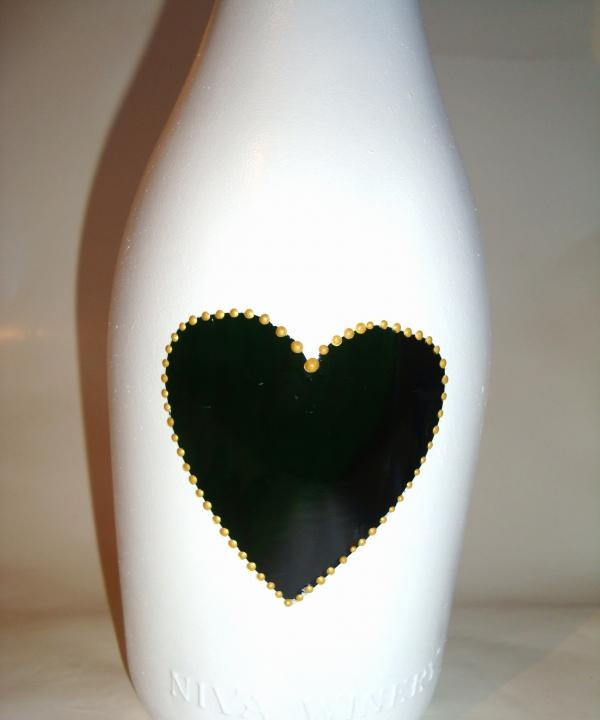
I don't paint the bottom of the bottle. Agree, such bottles do not always open immediately. If you gave it to someone as a gift, then there is a good chance that this bottle will be put aside for a special occasion. Thus, leaving the bottom open, you allow the owners of the bottle to control the safety of the drink. If sediment forms, the champagne will no longer be suitable for use. After the paint has completely dried, and acrylic paint dries very quickly, remove the self-adhesive paper.
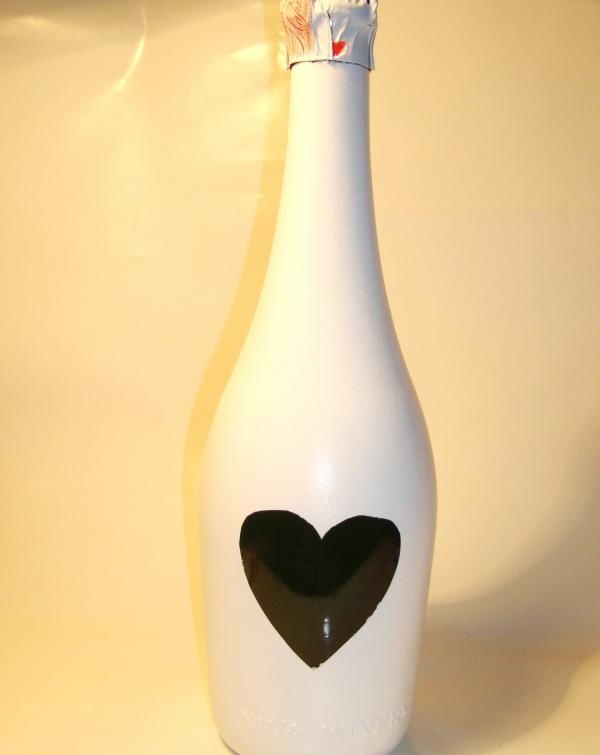
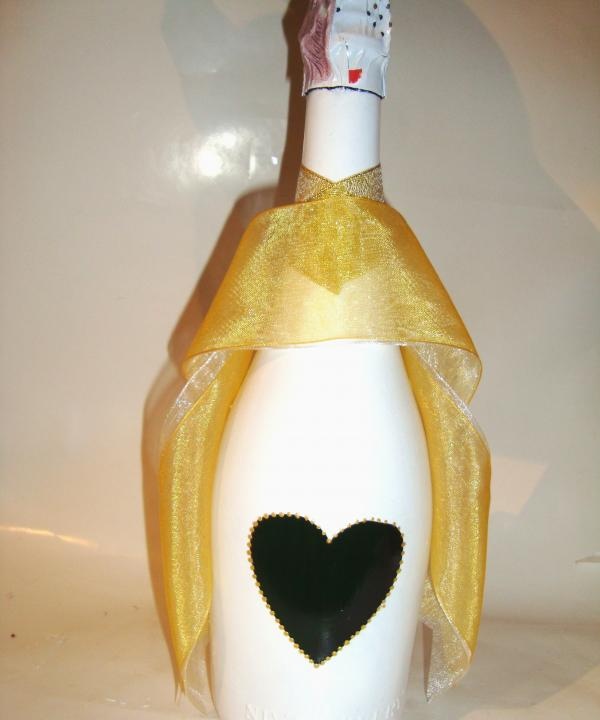
Use dot paint to place small dots along the outline of the heart. By the way, here you can insert a photo of the person you plan to give the bottle to.
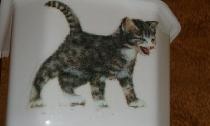
Let's start working with a napkin. Using your hands, carefully tear off the edges of the napkin and separate the top layer.
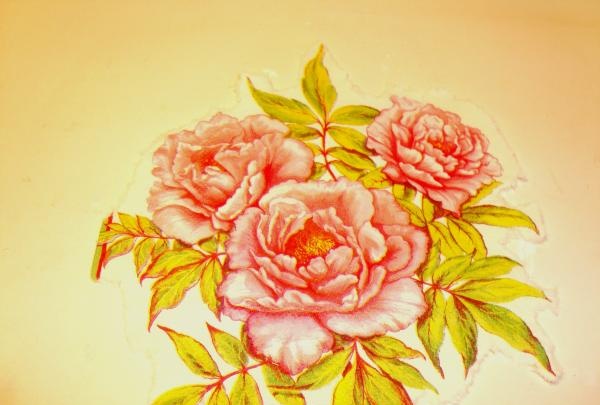
Place the napkin on the bottle and apply glue to the middle of the napkin. Using a brush, carefully expel the air, level the napkin, gradually applying glue to the entire surface of the napkin. This is a painstaking process that requires attention and patience. Glued? Now mask the edges of the napkin using white paint, a sponge and lightly smacking along the edges of the napkin.
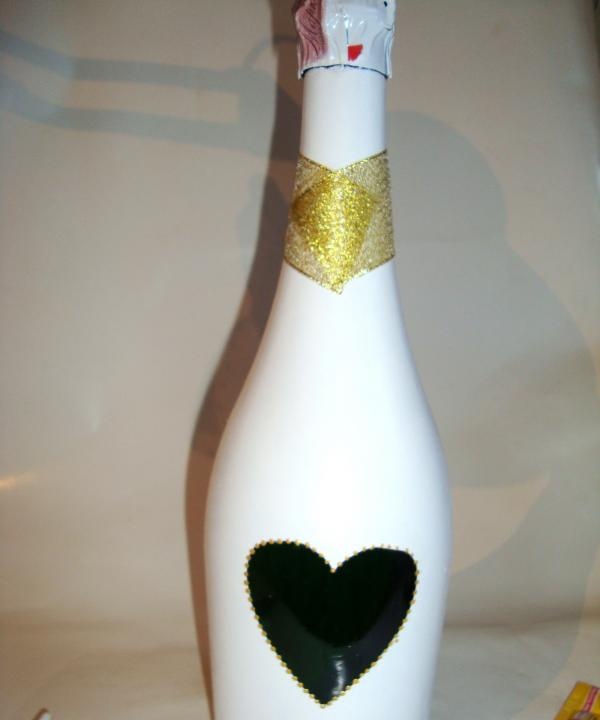
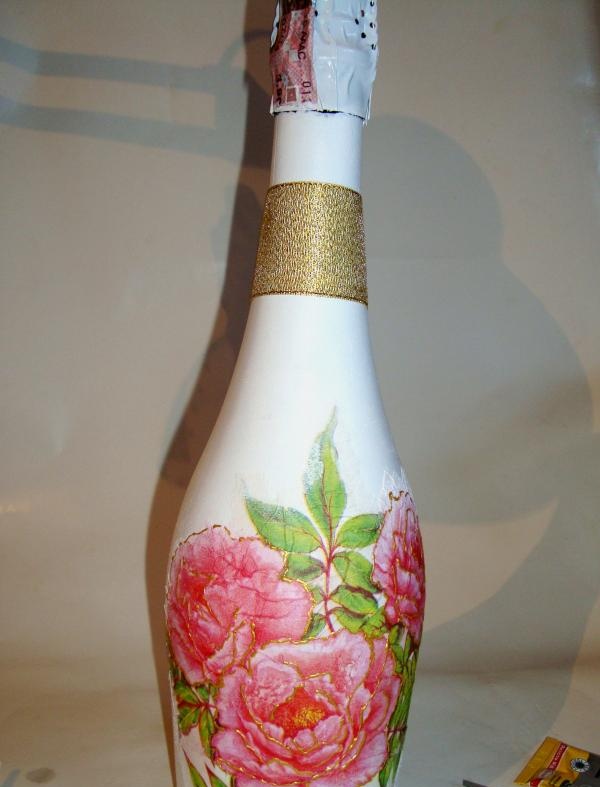
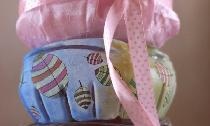
Let's start with the decor. We glue a golden ribbon to the neck of the bottle.
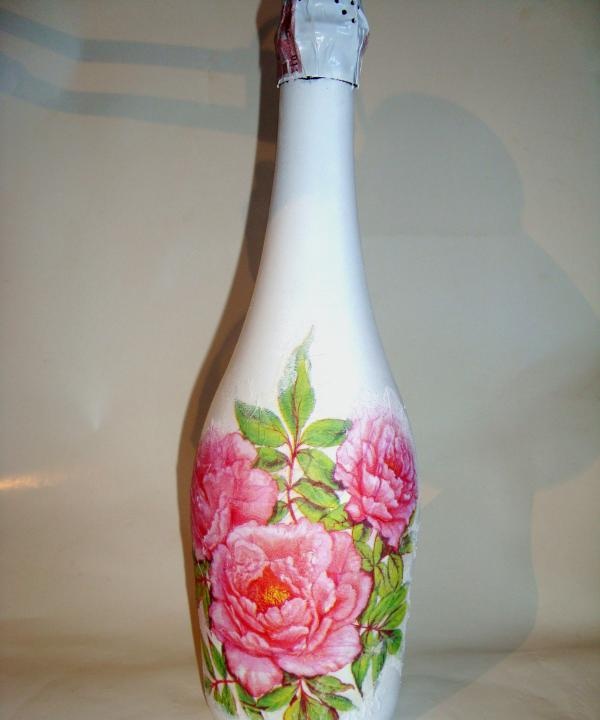
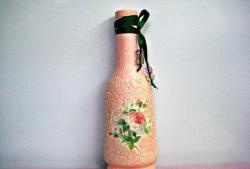
We add color and dimension to our flowers by drawing some lines using the same dot paint. And cover the bottle with several layers of varnish.
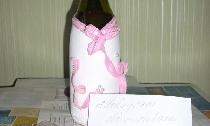
We glue the tape as shown in the photo.
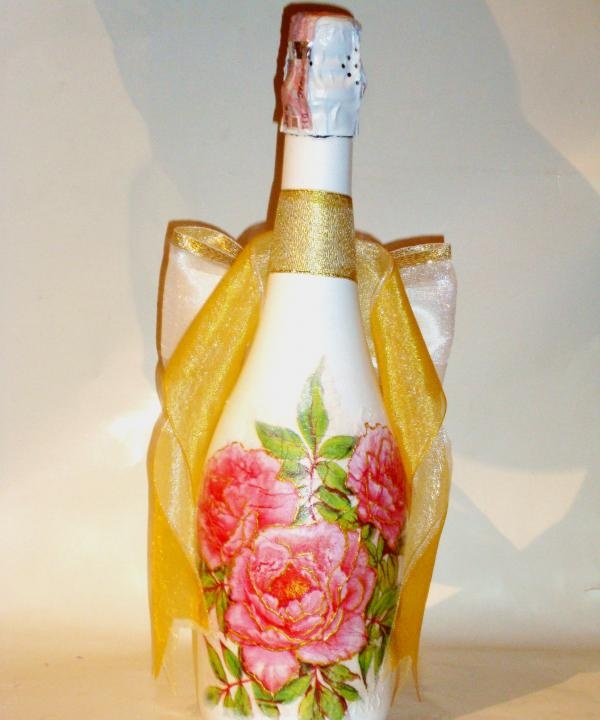
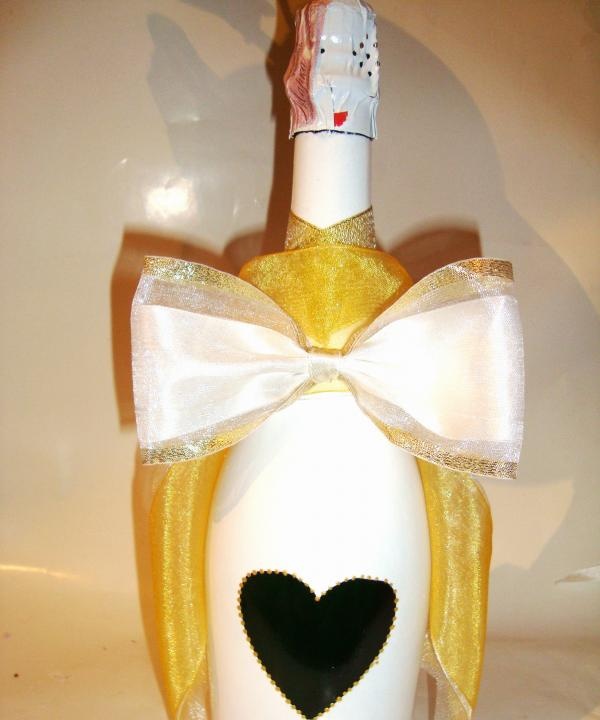
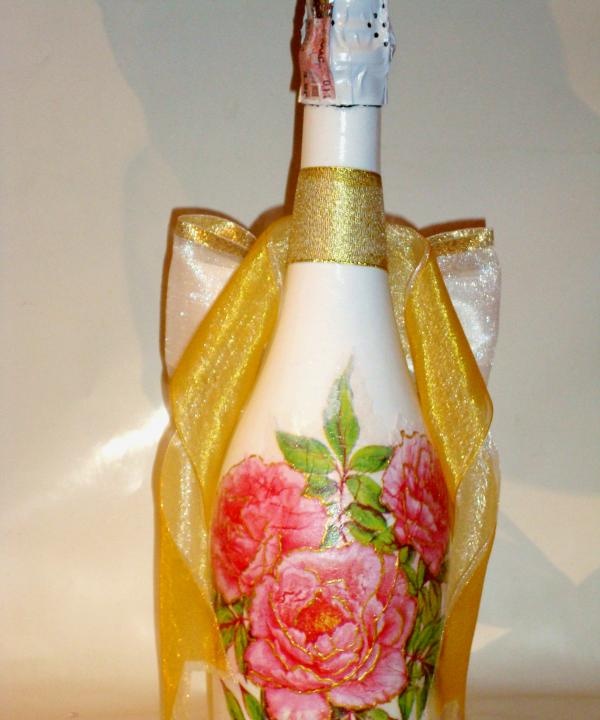
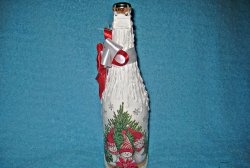
Add a bow and our bottle is ready. Photo from both sides.
We will need:
- any bottle of champagne
- degreaser
- self-adhesive paper
- scissors
- napkin for decoupage
- glue for decoupage
- acrylic white paint
- sponge
- acrylic paint for spot painting
- brush for glue and varnish
- varnish
- ribbons for decoration
- Super glue
- patience, a little time and a great mood.
So, let's start with the fact that we need to prepare the bottle. We remove unnecessary labels from it and degrease it with an alcohol solution or acetone, or, as in my case, with regular nail polish remover. To remove the label easily, you can place the bottle in a bucket of cold water overnight. In the morning you can easily remove the label if the champagne is of high quality.
Cut out a heart of any size from any self-adhesive paper.
And carefully glue it onto the bottle.
Let's start painting the bottle.For this we will need acrylic paint and any makeup sponge. Of course, you can purchase a special tool in art stores, but I decided to use a sponge, and the result met all expectations. We paint the bottle using the “smacking” method. It seems to me that the name of the method very succinctly explains the process itself. I’ll just add that you only need to put a little bit of paint on the sponge and smack the bottle with frequent movements. This is what happened after applying the first layer.
Let it dry and apply a second coat of paint to get a uniformly colored bottle.
I don't paint the bottom of the bottle. Agree, such bottles do not always open immediately. If you gave it to someone as a gift, then there is a good chance that this bottle will be put aside for a special occasion. Thus, leaving the bottom open, you allow the owners of the bottle to control the safety of the drink. If sediment forms, the champagne will no longer be suitable for use. After the paint has completely dried, and acrylic paint dries very quickly, remove the self-adhesive paper.
Use dot paint to place small dots along the outline of the heart. By the way, here you can insert a photo of the person you plan to give the bottle to.
Let's start working with a napkin. Using your hands, carefully tear off the edges of the napkin and separate the top layer.
Place the napkin on the bottle and apply glue to the middle of the napkin. Using a brush, carefully expel the air, level the napkin, gradually applying glue to the entire surface of the napkin. This is a painstaking process that requires attention and patience. Glued? Now mask the edges of the napkin using white paint, a sponge and lightly smacking along the edges of the napkin.
Let's start with the decor. We glue a golden ribbon to the neck of the bottle.
We add color and dimension to our flowers by drawing some lines using the same dot paint. And cover the bottle with several layers of varnish.
We glue the tape as shown in the photo.
Add a bow and our bottle is ready. Photo from both sides.
Similar master classes


Particularly interesting

Comments (0)
