Do it yourself
Life hacks, master classes, useful tips, recipes.
home » Handicraft techniques » Kanzashi » Kanzashi master class » Wedding pillow with rose
It’s hard to surprise anyone with a wedding in black and white. Newlyweds strive to make their holiday not only unforgettable, but also unique. Therefore, more and more often, celebrations are dedicated to some theme - sea, olive, birch. Young people with a particularly bright temperament have pink weddings, in which red is used everywhere, a symbol of fiery love and roses, denoting sensuality and tenderness. For a pink wedding, all accessories should be unusual. I would like to clearly demonstrate to you how to create a red pillow with a rose for presenting wedding rings.
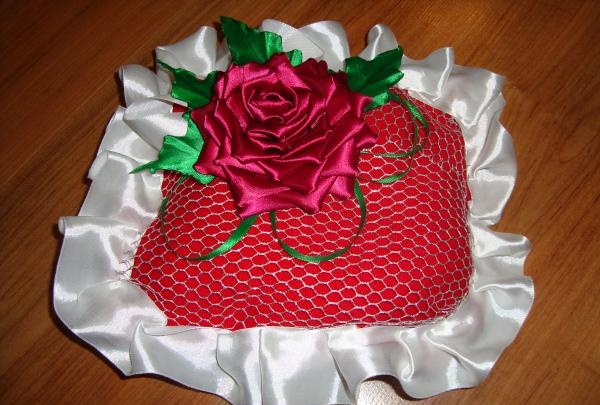
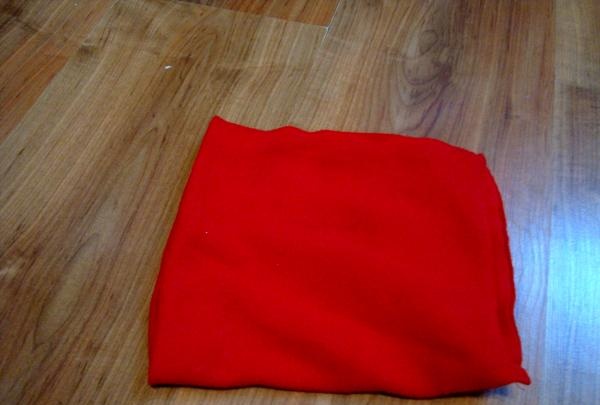
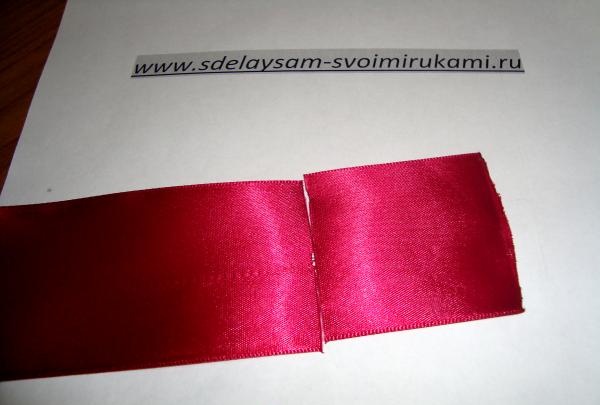
You will need a piece of red fabric 35 by 20 cm, thread, cotton wool, white ribbon, white mesh and a wide (5 cm) satin ribbon to create a rose. For the petals, purchase some green ribbon. Use hot glue to secure the rose petals. The rosette is made using the technique kanzashi, to create such petals you can use tweezers and a lighter or a metal ruler with a soldering iron; to work with a hot soldering iron you need glass. When everything is prepared, let's start creating the pillow. Sew the fabric on three sides.

Sew the fabric on three sides


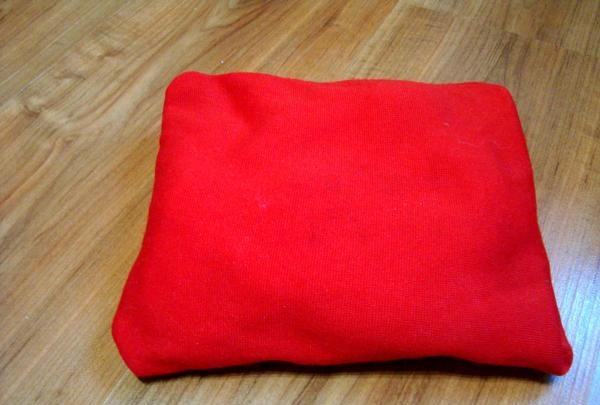
Then stuff it with cotton wool or other soft material. Don't pack it tightly, otherwise the rings will just roll off.

stuff it with cotton wool


Sew up the fourth side of the pillow.

Sew up the fourth side


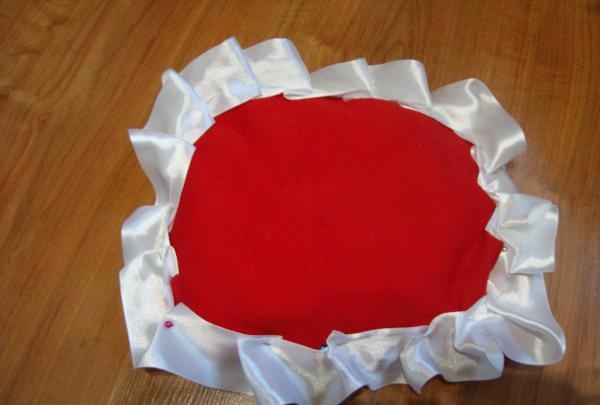
Now we trim the edge of the pillow with white satin ribbon. A width of 4 cm is suitable. Make clothespins every 4 cm by 2 cm.

sew the edge of the pillow


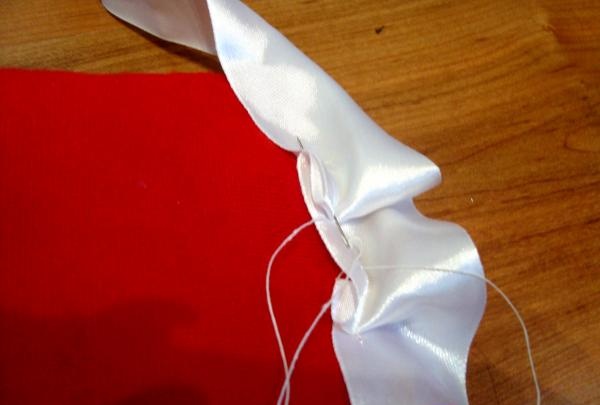
You can pin the folds first, and then overcast everything

pin folds


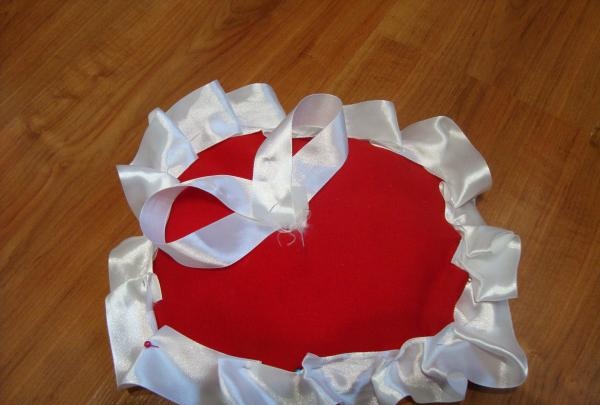
From the middle tape, sew a figure eight into the corner.

sew a figure eight into the corner


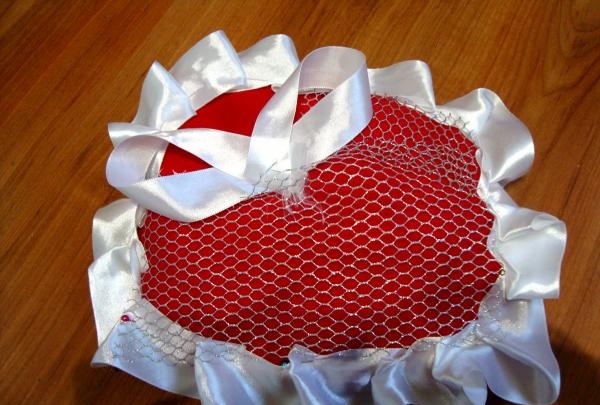
Cover the rest of the area with a net. It can be sewn or glued.

cover with mesh


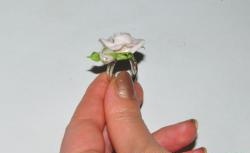
Let's start creating a rose. Mode: tape for 50 squares, their size is 5 cm. You can cut it with either a soldering iron or scissors, but with further melting of the edges over a lighter.

Let's start creating a rose


Bend the square as in the picture.

Bend the square


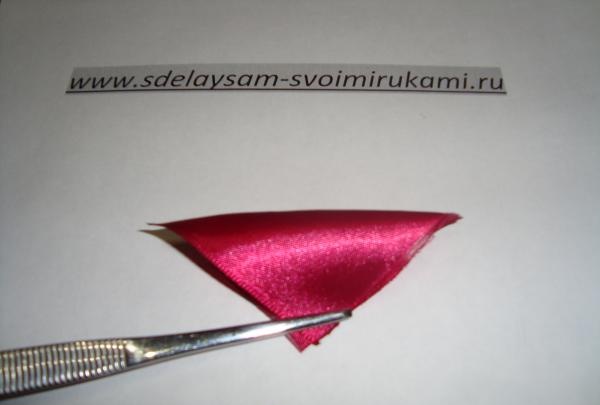
Next, you need to bend one edge so that the corner is in the center of the bottom side. Then fold the other edge in the same way.

bend one edge


To create a petal for a rose, you need to cut off the base and solder all the layers, in the end we get the following blanks:

create a rose petal


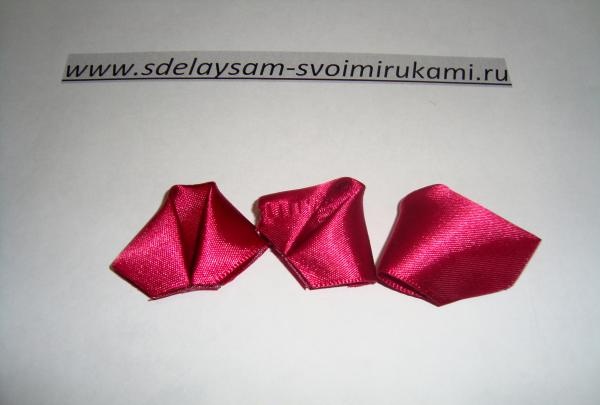
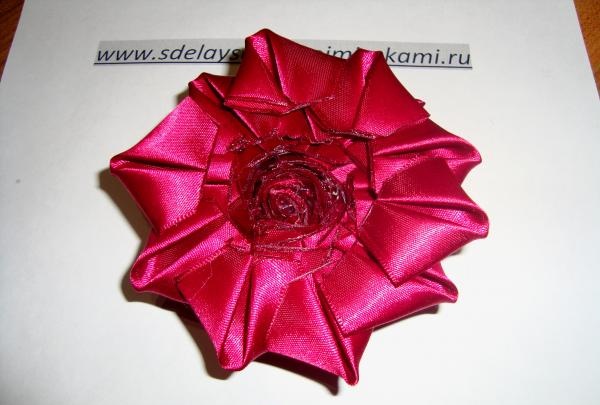
We twist the first petal - this is a rosebud.

create a rose petal


Next, glue the petals one after another in a spiral. Be sure to try to give the rose an even appearance, do not make the middle of the flower protrude or fall in.

rose


The reverse side of the flower is glued in one plane.

rose


Let's start creating green sheets. To do this, take a grass-colored ribbon and use scissors to cut out petals that resemble the original ones of a rose flower.

to creating green sheets


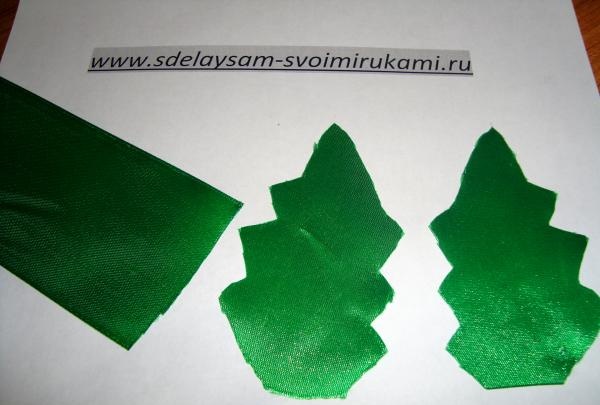
Scorch them over the flame, bend them more often. That is, they scorched 2 cm and bent them with their fingers.

melt


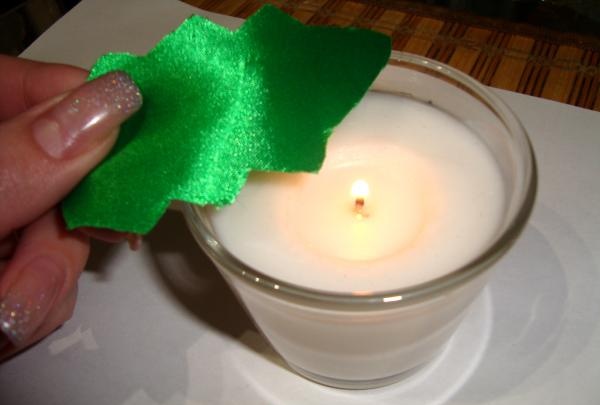
The sheets should take on a more voluminous appearance.

leaf


Warm up the knife and press the veins of the leaves onto the towel.

we form


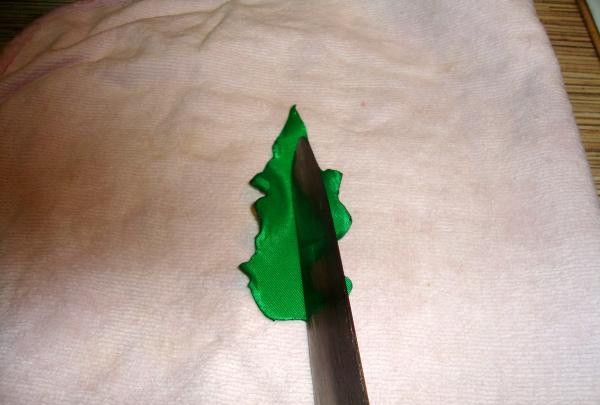
The leaves should look like this

rose leaves


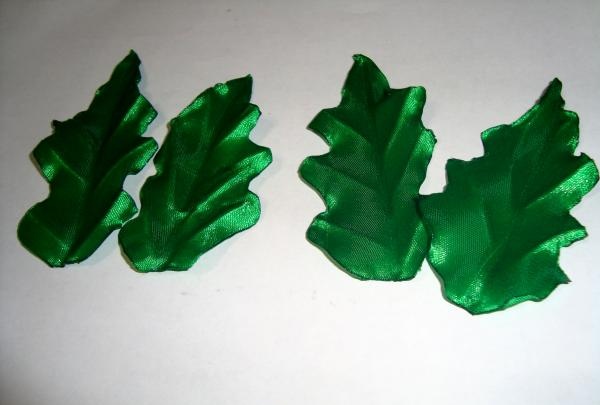
Glue leaves to create a composition

wedding pillow


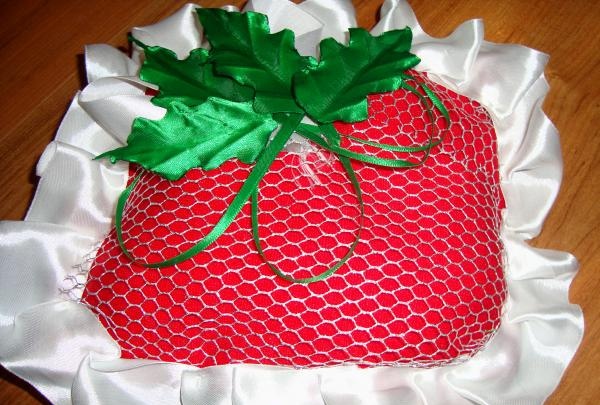
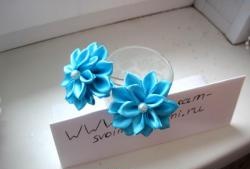
Now glue or sew on the rose. Be sure to use your hands to press a hole in the cotton wool in the middle of the pillow to place the rings there.

Wedding pillow with rose
come back
Comment
  • bowtiesmilelaughingblushsmileyrelaxed relaxedsmirk
    heart_eyeskissing_heartkissing_closed_eyesflushedrelievedsatisfiedgrin
    winkstuck_out_tongue_winking_eyestuck_out_tongue_closed_eyesgrinningkissingstuck_out_tonguesleeping
    worriedfrowninganguishedopen_mouthgrimacingconfusedhushed
    expressionlessunamusedsweat_smilesweatdisappointed_relievedwearypassive
    disappointedconfoundedfearfulcold_sweatperseverecrysob
    joyastonishedscreamtired_faceangryragetriumph
    sleepyyummasksunglassesdizzy_faceimpsmiling_imp
    neutral_faceno_mouthinnocent
3+three=
Comments (1)
  1. Alina
    #1 Alina Guests 26 October 2014 16:25
    0
    this accessory takes from 5 to 7 hours to make!

Lifehacks and useful tips | Page 19 | Do it yourself

Crafts - Do it yourself, step-by-step master classes | Page 2

If your Dremel breaks, it doesn’t matter: a grinder can replace it

How to assemble a bevel gear for a drill from a broken grinder with your own hands

«Do it yourself - with your own hands» - a site of interesting homemade products made from scrap materials and items at home. Step-by-step master classes with photos and descriptions, technologies, life hacks - everything a real master or just a craftsman needs for needlework. Crafts of any complexity, a large selection of directions and ideas for creativity.

We recommend reading

Washing machine error codes