- needle,
- fabric for creating a “bear”,
- threads of white and blue colors,
- toothpick and tweezers,
- cotton wool,
- suede for the “paws”, “ears” and “nose”,
- transparent nylon thread,
- beads for “eyes”,
- glue “Moment”,
- ribbon matching the color to create a “bow”,
- blank for a postcard,
- tape for decorating the outside of the “frame”,
- colored paper for decorating the inside of the “frame”,
- blank “Happy Birthday”,
- colored paper for the “backing” to the “Happy Birthday” inscription,
- colored paper for decorating the side of the postcard where the “bear” will be attached,
- “buttons” for decorating seams on the back of the card.
Making a postcard.
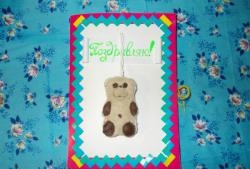
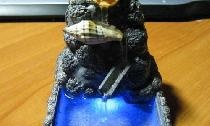
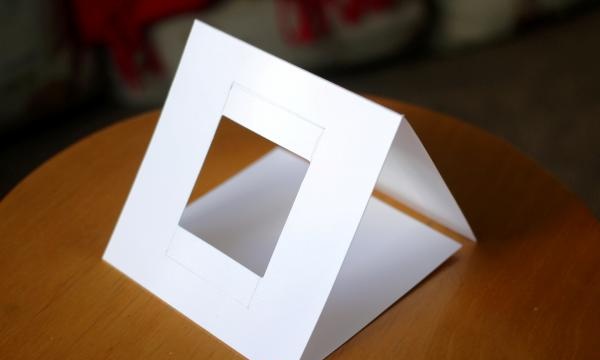
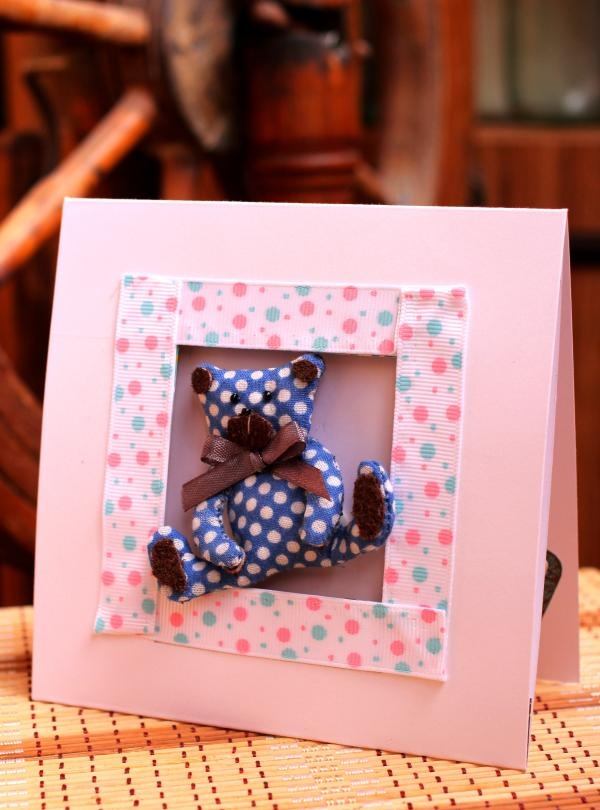
1. In this case, a blank of three sashes with a cut-out window was taken. The teddy bear will look out of the frame. You can choose another preparation option that is more suitable for you.
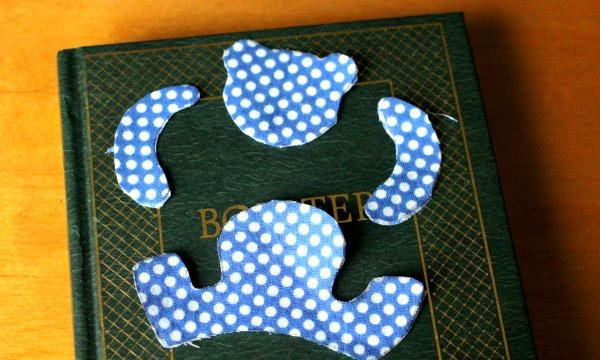
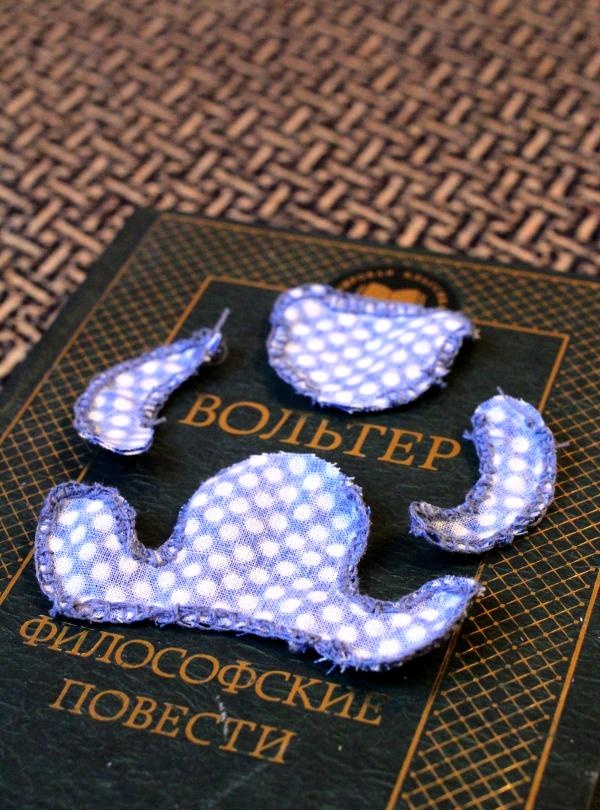
2. From fabric, cut out elements for the bear’s body: head, body with hind legs and front legs.
3. Fold the fabric of the elements with the wrong side and sew twice. Once will not be enough, because... the edges may spread when turning the elements inside out.Remember to leave areas on the products without seams so that they can be turned out and stuffed with cotton wool. Use any available means to turn the products inside out. In this case, a toothpick and tweezers from a manicure set came in handy.
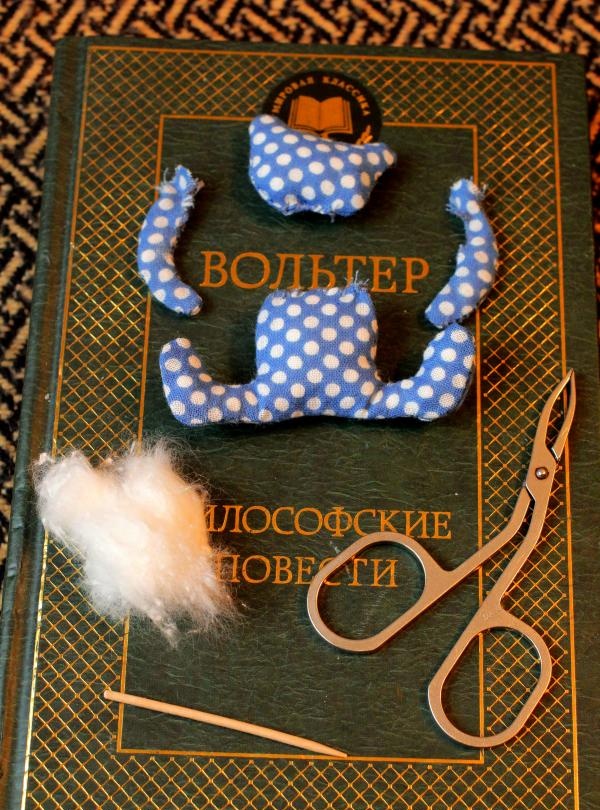
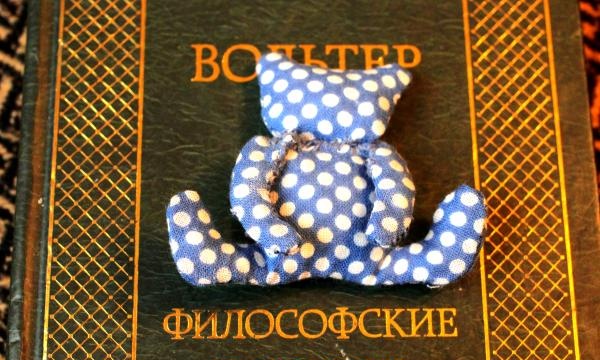
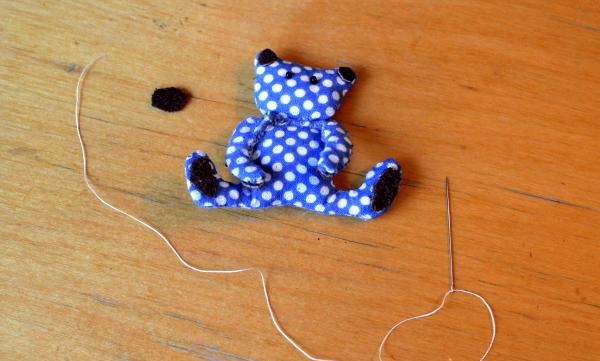
4. Sew all the elements.
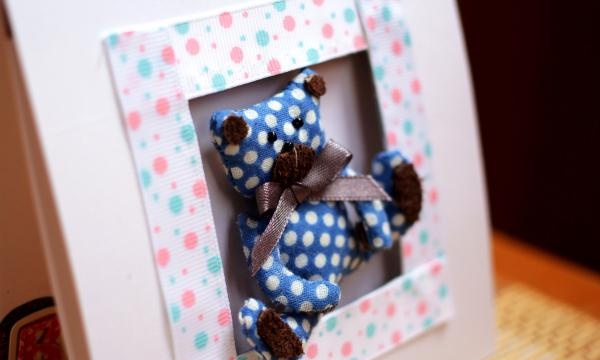
5. From suede you need to cut four circles for the paws and two for the ears. Glue the suede to the inside of each paw and on the ears.
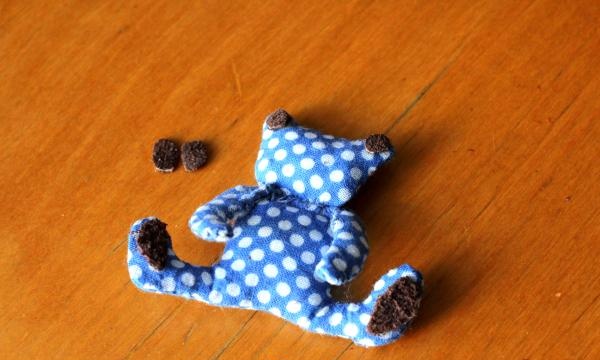
6. Make eyes from black beads.
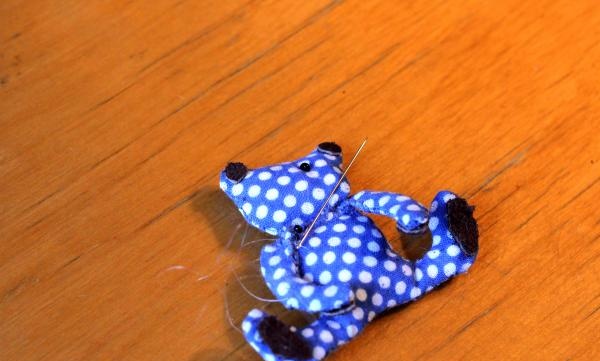
7. Let's move on to the design of the nose. Thread the needle with white thread. The nose must be sewn on with one tie, which stretches from the edge of the suede circle to its middle. This is clearly visible in the photograph. Make the tip of the nose out of beads.

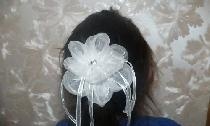
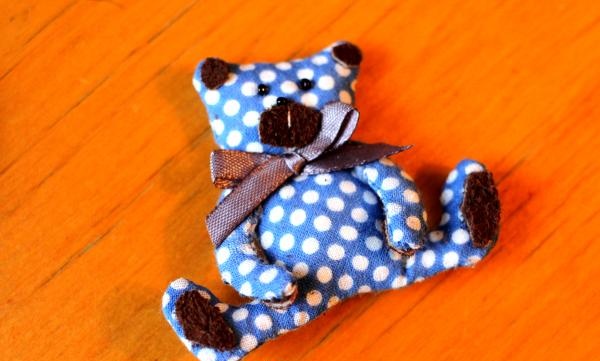
8. Let's make a bow. You can tie the ribbon on the toy or make a bow separately, then glue it to the bear.
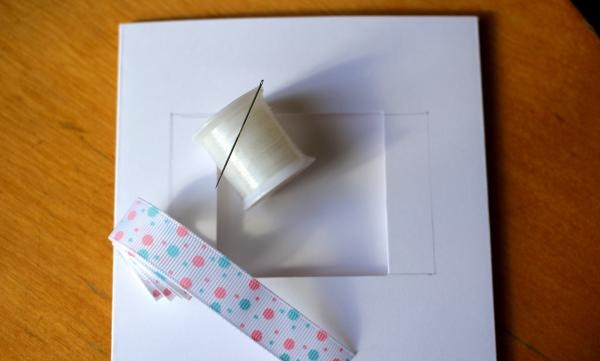
9. Let's start designing the postcard. The bear will look out from the frame decorated with ribbon. Sew a ribbon around the perimeter of the cut-out square using nylon thread.
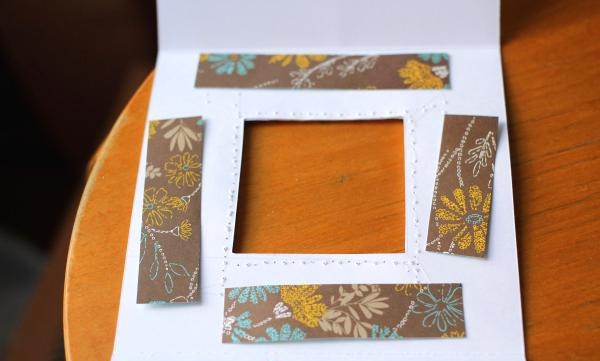
10. The back side of the frame also needs to be decorated and the seams hidden. To do this, cut out four strips of colored paper and glue them around the perimeter.
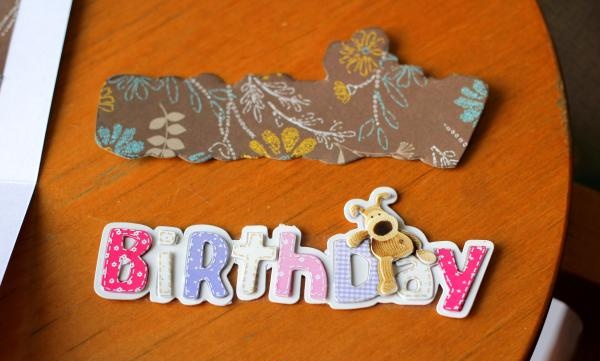
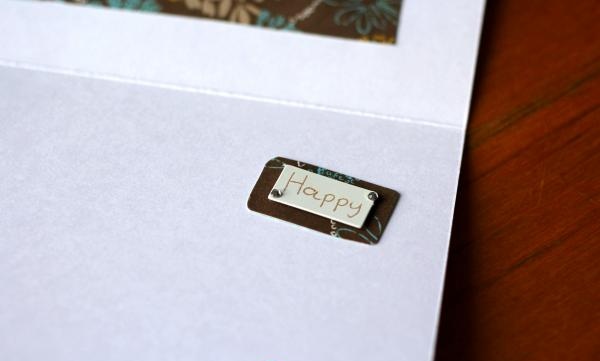
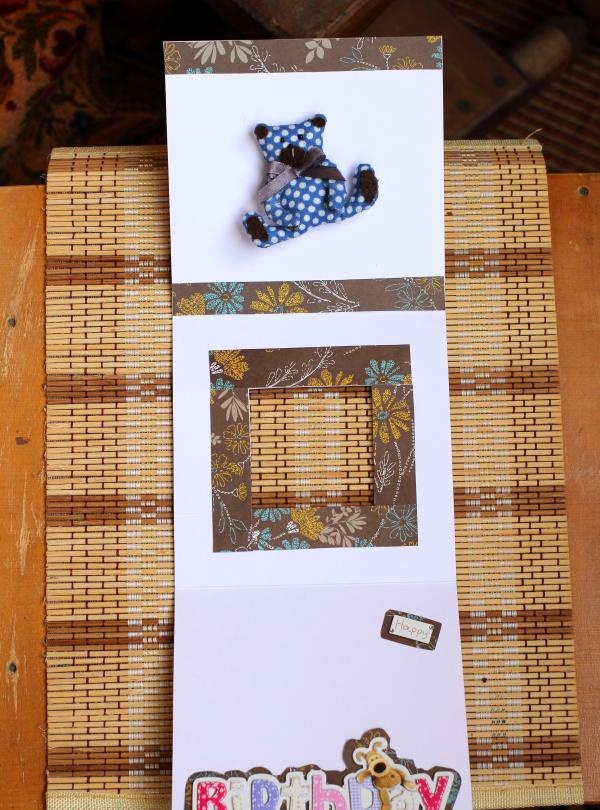
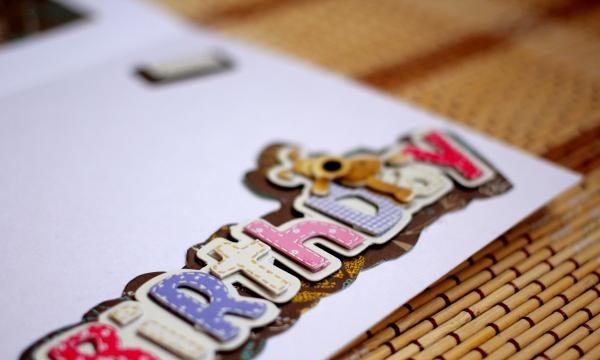
11. Decorate the bottom flap of the card using the “Happy Birthday” blank. The “Happy” and “Birthday” elements will be glued separately from each other. Cut out the backing for them from the same colored paper that was used to decorate the middle flap of the card.
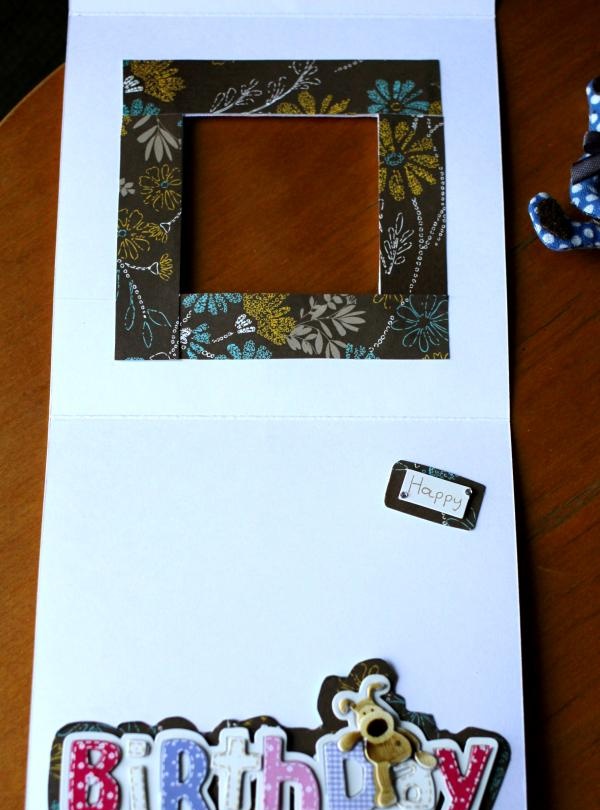
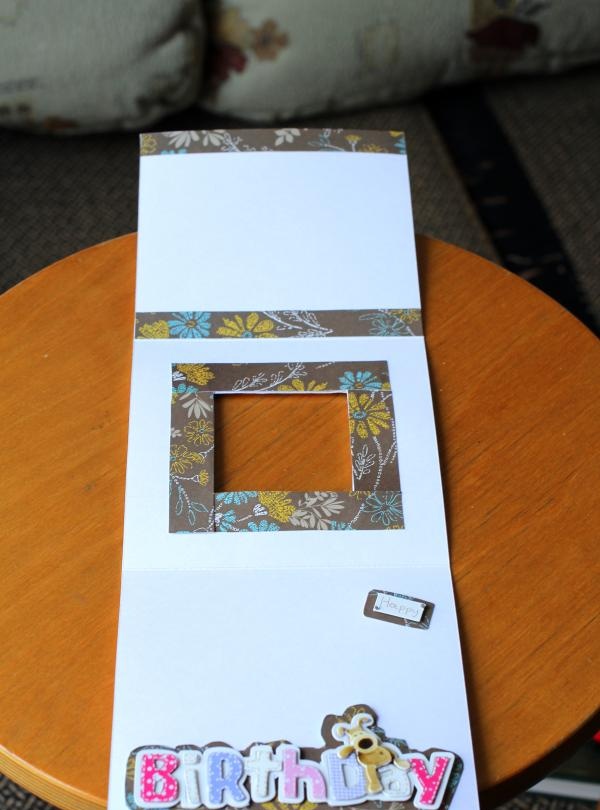
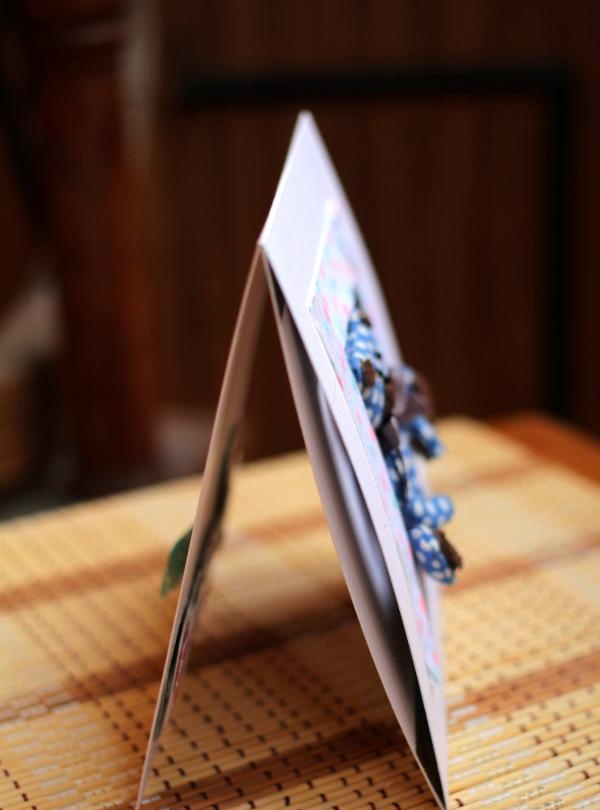
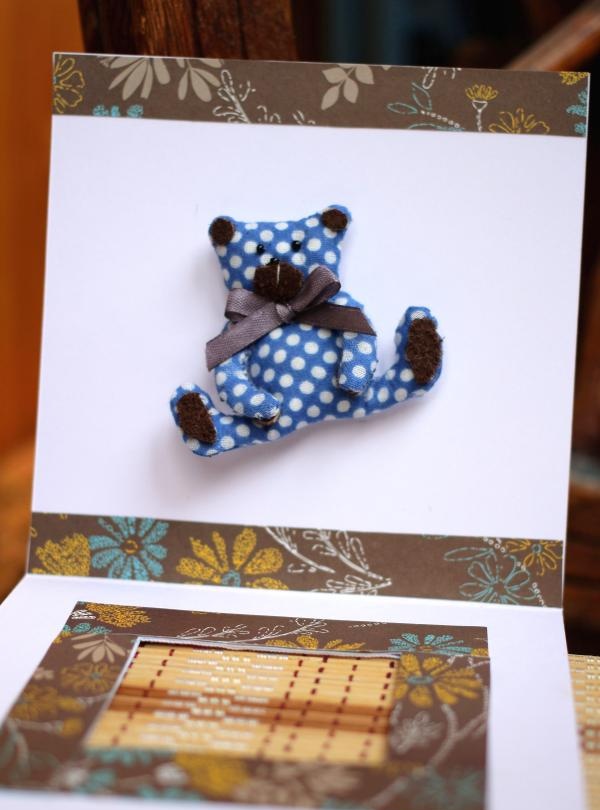
12. This is what the inside spread of the product looks like. Decorate the top flap with two parallel strips of colored paper; it is to this flap of the card that the toy will be sewn.
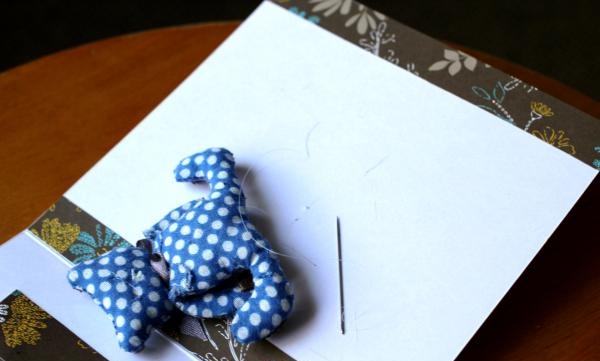
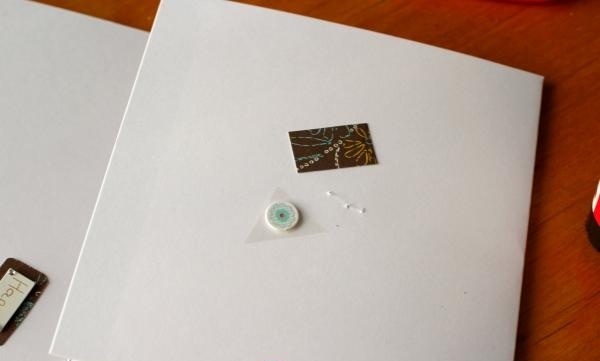
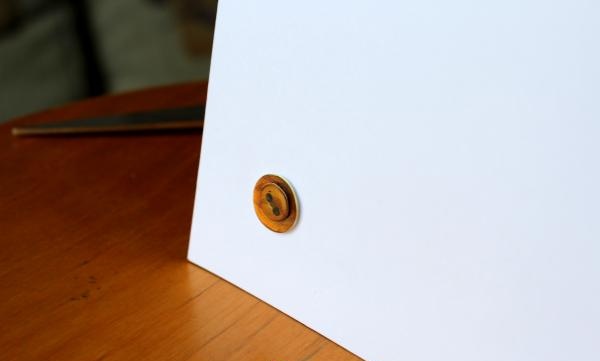
13. Attach the bear. To do this, use a transparent nylon thread. Hide the seams on the back of the card under the buttons and a square of colored paper.
14.To keep the bear's paws in one position and not move, you can glue double-sided tape under them.
15. A place for wishes for the baby is specially allocated on the bottom spread of the card.
Creative success!