Cut the paper drawing. Patterns of the head and body can be interchanged, as I did.

Circle the pattern on the fabric and, without cutting, sew all the details except the sole for the legs.

Now we need to turn out all the details of our doll.

Sweep your legs to the back of your torso.

Stitch them.

Prepare the soles for the feet. To do this, cut out the parts from cardboard and fabric that you have already circled. Leave an allowance of 1–1.3 cm. This is for your convenience when you string the edges of the parts for further gluing to cardboard.

Glue the edges of the sole with glue, tighten the thread and press. Put heaviness on them, let them dry.

Fill the trunk tightly with a synthetic winterizer, sew the front to the back. By the way, when cutting, do not forget about the arrangement of threads: lobar and transverse. By cutting in the direction of the transverse thread, you will get wider details, as happened to me. Therefore, Alina is so chubby.

Fill the head tightly with the filler and sew on top.

Now set aside your head and start stuffing your legs.

Then bast your feet around the edge.

Take the prepared sole.

And sew it from the cape to the heel. You don’t need to immediately finish to the end, but a little more we add filler to the legs.

That's what we got.

Getting to the manufacture of hands. We will make them on a wire frame so that you can bend not only at the elbow, but also give different positions to the fingers. We twist the wire and wrap a little synthetic winterizer on it, fixing it with threads.

Of the five such sticks, we form the arm frame.

Then we additionally wind the synthetic winterizer on the palm and between the fingers.

We insert this entire structure into our stitched handle. Add filler as needed.

Sew ready hands to the calf. They hang out in different directions, children like such hands - hugs.

Now comes the crucial moment - face design. There are many options here, you can embroider, draw, eyes glued purchased. I love button eyes. Button eyes give the doll a special openness and warmth.

Since I swapped the head with the torso, we sew in such a way that the back of the neck goes behind the head.

Now we admire our creation and consider how we will dress it.

Preparing hair locks.

We do it.

We sew a short strand to the head along the bangs and from the back we also grab threads on the back of the head to close the junction of the neck and head.

Sew a long strand.

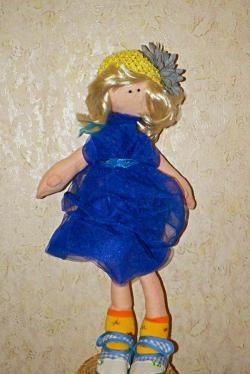
I decided to put the doll in knickers, a blouse and a sundress. We cut out clothing details on paper.

Then we cut it on fabric with an allowance for seams.

We sew a blouse, decorate its sleeves with a border.

Sew elastic bands on the sleeves.

We continue in the same vein. I used Velcro to fasten. Sew pants according to the same principle as the jacket.

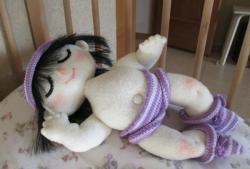
To prevent the doll from sitting naked, we immediately put on a kit on it.

We sew a bodice to the sundress.

Sew on Velcro.

The dress is decorated with flowers and a belt.

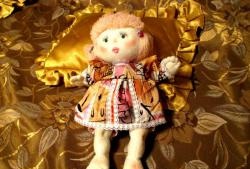
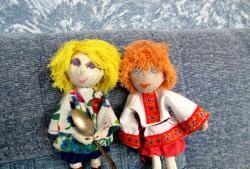
Dress up the doll.

If the doll is tired, you can sit on the couch.