For this master class we need to take:
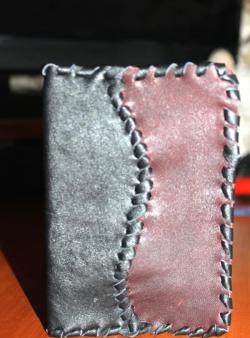
• Ordinary store cover for passport;
• Napkin for decage with poppies 21 * 21 cm in size;
• White acrylic paint;
• Acrylic red paint;
• Glossy acrylic varnish;
• Small plates;
• Paint brushes and a special fan for decoupage;
• Sandpaper;
• PVA glue;
• Garbage bag and ordinary plastic bag;
• Foam small sponges.

We put a garbage bag on our workplace, pour white paint and about 15-20% plain water into one plate. Stir well. Expand the cover and put on the bag.


We dab the sponge and apply a layer of paint with gentle movements. Dry the layer under the warm steam of the hair dryer, but or wait until the layer dries on its own. Apply a second coat and also dry. We look so that the surface is perfectly evenly painted over, if there are places where spots are still visible, then we also apply the third layer. Dry until completely dry.


Gently fold the cover halfway and on the edge the paint begins to fall away. We don’t need to be upset, we don’t need it there, there the cover will be painted over with a different paint color.


Expand again and put it on a clean bag. Cooking a napkin.


Expand and remove the top layer from it.


Carefully cut off the two rectangles we need and apply to the cover to completely cover the places where white paint is applied.


We dilute glue and water in one ratio on another plate, mix everything very well and with this glue mass we glue a napkin on the cover, starting from the center, first one rectangle, then another. We do it carefully so as not to tear the napkin. Dry the surface with a hairdryer.


We spread the cover, cut off a small piece of sponge and blot in the center from top to bottom along the edge with red acrylic paint. Make a couple of layers.


Fold in half and still pass along the edge.


We unfold the cover and in a circle we pass the sponge along the very edge. Existing paint.


It remains to cover the cover completely with glossy varnish. We cover with 3-4 layers. We dry each. After 1-2 layers with sandpaper we remove excess bulges.


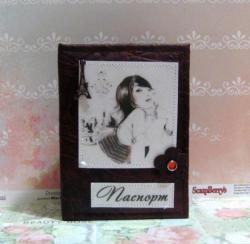
The cover is ready!