To create a letter in vintage style you will need:
- Two sheets of A4
- Cocoa;
- Thick brown paper;
- Several shades of watercolor paint;
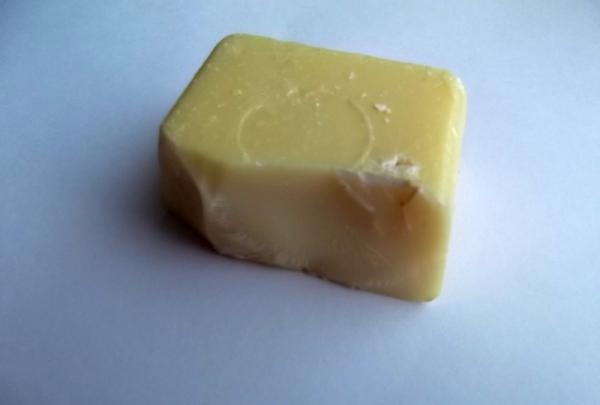
- Wax is hard;
- Tourniquet (or other dense thin rope);
- Button (with a relief pattern).
The work process can be divided into several stages:
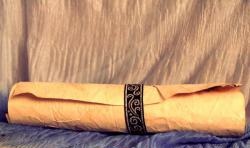
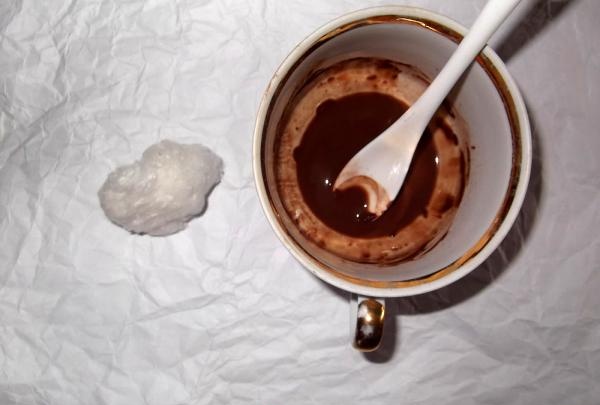
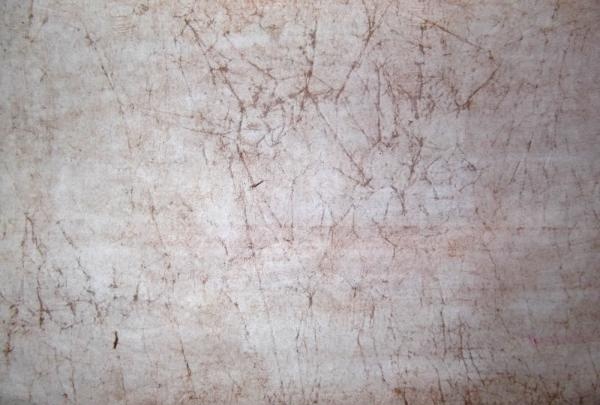
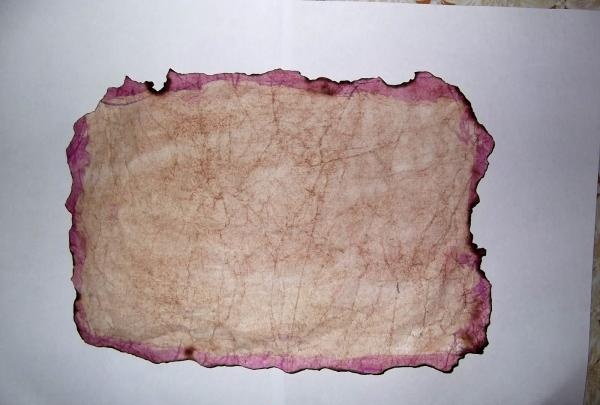
Adding an antique effect to the sheet containing the text. To begin with, the sheet needs to be heavily wrinkled, but so that there are no tears in the paper. This is necessary to give the paper relief. Meanwhile, mix a thick paste of cocoa and warm water. Using cotton wool, wipe the previously wrinkled paper with the cocoa mixture. Particles of some kind of powder will fill all the lines drawn on the crumpled paper, and will also give the letter a pleasant aroma of chocolate. To add a touch of modernity, the edges can be painted with some bright color, such as light purple.After the sheet has dried slightly, the edges need to be burned, which will give an even more vintage look and take you into the atmosphere of the 19th century.
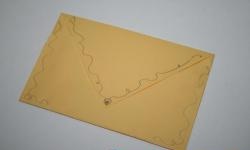
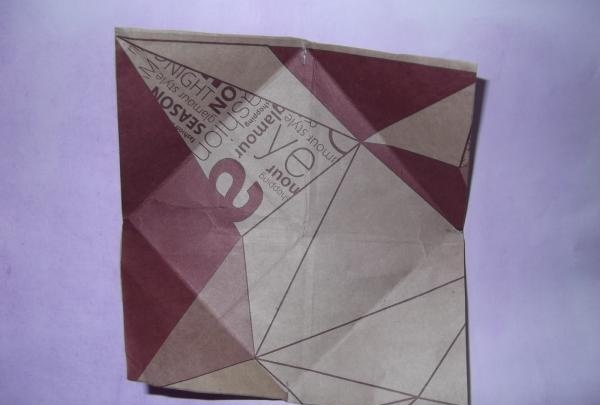
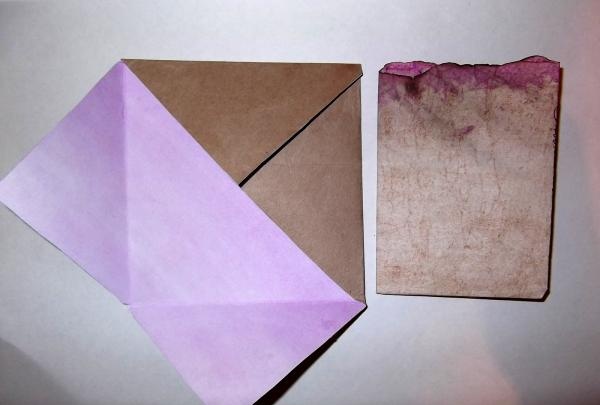
Creating an envelope. If you can’t find special thick paper in a brown shade on sale, you can use paper from under the bag in which purchases are packaged in many clothing stores. You need to cut an even square, any size. In the photo, each side of the square is 15 cm. As a bright accent and an element for masking the inscription on the inside of the envelope, the second A4 sheet can be painted in the same color as the edges of the writing paper and glued using regular paper glue. After a few minutes, when the glue has dried and secured the paper to the envelope, the edges of the colored paper can be cut along the edges of the envelope. In order to bend the corners, you need to make small notes in the middle of each side of the square. By connecting these points, a square is formed within a square. And already along the edges of the inner square it is necessary to bend the corners.
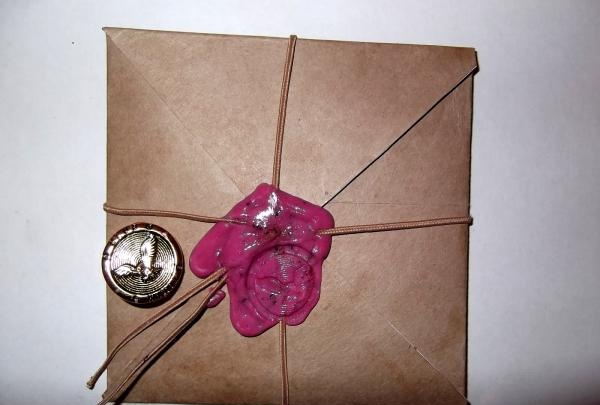
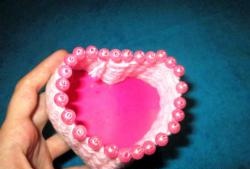
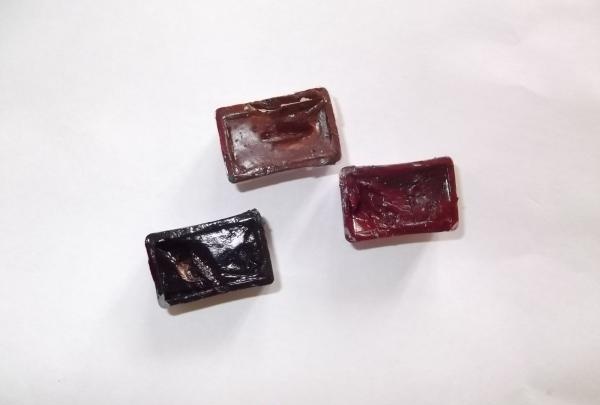
Wax seal. In any cosmetics store you can find hard wax, which is cheap and perfect for simulating sealing wax. The wax needs to be melted in a water bath. Since wax is usually white or milky in color, you need to add a few grams of watercolor paint of any color. In this case, several grams of three colors were added to the melted wax: brown, raspberry and burgundy. As a result, the wax turned dark pink.

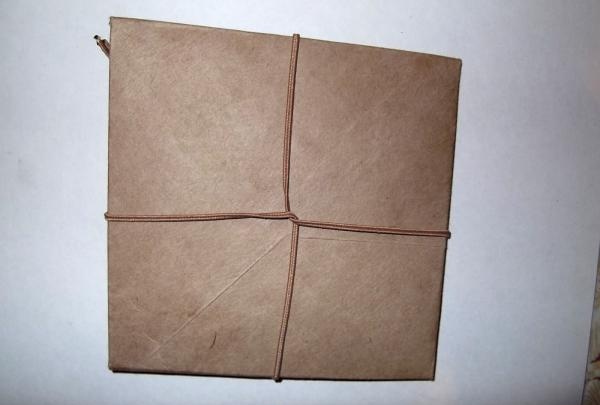
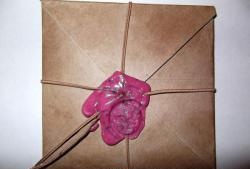
Tying with a cord and securing with hot sealing wax. Having placed the letter in the envelope, you need to tie the envelope with a cord so that a cross is formed at the back.To do this, the cord must be cut into two equal parts, intertwined with each other in the middle and tied the ends into a knot on the front of the envelope, where in the future this knot will be secured with bitter “sealing wax”. First you need to prepare a button with a relief pattern, which will be imprinted on the surface of the frozen “sealing wax”. To prevent the button from sticking to the wax, you need to lubricate it with vegetable oil and press on the spilled sealing wax after it has cooled slightly after one or two minutes. To give an even greater effect, the edges of the envelope can be rubbed with oily fingers.