To make such a charming baby you will need:
• fabric on the body, preferably cream or milk color, preferably linen;
• fabric on panties, preferably plain;
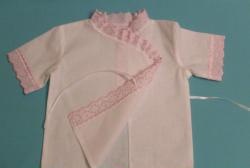
• linen for a shirt in harmony with the color of the trousers;
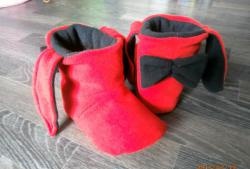
• satin ribbon of any color or just fabric on bast shoes;
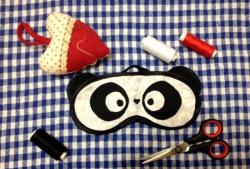
• buttons for the eyes;
• satin ribbon or floss for cilia;
• synthetic winterizer for filling the pupa;
• sewing tools.

Any tailoring begins with cutting. Transfer the doll's patterns to cardboard and cut them out.

Now lay them on the fabric strictly along the length line (otherwise the finished product will mow at the seams and have an ugly appearance), circle along the contour. After this, be sure to fix the details with safety pins so that the stitch does not shift during sewing.

To prevent the paws from being knitted or sewn, lay the satin ribbon inwards face to face and secure with a pin.

Sew all parts except for the parts of the head. Cut the finished parts, leaving 3 mm for the allowance, be sure to make notches in the places of curvature so that the seams in the turned part are without creases, even.

When cutting out the details of the head, leave 0.5 cm to allowance. Connect them, at the joints, fixing with pins, and stitch. Be sure to leave in the middle of the back of the head an unsharp section through which we will fill the head with a synthetic winterizer.

Turn out all the details and carefully examine them so that the seams do not open anywhere. If this happened somewhere - it's okay. Turn and stitch again. On the paws, you can leave a small hole and darn it later to give the pupa color.

Cut and sew clothes. It should be ready before stuffing with synthetic winterizer.

With a simple pencil without protruding graphite in the upper part, you can easily fill with syntepon all the details, and quickly fill the body and head with material with the ring finger.

And now we will begin the most interesting thing - the formation of the doll. To begin, attach the legs to the body, fix with pins and sew them with a hidden seam.


Now put on panties. This is a snap. We turn the trousers out, fix them on the legs with threads, put them on and fix them on the body. The photo shows everything in detail.


Sew on pens, put on a shirt.


Sew on the doll eyes, cilia, mouth, and you can brow. Then we sew tightly to the neck.


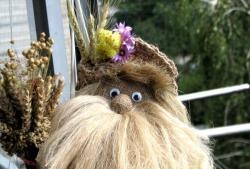
It remains to attach hairs on the head. To do this, take a darn or another thread (you can thick and thin). We wind it on a suitable book, cut it and get strands. Take a little and sew to the back of the head.

Comb, cut the hair in a circle.

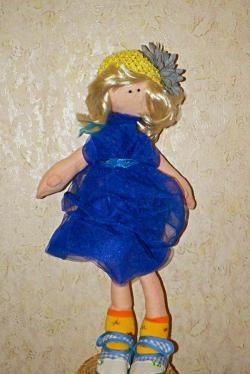
We do the hairstyle and our Pete is ready. Give him a spoon in your hands soon!