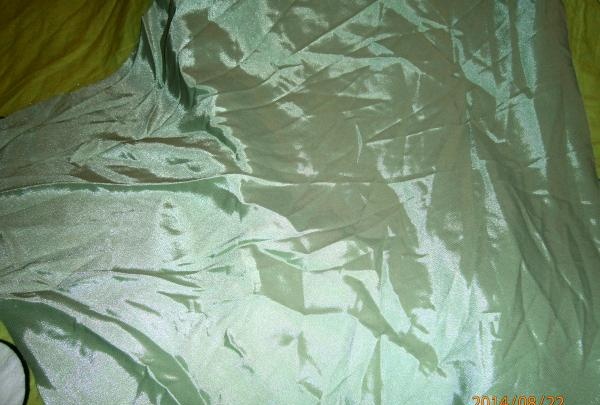
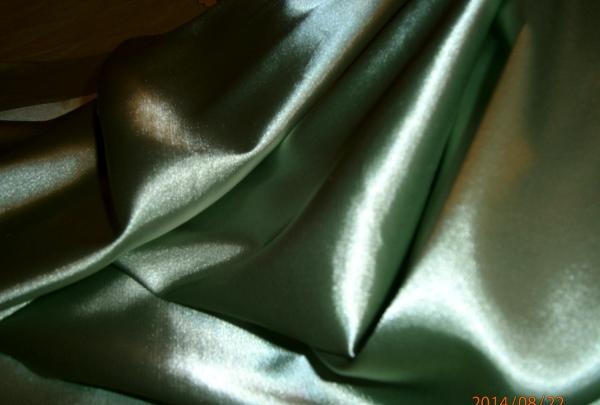
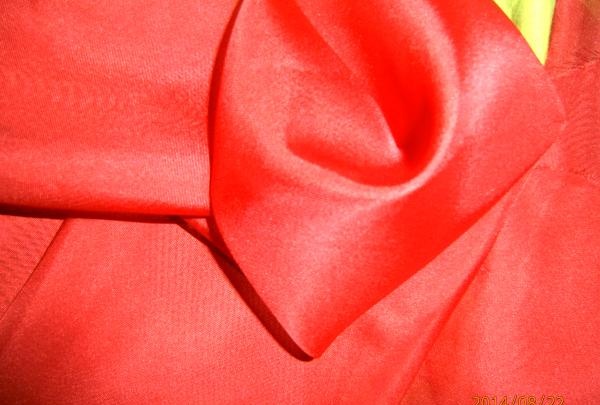
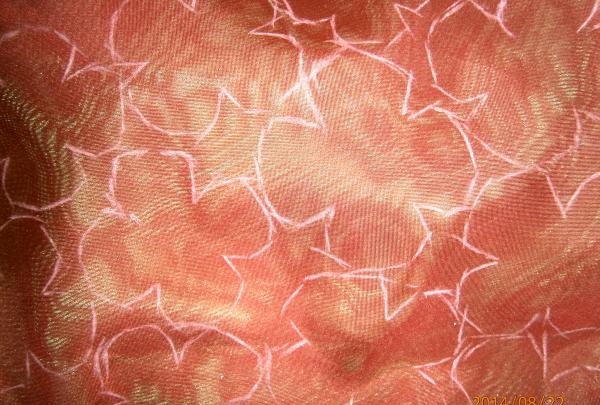
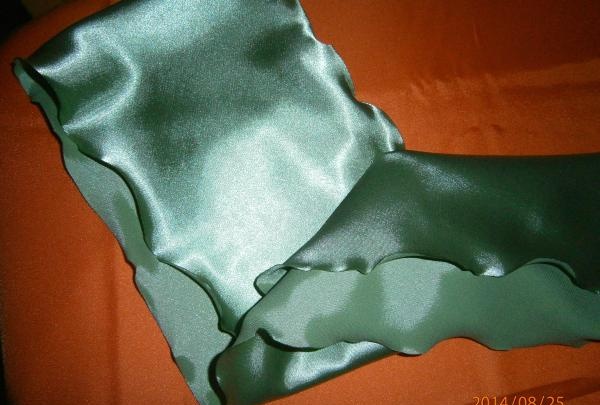
For poppies, any red fabric is suitable; you can choose translucent nylon or crepe-satin.
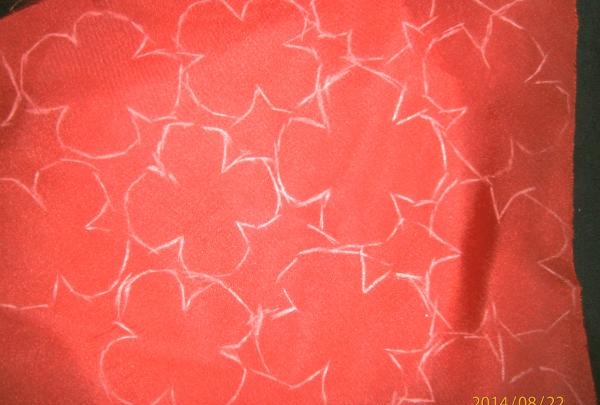
The bottle will be decorated with poppies in 3 sizes. First, cut out a template from cardboard.
We will use it to cut out future poppies.After the template is ready, we outline the outlines of future colors on the fabric with chalk or a piece of soap.
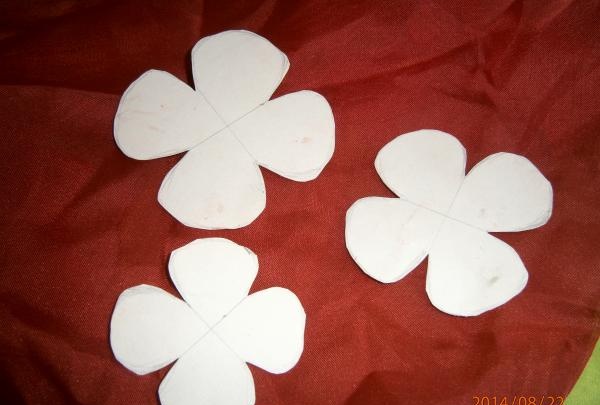
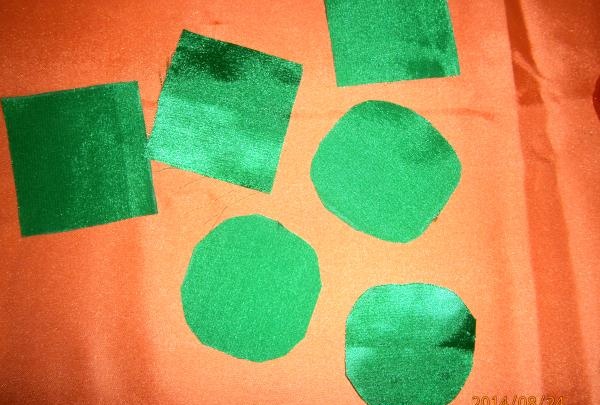
For each poppy there are 2 blanks of the same diameter, i.e. in order to assemble 1 flower you must first cut 2 identical blanks from the fabric.
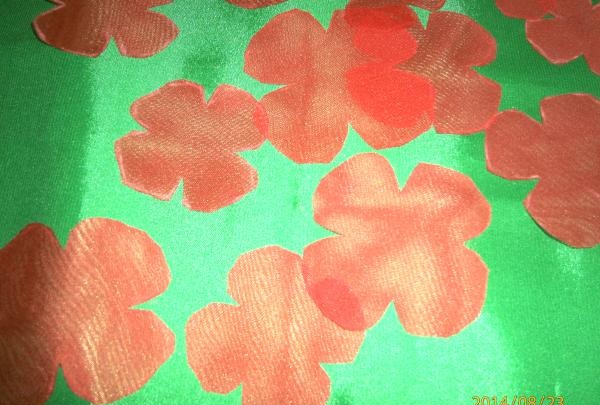
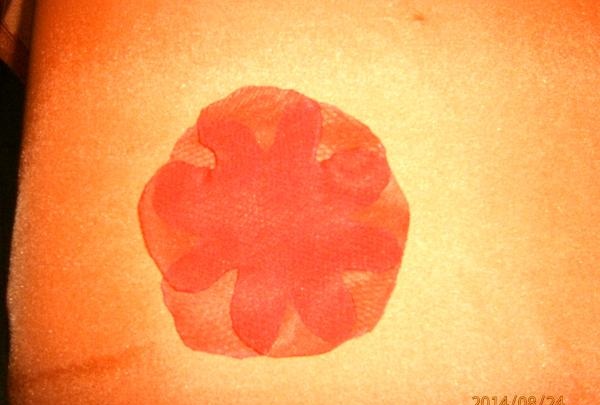
This is what happens after cutting.

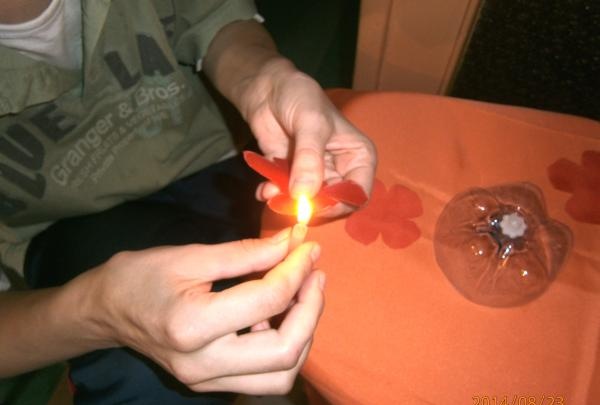
Fabrics easily slip out of your fingers when cutting out blanks. If you get uneven edges, that's okay. After processing they will acquire the required shape. The workpieces do not have to be perfectly even or identical. After all, in nature, flower petals are also not the same. Some deviations from the size and shape will give the flowers a natural look. After the blanks are ready, you need to carefully scorch the edges of the future petals using an ordinary lit candle.
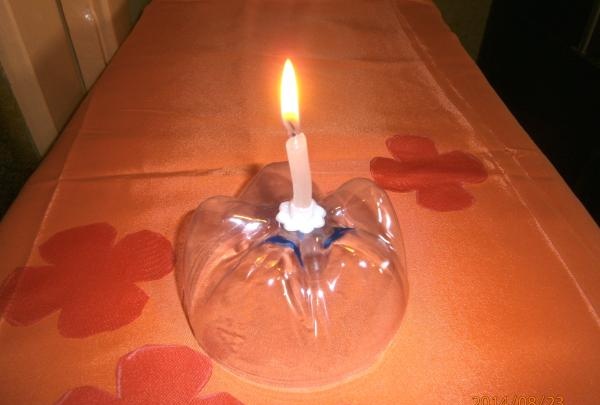
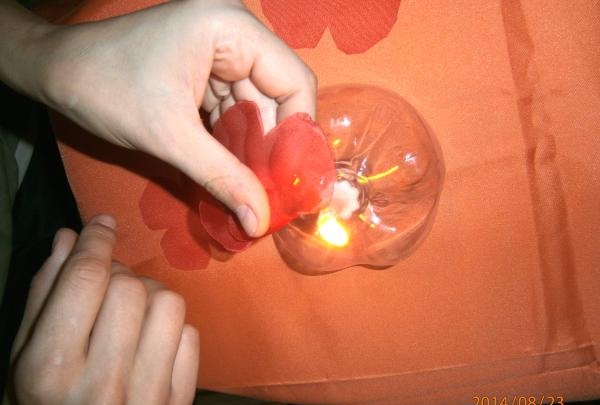
This method will perfectly replace the standard processing of fabric sections with a zig-zag seam. The melted edges of the petals look natural, while the cut is completely sealed and will not crumble.
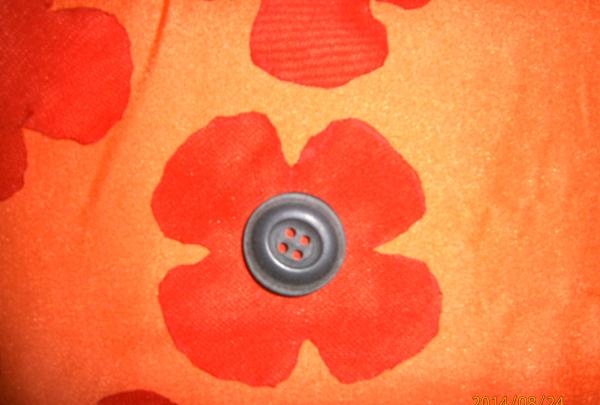
Poppy seeds always have a middle part. We will make it from a button, synthetic padding, pieces of fabric, thread.
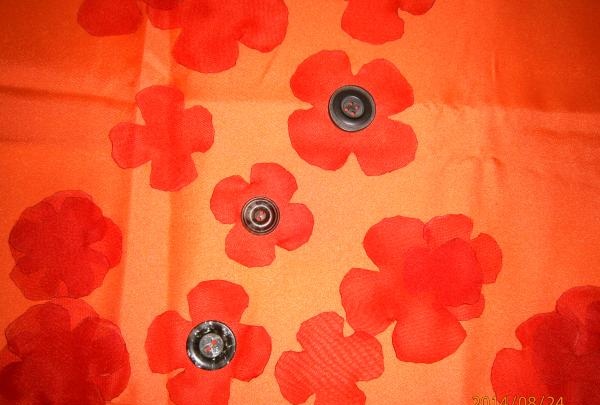
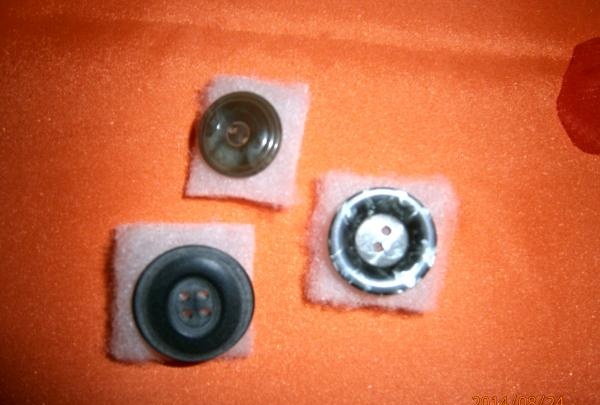
Based on the size of the center of the poppy, select buttons of the appropriate diameter.
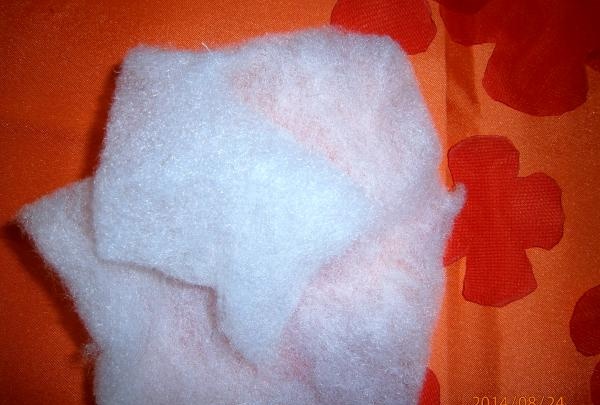
Cut a square from synthetic padding to the size of a button.
Draw squares on the fabric for the center of the poppy.
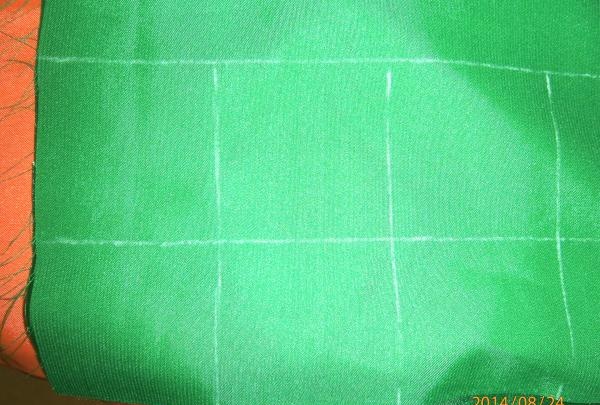
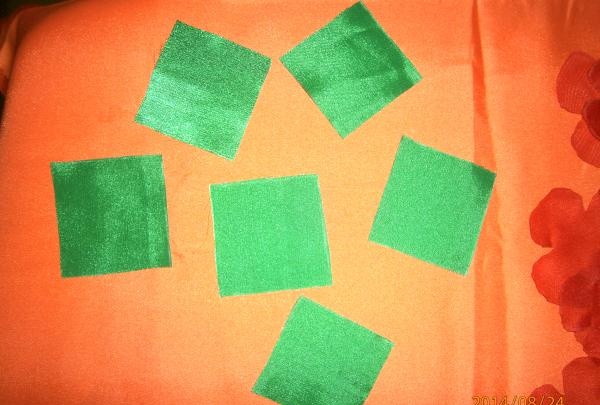
The length of the side of the square should be 2 times the diameter of the button. After cutting out the square, you need to cut off the corners.
This is done by eye; there is no need to measure anything specially. The irregularities will disappear on their own later, when assembling the poppy. After the details of the center of the poppy are ready, we cover the button with fabric, after placing a synthetic padding between them.


It should look like this in the middle, soft on top.
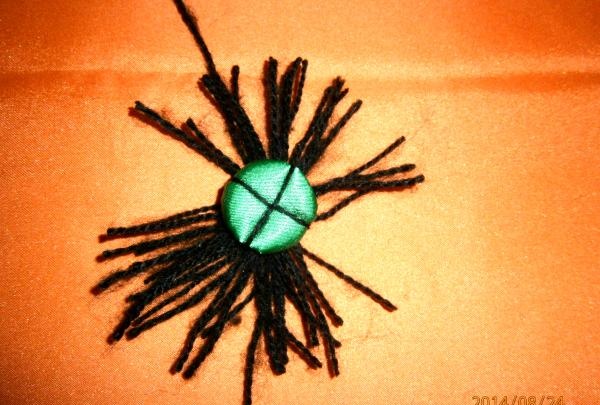
For poppy stamens, we take any yarn for knitting.We cut pieces of thread from it, the length of which should be 2-3 times the diameter of the button.
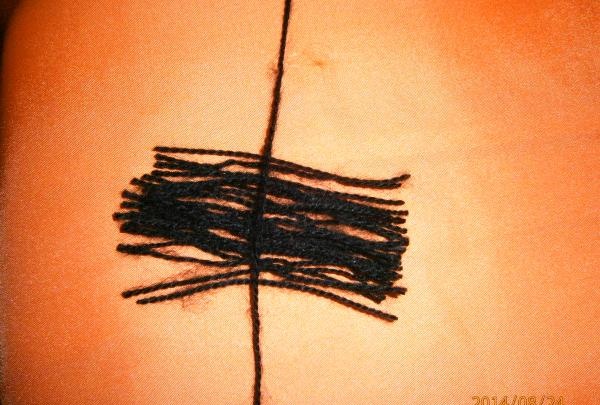
Take a bunch of threads and drag them in the middle, as shown in the picture.
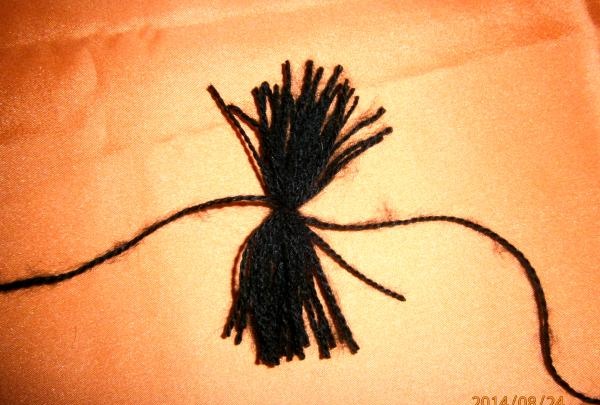
Place a fabric-covered button in the middle of the bun. Throwing the long ends of the threads over it, we form a cross-shaped center of the poppy.
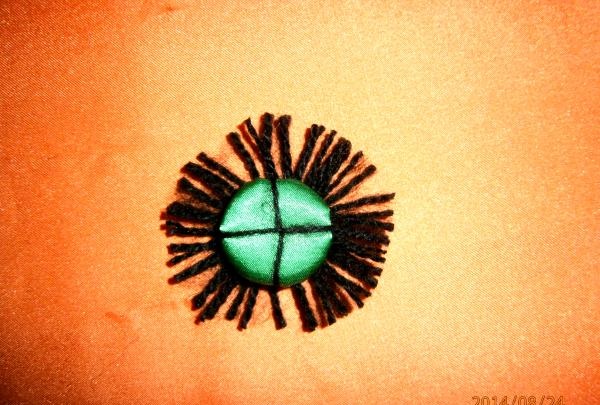
Then we cut the threads to length, forming an even circle of stamens.
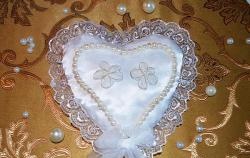
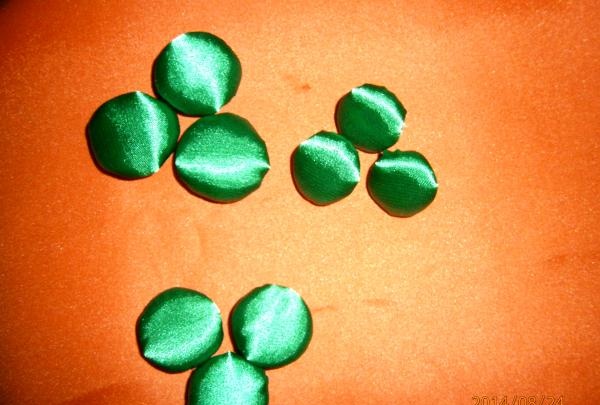
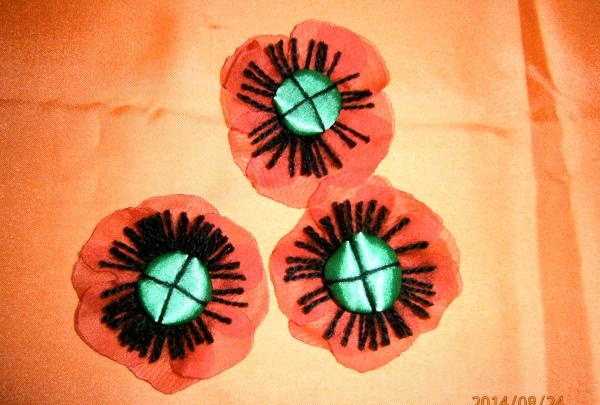
We fold 2 pairs of petals as in the picture.
We connect the middle of the poppy with the petals, stitching them right through to create a strong connection.
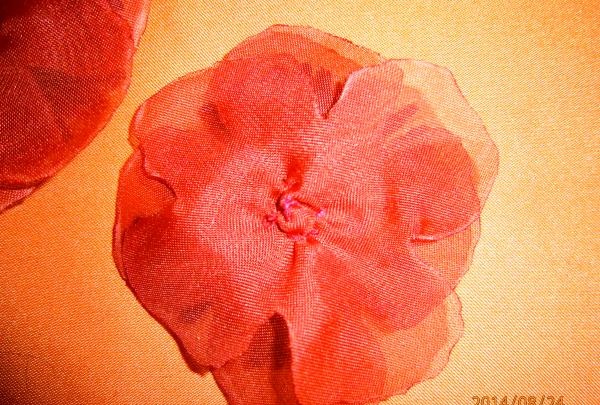
This is what should happen.
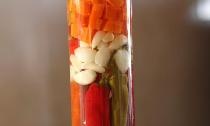
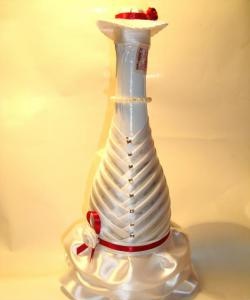
We take a piece of the main fabric, wrap it around the neck of the bottle, and fasten it.
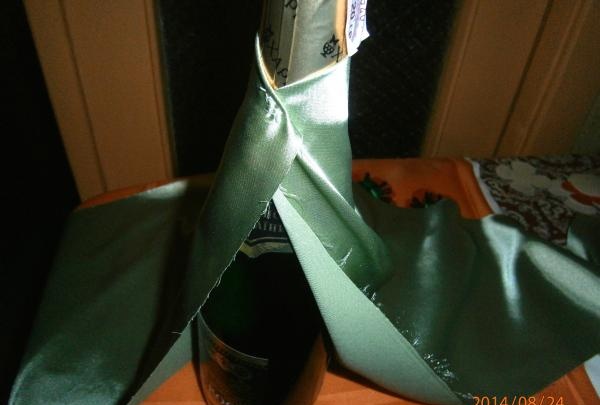
Then we begin to form folds, evenly distributing the drapery over the entire surface of the bottle.
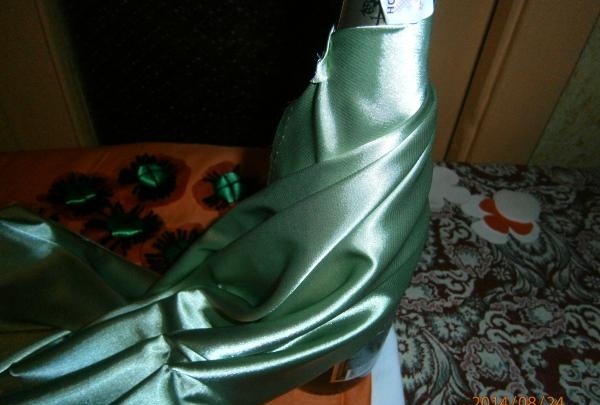

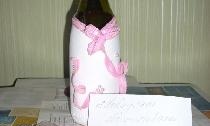
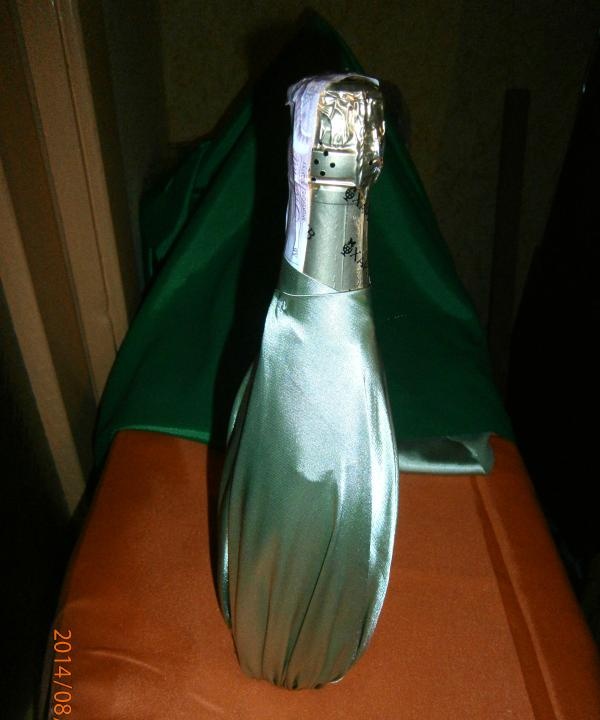
After this, the excess tissue is cut off. The cuts can be hidden in the concave bottom of the bottle. Sew a piece of fabric on top so that unsightly scraps are not visible. The bottle is ready.
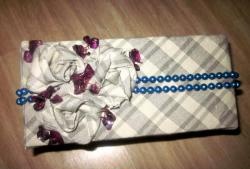
For the bow, cut out a strip of fabric, the longer the better. The excess can be cut off later. We process the edges like the petals, melting them with a candle flame.
Then we wrap a fabric ribbon around the neck of the bottle several times and tie a beautiful, large bow.
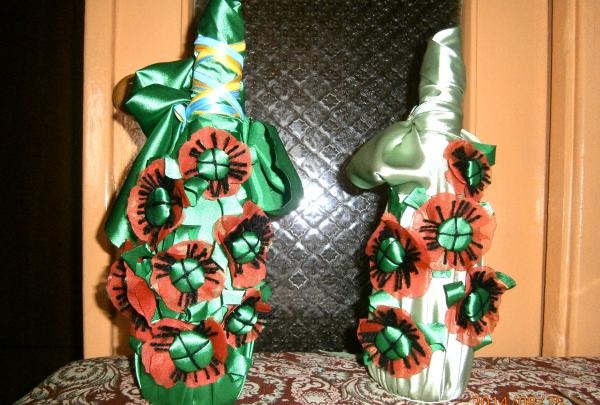
The bottle is ready.
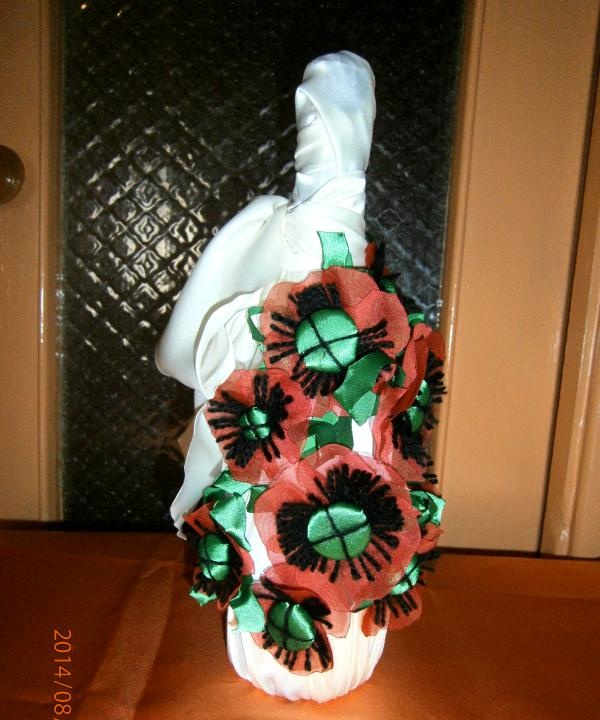
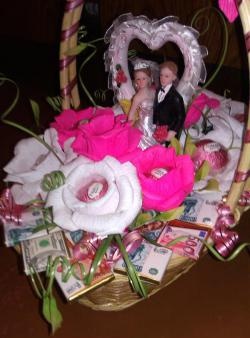
We sew poppies randomly, adjusting the number of flowers as desired. Additionally, you can decorate the composition with ribbons, stones, and sparkles. It all depends on the imagination of the master.