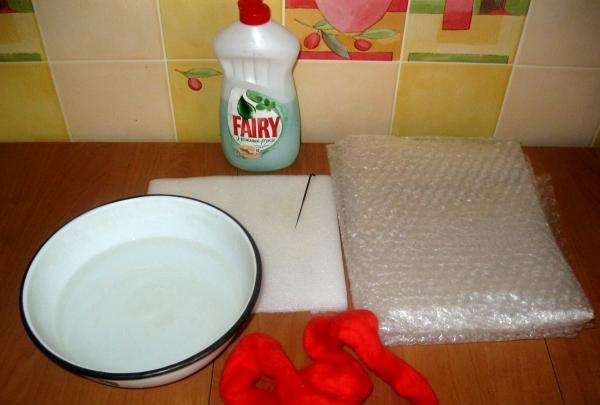
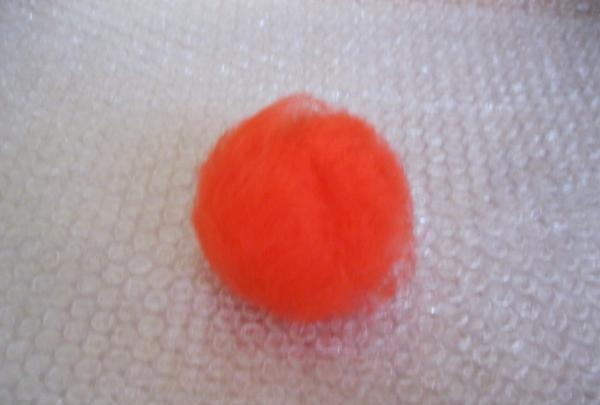
Do it yourself
Life hacks, master classes, useful tips, recipes.
home » Different » Jewelry and costume jewelry » Felting wool beads
Today I want to share with you the secret of felting wool beads. Felting wool is becoming an increasingly popular type of needlework. Scarves, shawls, felt boots, dresses, document covers, flowers, figurines, toys and much more are made from wool. One of the most popular trends in felting is felting blanks for making jewelry. I would like to introduce you to one of the beautiful and stylish components of modern jewelry. Or rather, teach how to make chic beads for a necklace, bracelet or earrings yourself. So, in order to get a beautiful bead we need:
-Merino wool;
-Film with pimples for felting;
- Needle for felting;
-Substrate for the needle for felting;
-Bowl with hot water;
-Soap or detergent.

Soap or detergent


Let's get started. I divide the process of felting beads into: dry and wet. Let's start with dry. To do this, arrange the pieces of wool on the film so that it forms like a mesh.

formed like a mesh


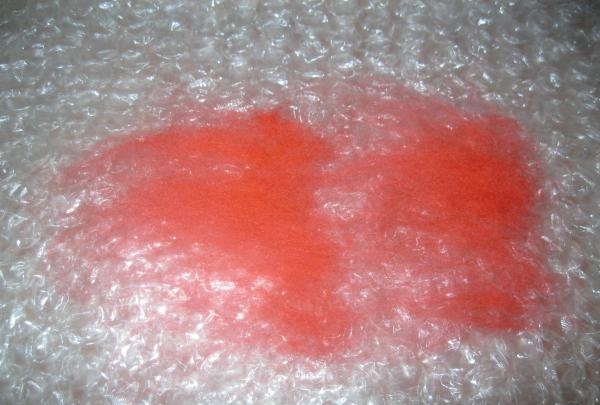
Those. First we lay the wool horizontally and then vertically.

lay horizontally


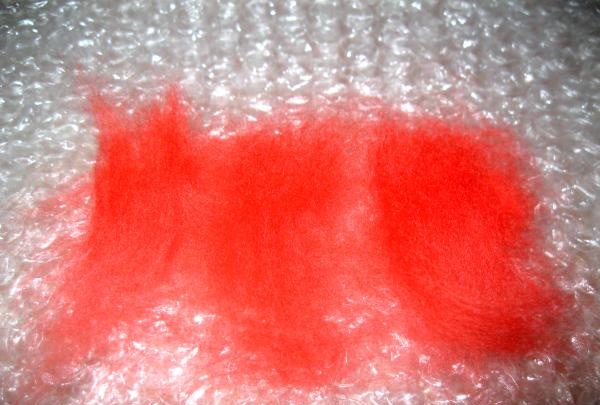
We do this for several rows.

make several rows

make several rows


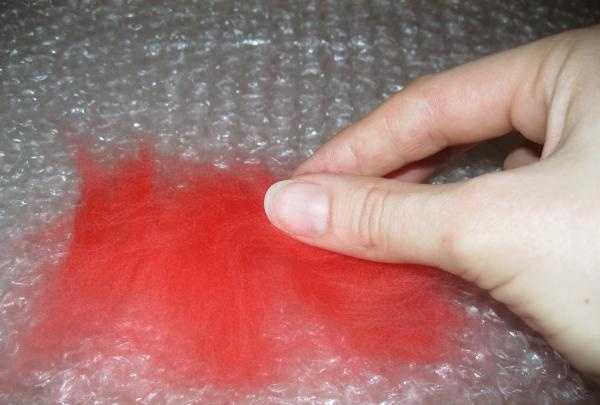
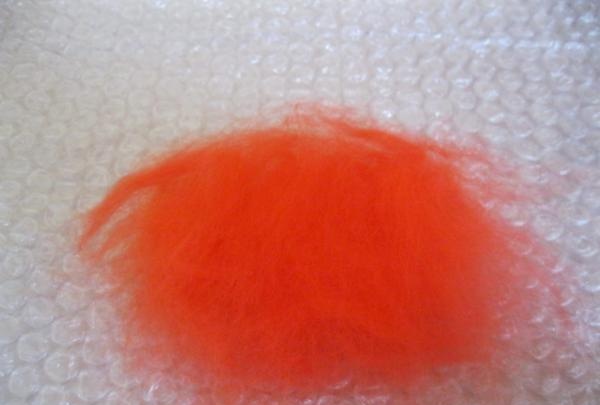
After this, carefully shape the resulting wool into a ball.

shape into a ball


Then we place the resulting airy and light ball on the substrate.

place the ball on the backing


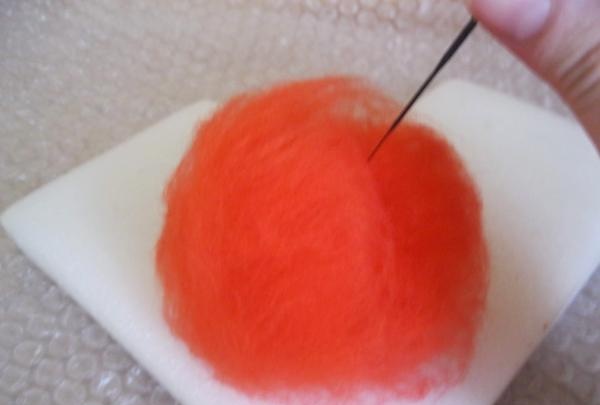
I use a piece of foam-like material as a backing. After this, use a felting needle to compact the ball.

compact the ball


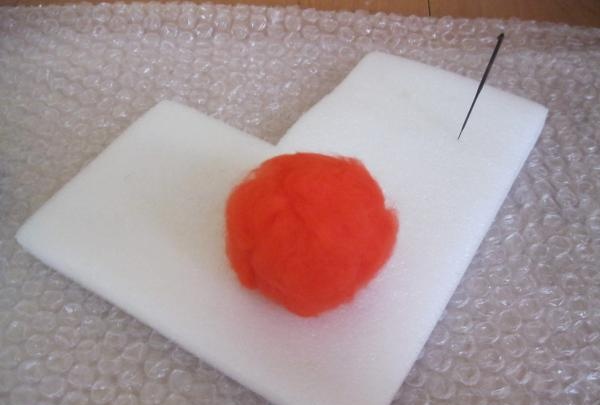
We do this evenly on all sides so that there are fewer creases on the bead. After the ball has shrunk a little in size, pour some hot water into the bowl and add a little liquid soap or detergent, as in my case.

add a little liquid soap


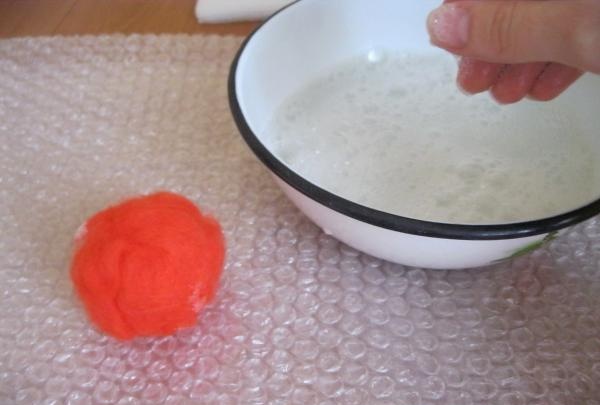
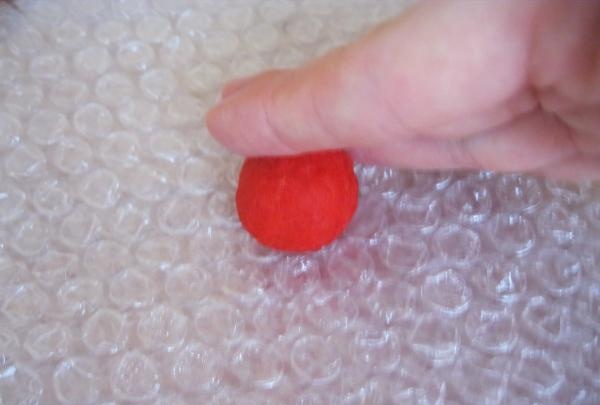
Place the ball on film and lightly moisten it with soapy water.

lightly moisten with soapy water


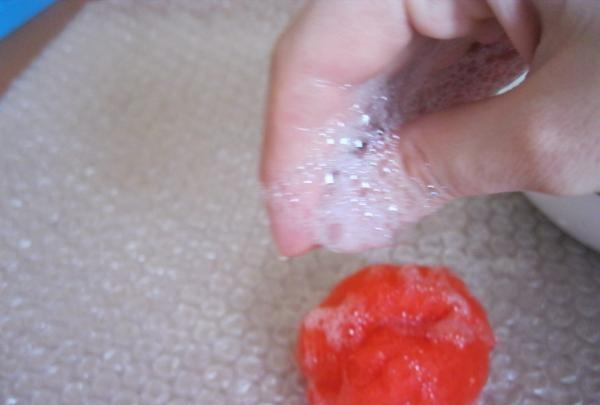
We do this so that the wool fibers soften and adhere better to each other. Felting time depends on how the wool responds to this process. Personally, I like to use Australian merino wool for this. Semenovskaya wool would be more suitable for felting bags and other dense products. We begin to roll the ball on the film with light movements. We try not to press too hard so as not to deform the bead too much.

deform the bead too much


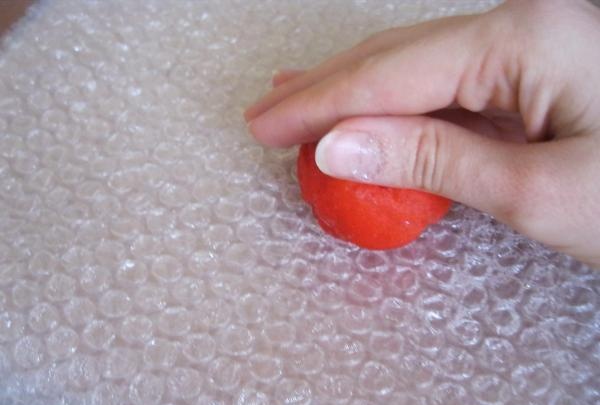
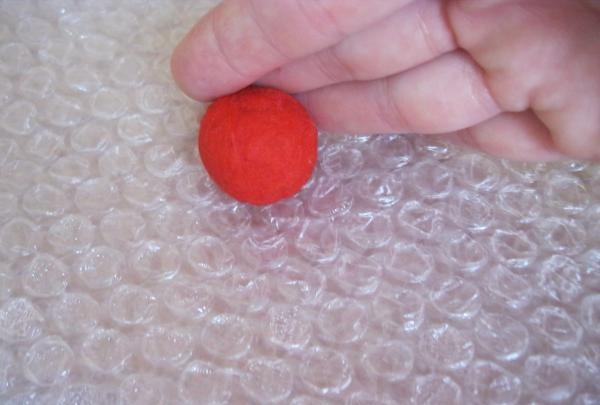
Periodically add hot water to the bead to keep the wool hot and pliable. After the ball has compacted a little more, we take it in our hands and begin to shape it into a bead with both hands, pressing slightly harder and compacting it. We get a bead like this.

We get a bead like this


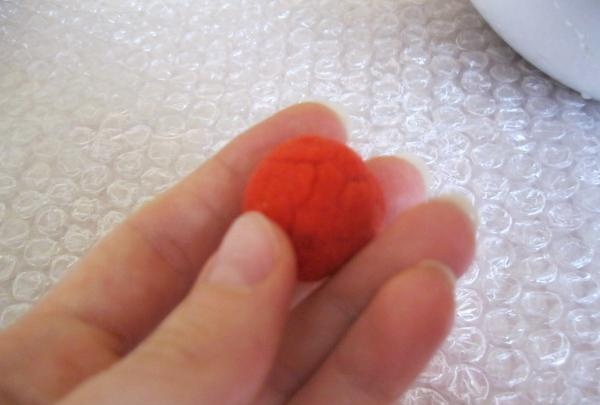
As you can see, creases have formed on the bead, which we can easily hide. To do this, take a little merino wool and roll it around a bead.

roll her bead


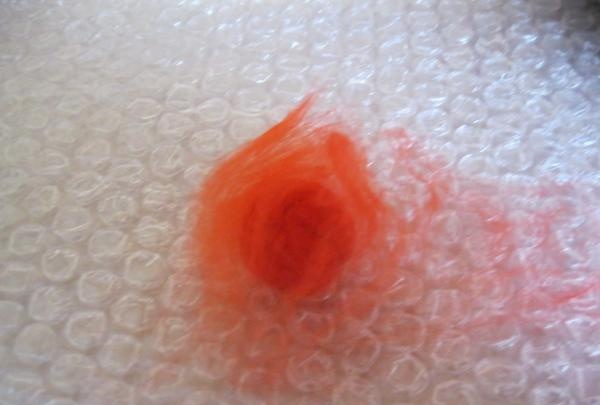
We wet it with hot soapy water and begin to roll it onto the bead. To do this, we take the bead in our hands and begin to roll it over the film with intense movements until the top layer of wool rests securely on the bead.

doesn't stick to the bead

doesn't stick to the bead


Then we take it with both hands and begin to intensively shape our bead into a ball.

shape into a ball


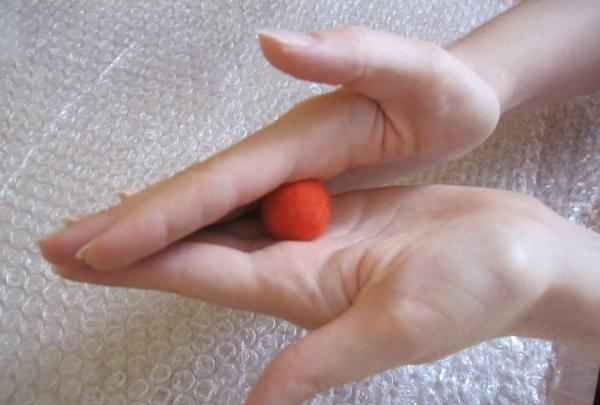
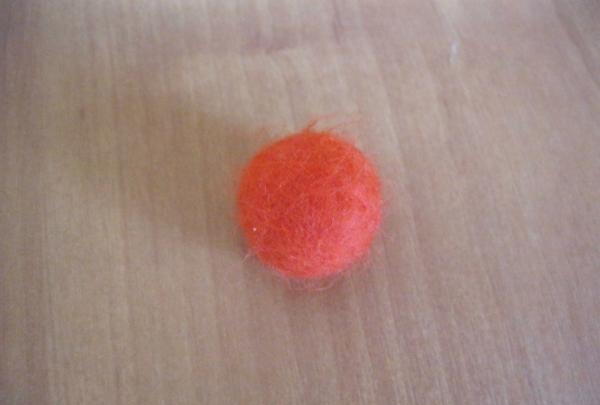
After which we get a bead without a single break, beautiful and neat.
We wash the finished bead under running water, continuing to felt and compact it.

continuing to roll and compact it


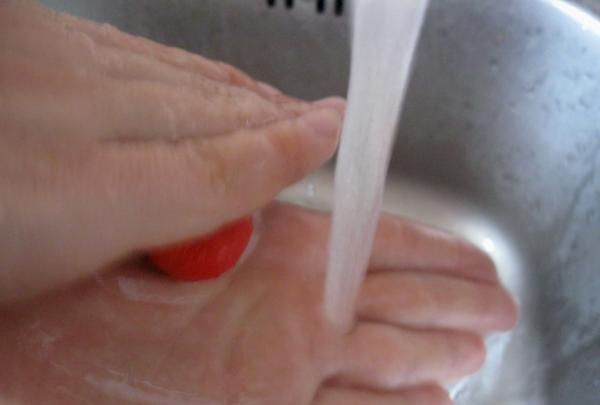
And now, our bead is ready.

our bead


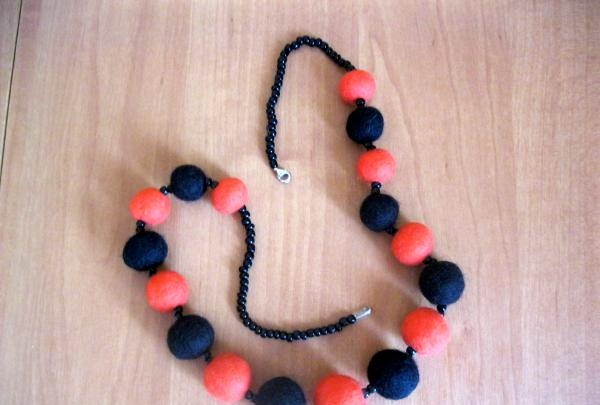
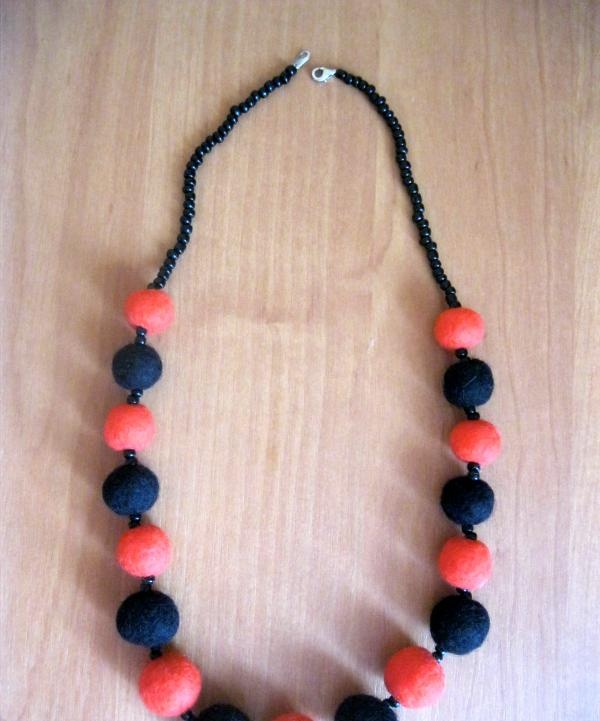
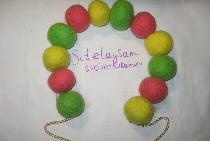
By making several of these beads of different colors, you can create exclusive designer jewelry.

Felting wool beads

wool beads
come back
Comment
  • bowtiesmilelaughingblushsmileyrelaxed relaxedsmirk
    heart_eyeskissing_heartkissing_closed_eyesflushedrelievedsatisfiedgrin
    winkstuck_out_tongue_winking_eyestuck_out_tongue_closed_eyesgrinningkissingstuck_out_tonguesleeping
    worriedfrowninganguishedopen_mouthgrimacingconfusedhushed
    expressionlessunamusedsweat_smilesweatdisappointed_relievedwearypassive
    disappointedconfoundedfearfulcold_sweatperseverecrysob
    joyastonishedscreamtired_faceangryragetriumph
    sleepyyummasksunglassesdizzy_faceimpsmiling_imp
    neutral_faceno_mouthinnocent
5+two=
Comments (2)
  1. Zhulya
    #1 Zhulya Guests 1 June 2015 21:02
    0
    simple but very beautiful beads thank you smile
  2. Elya
    #2 Elya Guests 17 July 2015 19:21
    0
    cool :love: :winked: :tongue: wink

Useful and interesting | Page 52 | Do it yourself

Making a new hammer handle

DIY foamiran hair band master class

Repairing plastic with epoxy glue

«Do it yourself - with your own hands» - a site of interesting homemade products made from scrap materials and items at home. Step-by-step master classes with photos and descriptions, technologies, life hacks - everything a real master or just a craftsman needs for needlework. Crafts of any complexity, a large selection of directions and ideas for creativity.

We recommend reading

Washing machine error codes