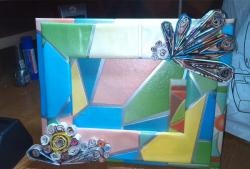
So, what do you need to create an original seashell photo frame?
1. Three metal hangers for a metal profile for a frame with a stand.
2. Thick cardboard, maybe from an ordinary box, to make the base.
3. A piece of fabric with a marine print or like a vest.
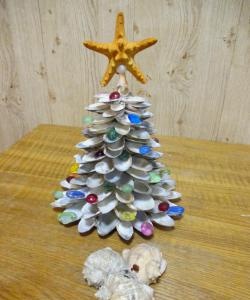
4. Seashells of different shapes and sizes that you have.
5. A page with film from an old album for inserting photos.
6. A piece of foil and cardboard of medium thickness to make an anchor.
7. Beads, decorative small flowers, bows - whatever you want to decorate the composition with.
If you have all this in your household, find the necessary tools for the job - scissors, a needle and thread, a pen or pencil, and PVA glue. You don't need anything more than creativity and perseverance. Therefore, you can immediately begin pleasant handicrafts.
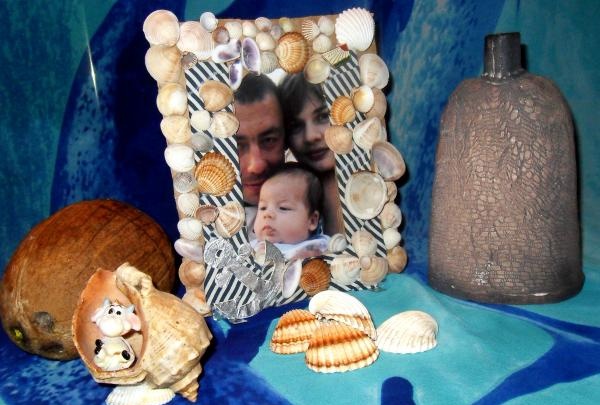
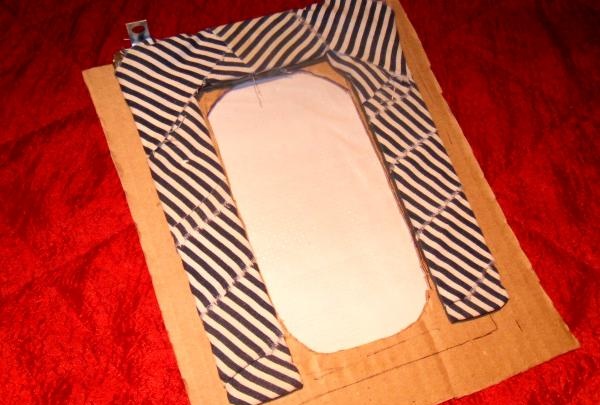
Take metal hangers, which are often left behind after repairs using drywall. If you don’t know what it is, ask your husband, he will help. If such parts are not available, you can buy them inexpensively at your nearest hardware store. From these slats, make approximately the same frame as in the photo.
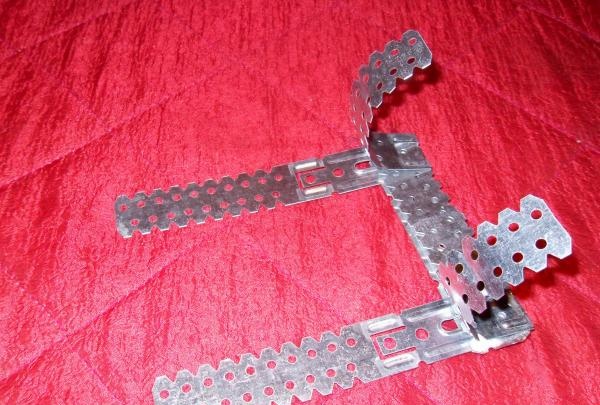
You can experiment and come up with something of your own. They bend very easily even with your hands, but to make the structure strong, it is advisable to press it well with pliers at the junction of the side posts and the partition. Cut several long strips of fabric up to ten centimeters wide.
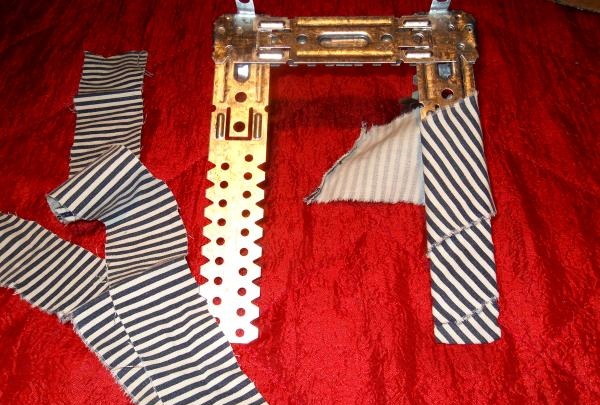
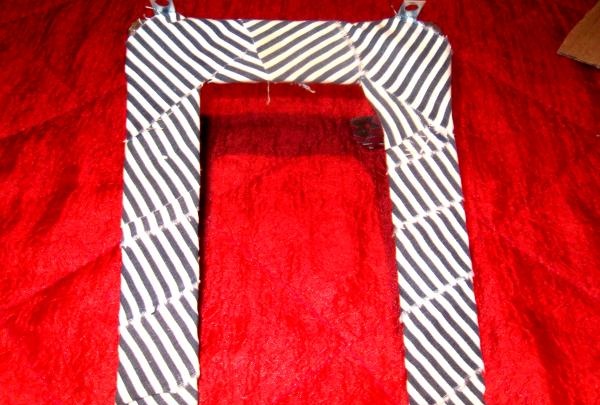
Wrap your metal frame tightly with these flaps so as to completely hide it, leaving only the stand at the back. When one piece is finished, secure it with a few stitches using a needle and thread, then take the next one and continue until you get what you want.
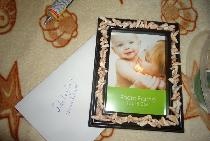
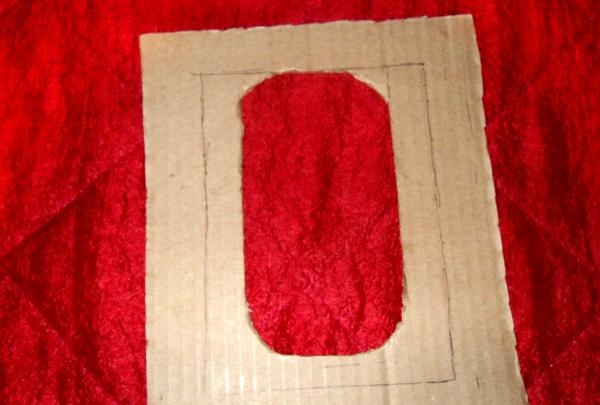
From cardboard, cut out a rectangle or square a little wider and higher, about five centimeters, than the manufactured frame. But not necessarily, in this case any shape is acceptable, even asymmetrical. Make a hole in the cardboard blank suitable for the photo. It should be smaller than the photo itself.
On the back of the cardboard, attach a pocket for a photo, which can be taken from an old unnecessary photo album. Place it on glue, and for security, go around the edges with tape.If there is no pocket with film, make one out of plain paper, but in this case the photo will not be protected from dust.
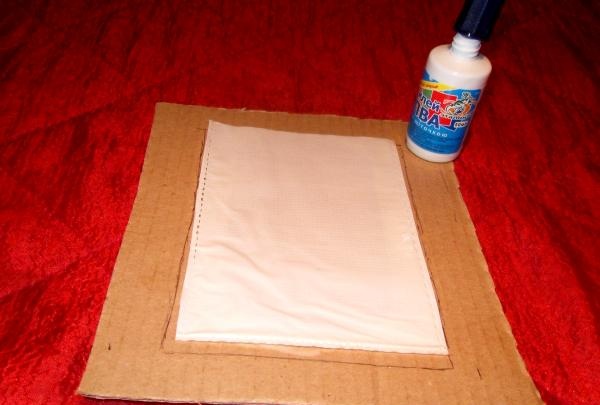
Generously coat the cardboard with glue on the front side, carefully lean the frame covered with fabric, press and place under the press for half an hour. When they stick together, you can start decorating.
Draw an anchor on cardboard, cut it out, transfer exactly the same design onto foil, maybe from a cigarette pack, and cut it out too. Glue them together.
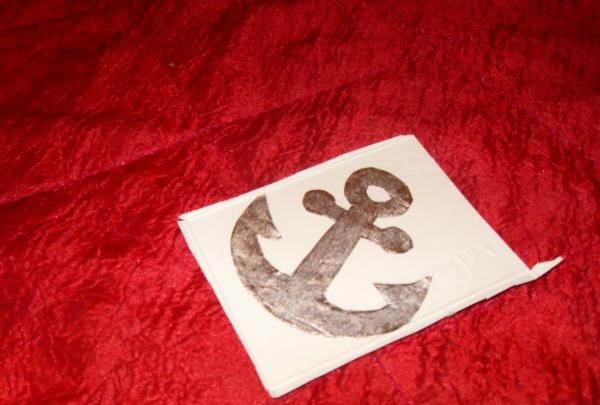
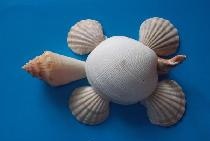
Place the anchor anywhere in the frame, preferably at the bottom. Lay out the shells to choose the most beautiful ones and get an idea of what you will do with them.
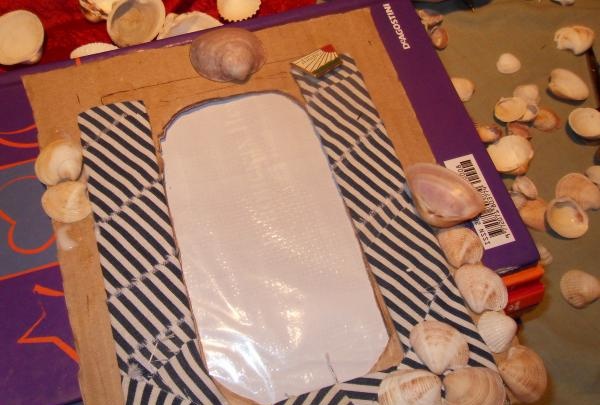
It is important that the shells are dry, otherwise they will not stick. Create a patterned scattering of them, generously covering the cardboard and fabric surfaces of the future frame with them.
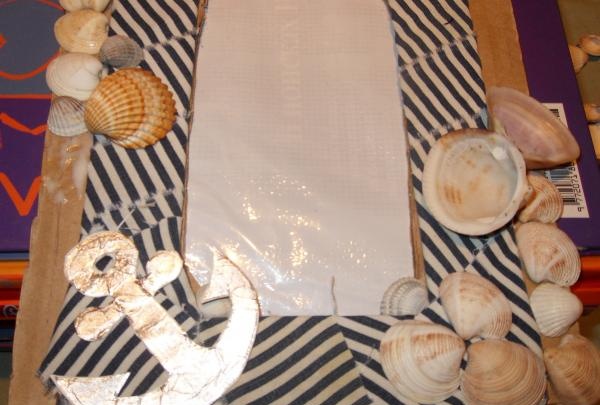
To ensure that they stick firmly and quickly, when placing them on cardboard, apply a layer of PVA directly to it, and to fix them on the fabric, smear the shells.
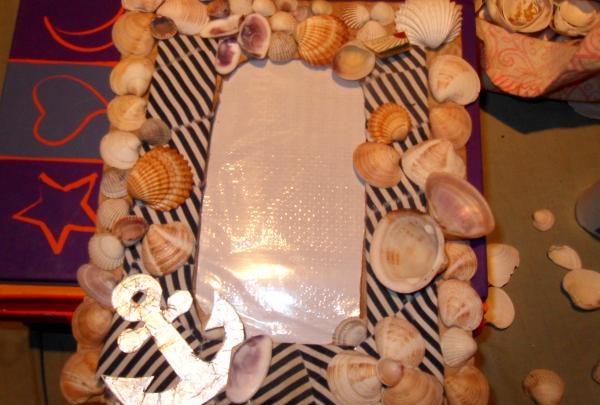
When you like the resulting picture, you can stop. Or take the extra beads, beads or flowers available in the house and complement the composition. If you use them sparingly and tastefully, the frame will turn out to be very impressive and unusual. In any case, no one else will have such decor except you, and a vacation photo in an exclusive frame made by yourself will decorate your home, fill it with comfort and delight you with pleasant emotions.