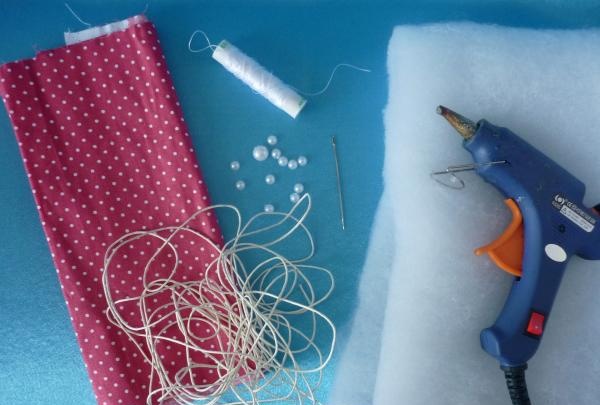
For sewing we need:
• cotton 100%;
• threads;
• sewing needle and large needle;
• padding polyester;
• scissors;
• pencil;
• beads for decoration;
• glue gun.
We will also use threads to pull the pad, dividing it into sectors that imitate the petals of a flower. You can use some other material for this purpose, for example, waxed cord, tape, etc. The main thing is that this material is very durable and does not tear.
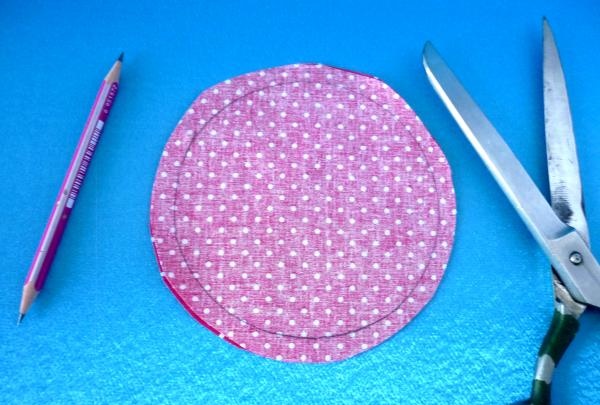
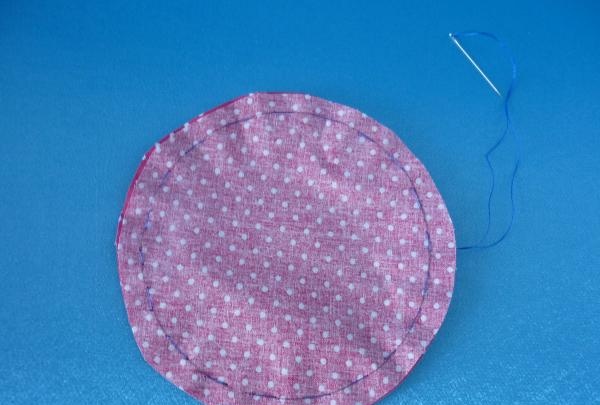
Fold the fabric in two layers with the right sides facing inward. Let's trace with a pencil some round object whose diameter coincides with the desired size of the pad. In the master class, the diameter is 10 cm. Cut the workpiece with scissors, leaving allowances.
Let's connect the two parts with a running stitch to make it easier to sew later.
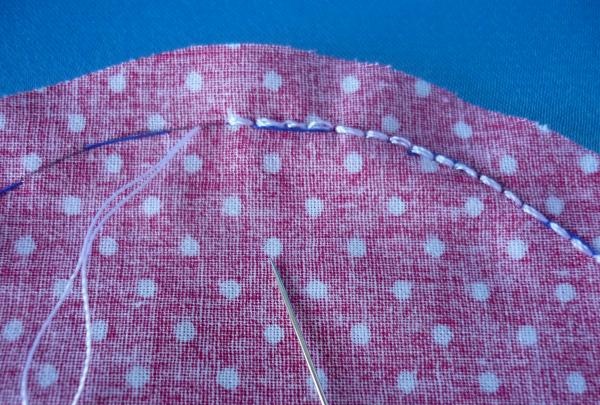
We completely sew the two parts together with a stitch seam, making identical stitches and tightening them tightly. Can be stitched by machine.
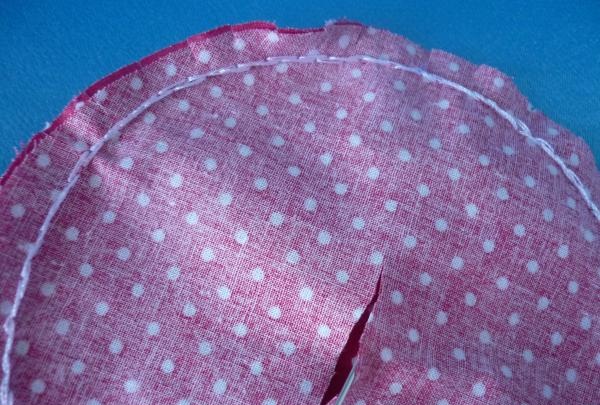
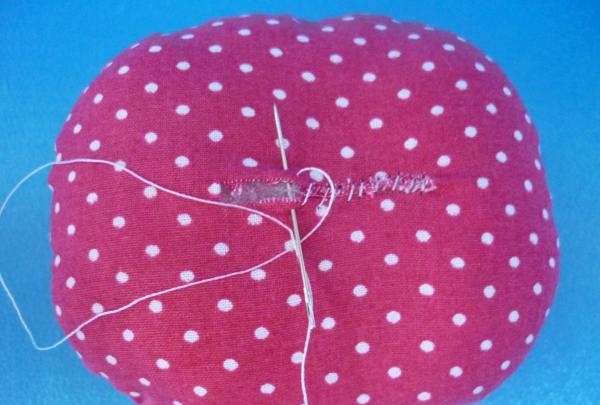
We pull out the thread that was used to sweep away the parts. We make a 3-4 cm cut only on one side of the fabric in the center.
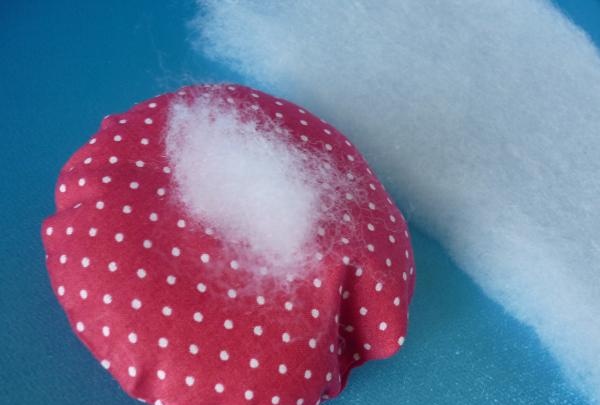
We turn the workpiece inside out, straighten the edges and begin to stuff it evenly with padding polyester. We begin to do this by laying pieces of padding polyester from the edge and closer to the center until we fill the pillow end-to-end.
We sew the incision when we have finished stuffing the pillow. It may not turn out quite perfect - it depends on the quality of the fabric. But we will hide all the imperfections of the seam with threads and decorate them with beads.
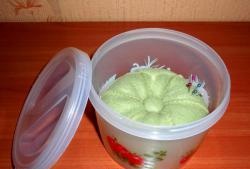
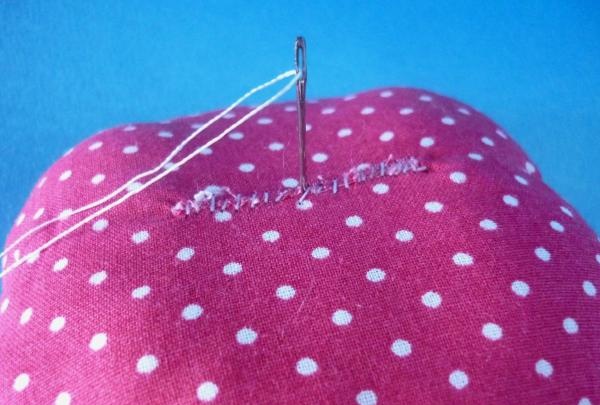
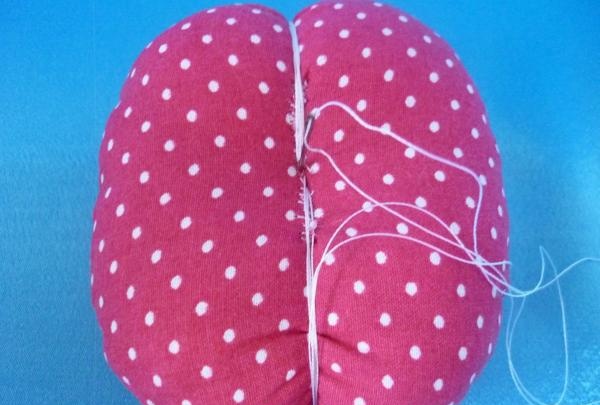
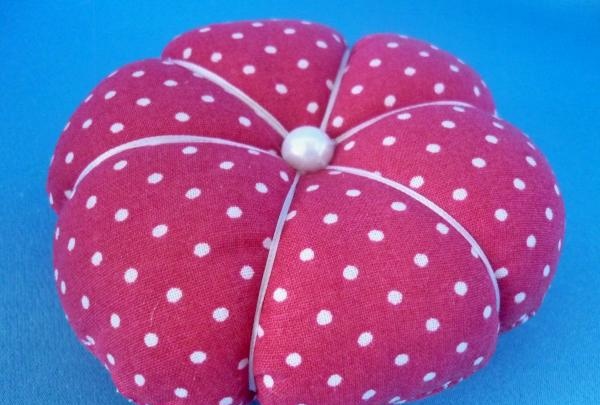
We take a large needle, thread a very long thread, which needs to be folded in half. We tie a knot at the end of the thread. We begin to divide the pillow into sectors. To do this, insert the needle in the center and bring it out from the back side, then again thread it from top to bottom and tighten it thoroughly. For one such strip, we make three circles and continue by moving to the opposite side. First, we close the seam with threads, and then move on. We make sure that the needle constantly falls into the same hole, both above and below.
If the thread runs out and you have not yet tightened the required number of sectors, simply tighten the knot close to the fabric and cut the thread. Thread the needle again and continue tightening.
You can make as many sectors as you like. It all depends on the diameter of the pad.
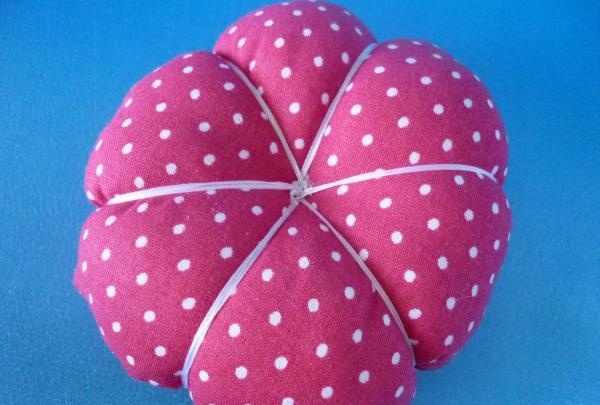
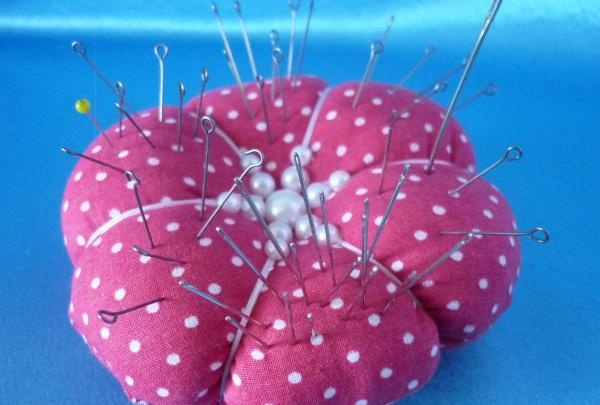
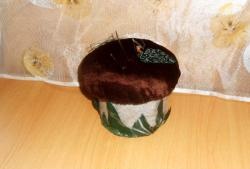
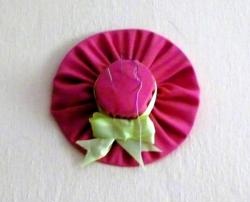
We decorate the central part, where the bundle of threads is located, with a large bead both at the top and at the bottom. This way we hid the wound knot.
In the upper part we add more beads in the direction from the center, gradually reducing the diameter of the beads.
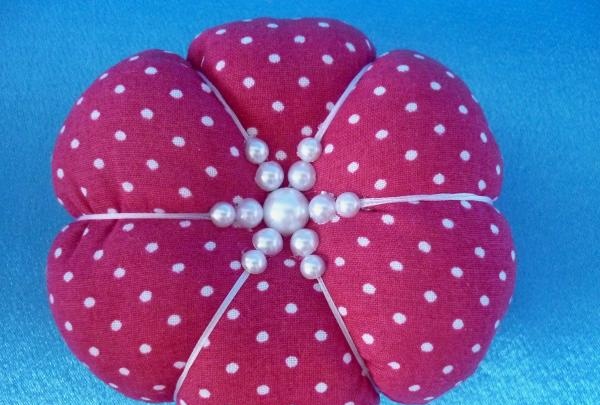
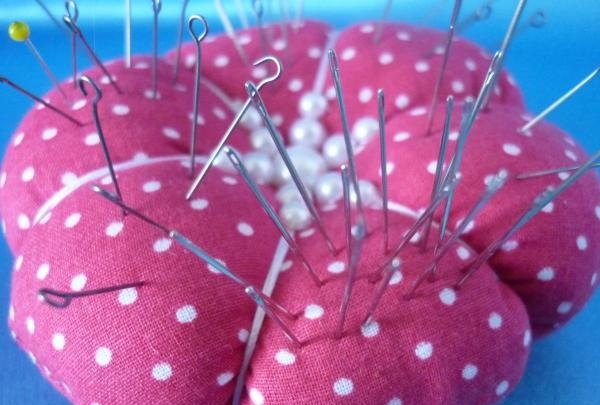
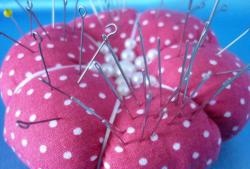
The pincushion is ready to fulfill its purpose!