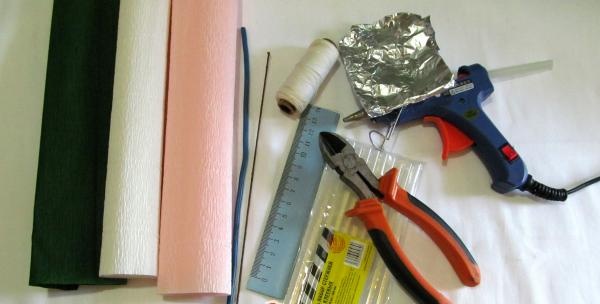
For the rose you will need:
pink paper (if you chose an Italian manufacturer, the color code 569 was used specifically in this master class);
thin green corrugated paper;
wire with winding;
thin wire;
glue gun and rods for it (one rod is enough);
a small piece of foil (18*14 cm);
side cutters;
durable threads of any color;
as well as sharp scissors.
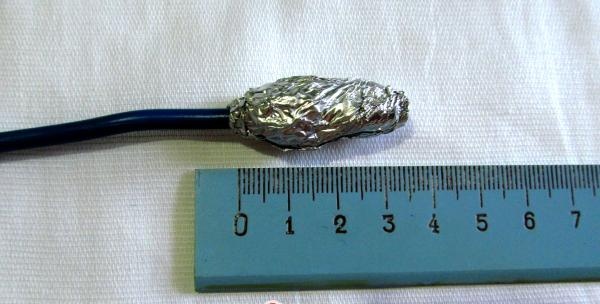
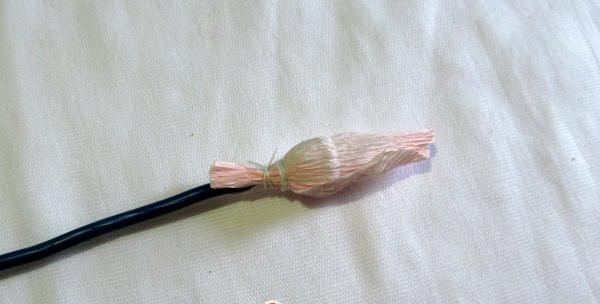
Add a little hot glue to one end of the wire, then quickly wrap the area in foil, forming the center of the flower. Set aside.
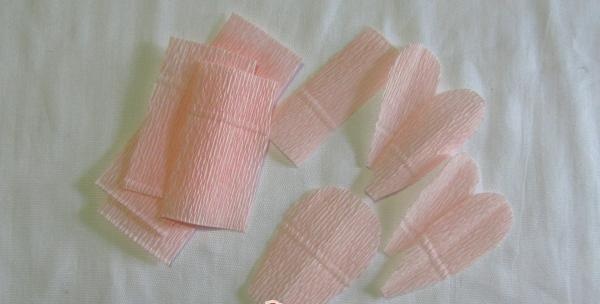
Now you need to prepare future rose petals by cutting out rectangles of the following sizes from paper:
1 piece – 5*6 cm;
5 pcs – 2.5*6 cm;
6 pcs – 3*6 cm;
7 pcs – 3.5*8 cm.
Please note: you need to cut across the unfolding of the roll. Next, cut off the top corners and bottom as shown below:
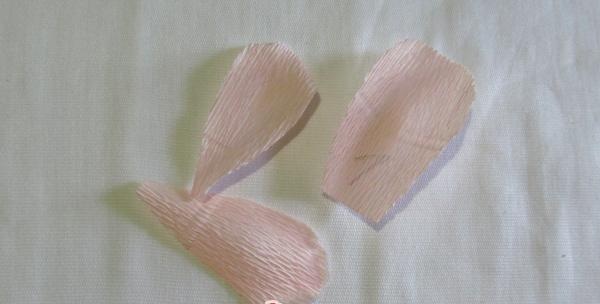
All petals must be stretched. To do this, you need to press on the center with your thumbs, while at the same time slightly stretching the paper in opposite directions. Bend the edges slightly and twist.
The petals are ready, and you can begin to form the rose. It is advisable to see a photo of a living flower in front of you, then it is easier to understand its structure, which will allow you to arrange the petals as naturally as possible.
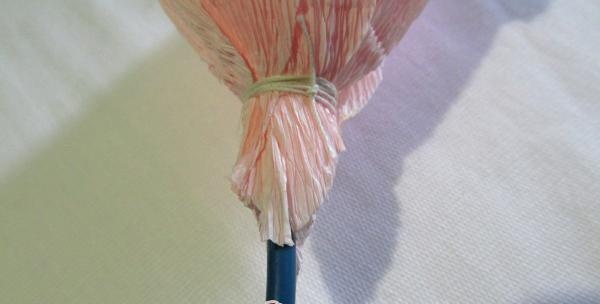
Taking the wire with foil, wrap it with the first petal, and then secure it with thread.
Now glue each petal one by one with a slight shift to the side, in the same order in which you cut them (from narrow to wide).

Below the head of the rose (immediately under the threads), you need to trim the corners:
It's time to make the rose sepals. To do this, take green paper, cut out a 10*6 cm rectangle from it, and then form teeth. The ends of the teeth need to be twisted a little.
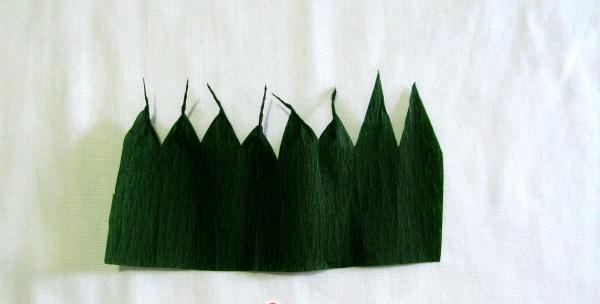
Wrap the sepal around the rose, securing it tightly under the petals with thread. Cut off the excess.
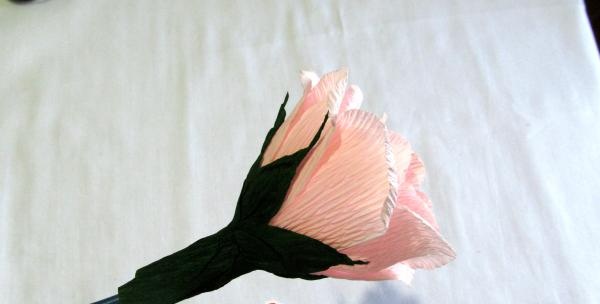
Next, cut two thin strips (1 cm high) of green corrugation. Then slowly, starting from the sepal, wrap the trunk of the future rose with one of the strips to the middle, but do not cut off the end.
All that remains is to make the leaves, for which cut them out according to the template (12 pieces in total). It is also necessary to prepare one long and two shorter wires of smaller diameter.
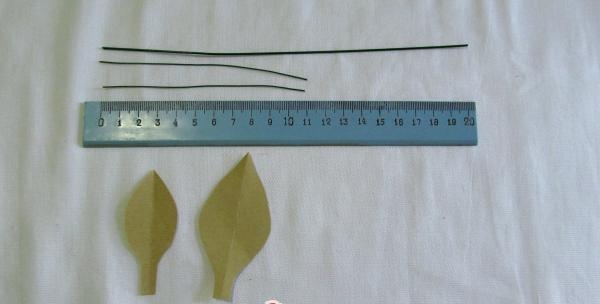
Glue the two cut out halves of the sheet together by inserting a wire between them into the center. It is necessary to make 3 such blanks, and the wire of one of them should be longer than the others.

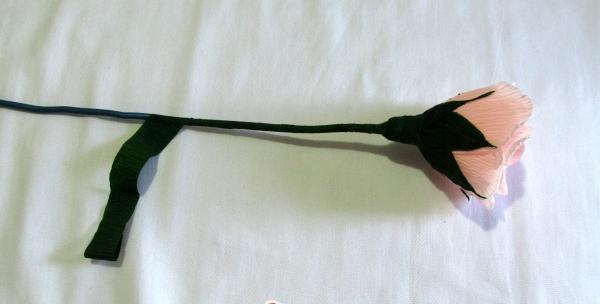
Connect all the wires 3 together and wrap a green stripe around each group. Secure the leaves to the trunk with glue. As you remember, the end of the uncut paper remained on the barrel, which now needs to be used to wind the barrel to the very bottom. During the winding process, the ends of the wire with leaves will be successfully hidden.

That's it, the rose is ready.

Make two more, or maybe a larger bouquet. Each time you will do better and better!