After the blanks are ready, we assemble the lid and base. Please note that in both cases, we begin to assemble by gluing two long sides, and then, applying glue to three sides at once, glue the short sides. Fasten well, holding for a few seconds. You can use the help of a rectangular ruler to fix the corners of the walls of the casket straight.

When all the parts are assembled, cut and iron the fabric for the outside of the box. With this fabric we glue the inner walls of the parts as well. That is, it is necessary to cut the fabric for the walls on both sides along with the allowances. For our casket size, the fabric will have a size of 30x22 cm for the base and 21.6x15 cm for the lid.
We glue two parts to the base fabric so that there are no bubbles and the surface is smooth. For the cover and the base, we cut the fabric in the same way: we cut the squares on four sides, departing from the bend by 1 cm. We cut the tips of the scissors from the corner of the cut to the corner of the base diagonally.

The gluing pattern of the two parts is the same. First, glue the long sides, gluing allowances on the sides to the cardboard base. Then, bending evenly side allowances on the short parts, glue the remaining two sides. We seal it inside to the very bottom, helping the stack to align the corners and surface of the walls.

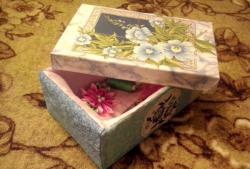
We cut out a piece of cardboard with a size of 2.9 x 8 cm. This will be a partition in the box. This way we will create several departments. The size of the department is up to you. Glue on both sides with a cloth at a wide base, leaving allowances of 1 cm. It is necessary to very smoothly and gently cut off unwanted fabric along the edges that will be in contact with the wall.

We smear the two cut edges with glue “Moment”, and the place where the wide edge will be glued, we smear with PVA glue. We glue the partition so as not to stain the walls.

We cut out white paper (as thick as whatman paper) according to the size of the internal parts of the casket and prepare a fabric of the same size, but with allowances of 1 cm.
Glue the paper to the fabric so that the surface is even (for this we need a stack). We cut the corners according to the pattern and seal all the allowances.

Before sticking the inside of the lid, we attach the ribbon and lace as a decoration so that the ends are not visible. We seal the inside of the lid with the existing workpiece.

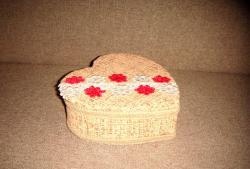
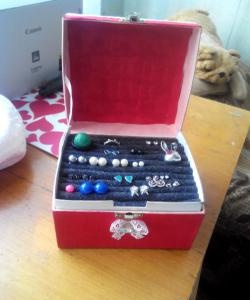
The jewelry box is ready. Now you can keep your jewelry safe and sound!