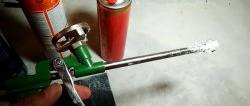
1. First you need to make a wire frame. The wire for each part of the body is bent separately, and then connected to each other by twisting, and then secured in some places using a soldering iron. As soon as the frame is ready, you need to apply the first layer of polyurethane foam and wait for it to dry.
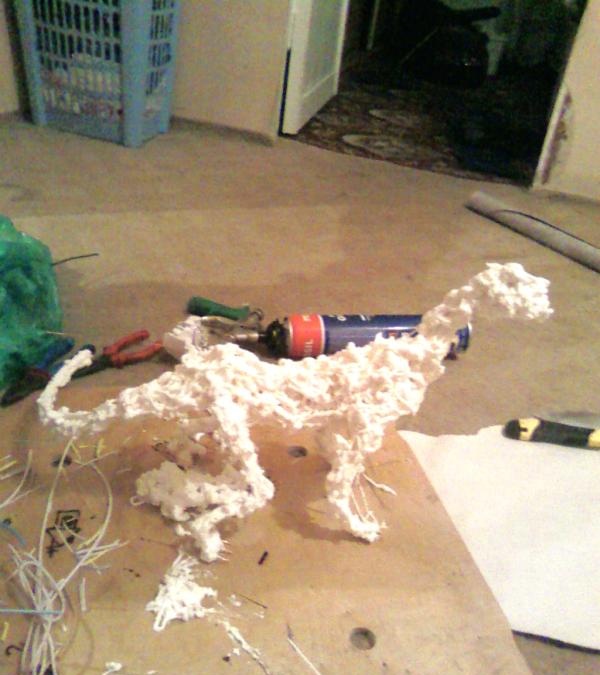
2. Next, apply another 2-3 layers of foam of different thicknesses to the figure, focusing on the future appearance of the dragon: more in the chest area, hind legs, base of the tail. When all layers of foam have dried well, cut off the excess with a knife, giving the figure a streamlined shape. If something unnecessary is cut off, you can foam it again. Then sand it down.
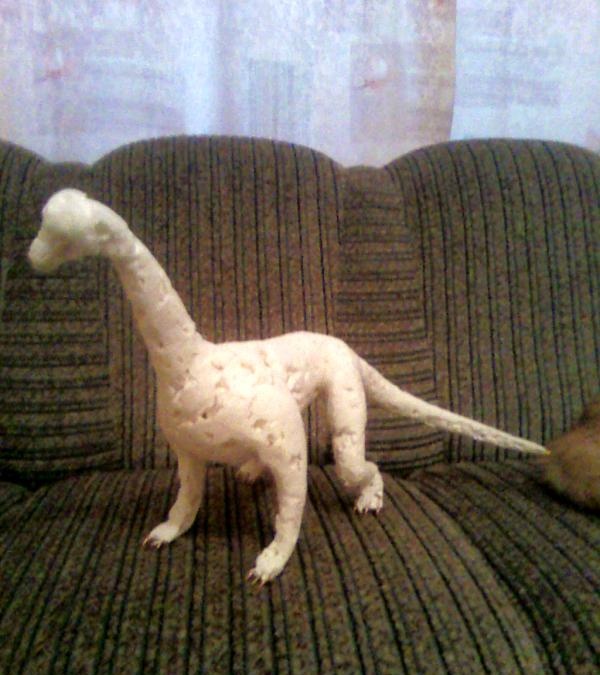
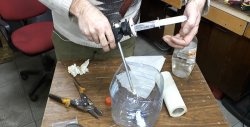
3. Treat the workpiece with PVA glue. Dilute glue with water in a container in a ratio of 1:2. Cover the dragon with pieces of newsprint soaked in the solution, ensuring the surface is level.Apply several layers in this way.
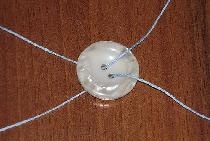
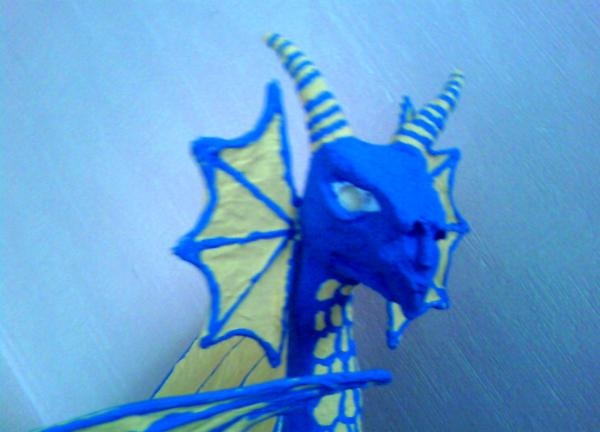
4. It’s better to start modeling the head with the eyes. Stick (or glue) buttons on the sides. Flagella are twisted from impregnated newsprint and attached to undiluted glue in the shape of the upper and lower eyelids. Transition areas are also smoothed out with pieces of paper. The nostrils and the upper and lower jaws are modeled in the same way. For horns, pieces of wire are wrapped in impregnated flagella in the form of a cone, secured with glue and stuck into the head. Then they are also strengthened and leveled with pieces of paper.

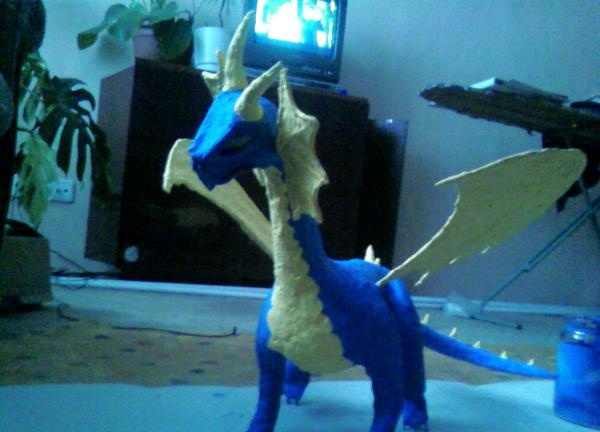
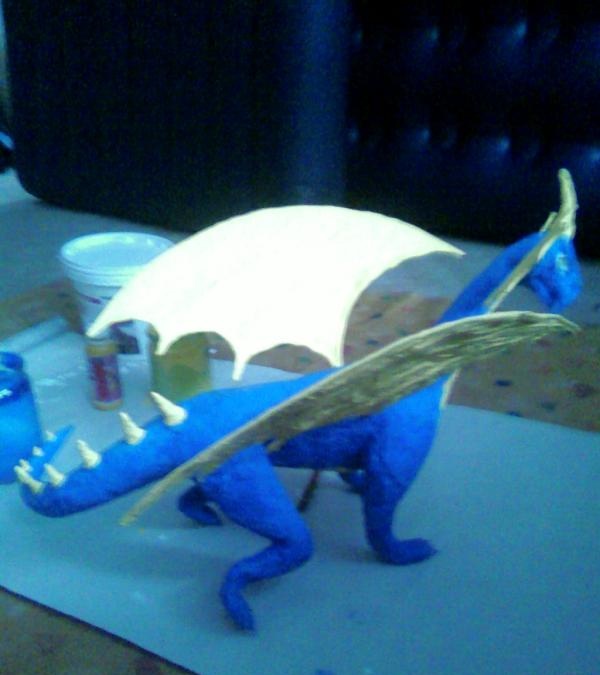
5. For the wings (both small and large) you will need to make a frame. Fold the pieces of wire into a fan and fasten them with a soldering iron. The free ends of the wire are also connected to each other with curved pieces. Solder. On the large wings, solder 2 pins on which they will later be attached to the body. One is enough for little ones. Wrap the frame with toilet paper and soak it well with PVA glue using a brush. After drying, carefully cover the wings on all sides with soaked newsprint. It will take several layers, each of which must dry. Stick the finished wings into the body. Fix the joints and level them with paper.
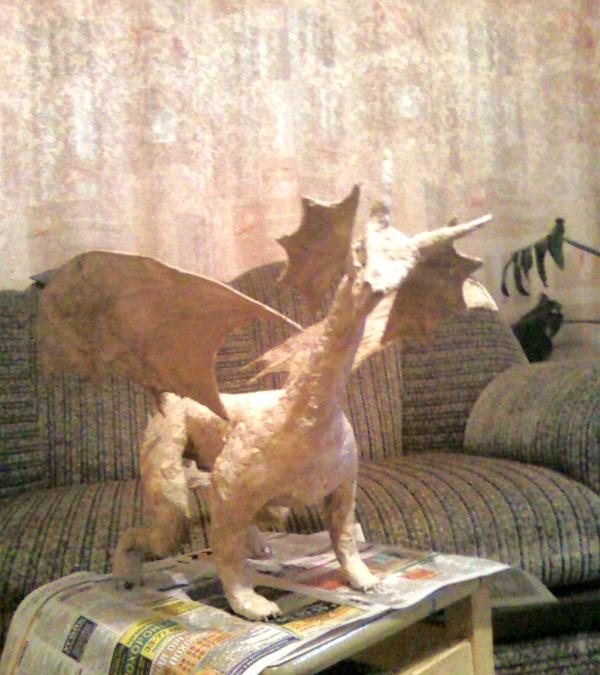
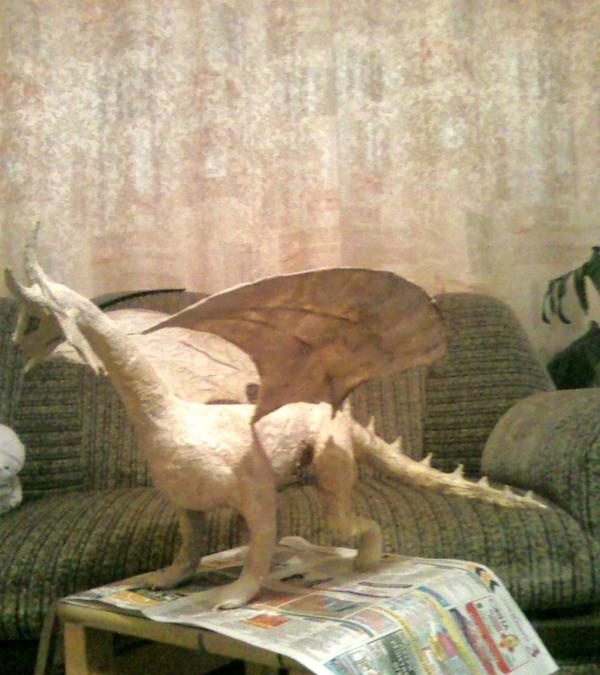
6. You need to insert spikes along the tail. They are made in the same way as horns, and then stuck into the figure, secured and aligned.
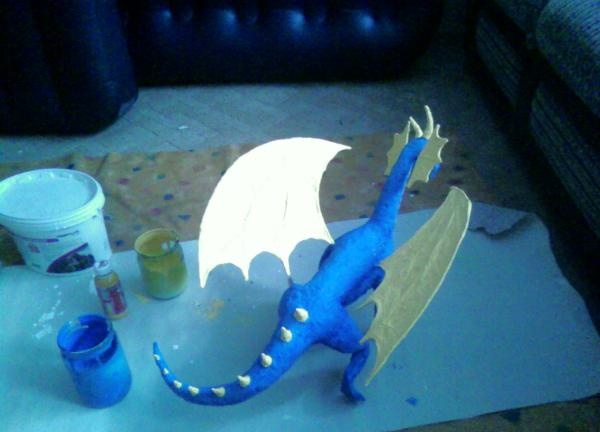
7. Paint the dried dragon with white paint in 2 layers. When the paint has dried well, dilute the colors in separate containers, achieving the desired color saturation. Color the dragon, leaving the whites of the eyes white.
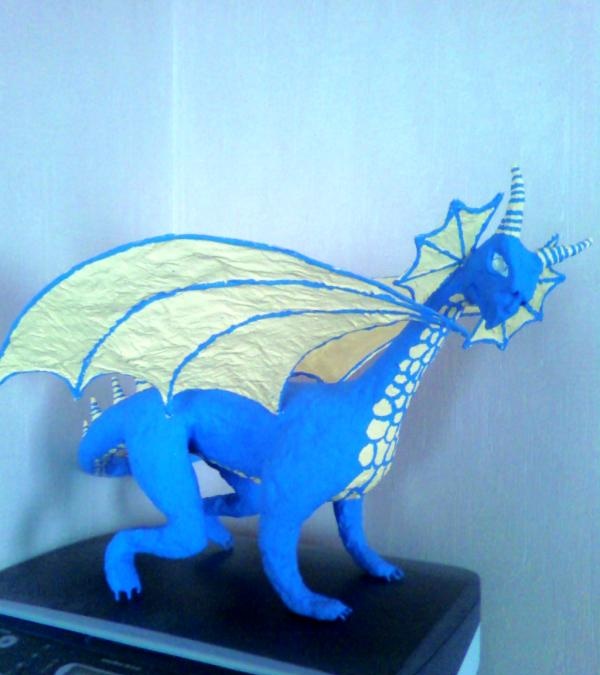
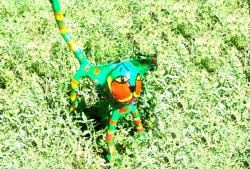
The polyurethane foam dragon is ready!