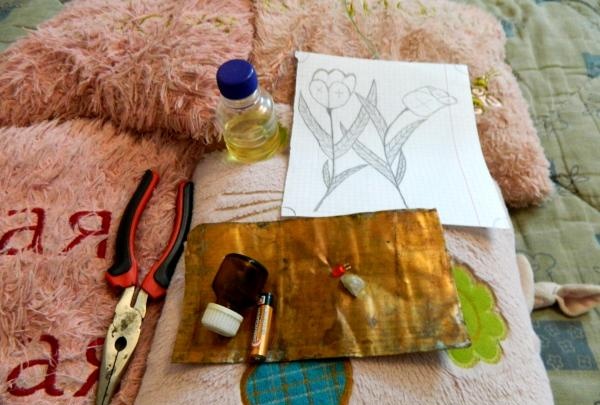
First, let's prepare all the necessary tools. We will need: a soldering station (it is better than just a soldering iron in that it also contains a hair dryer, which is useful when heating and rolling copper sheets), copper sheet:
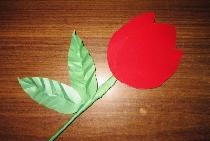
A flower template (you can draw it yourself, or find and print it on the Internet), epoxy and a thickener for it, Light-emitting diode, a small piece of fluorite stone, or another, if you don’t want the “core” of the flower to glow inside, thanks to the LED, two wires, slightly longer than the stem of the flower, pliers and 1 CR2032 battery
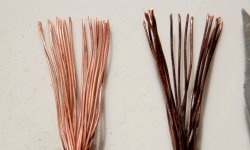
That's it, we can start. To begin with, take a piece of copper measuring 10*15 cm, heat it with a hair dryer or iron and roll it out on a flat surface. This will be our stem. After this, we place 2 wires in the center of the sheet, with pre-cleaned edges (they will be soldered to the LED at one end and to the batteries at the other).Don’t forget that the wires should be a little longer than 10 cm. Take a pen rod or other long round object, heat the copper sheet again and roll the sheet into a tube. Our stem is ready.
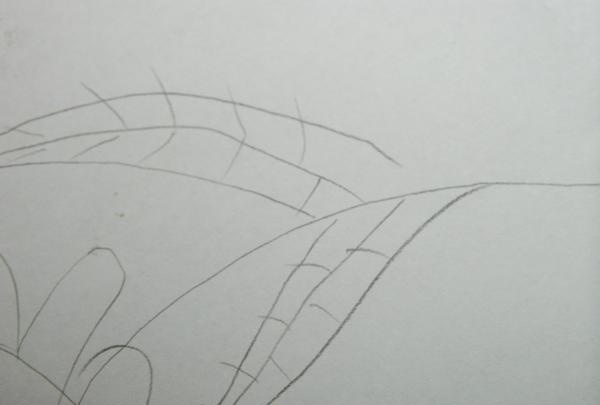
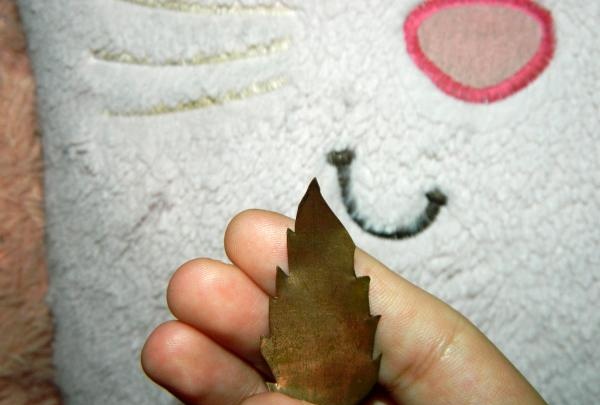
Let's start with the inflorescence and leaves for the stem. We print the sheets on paper and draw a contour from them on copper, heat the copper and cut it out.

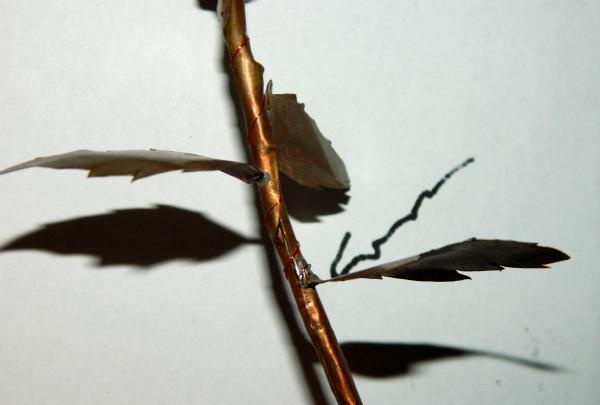
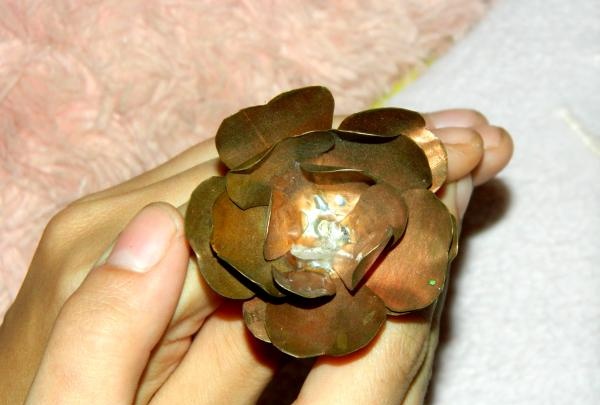
We take a soldering iron and tin in our hands and solder the sheets to the barrel. Now prepare 3 or 4 (depending on the desired “fluffiness”) sheets of copper, size 5 * 5. By analogy with the leaves, we trace the flower template on copper. Cut them out without cutting all the way through. We place our sheets one on top of the other and while they are still even, but with a cut out flower, we punch a hole through the middle. You can break through with anything, it's not difficult.
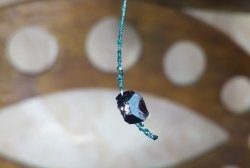
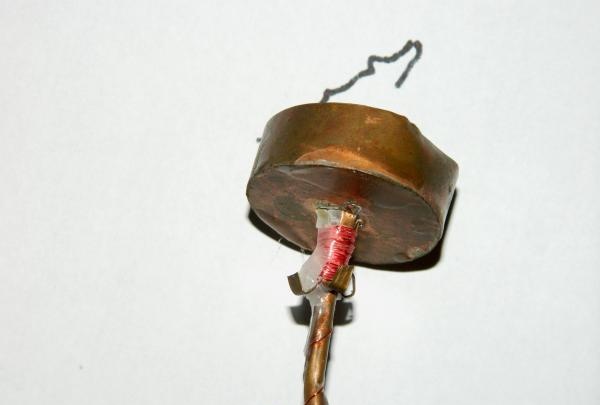
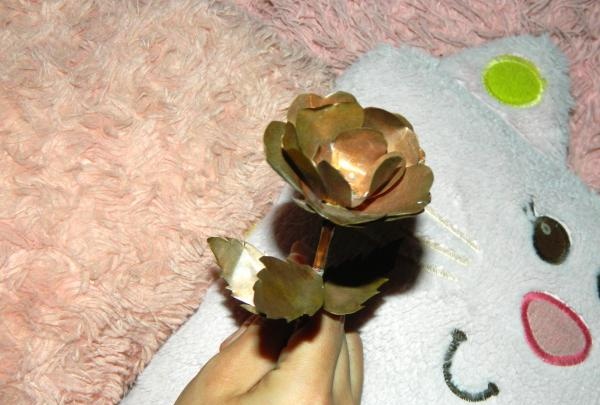
Let's get to the most interesting part. We take our stem with leaves, inflorescence and soldering iron. We insert the wires that come out of the stem through the hole into the inflorescence. Solder the inflorescence to the stem. Solder to the wires located in the inflorescence Light-emitting diode. On Light-emitting diode glue fluorite:
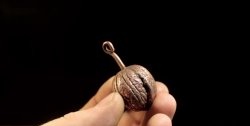
Now, by turning, we form our inflorescence, giving the petals the desired appearance. We now begin to make a stand for our flower. Take a glass or shot glass and trace its outline on the copper.
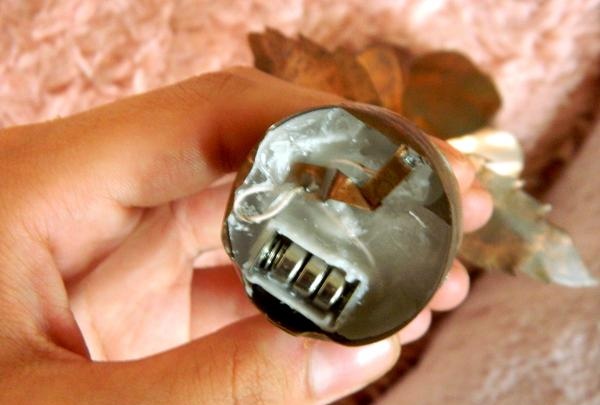
Cut it out. Now take a cut out copper tape, 1-1.5 cm wide along the length of the circle. We take hot glue or epoxy and glue the circle to the copper tape, heating it with a hairdryer for a faster result. We punch a hole in the middle of the circle and insert the wires from the stem into it. Solder the stand to the flower. We solder the battery to the wires and fill them with wax into the stand.
Ready!
Good ideas and good mood to you!