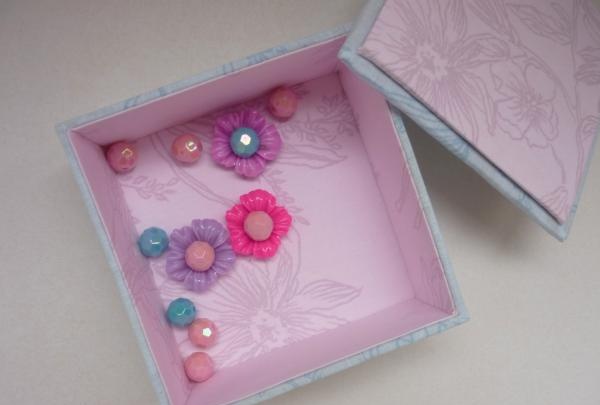
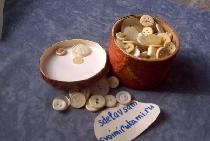
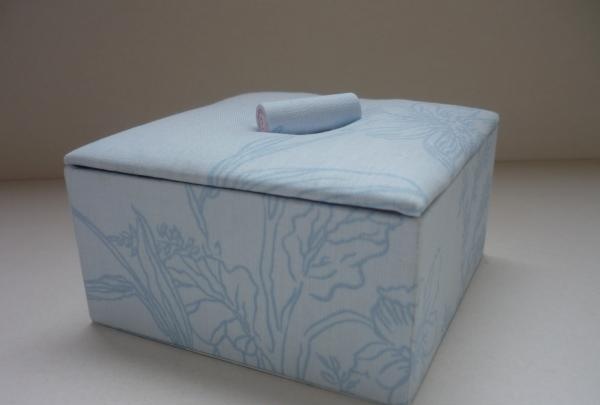
This cute bonbonniere can be used to store various small items, and perhaps even sweets (translated from French, this is exactly what it is intended for).
When starting the master class, decide in what color scheme you would like to make the bonbonniere. Prepare your materials and then proceed, following all instructions.
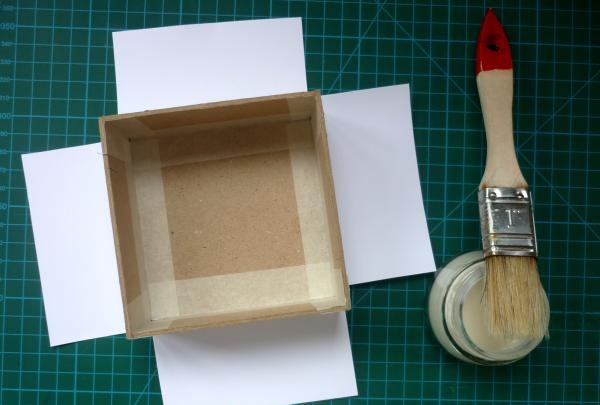
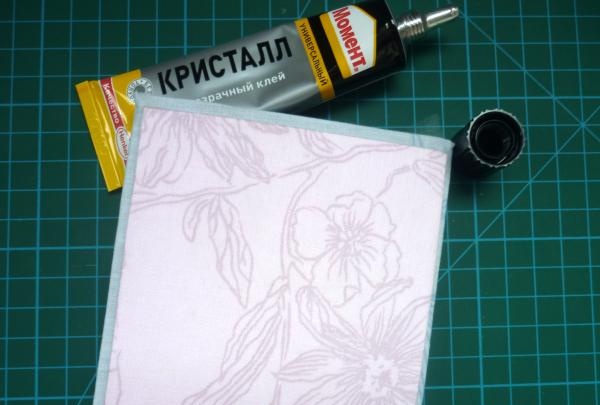
For work we will need: a cutting mat or any hard surface that you don’t mind ruining, PVA glue, a glue brush, a stationery knife, a pencil, a metal ruler, an eraser, Moment Crystal glue, masking tape, Whatman paper, binding cardboard (thick 2 mm), 100% cotton, padding polyester. You will also need a stack and a spatula. In this case, the stack is plastic, but you can have a wooden or metal one. You can get by with just a stack when doing this work, but a spatula really helps to do everything quickly and accurately.

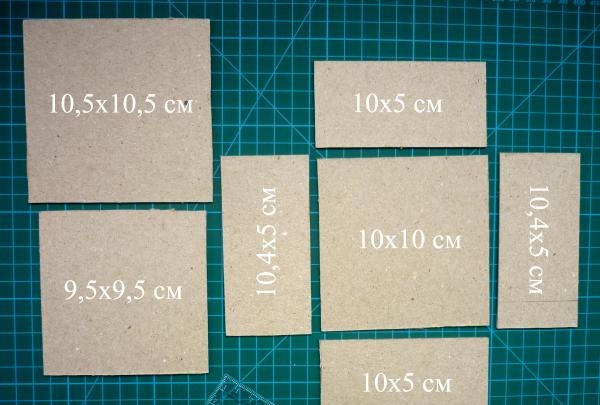
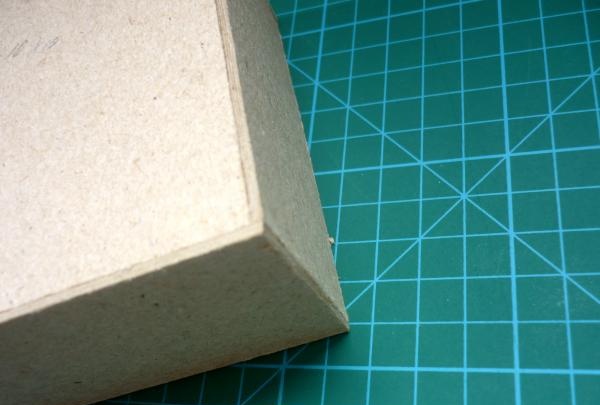
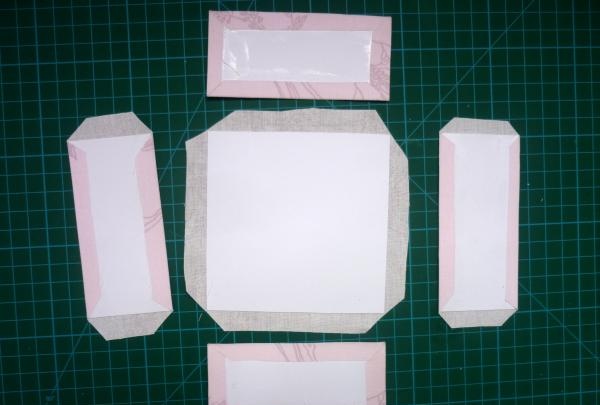
Next, you need to make blanks from binding cardboard with certain dimensions. You can make the size of the bonbonniere at your discretion. The main thing is to take into account the thickness of the cardboard when calculating.
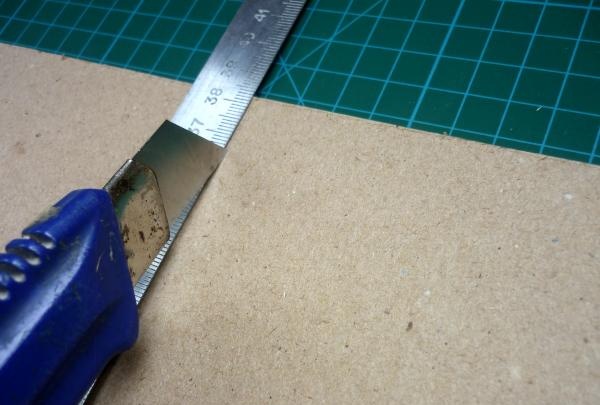
Mode using a utility knife, pressing the metal ruler firmly against the cardboard where the cut is made.
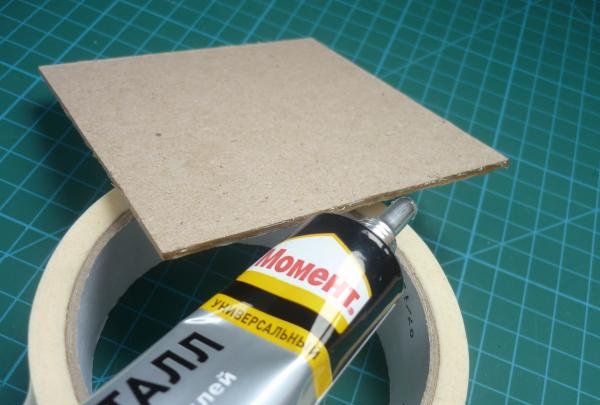
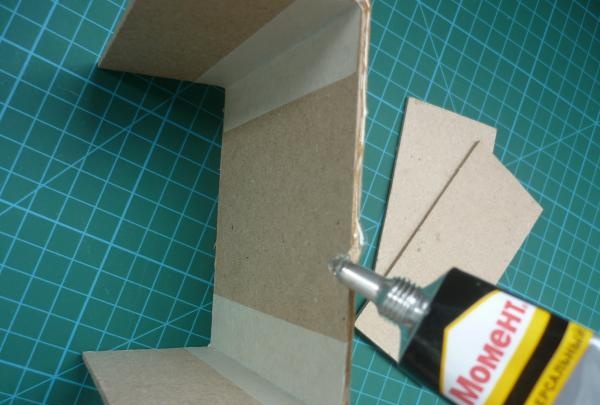
Using Moment Crystal glue, glue parts of the walls to the bottom of the bonbonniere from the side.
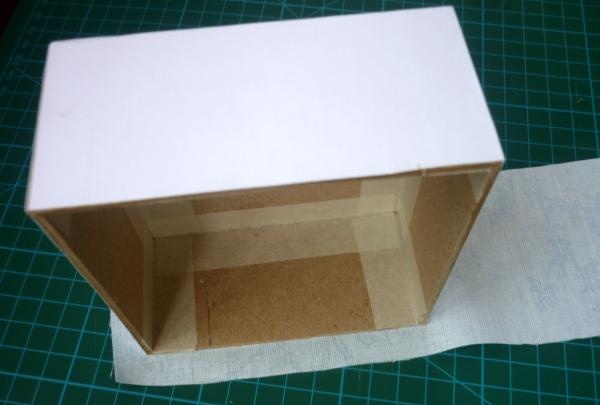
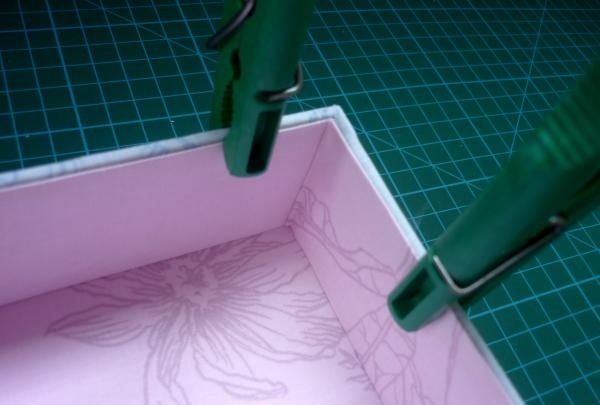
Having glued two walls measuring 10x5 cm, we secure them with masking tape.
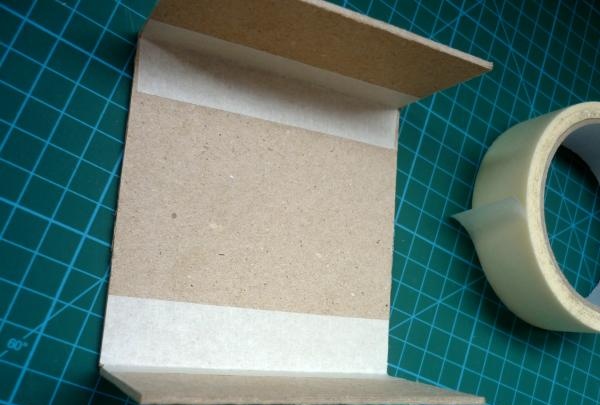
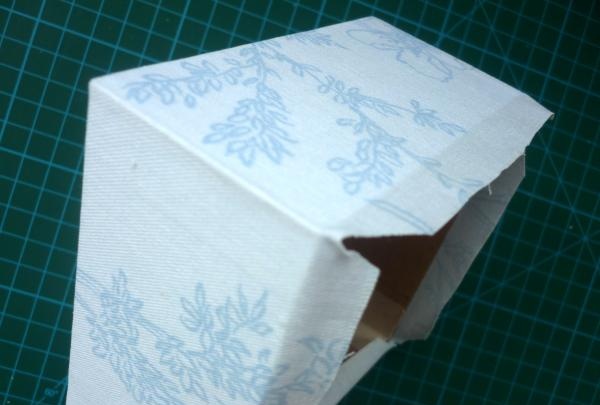
We glue the remaining walls, after which we secure all joints with tape.
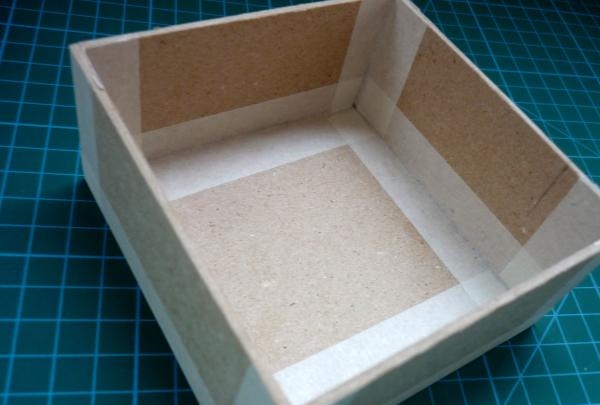
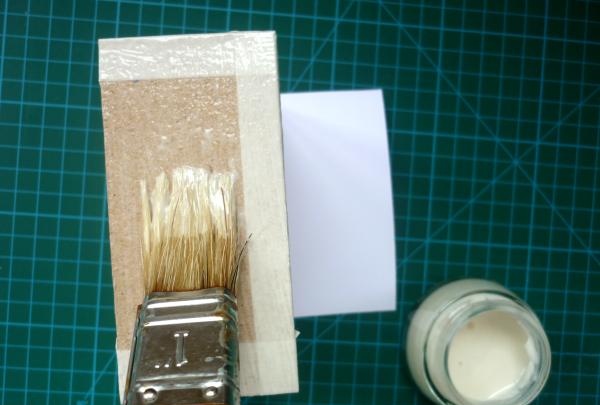
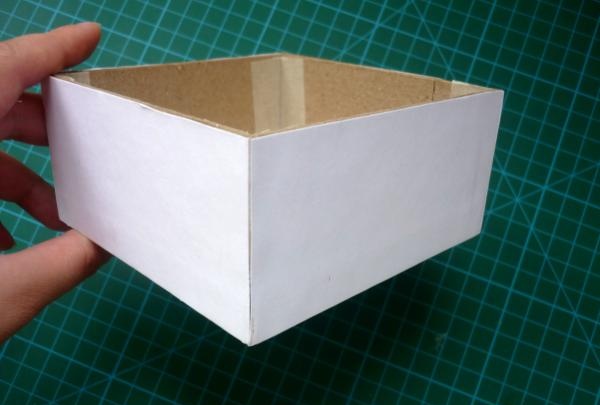
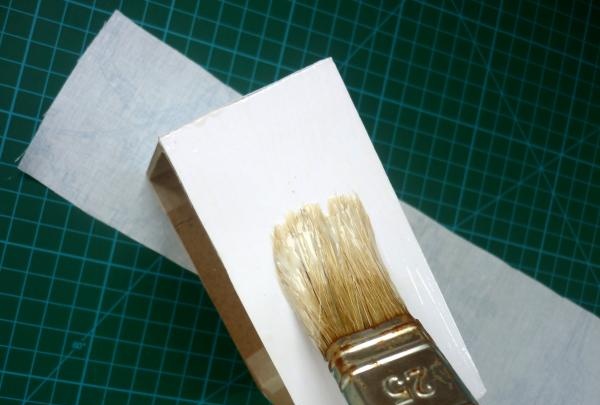
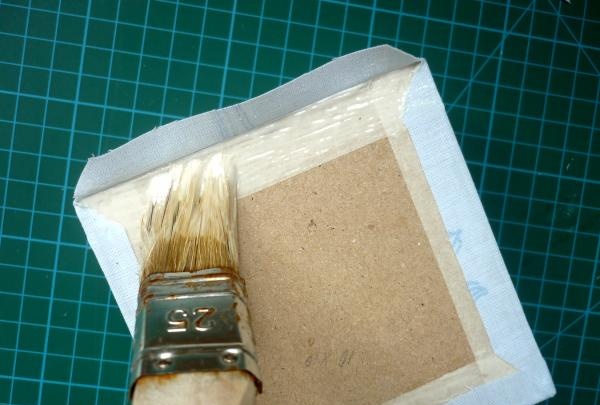
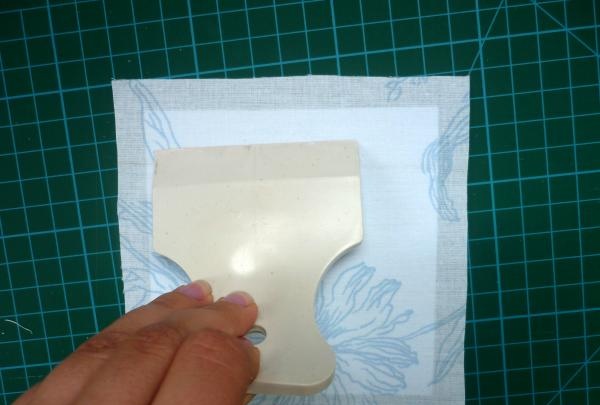
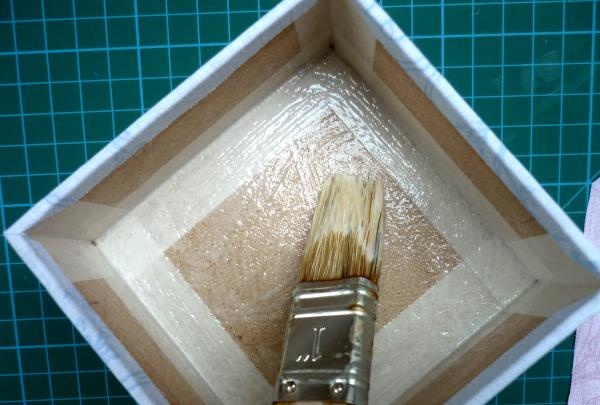
The side walls must be covered with white Whatman paper so that the grayness of the cardboard does not show through the light fabric. A spatula will help create a smooth surface.
It is important that the layer of PVA glue is as thin as possible throughout the entire work on the product!
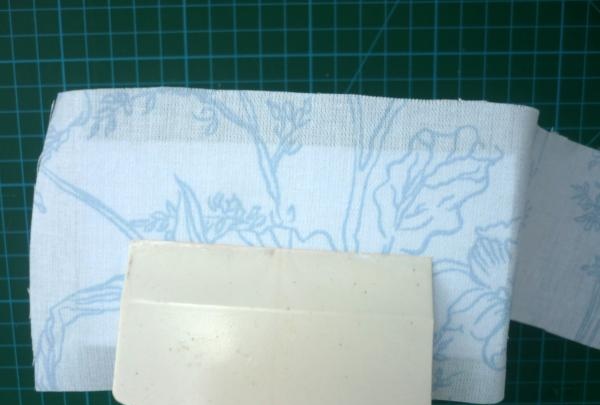
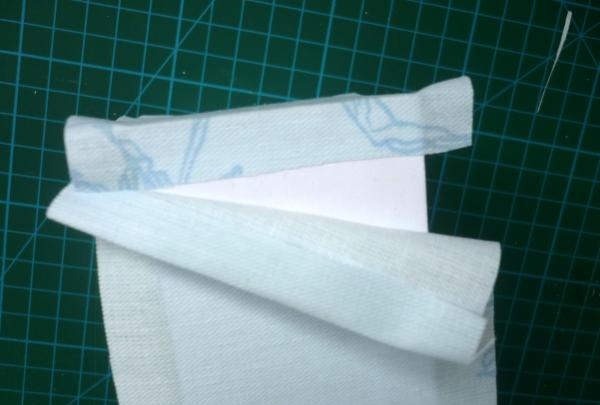
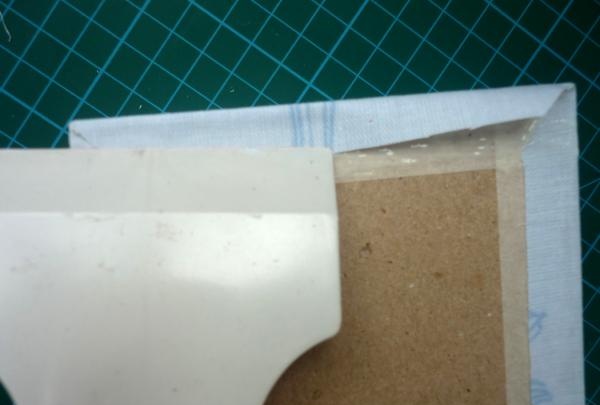
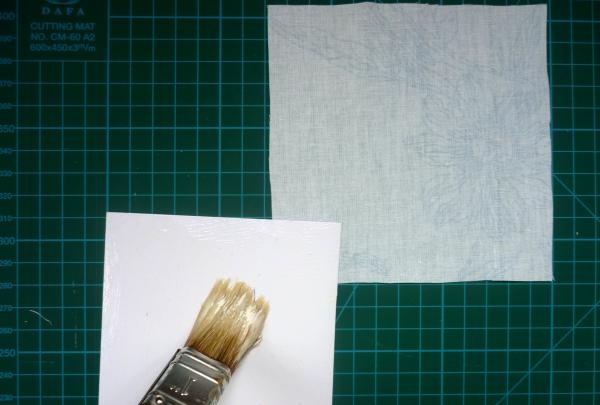
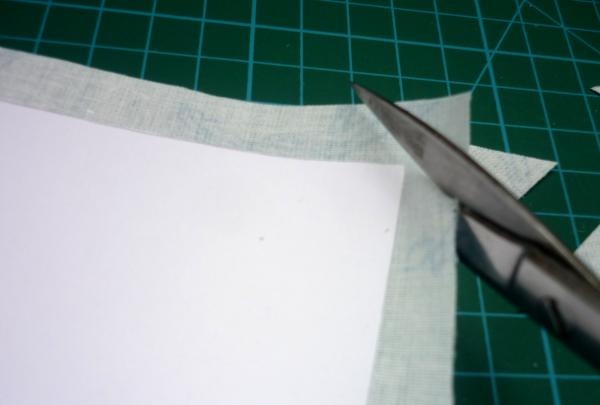
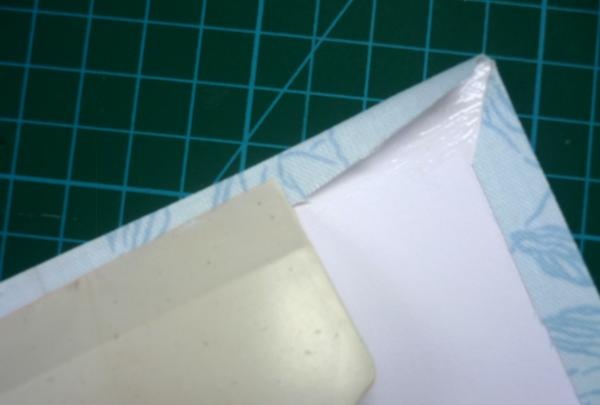
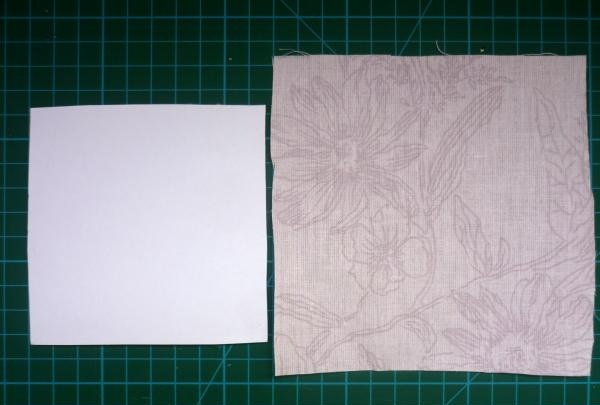
Cut a strip of fabric 45 cm long, about 7 cm high. Iron and carefully glue each side using PVA. Make sure there are no bubbles. Gluing each side, we run along it with a joint or a spatula.


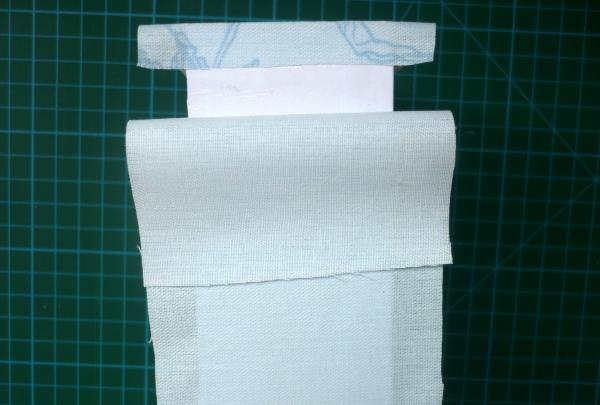
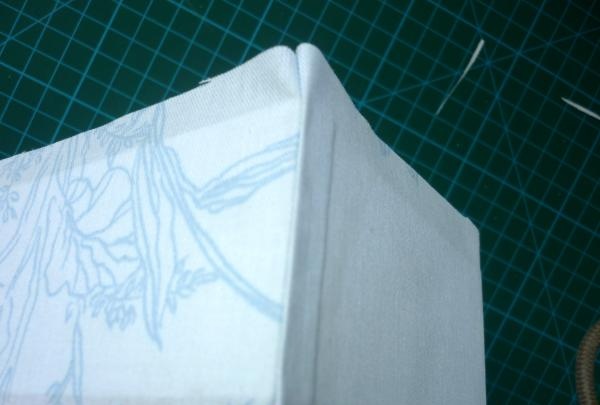
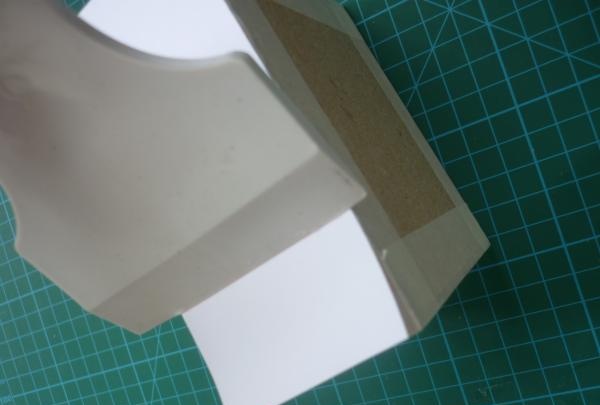
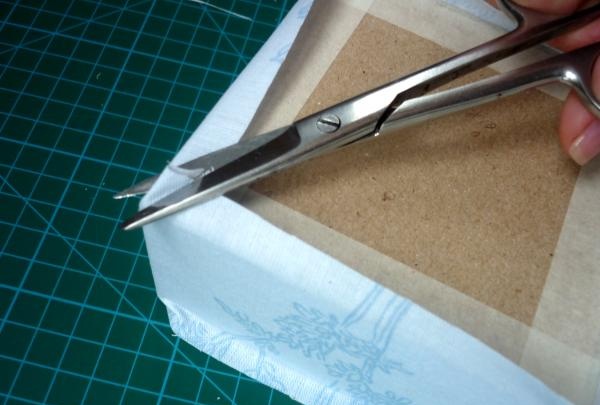
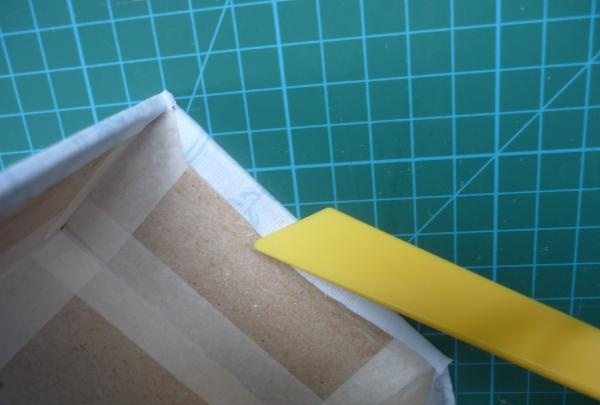
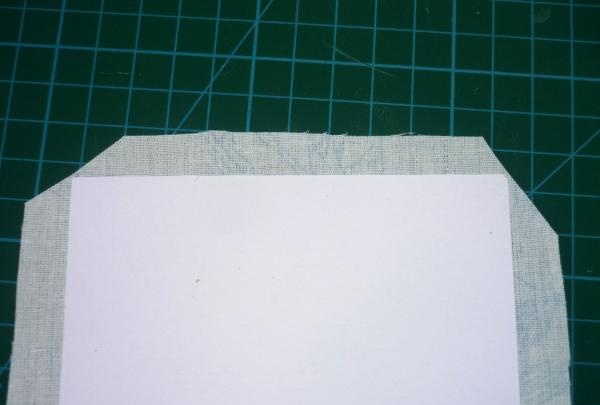
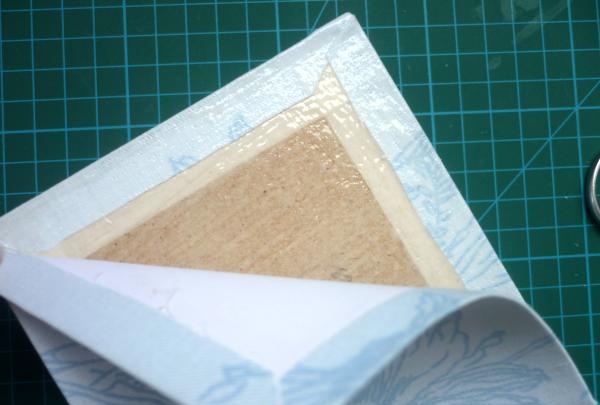
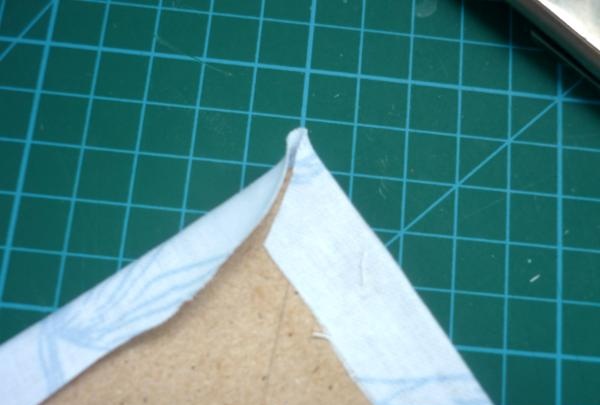
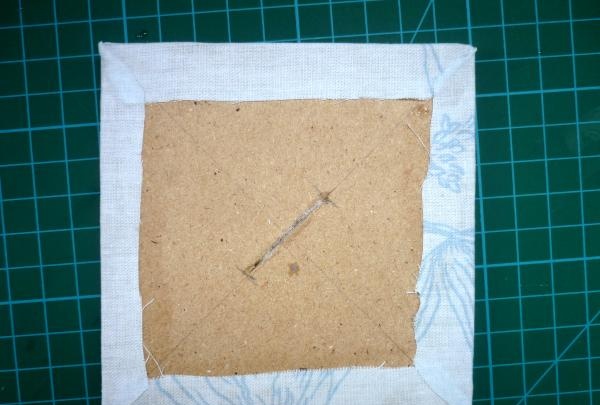
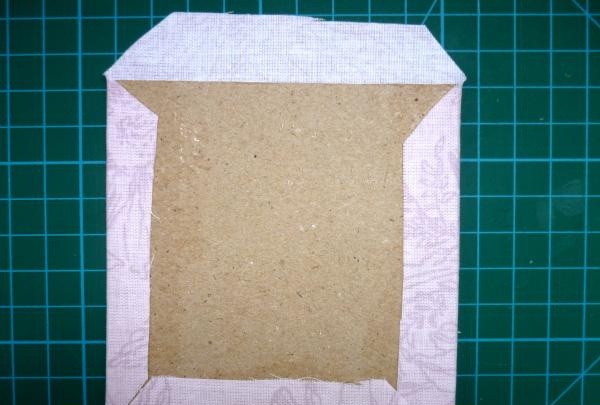
We cut the corners at an angle of 45, leaving a few millimeters of fabric from the corner of the product. Glue the remaining fabric to the bottom.
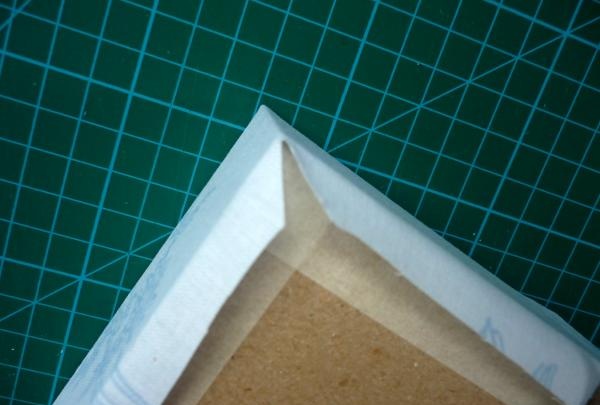
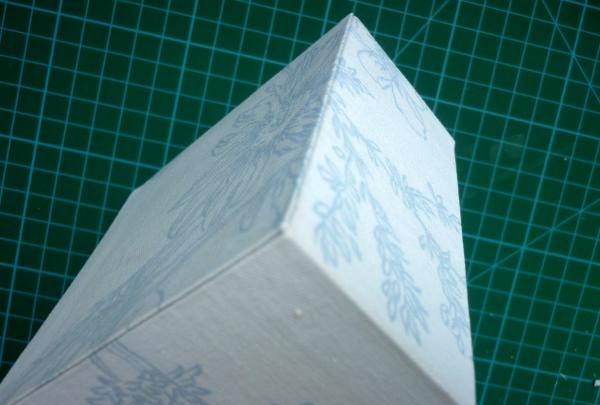
We do the same with the top part.
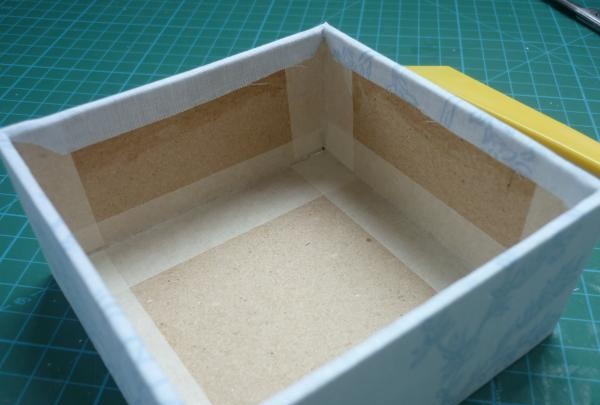
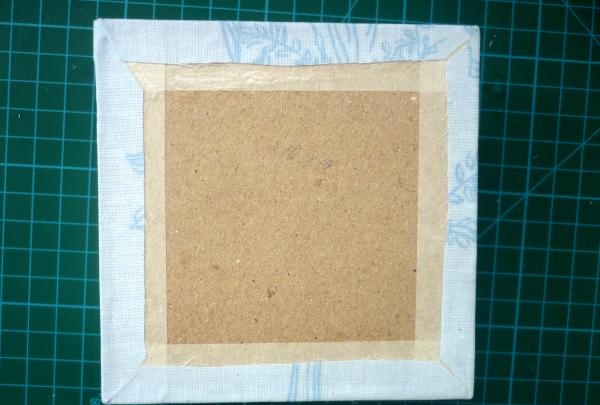
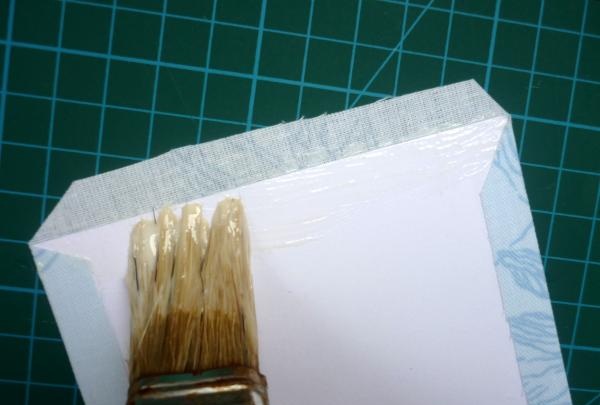
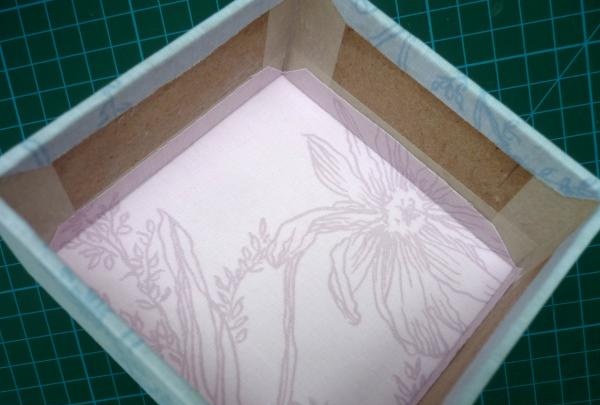
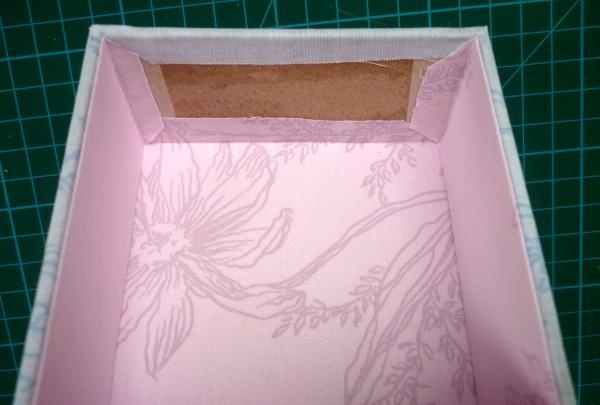
We seal the bottom with a pre-prepared part that is suitable in size.
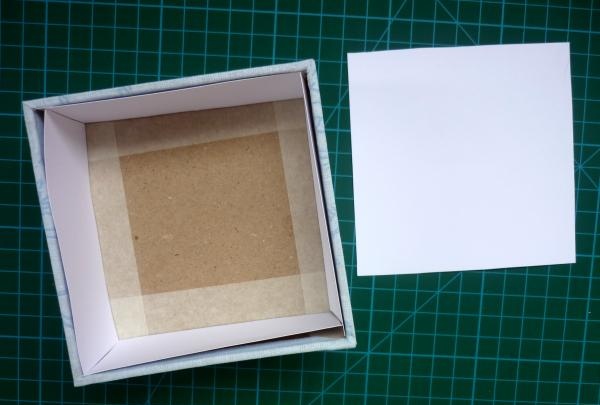
We prepare the parts and glue them on the inside of the product.

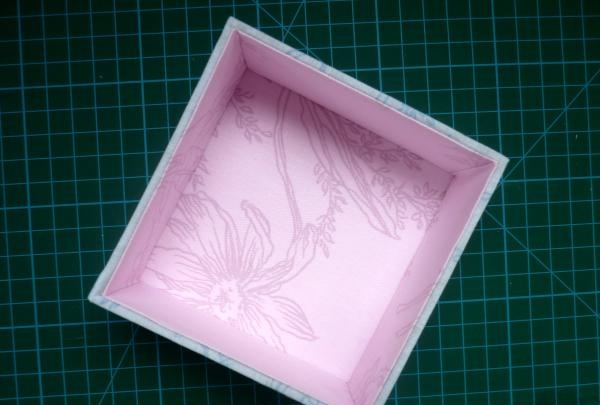
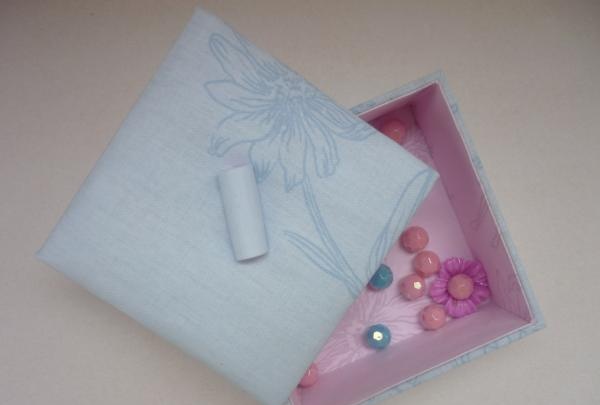
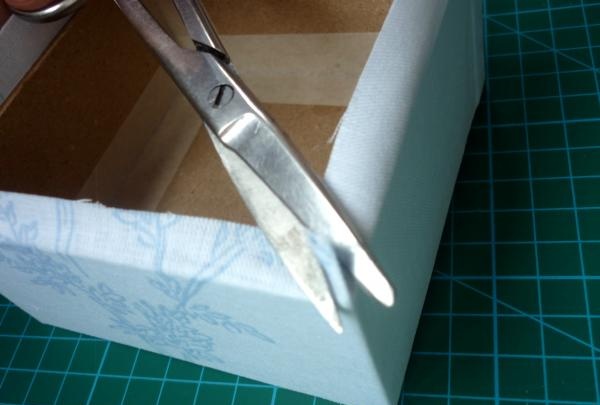
The main part is ready. Let's make a lid for the bonbonniere.

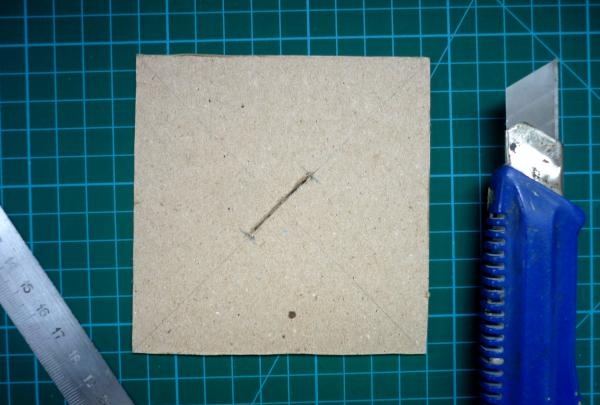
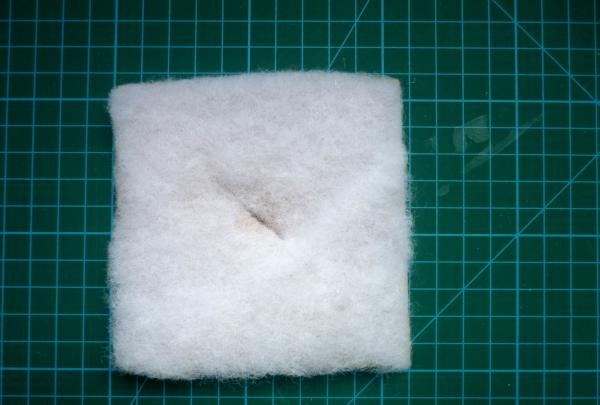
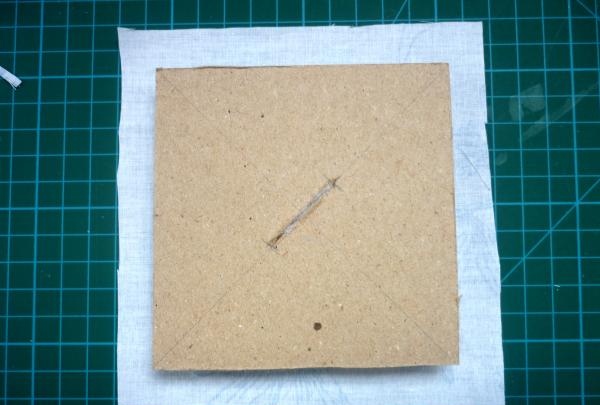
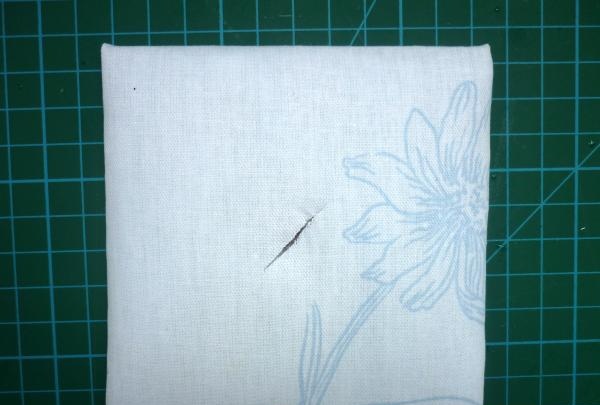
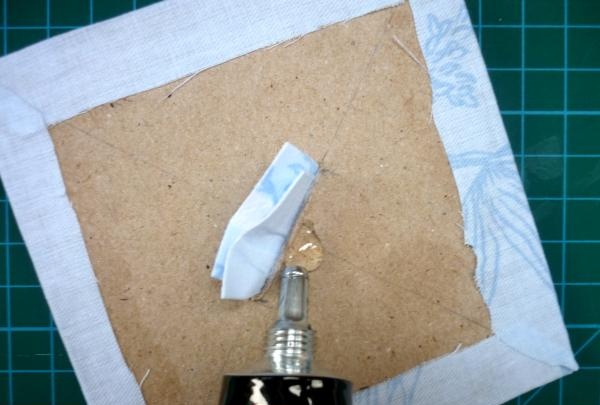
Let's draw diagonals and mark 3 cm symmetrically in the middle. Make a cut with a stationery knife about 1.5 mm wide. This is the bottom of the lid.
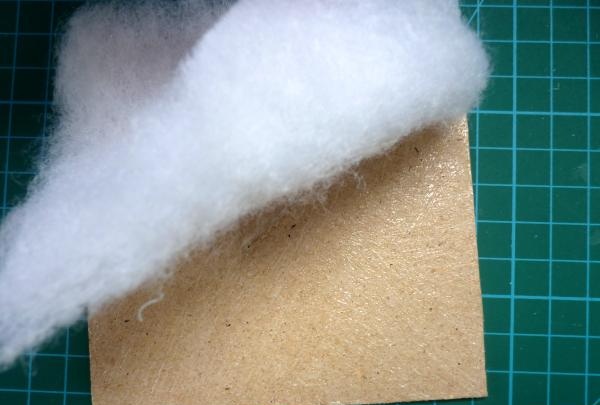
Glue padding polyester to the top part using PVA and make a cut.
It is important to follow the instructions in the pictures, pressing down on the lid as you glue the edges. Make sure that the fabric does not move.

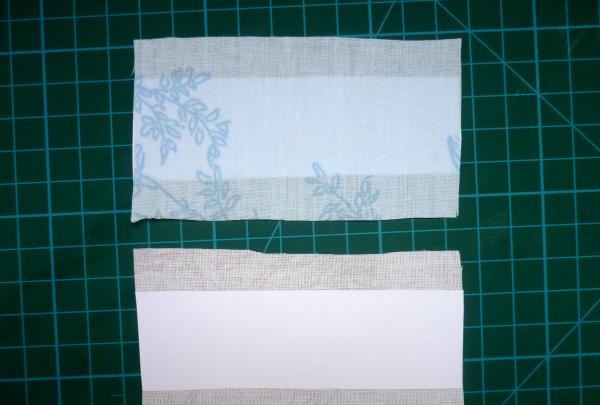
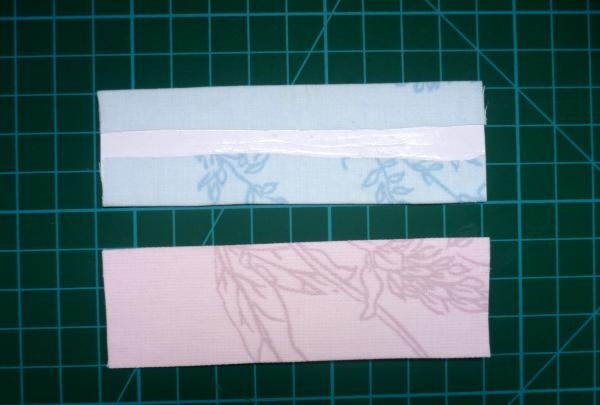
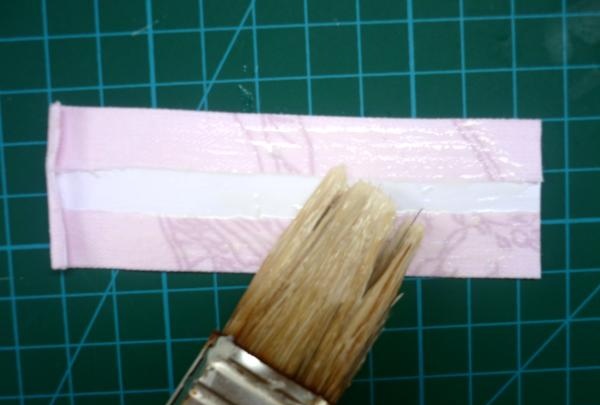
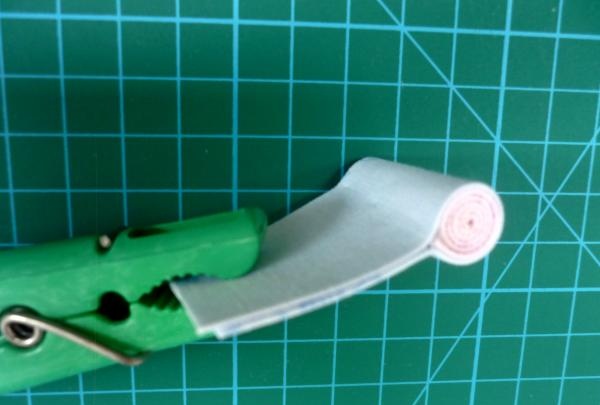
For the handle, prepare two strips of whatman paper (length = 10 cm, width = 2.9 cm) and fabric (length = 10 cm, width = 4 cm). Glue them together appropriately and thread them through the hole. We cut off the long ends on the reverse side and glue them in different directions.
Let's prepare the inside of the lid. Glue whatman paper and fabric of the required size to its outer part. Glue the finished part with Moment Crystal glue to the inside of the lid, fixing it well.
The bonbonniere is ready to store various small items!