Do it yourself
Life hacks, master classes, useful tips, recipes.
home » Different » Jewelry and costume jewelry » Best Friend bracelets
Summer is already here, which means you need to look bright and impressive! You don’t have to radically change your appearance for this: dye your hair red or wear things with splattered patterns, both at the bottom and at the top. To do this, you just need to buy some cute, summer and attractive bracelet, or, at best, make it yourself! It's so simple! Having made one bracelet, you immediately go to make more for your friends!

For the “Best Friend” bracelet we will need the following materials and tools:
- scissors;
- three blue waxed threads (two – 50 cm, one – 70 cm);
- two wooden beads with the inscription “Best Friend”;
- glue;
- lighter or matches;
- pin.

For bracelet


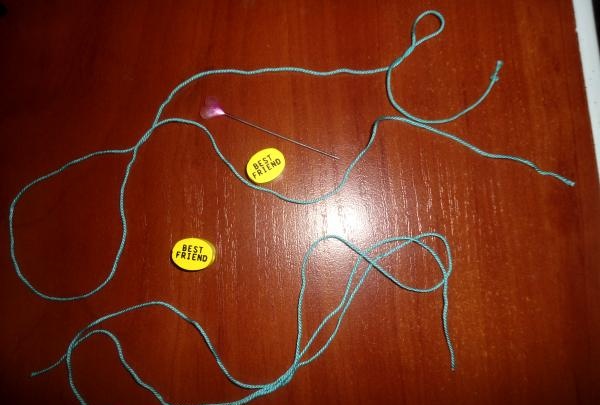
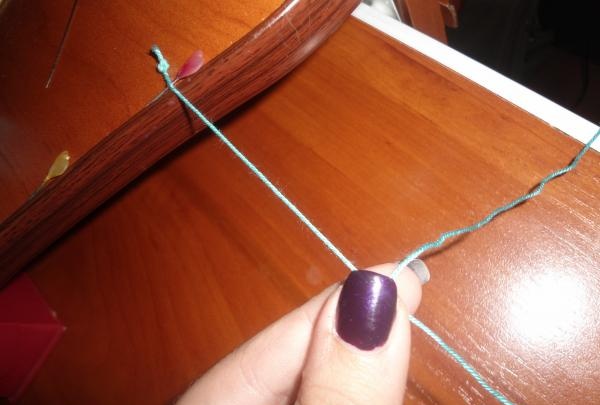
And so, to begin with, we take one thread of 50 cm and another of 70 cm. The smaller thread is the central one and we tie one end into a knot.

tie it in a knot


Below the knot we attach a pin and attach it all to the notebook, or I, for example, hook it to the desktop.

attach a pin


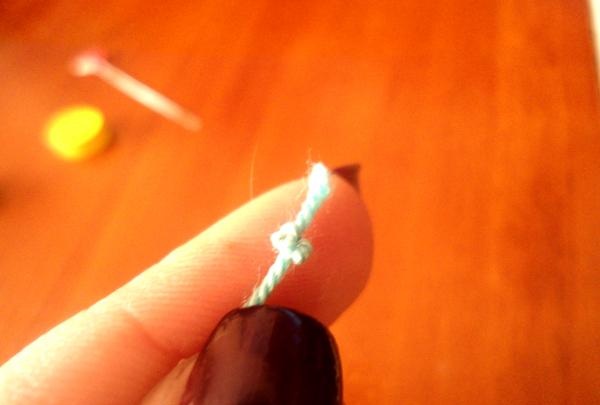
Now we divide the 70 cm thread in half and tie it 5-6 cm lower.

in half and tie


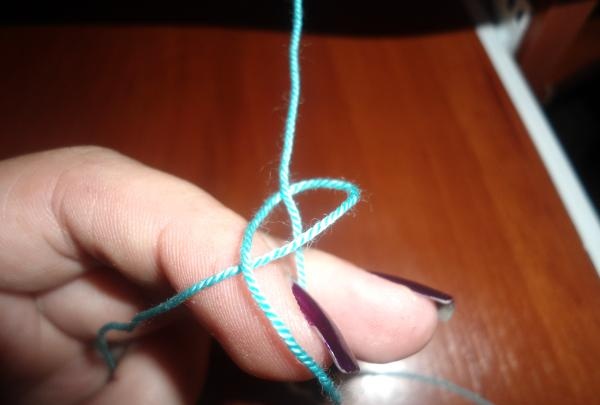
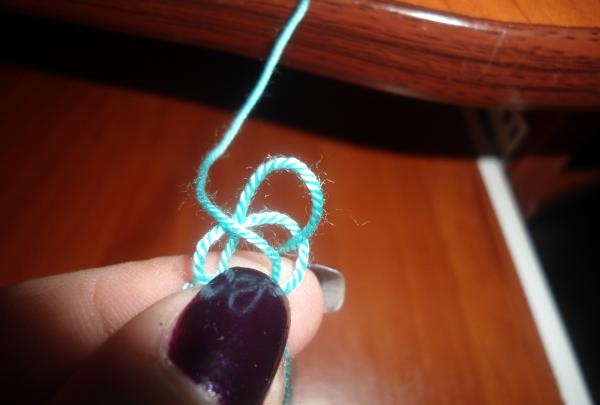
We pass the right thread above the central one and under the bottom of the left one, and the left thread under the central one and pull it through the formed loop on the right.We tighten it.

Skip the right thread

the formed loop on the right

We tighten


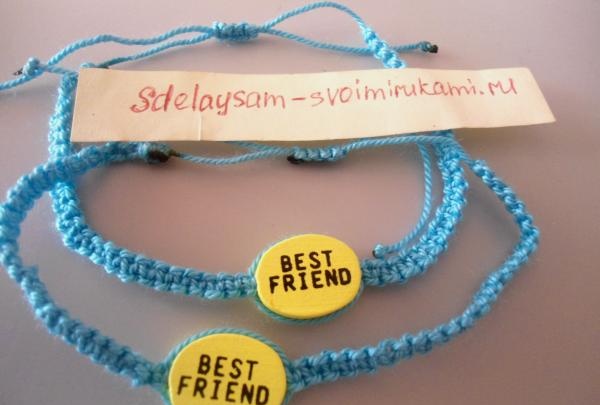
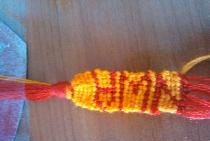
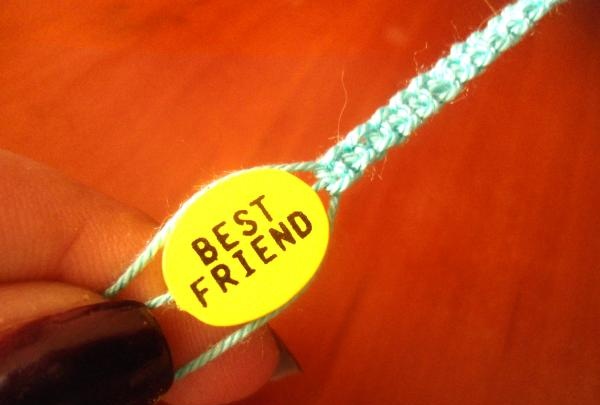
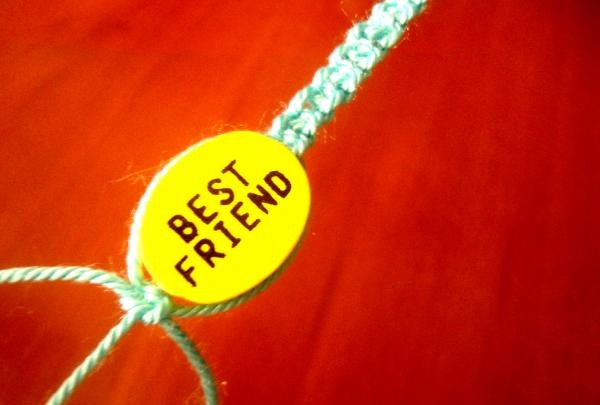
When we reach the middle of the bracelet, we put on our wooden “Best Friend” bead; if you don’t have one, you can make it yourself. To do this, we need a flat bead of one color and we write on it the inscription in the language you want, even in Japanese, and then cover it with gel polish or simple colorless.
We braid the bead in the same way as we wove the bracelet itself before.

put on our wooden bead

put on our wooden bead


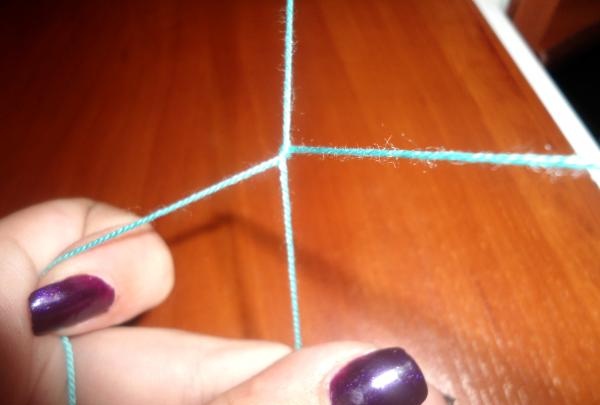
And now we just have to weave half of the bracelet.
When you have completed the bracelet, you simply make a knot and secure it with glue.

tie it


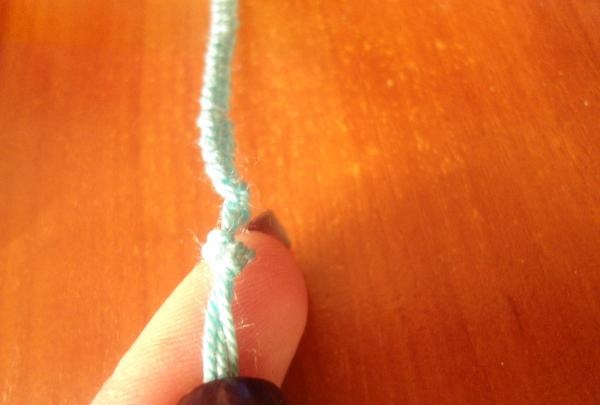
You can simply tie the bracelet or braid (rows 4-5) the ends.
Congratulations! Your bracelet is ready! Don't forget to make another bracelet for your friend too ;).

Best Friend Bracelets
come back
Comment
  • bowtiesmilelaughingblushsmileyrelaxed relaxedsmirk
    heart_eyeskissing_heartkissing_closed_eyesflushedrelievedsatisfiedgrin
    winkstuck_out_tongue_winking_eyestuck_out_tongue_closed_eyesgrinningkissingstuck_out_tonguesleeping
    worriedfrowninganguishedopen_mouthgrimacingconfusedhushed
    expressionlessunamusedsweat_smilesweatdisappointed_relievedwearypassive
    disappointedconfoundedfearfulcold_sweatperseverecrysob
    joyastonishedscreamtired_faceangryragetriumph
    sleepyyummasksunglassesdizzy_faceimpsmiling_imp
    neutral_faceno_mouthinnocent
4 minus one =
Comments (0)

DIY DVB-T2 digital television antenna

Coca-cola and mentos | Do it yourself

Crown for the Snow Queen | Do it yourself

Ice access | Do it yourself

«Do it yourself - with your own hands» - a site of interesting homemade products made from scrap materials and items at home. Step-by-step master classes with photos and descriptions, technologies, life hacks - everything a real master or just a craftsman needs for needlework. Crafts of any complexity, a large selection of directions and ideas for creativity.

We recommend reading

Washing machine error codes