Note: the bottle is cut a little tight, so use sharp scissors.
Step-by-step process of manufacturing a “candlestick-snowflake”:
Step 1. In the empty bottle from under the hairspray we cut off the upper part with scissors (sprayer - a small hole with a plastic stick must be removed from the bottle) - this part is no longer needed, it can be discarded.


Step 2. Then, with scissors, we cut off another part of the bottle, slightly less than half of it and leave it aside for now. This will come in handy later for cutting strips that will hold together the details of the future candlestick.

Step 3. Cut the bottle into strips with scissors, without cutting to the end about 2-3 cm so that they get an even number.

Step 4. Two strips located nearby, slightly bent with pliers to each other.

Step 5. Then, from the remaining cut half of the bottle, we cut strips about 3.5 - 4 cm long (for example, we get a bottle of 16 strips, so you need to cut 8 small strips from the rest of the bottle - for the 1st row, then 8 more for the second row, etc. - depends on the height of the bottle). In our case, we get 2 rows of 8 small strips, as they cut the bottle into 16 long strips.

Step 6. We clamp two strips on the bottle with a small strip using pliers, as if twisting.

Step 7. And so we do this technique with all the strips in order, first on the first row.

Step 8. Now proceed to the second row. We connect one long strip with another long strip of "neighboring beams."

Step 9. We fix them with a small strip also with the help of pliers.

Step 10. And in the same way we pass the second row, side view, top view.


Step 11. From above, the remaining ends of the strips are bent in different directions to get curls, like a snowflake. This is necessary not only for beauty. In addition, this technique serves to fix the last row.


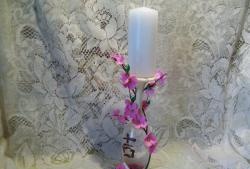
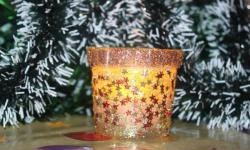
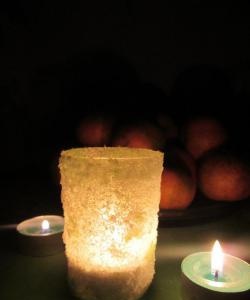
Step 12. Slightly straighten the candlestick with your hands, giving it the desired shape, and put a scented candle in the middle of it.


The candlestick is ready! In my opinion, beautiful present Happy New Year or Christmas! And moreover, certainly no one will have such a candlestick! It remains only to make a gift box and present to a friend.
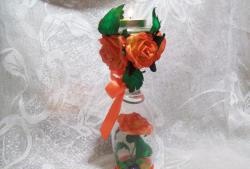
Note: using this technique, you can try to make other objects, for example, a cup - a stand for pencils and pens, a vase for sweets - the volume of the manufactured item depends on the size of the bottle used. The larger it is, the more capacious, and the wicker pattern becomes even more expressive.