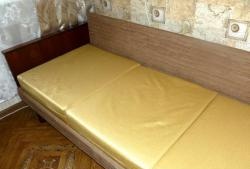
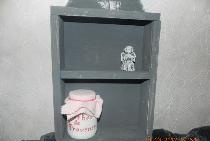
So, the initial material is an old Soviet chestnut-colored bedside table, from which it is necessary to make a coffee table (you can also use a trellis, a wardrobe, a sideboard, etc.). We disassemble it in parts in order to understand what details are suitable for use.


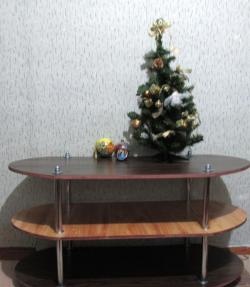
You can choose the necessary design for your future product (coffee table) using your imagination, but it’s more convenient to open the Internet and find photos of interesting models of modern furniture.
After you have decided on the final final version, proceed to the pattern. To do this, cut out from improvised material (cardboard, paper), patterns of future table parts, all sizes at your discretion (sizes are not limited) depending on the desired result and the size of the source material.


On an example, the side walls of an old bedside table were used as connecting parts (legs) between the tabletop and the bottom of the bedside table.
Using a wood jigsaw (electric, manual) we apply pre-prepared patterns and cut out our details (curly, straight, angular). We also cut off the corners of the tabletop and the bottom of the bedside table to give a rounded shape to our product.
Having prepared all the necessary details, we proceed to cleaning. This is one of the important points in the work, since the quality of the final product depends on the thoroughness of cleaning. We clean every detail with an emery abrasive.

If it has been painted, then you need to grind it to wood. If it does not work out, then at least remove the upper layer of paintwork materials with sandpaper. If you are lucky and the part is clean, then you need to polish it with an emery cloth, 150 gradations. Then pay attention to the holes remaining in the parts (from the mounting screws and bolts), which must be covered with wood putty.

Be sure to give time to dry putty, which closed the holes, chips and bumps. Drying time - one day.
When assembling parts, you can use as fasteners:
1) metal corners with self-tapping screws;
2) wooden choppers or dowels.
After preparing the parts, you can start painting. The first stage of painting consists of applying the soil in two layers, while observing all the technical recommendations of the material with which you will work. The second stage is intermediate grinding with an abrasive sponge of the 240th gradation. The third and final stage, applying varnish (enamel) in one layer, which is the finish layer.

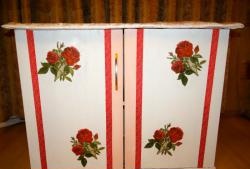
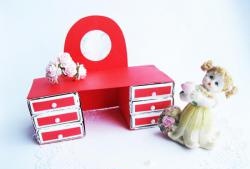
Also, you can use combinations of different colors of paint as in this example, mixing it yourself to the desired shade or buying a finished paint.
The edges of the product must be covered with furniture trim tape with an iron or painted over.

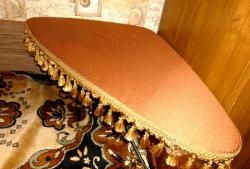
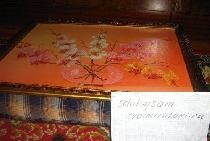
To bring luxury to the tabletop, you can draw an ornament, after making a sketch with a pencil.