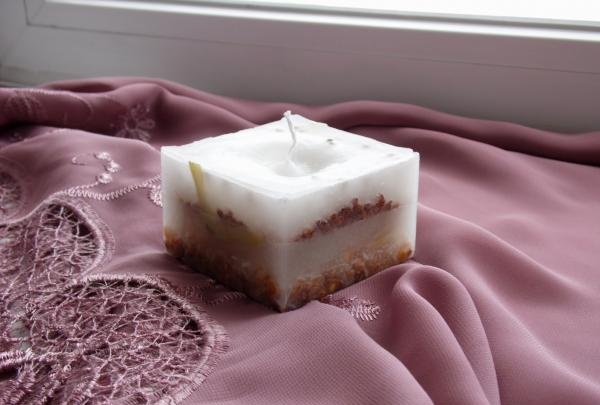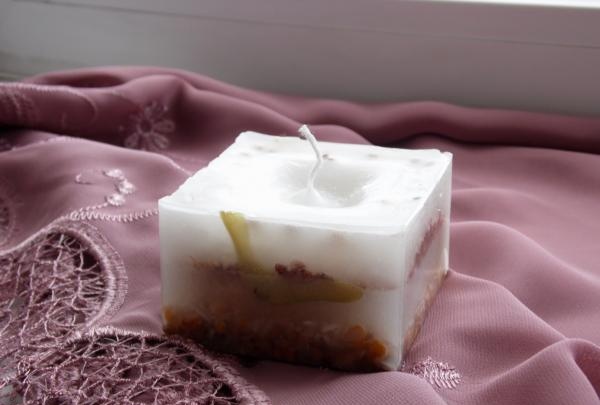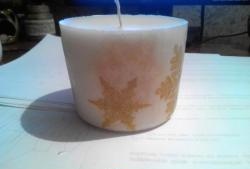
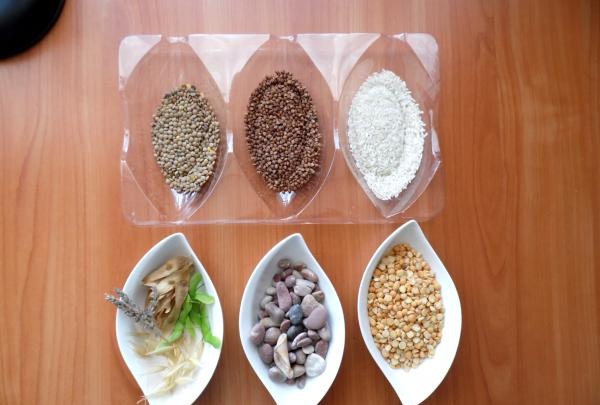
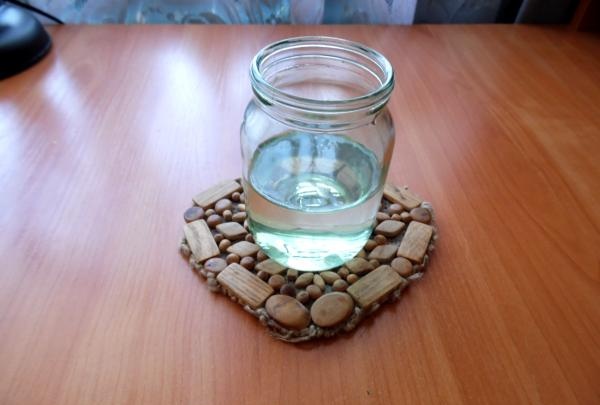
Let's prepare everything we might need to make a candle. You can choose the shape and size yourself. I got a candle measuring 7 by 7 cm and 4 cm in height. Essentially, the size of the candle will depend on the dimensions of the larger box you can find. Decor candles will depend on what materials you prefer. For decoration, you can use anything that does not melt from the temperature of molten paraffin or wax and does not change its color (small pebbles, shells, starfish, coffee beans, buttons, cereals or seeds, dried flowers or artificial flowers, coins, etc.) .
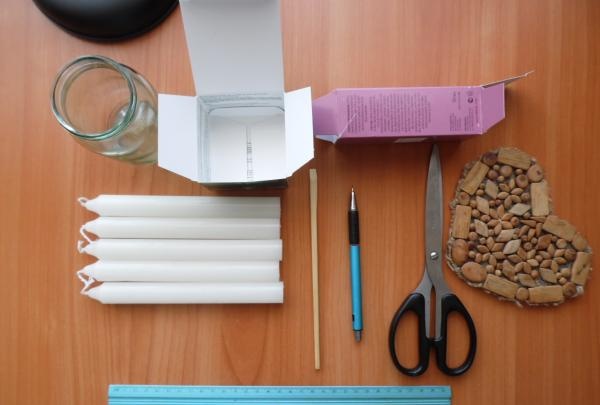
We will need:
• paraffin or wax candles – 4 pcs.;
• two square cardboard boxes;
• glassware for melting paraffin;
• hot stand;
• oven mitts to protect hands;
• microwave or water bath;
• wooden stick for fixing the wick;
• scissors or stationery knife;
• pencil;
• ruler;
• tape for strengthening boxes;
• natural materials: cereals, pebbles, dried flowers, artificial flowers, buttons, etc.
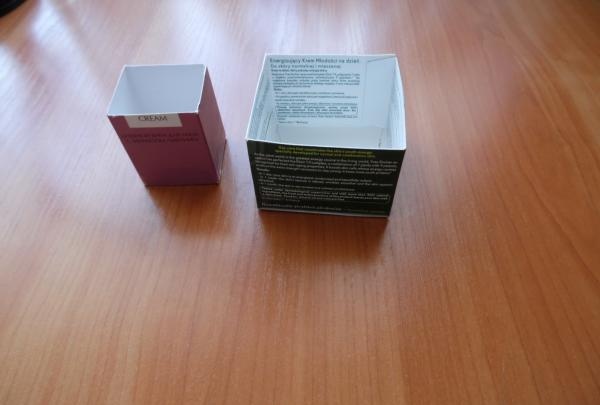
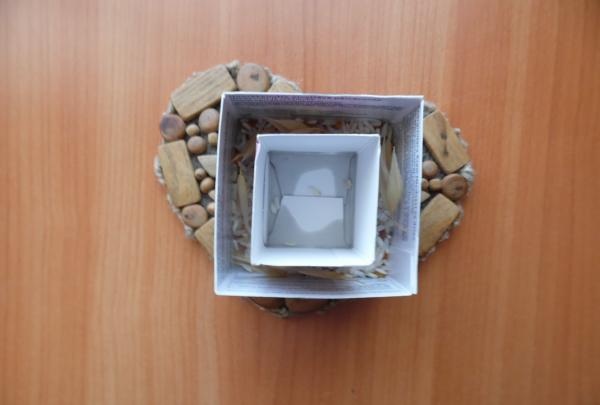
Let's cut off the unnecessary parts of the cardboard boxes and equalize the height of the smaller and larger ones. Markings can be made using a ruler and pencil. We cover the bottom of the boxes with tape so that all the holes are securely closed and the wax does not leak out.
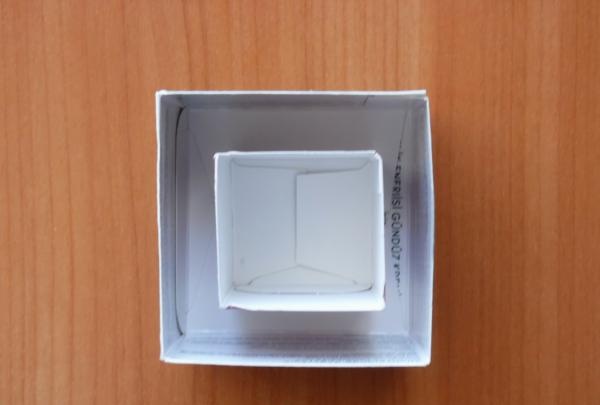
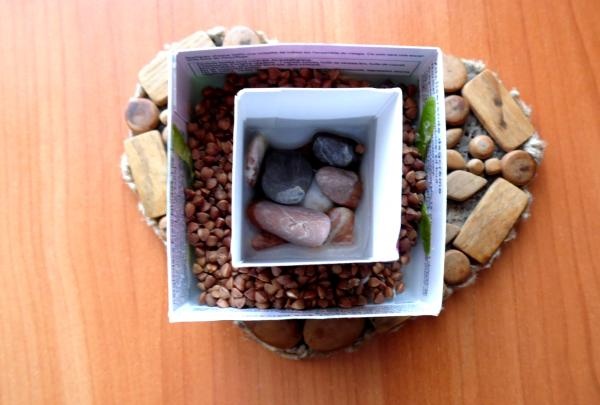
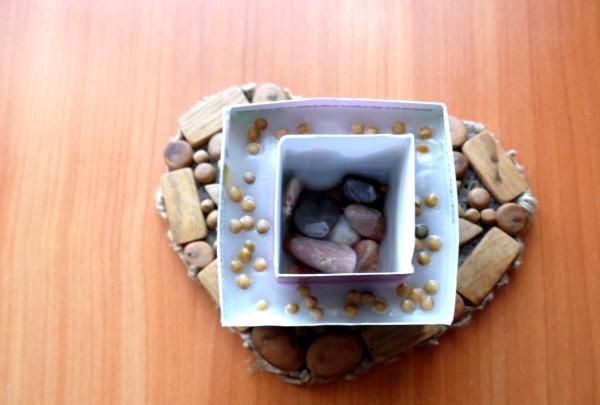
We insert the smaller box into the larger one so that it is located in the center. Glue for fixation should not be used, because then we will need to remove it from the frozen paraffin or wax. To prevent the box from moving during work, use several pebbles as weights, which you place in a smaller box.
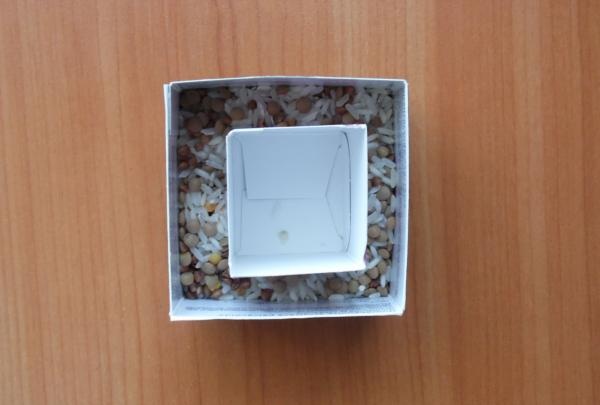
Pour in the first layer of cereal.
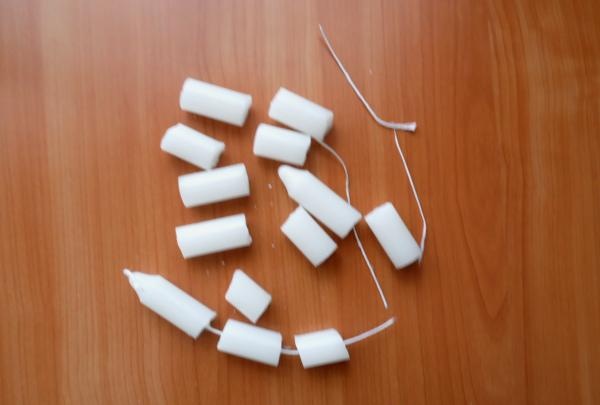
Gently break the candles and remove the wick.
Place the paraffin or wax in a glass container and melt it in the microwave. With a power of 750 W, 5 minutes will be enough.
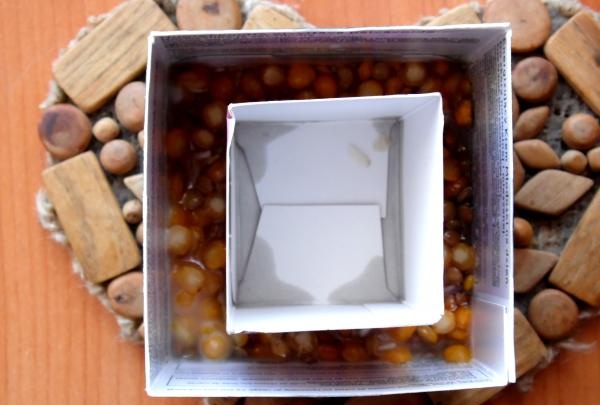
Pour paraffin over the first layer of cereal.
Carefully place dried flowers or other items of your choice onto the slightly frozen first layer. Fill everything with paraffin.
You can determine the number of layers yourself. It is important that each layer cools slightly before applying the next one. Let the candle cool down. To speed up this process, you can put it in the refrigerator for 10 minutes.
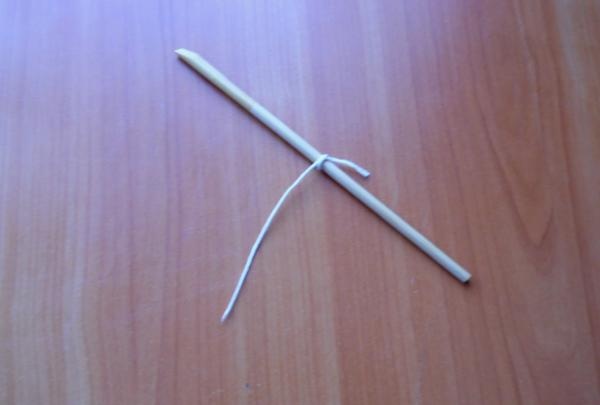
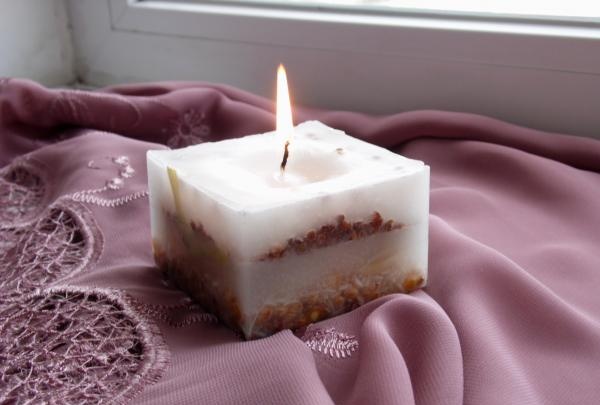
We tie the wick to a wooden stick.
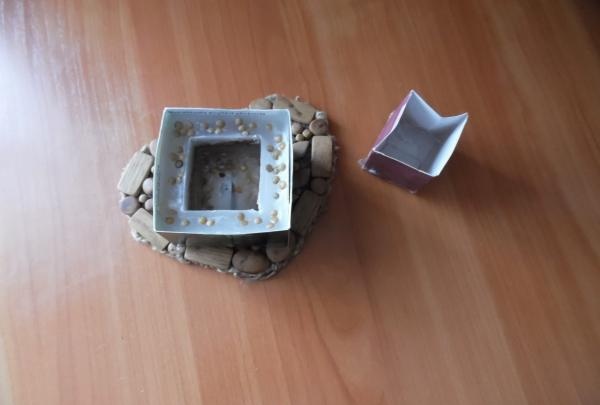
Carefully remove the smaller box. It is important that the paraffin cools completely and is not plastic at this moment.
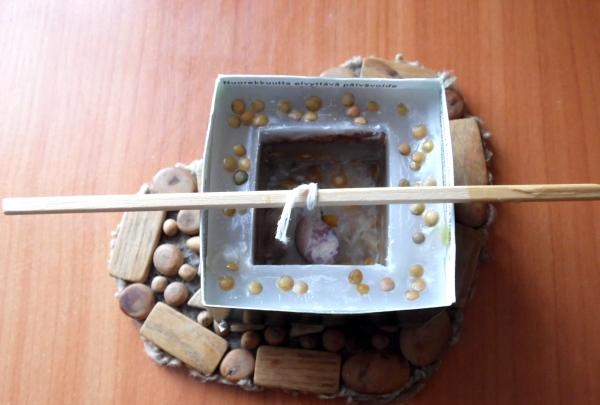
We place the wick in the center of the future candle and press its lower end with a stone and fill the inner recess in the candle with melted paraffin again.We put the candle in the refrigerator for half an hour and only after the paraffin has completely hardened, carefully remove the top box, cutting its edges with a stationery knife - this way you can easily remove it without damaging the candle.