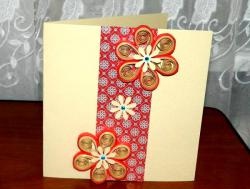
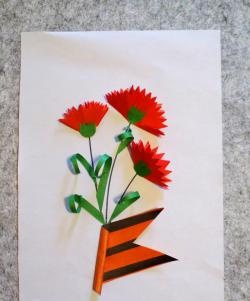
For example, for the fair half of humanity, a 3D card with flowers made from colored paper is suitable, because you don’t have to buy original and beautiful cards when you can easily make them yourself.
To make such a postcard - applique you will need:
- colored paper
- colored cardboard for the base
- glue
- scissors
And a little patience!
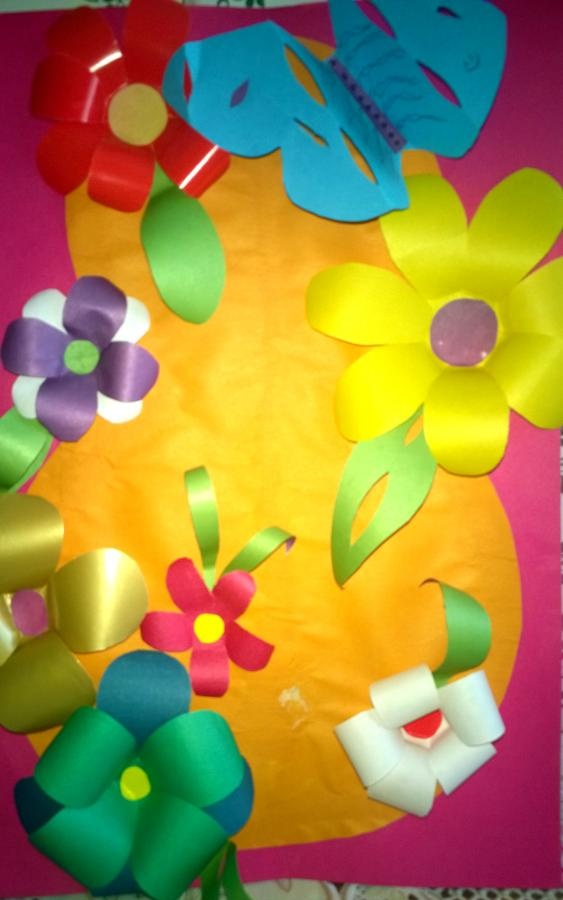
Let's prepare the base. On a sheet of A4 colored cardboard we will paste a number symbolizing the return of the gift recipient, in my case it is orange 8. If you are not making a card for the occasion of a holiday, you can paste the first letter of the name, the main thing is that there is something to glue the flowers on.
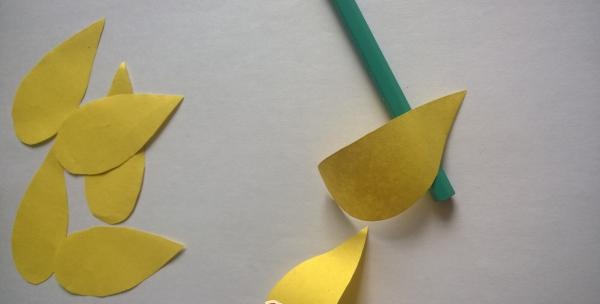
Each flower is assembled from individual petals. As an example, consider making a yellow flower.
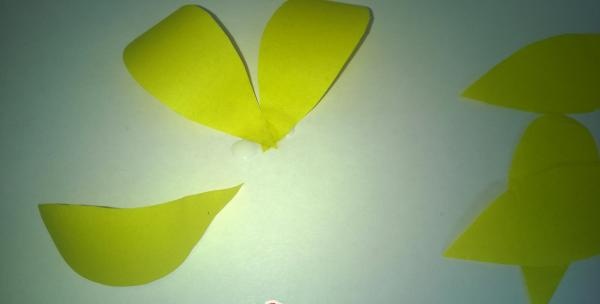
Cut out 6 identical petals, about 7 cm long, 3 cm wide in the center.Using a smooth pencil, carefully curl the petals and glue them to the base; it is advisable not to maintain symmetry so that the finished flower looks more natural.
To make double flowers, such as blue-green, cut out 4 petals of each color and glue the blue parts first and the green ones on top, so that the green petal is between the two blue ones.
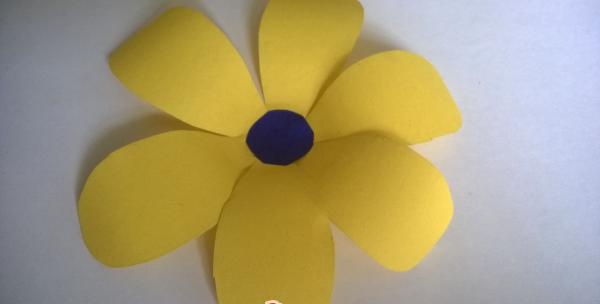
To cover the places where the petals are glued, cut out a circle of a different color and glue it on top. The leaf is made in the same way as the petals, only a little longer.
The remaining flowers should be made smaller, so they will look more harmonious.
Having glued all the flowers, we move on to making a butterfly. Below in the photo is a sketch of my butterfly, you can download it and use it as a template. I marked the fold points with dotted lines.

We bend the strip in the middle on both sides, and glue the butterfly behind it.

And we admire the finished work!