For the creative process you need:
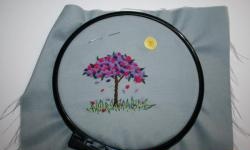
- embroidered picture;
- a large piece of cardboard (you can take packaging from any large purchase: refrigerator, cabinet);
- stationery knife;
- ruler, pencil;
- a roll of double-sided tape;
- a sheet of wrapping paper (or a piece of wallpaper or fabric) of a matching color;
- a small piece of tape.
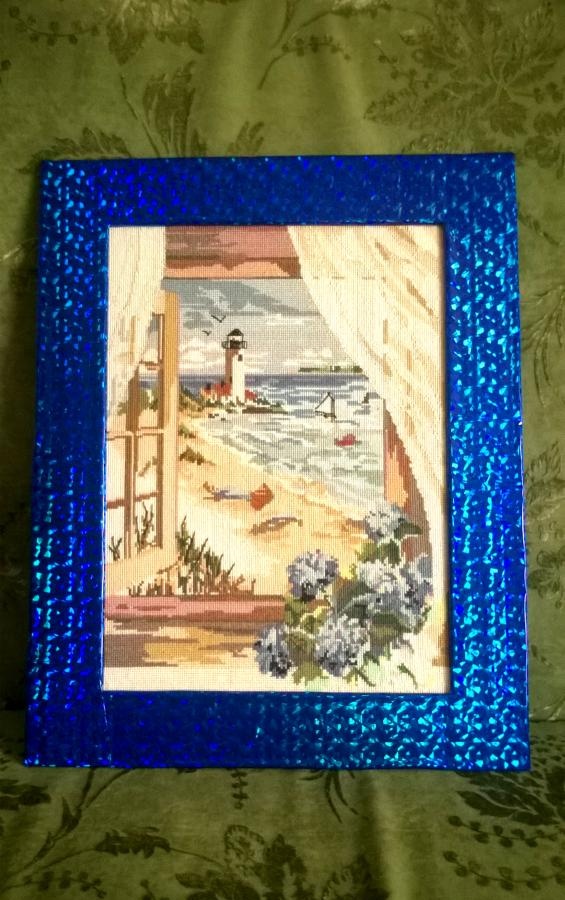
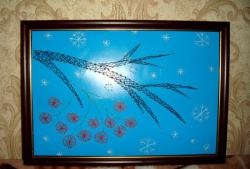
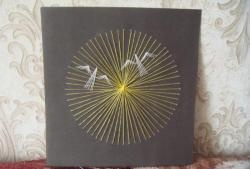
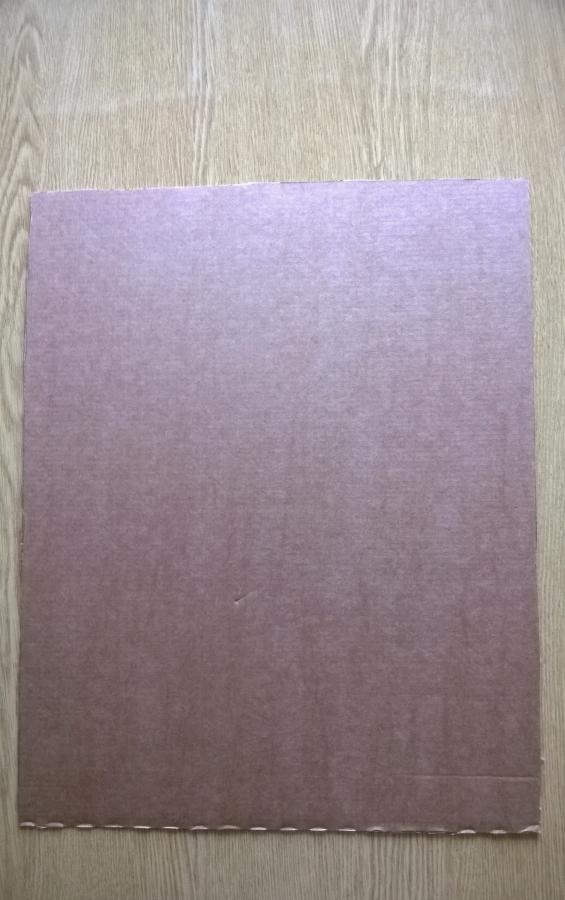
Preparing the frame. It consists of 2 parts: the base on which it will be glued embroidery and the top part (the frame itself). Having measured the width and length of the embroidery, add 5 cm to them on each side. For example, the embroidery size is 15x20 cm, therefore the frame size will be 25x30. We mark the cardboard and cut it out using a utility knife. This is the basis.
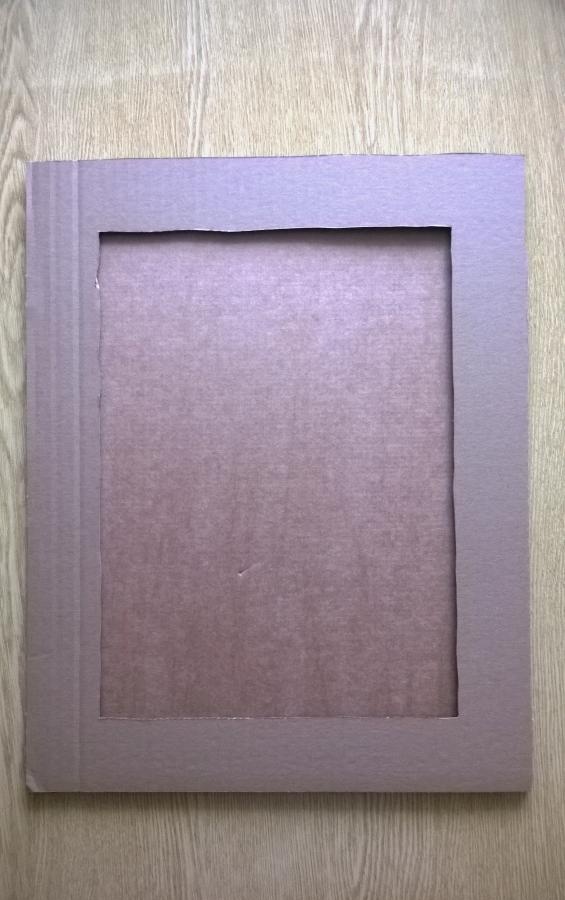
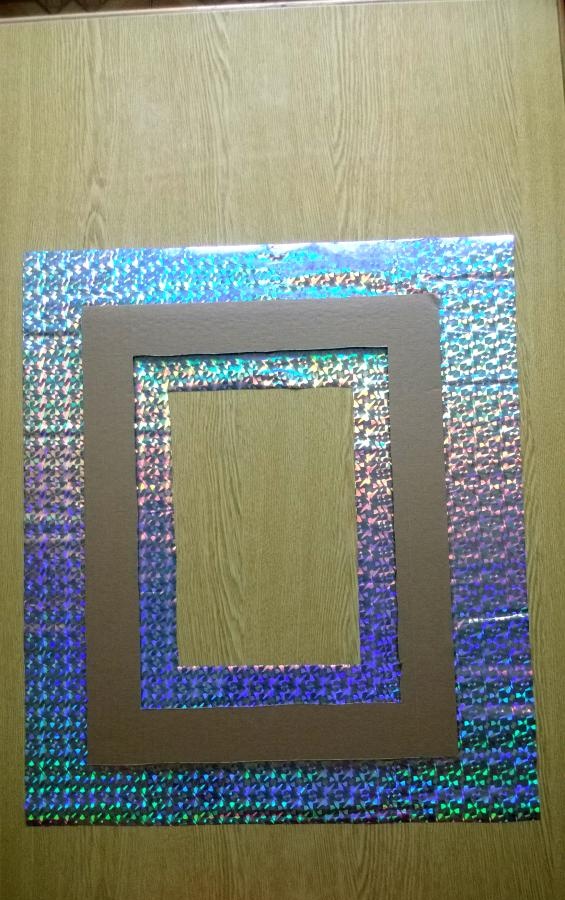
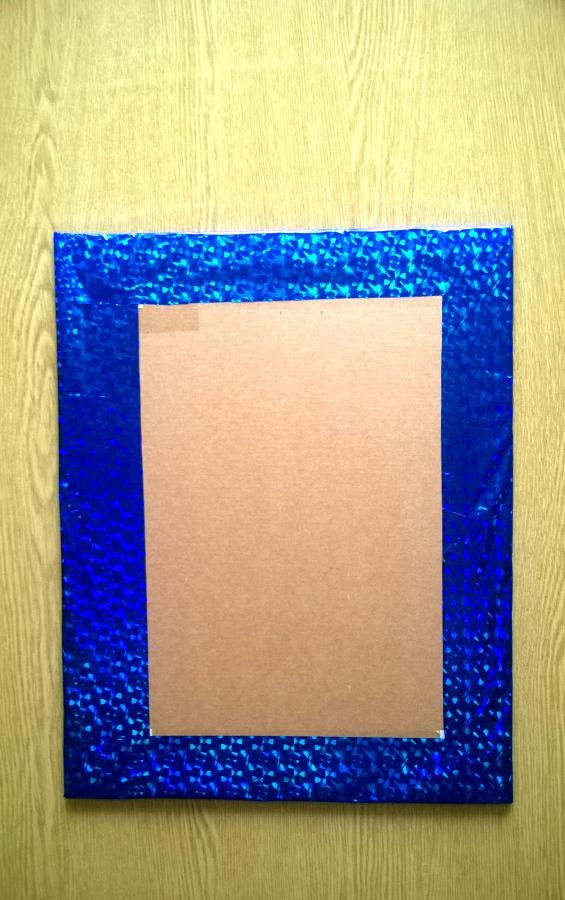
Now let's prepare the top part. It will be exactly the same size as the base, only the middle needs to be cut out, leaving an outline 5 cm wide.
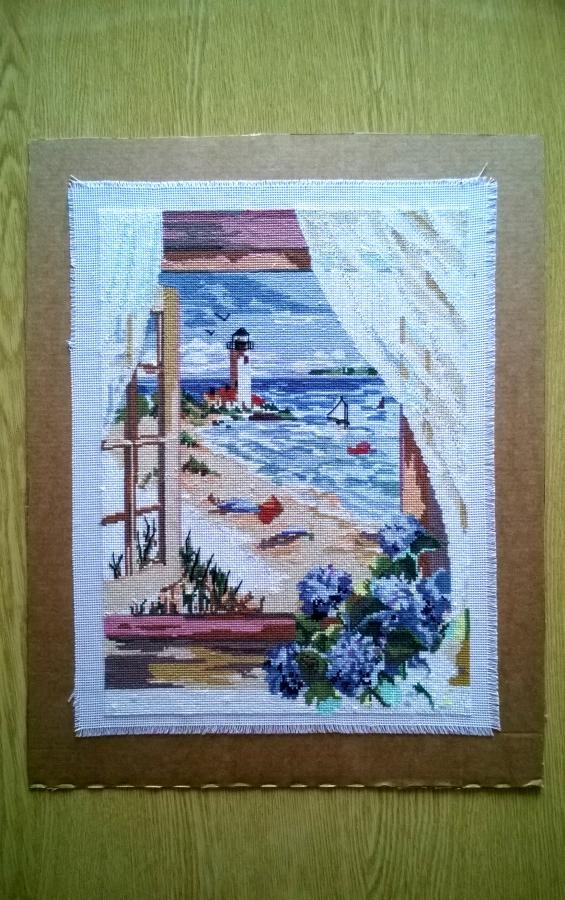
We try on the embroidery with the frame, placing the latter exactly in the middle. Place adhesive tape on the base and attach the embroidery.
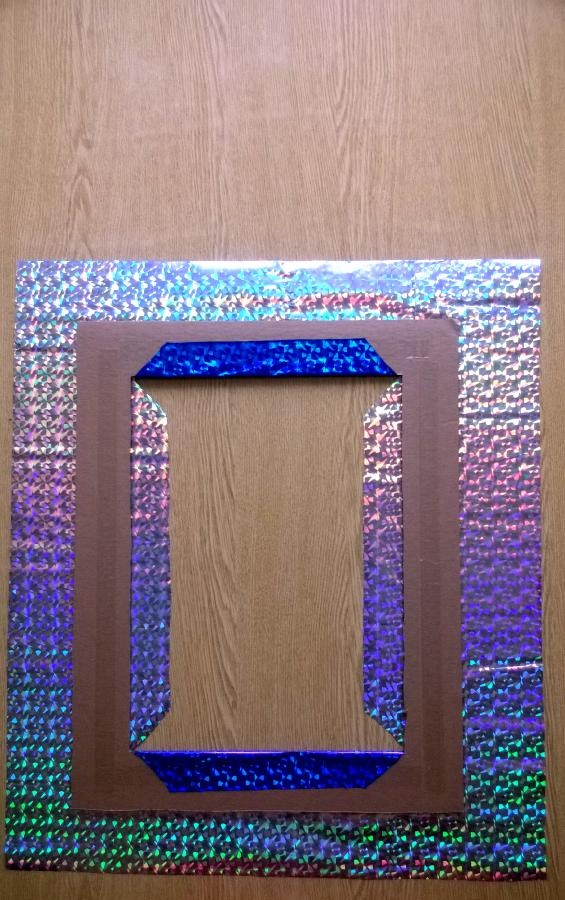
Let's move on to the most important moment: designing the top part of the frame. Add 5-6 cm to the size of the base on each side, apply markings to the inside of the wrapping paper and cut out. Apply tape to the frame and stick the frame exactly in the center of the wrapping paper. Make another marking on the paper: stepping back 5-6 cm from the frame to the center, draw and cut out the middle.
Apply tape to the other side of the frame. Make cuts in the corners of the package, carefully wrap the package inside and glue it.
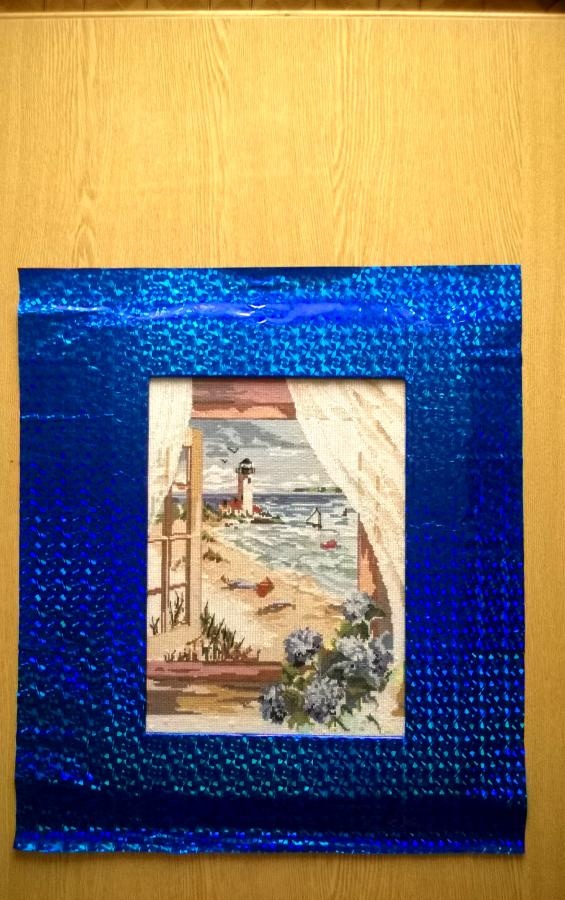
Final stage. Apply tape along the edges of the embroidery. Place the top of the frame on the embroidered base and press firmly.
Turn the work face down. Apply tape along the edge of the back of the base, fold the edges of the package and glue. First we wrap the long sides.
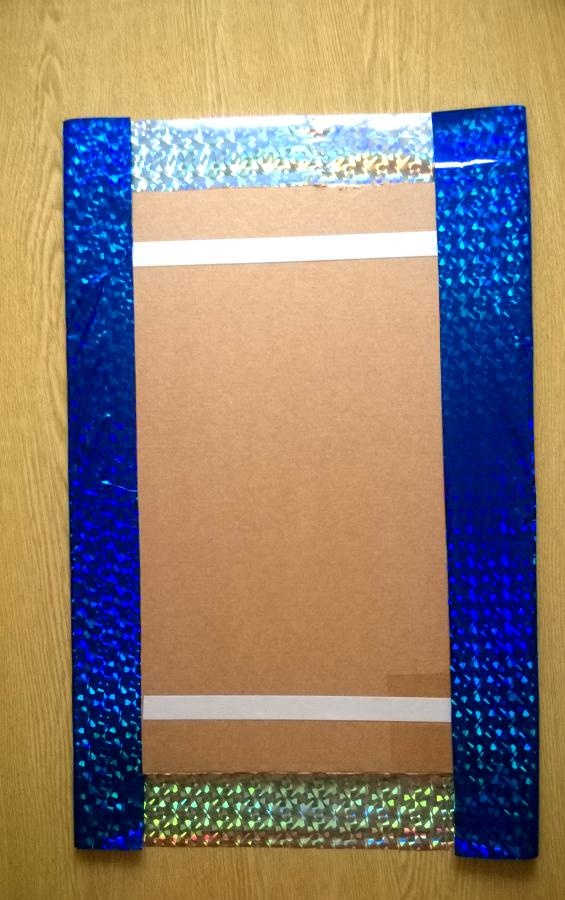
Then we wrap and glue the remaining 2 sides.
The result exceeds our modest expectations!
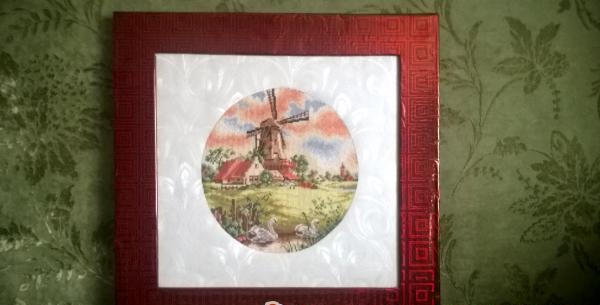
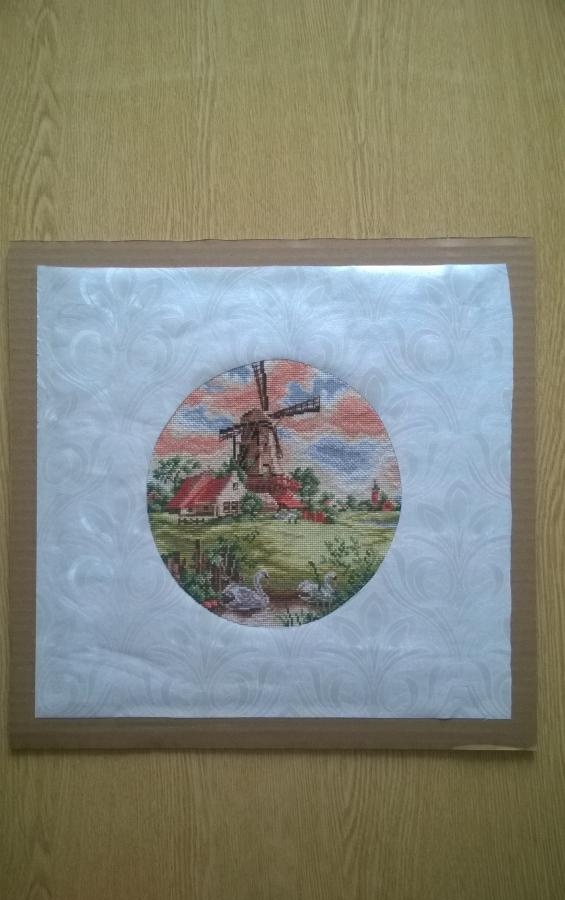
If desired, you can make a frame with a mat. This will require a little more time and effort, but the result will be stunning. To do this, you need to select a background for embroidery (the material can be the same wrapping paper, wallpaper or fabric, but of a different color). Usually it is lighter than embroidery, but different options are possible. The width of the mat can also be different, but not less than 2 cm. The process of creating a frame with a mat is the same as a regular frame. Only between the embroidery glued to the base and the upper part of the frame is the passe-partout secured with double-sided tape.
If you feel like something is missing, you can stick rhinestones, decorative buttons or other decorations along the edge of the mat.
There’s just a little bit left: mark the middle at the top of the backside of the work, and stick a ribbon with tape – a loop on which the picture will hang on the wall.