The spring spurts - “Christ is Risen!”
There are no words lighter in the world -
“Truly Christ is Risen!
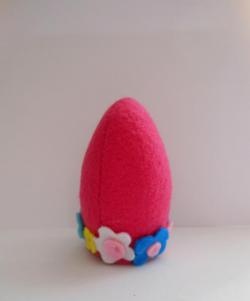
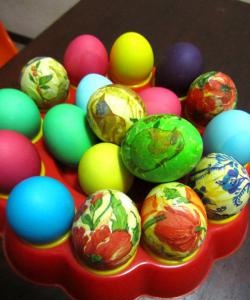
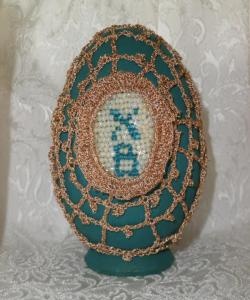
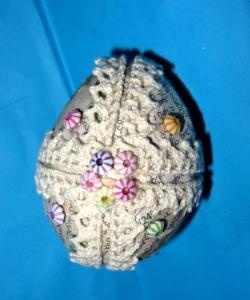
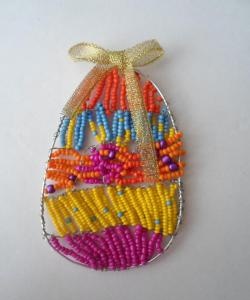
Very soon a beautiful bright holiday will come - Easter. All women will bake Easter cakes and paint eggs. And all needlewomen, beginners and craftswomen, will create beautiful original crafts Easter theme: knitted, bead, dough, gypsum, etc. Needlework especially beadwork, the occupation is very painstaking and quite long. But, knowing the little secrets, you can do everything much faster, while preserving the beautiful and spectacular appearance of the product.
Today I propose to make a very beautiful souvenir from an ordinary chicken egg and beads. You will spend a maximum of 2 to 3 hours making it, even if you are not familiar with this type of needlework.
So, we need such materials:
- beads of two - three colors
bead thread and needle
polymer adhesive
-chicken eggs
-thin satin ribbon.
To get started, take the egg and gently make small holes with a knife on both sides. Then blow the contents of the egg into a container - on an omelet)), rinse well inside and put it to dry.

While the egg is drying, we need to string the beads. We take a reel with a bead thread, we thread it into a needle with a thin eye. Then pour two or three beads into a suitable container and mix it.

Take not the smallest beads so that it does not get stuck at the end of the needle.
String the beads on a string in random order. The string with beads should be long, but don’t worry if you don’t have enough for the whole egg, then you can always string it again.

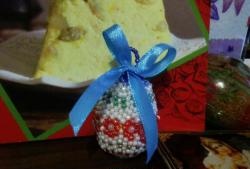
Take polymer glue (for baguettes) and drop a drop on top of the eggshell. After cut the satin ribbon and stick it there like a loop.

Then we take the same glue and coat them with an egg shell until about the middle. Then gently glue the egg with a string of beads, winding it in a circle, starting where the loop from the ribbon is.
The glue does not harden immediately, so that irregularities can always be corrected. After you have glued half the shell, put the glue to dry completely and continue again until the eggs are completely glued.


Here we have such a nice souvenir egg. You can experiment by mixing a variety of colors.

To diversify a beaded egg, you can glue a flower on it, woven according to the scheme of weaving flowers for hyacinth or any other.

So quickly and simply you can create a souvenir with your own hands. This is much easier than braiding the base with a net of beads or weaving using the bead weaving technique, which requires some skill and considerable skills.
Such an egg from beads can be not only Easter. It will look very beautiful on your Christmas tree for the New Year, and like beautiful pendants somewhere on the wall.
Your imagination, minimum expenses and your house will be replenished with a unique souvenir that you will create with your own hands.
I wish you a wonderful Easter, success and creative inspiration, which, I hope, will appear after watching this master class.