From the materials we will need:
-yellow yarn
- leftover yarn of different colors
-hook (depending on the thickness of the thread)
- synthetic winterizer
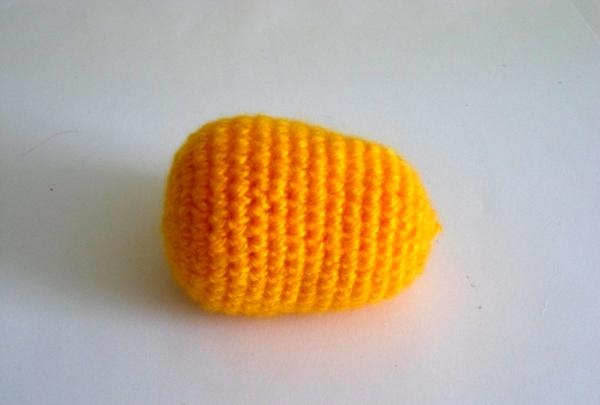
We start by weaving eggs. To do this, take yellow yarn, pick up three air loops and close them into a ring. Then weave 5 single crochets (SC) into the circle.
Row 2 – weave two sc into each sc. You get 10 sc.
3rd row – we again weave two sc under each loop of the previous row. As a result, we get 20 sc.
4th row - weave without additions.
Row 5 – knit 2 sc in one loop, then one sc and so on until the end of the row. We get 30 loops.
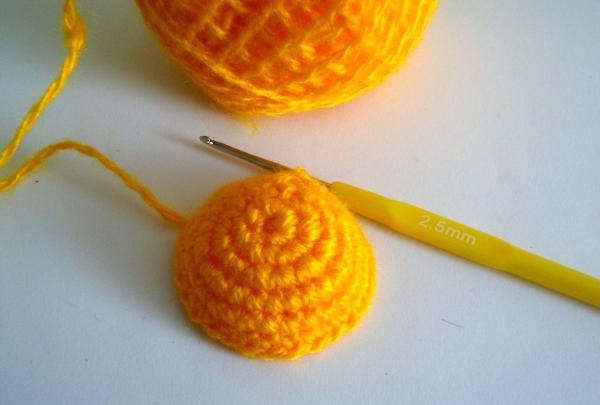
Rows 6 – 15 are knitted without increments.
Row 16 – knit 5 sc, then skip 1 sc from the previous row and again 5 sc. Knit to the end of the row. We get 25 RLS.
Knit the 17th – 18th rows without increasing 25 RLS.
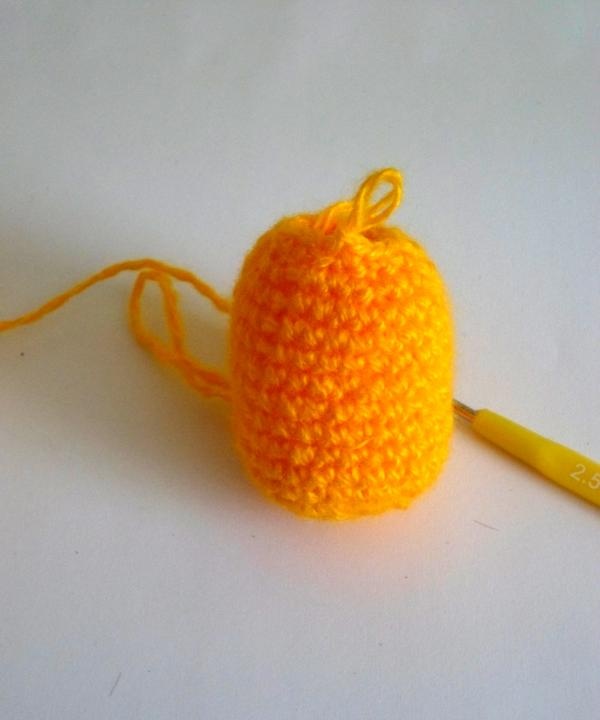
Place a padding polyester inside so that the egg holds its shape.
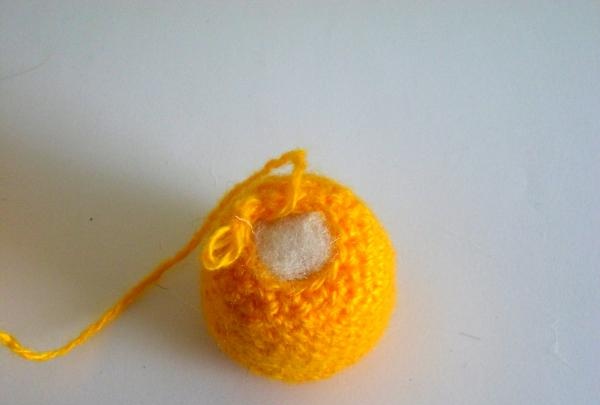
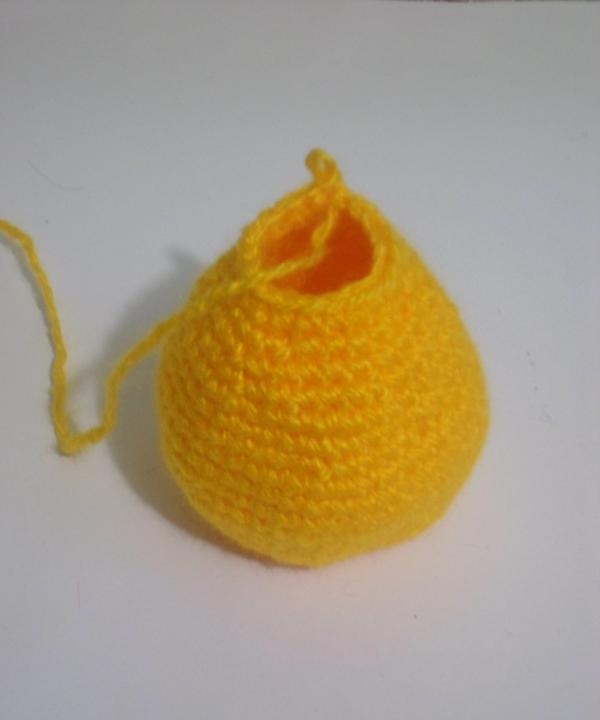
Rows 19–20 need to be gradually shortened and the hole narrowed. To do this, we knit a sc through one column of the previous row.
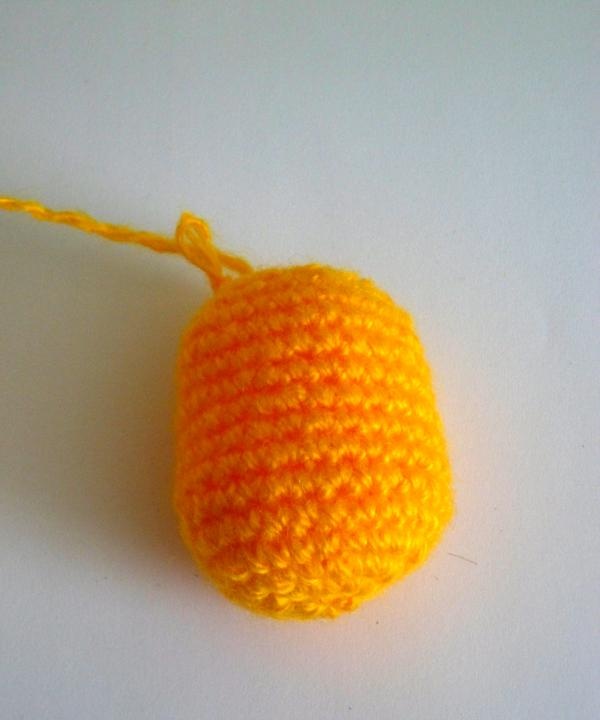
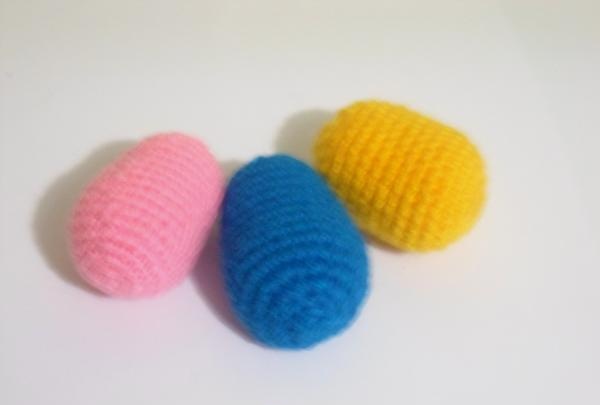
We make several of these eggs of different colors.
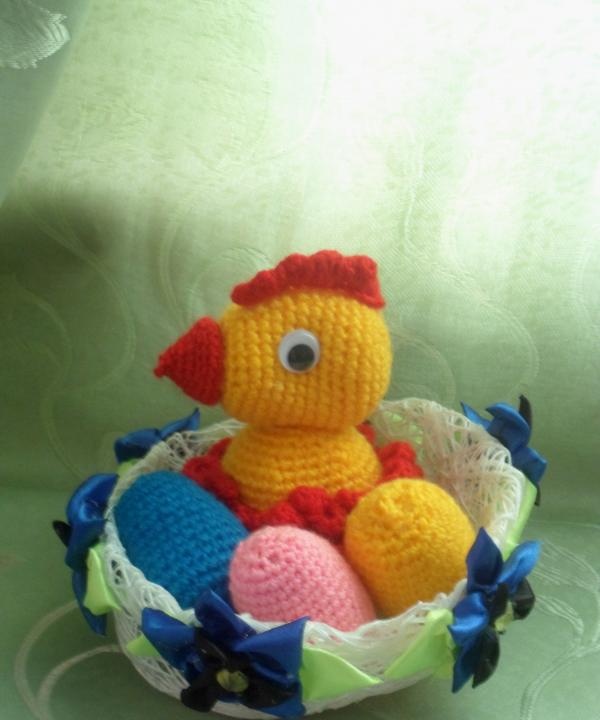
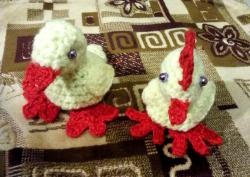
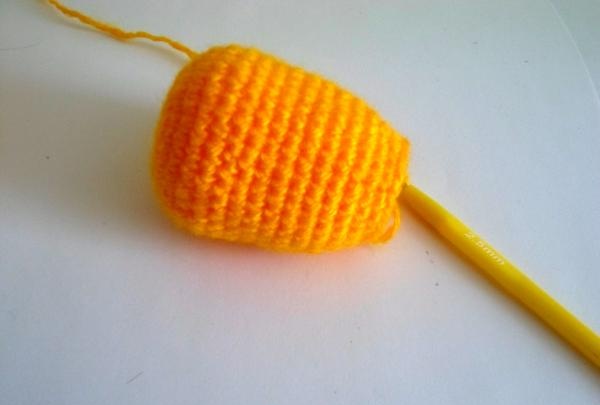
Now we need to weave an Easter chicken. Let's start with the head. It is woven in exactly the same pattern as the eggs, but with the sc increased by several loops, depending on the size of the product you want to get as a result.
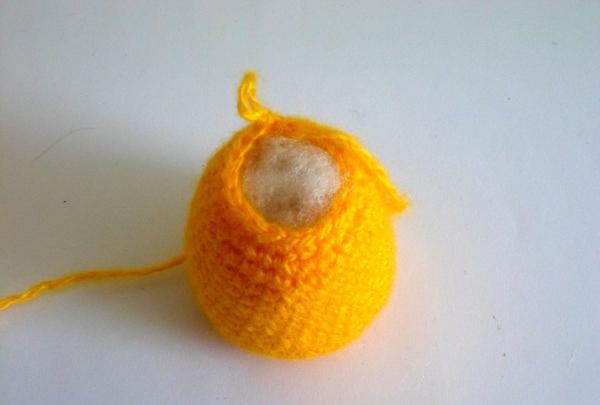
Do not stuff the padding polyester tightly so that you can sew the place where the eyes will be.
For the body, cast on 3 air loops and close them into a ring. Knit 6 sc.
2nd row – 12 RLS.
3rd row – 24 RLS.
Row 4 – 36 RLS.
We knit the 5th row without increases.
Row 6 – add 5 sc evenly.
We knit rows 7 – 12 without increments.
Row 8 – add another 5 – 6 sc.
Rows 9 – 11 are knitted without increments.
Then we begin to gradually narrow the product, decreasing 5 loops.
We stuff it tightly with padding polyester.
We knit the last couple of rows through one stitch of the previous row.
Now take a red thread and, starting just above the middle of the chicken’s body, cast on 6 chain loops, knit to the end of the row through one sc. Next, knit 6 double crochets (dc) into each semicircle of chain stitches. It turns out to be a nice frill that will serve as feathers for our bird. Such frills need to be made to the end of the body. I have three rows.
To knit a scallop, cast on 17 chain stitches and knit a sc through one loop (replacing the stitch with a chain stitch). Turn knitting and knit 2 dc in the first arch, 3 dc in the second, 3 dc in the third, 4 dc in the fourth, 4 dc in the fifth and 2 dc in the last two. Sew or knit the resulting comb to the chicken’s head.
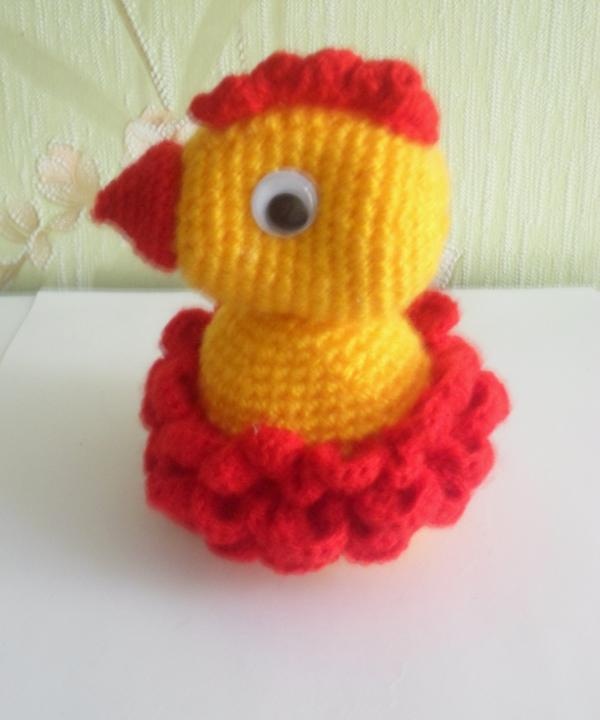
We collect all the details, glue the eyes and beak (I knitted it in the form of a cone, but it can be done differently).
That’s it, our Easter chicken with eggs is ready and will become a wonderful decoration for your home, and will also bring its share of coziness and warmth, like all handmade things. This chicken with eggs can be used as an educational toy for kids.