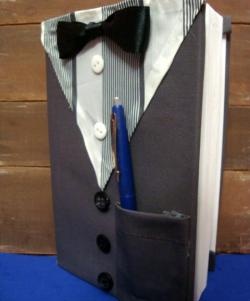
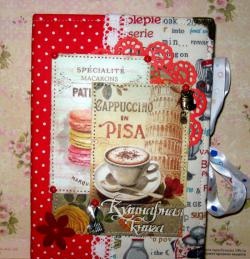
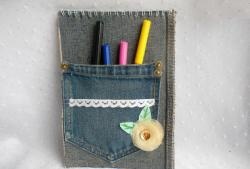
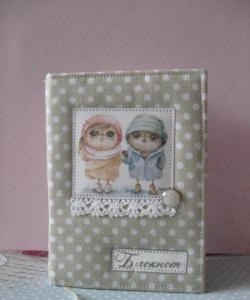
Materials that you will need to work:
• Notebook or old notebook for alteration.
• A sheet of white office paper.
• An old magazine that has been read and viewed a long time ago so that it would not be a pity to cut it.
• Scissors.
• Ruler.
• Pen or pencil.
• Glue for paper.

To begin with, we need to “cover up” the old, unsightly cover of a notebook or notebook. We do this with a white sheet of paper. We cut out a rectangle or square from it, which will be the same size as the cover of our notebook or notebook.

Glue a white sheet on the cover of the notebook. Now we need to draw a sheet so that we get the same triangles, which we will fill with clippings from the magazine. First, draw a sheet of horizontal stripes that will divide it into three parts. Then we start marking the angles of the triangles. On the lower vertical edge, note the width of the triangles from beginning to end. On the second vertical strip from the bottom, we start with the half of the triangle and then further mark the dimensions of the width of the triangle. When all the triangles are outlined, we begin to draw. You should get something like this markup.

In the same way, we mark out the pictures we liked from the magazine. Cut out the triangles drawn in the magazine.

Now the most interesting stage of remaking an old notebook. We begin to collect our color mosaic. We insert triangles randomly so that the pictures do not repeat and gather in a diverse bright mosaic. We insert the halves of the triangles into the extreme half-triangles that are drawn on the cover.

Carefully glue all the parts. We glue all the corners well so that the cover does not stick out during operation. It turns out here is such a bright and cheerful cover.

For reliability and confidence that the triangles do not begin to peel off over time, you can gently laminate the cover with a regular cling film. In the process of such a lamination, one must be very careful, since the film is very delicate and sticky, and quickly forms ugly folds. However, to do this is quite realistic. The main thing is to attach the central part of the film and gently level it in all directions from the middle.
In exactly the same way, you can decorate the cover with plain colored paper, creating multi-colored triangles on the surface. Experiment and don’t let go of useful, but simply disinterested things. Give them a second life, let them bring you benefit and pleasure!