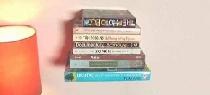
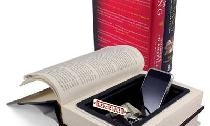
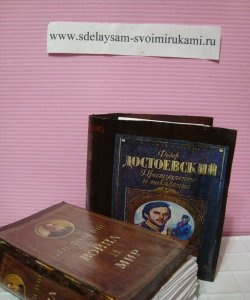
Especially for such an event, I decided to make a box for her, the basis for which was an old unnecessary book. So, to make such a box I needed:
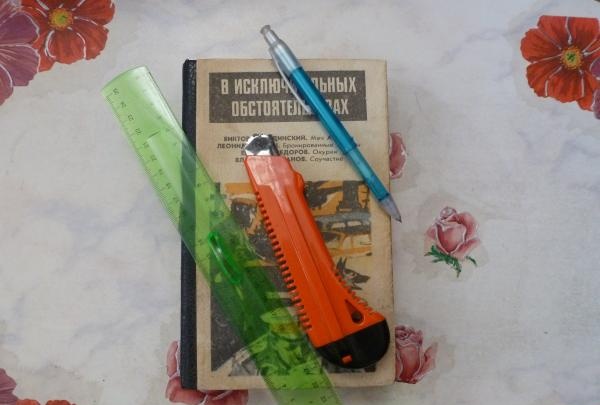
book;
stationery knife;
ruler;
simple pencil.
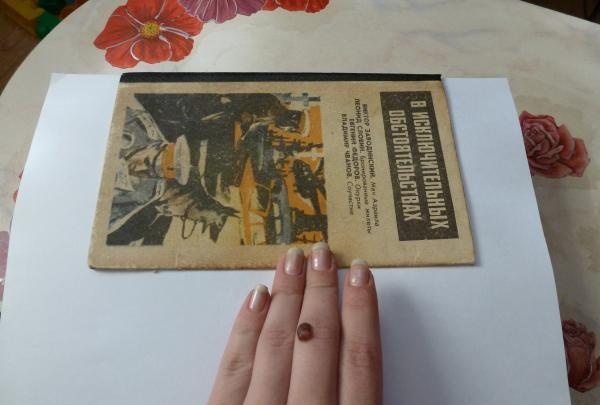
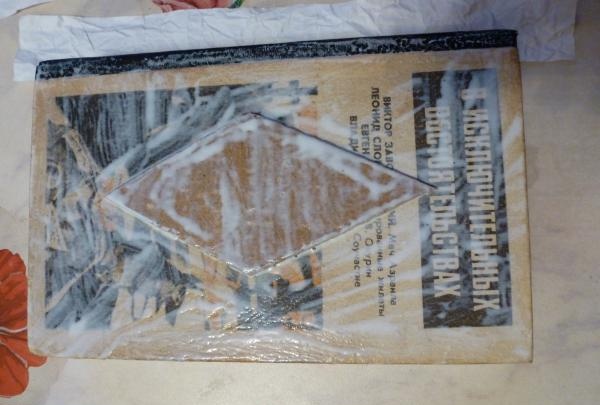
The first step is to carefully separate the first sheet of the book from the bulk of the pages. As a rule, this is a single large sheet that serves as both a page and a sheet glued to the crust of the book.
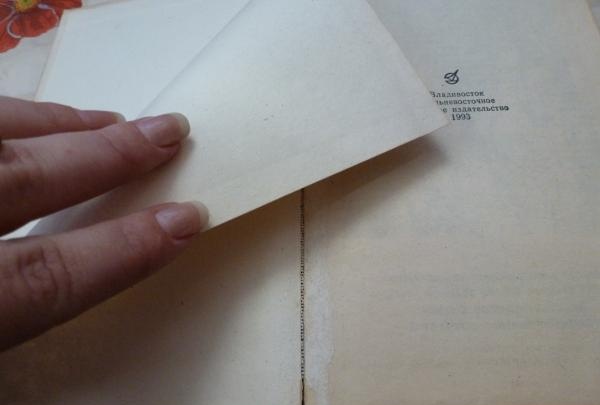
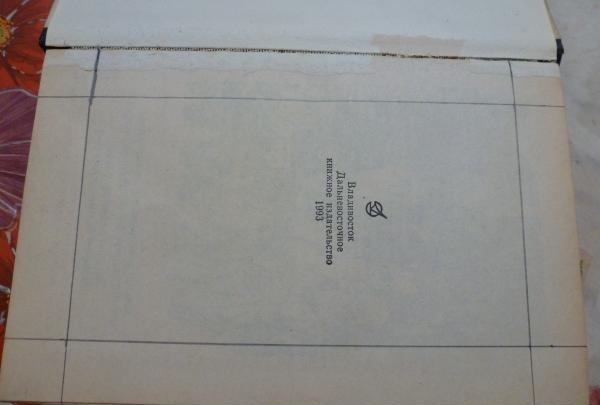
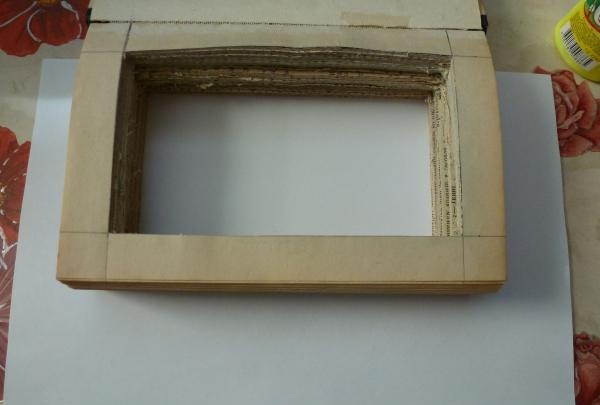
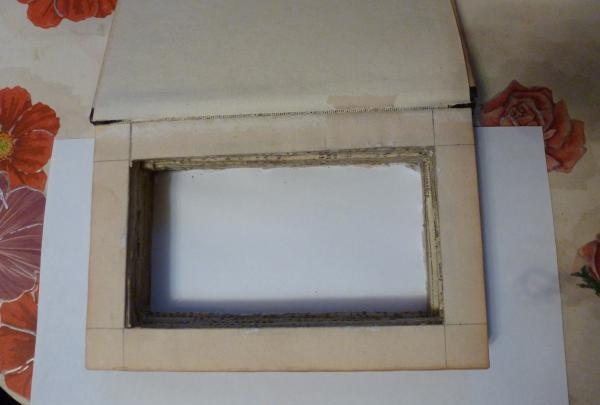
You just need to apply it to the crust, it will play its role later. On the bulk of the pages, use a ruler and pencil to mark the boundaries of the future walls of the box. I decided to set aside 2 centimeters from each edge.
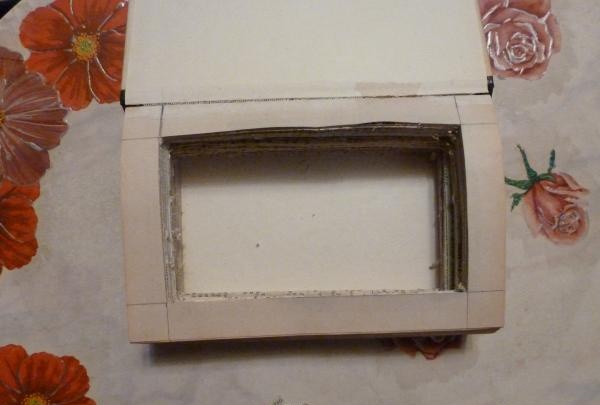
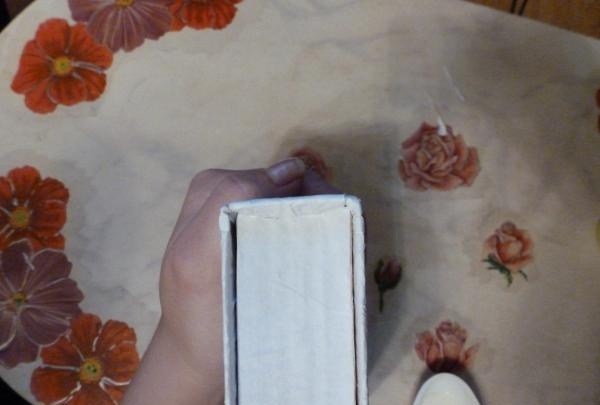
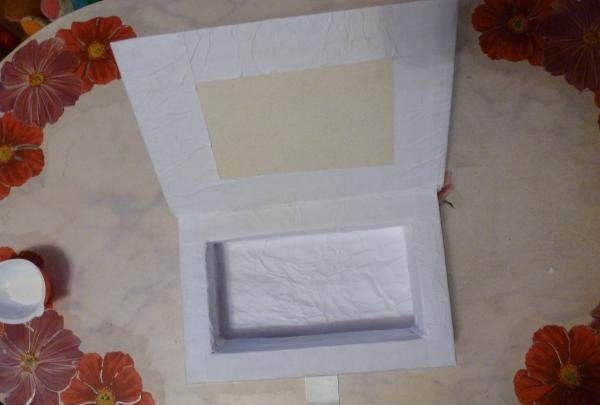
Now carefully cut out all the unnecessary leaves with a stationery knife. Prepare for the fact that this process will take a lot of time, effort and nerves. I personally have two blisters and three cuts.The corners will require special attention. They are the most difficult to cut through. It is also worth periodically redrawing the frame on entire pages, since due to the thickness of the book, the intended contours are lost, and the walls may become very uneven.
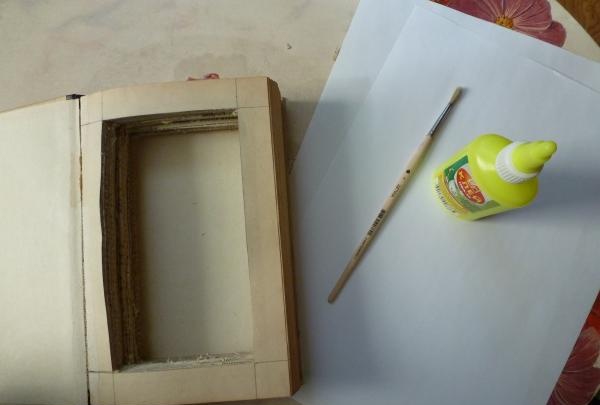
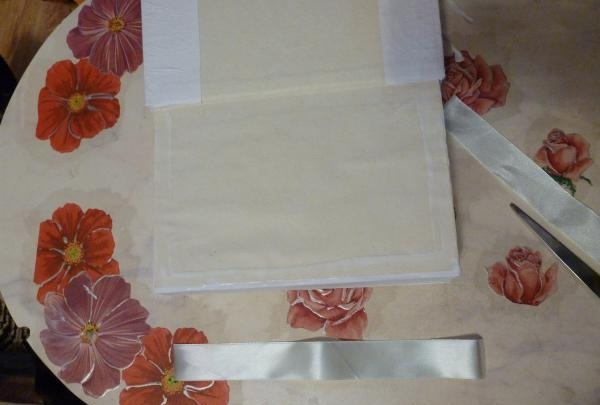
After the titanic work is completed, we proceed to strengthening. To do this we need a brush, two white sheets, A4 size and PVA glue.
Approximately in the center, so that the ends remain equal, we place one sheet under the pages to the back wall of the book.
Now thoroughly coat all the leaves with glue.
It’s best to coat the inside right away. The main thing is not to skimp on glue.
After painting, cover all the stained pages with another A4 sheet, close the book and put it under a good press. The best time for drying is overnight, but you can limit it to 3-4 hours. After drying, the glue will become colorless. The top piece of white paper comes off very easily. We remove it and put it aside if it is not damaged.
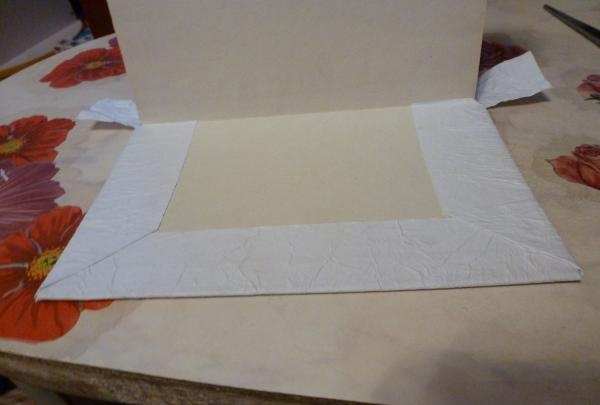
Now let's take care of the very first sheet of our book, which we did not glue. It needs to be trimmed and glued under tension to the page monolith in this way.
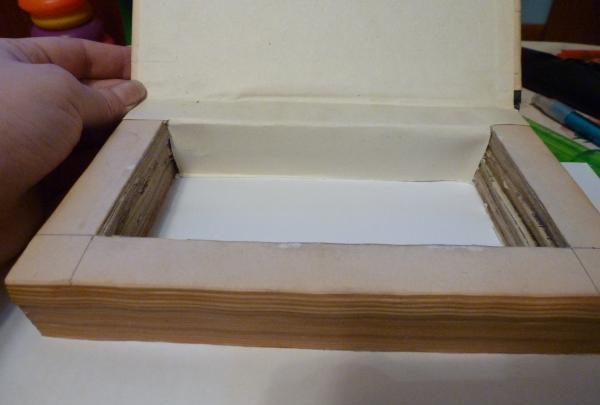
This procedure is done so that the lid of our future box rests firmly on the book and does not dangle when it is opened.
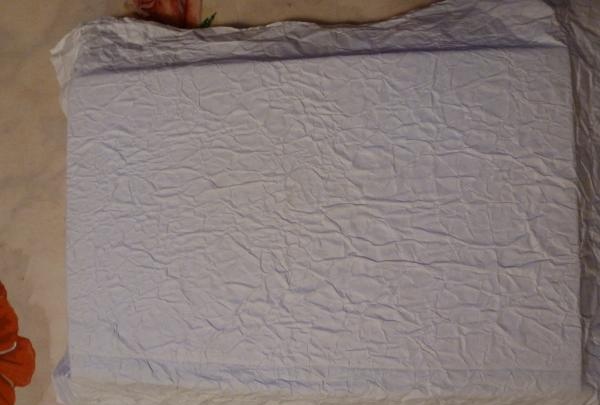
Let's start decorating the outside. To do this, I decided to use the simplest method. Namely, an ordinary sheet of A4 printer paper (you can even use the same sheet that we placed on top of the pages), and crumpled it into a small lump.
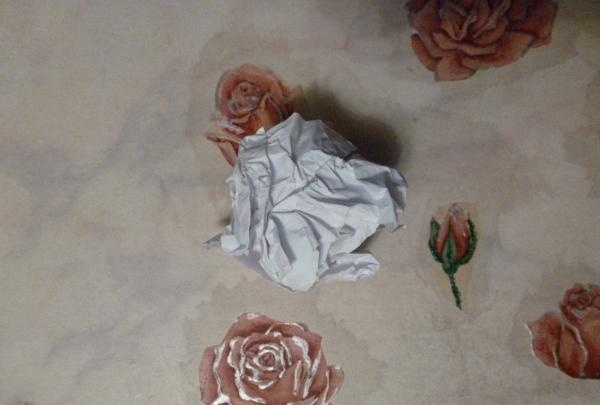
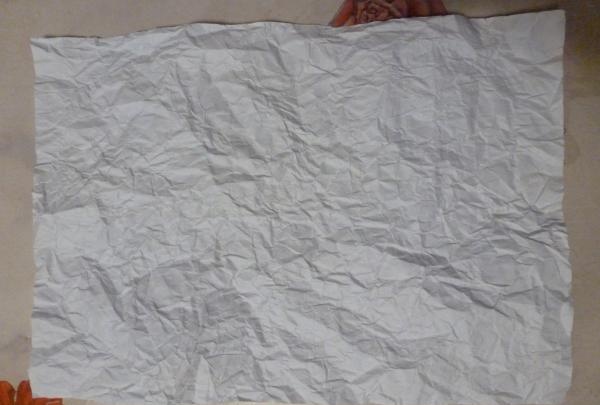
When I unwrapped it, I received this, at first glance, nondescript little thing.
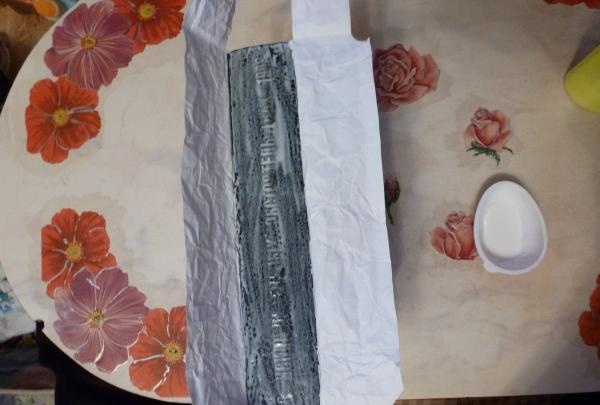
Now generously coat the back cover of the book with glue, but not the spine.
We apply our crumpled sheet to the smeared cover so that the paper covers the spine, and there are still allowances along the edges, in a word, the book is in the center of the sheet.
We make cuts at the spine. We wrap the edges inside the book and glue it to the cover.
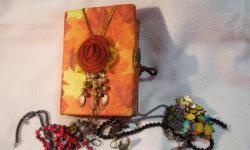
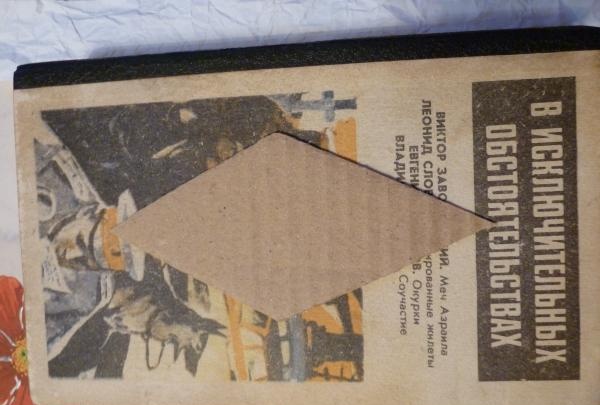
As a decoration, I decided to make a so-called podium for future decoration. To make it, I needed a rhombus made of ordinary corrugated cardboard. I glued it to the center of the front side of the cover.
Now we coat the second part of the cover with glue and glue the second crumpled sheet of paper, similar to the first, only carefully showing the outline of the podium and spine.

We fold the edges in the same way into the inside of the book and glue it. It's the spine's turn. It should also be generously greased with glue and the remaining pieces of paper should be glued to it one by one. First, it is better to glue the bottom part of the sheet, and then overlap the top part on it, so as not to spoil the overall impression of the work. We hide the remaining crumpled paper at the edges under the spine of the book and glue it.
And again, we return to the inside of the box. The remaining book sheet is glued to the back of the book to hide the pieces that we folded. On top of all this, or rather along the contour of the cover, we apply glue.
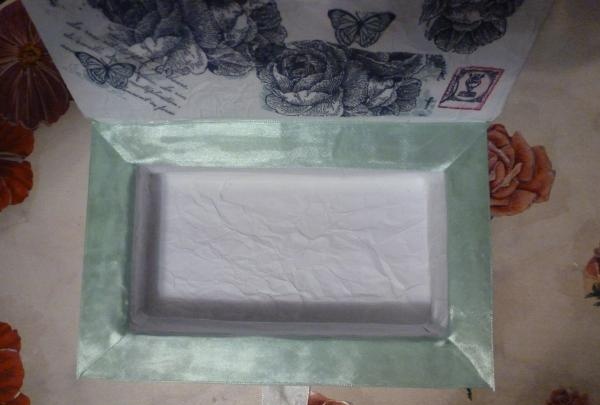
I decided that my box would have two satin ribbon ties. If you support my idea, now is the time to attach the bottom one. We simply place it on the center of the cover and press the pages against the glue-coated crust. To decorate the inside of the book, I used the same crumpled paper. I used it to cover the inside of the box and the edges of the pages from the inside.
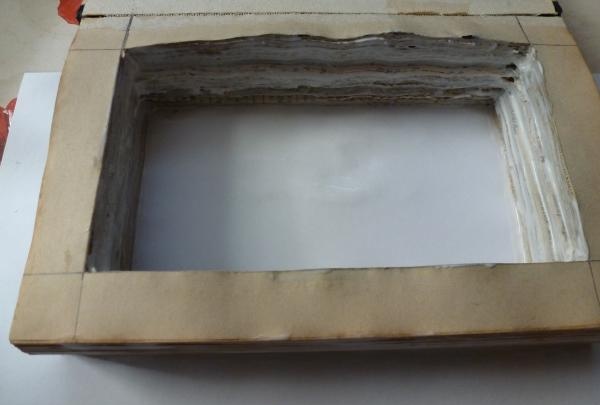
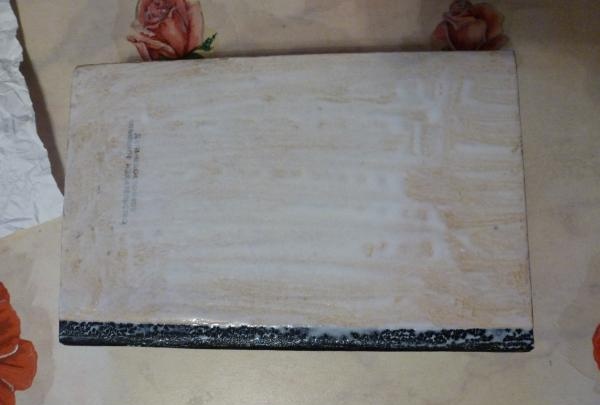
The most crucial moment is coming. Let's start painting the future cover.For this I used acrylic paint, a brush and a piece of foam sponge.
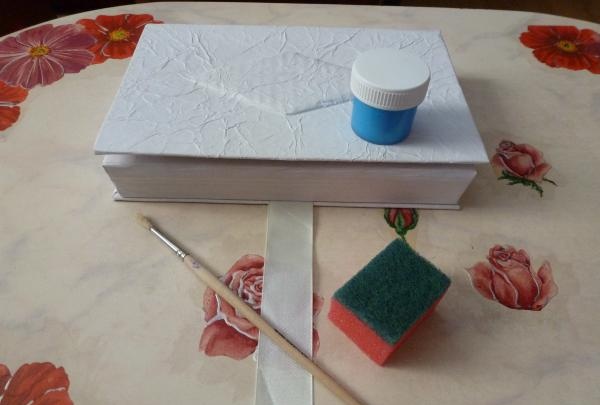
Using a brush, apply paint to the sponge using careful strokes and, barely touching, paint over the protrusions of the paper.
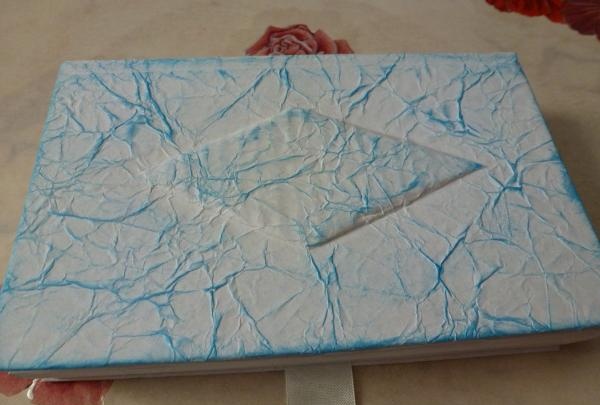
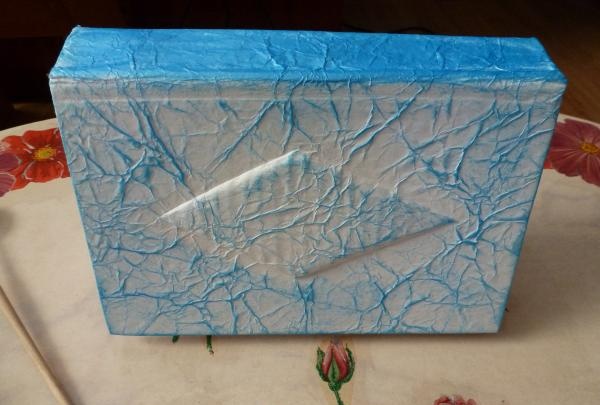
I painted the spine of the book using the usual stamping movements.
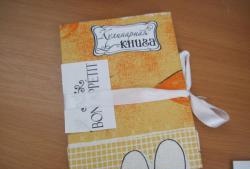
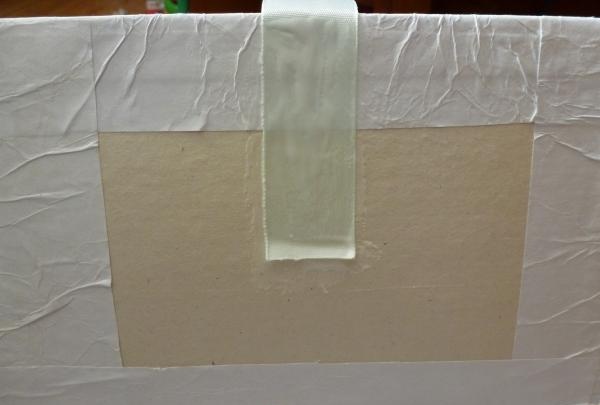
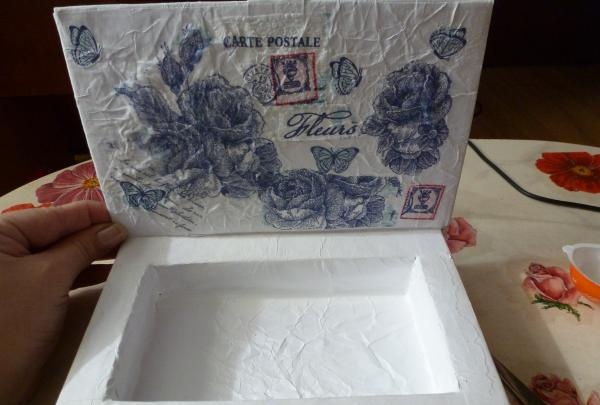
Now we glue the top tie. We also attach it to PVA. I decided to glue a regular sheet of paper on top. Using the same glue, I placed scraps of napkins on it using decoupage varnish.
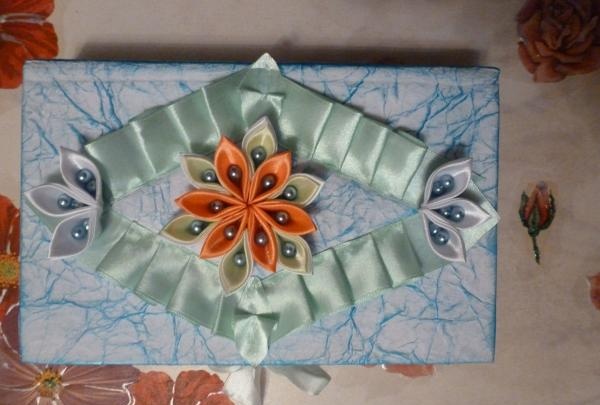
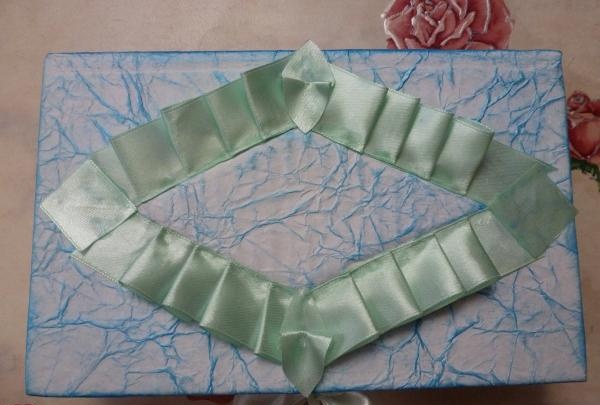
Basic decor. To decorate the lid of the box I used satin ribbons and beads. First, I decorated the space around the podium with ribbons, folded them into a simple pattern, and glued them with superglue.
Next, I placed several petals on it using the kanzashi, a fancy flower.
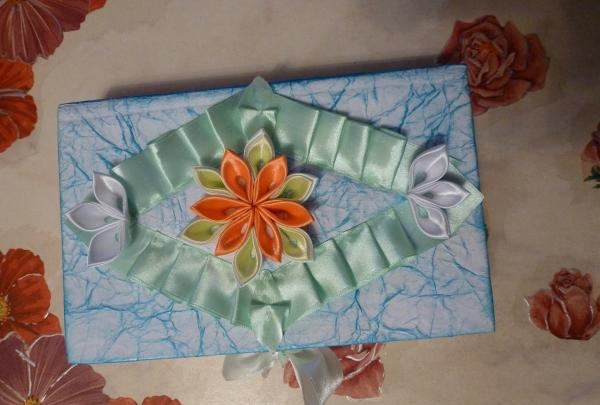
In order to hide the seams from being glued from the inside, I taped them with the same satin ribbon.
Well, in the middle of each petal I planted one bead on glue. (photo32) Mine present ready.